

How to Childproof a House: An Auckland Renovation Guide
Last updated:
Quick answer: To childproof a house, work room by room against the four big hazards – falls, poisoning, burns and drowning – starting with quick aftermarket fixes (gates, latches, cordless blinds, corner guards) and then building the permanent stuff in during a renovation: safety glass, tempered hot water, compliant balustrades and a pool fence that actually meets the Building Code.
Most childproofing checklists read like a shopping list from the baby aisle. Plug the sockets, latch the cupboards, buy the gate. Useful for a weekend, and worth doing. But they stop at the gadgets.
The safest family homes we work on in Auckland don’t rely on plastic clips at all. The safety is built in – tempered glass in the doors, hot water that can’t scald, a staircase a toddler can’t slip through, storage that keeps the bleach genuinely out of reach. Some of it the Building Code already requires. Most families just don’t know it’s there to ask for.
This guide covers both layers: what to sort this week, and what to design in when you renovate.
Free cost calculator
How much will your renovation cost?
Get an instant Auckland price range for your project – no details required to see it.
Start With the Four Hazards, Not the Gadgets
Childproofing gets overwhelming when you treat the house as a hundred small problems. It’s really four.
Falls. The single most common way young children end up in hospital. Stairs, windows, balconies, decks, unsecured furniture that tips when a toddler uses a drawer as a ladder.
Poisoning. Cleaning products under the sink, medicines in a handbag, dishwasher tablets that look like lollies. Child-safety groups like Safekids Aotearoa make the point every year: the danger is almost always at a child’s height, in a room a parent uses every day.
Burns and scalds. Hot tap water does more damage than most parents expect. Water at 60°C can give a young child a full-thickness burn in about a second. Then there’s the oven, the cooktop, the heated towel rail.
Drowning. It only takes a few centimetres of water and a moment of quiet. Pools, spas, water features, even a bucket or a bath left standing.
Sort the house against those four and you cover the ground that matters. Everything below is organised the same way: the quick fix for this week, then the built-in version worth doing when you renovate.
💡 Quick tip: Do the “toddler’s-eye view” walk. Get down on your knees in each room and look at what’s reachable, climbable and swallowable from there. You’ll spot hazards that are invisible from standing height.
Room by Room: The Quick Fix and the Built-In Upgrade
Kitchen
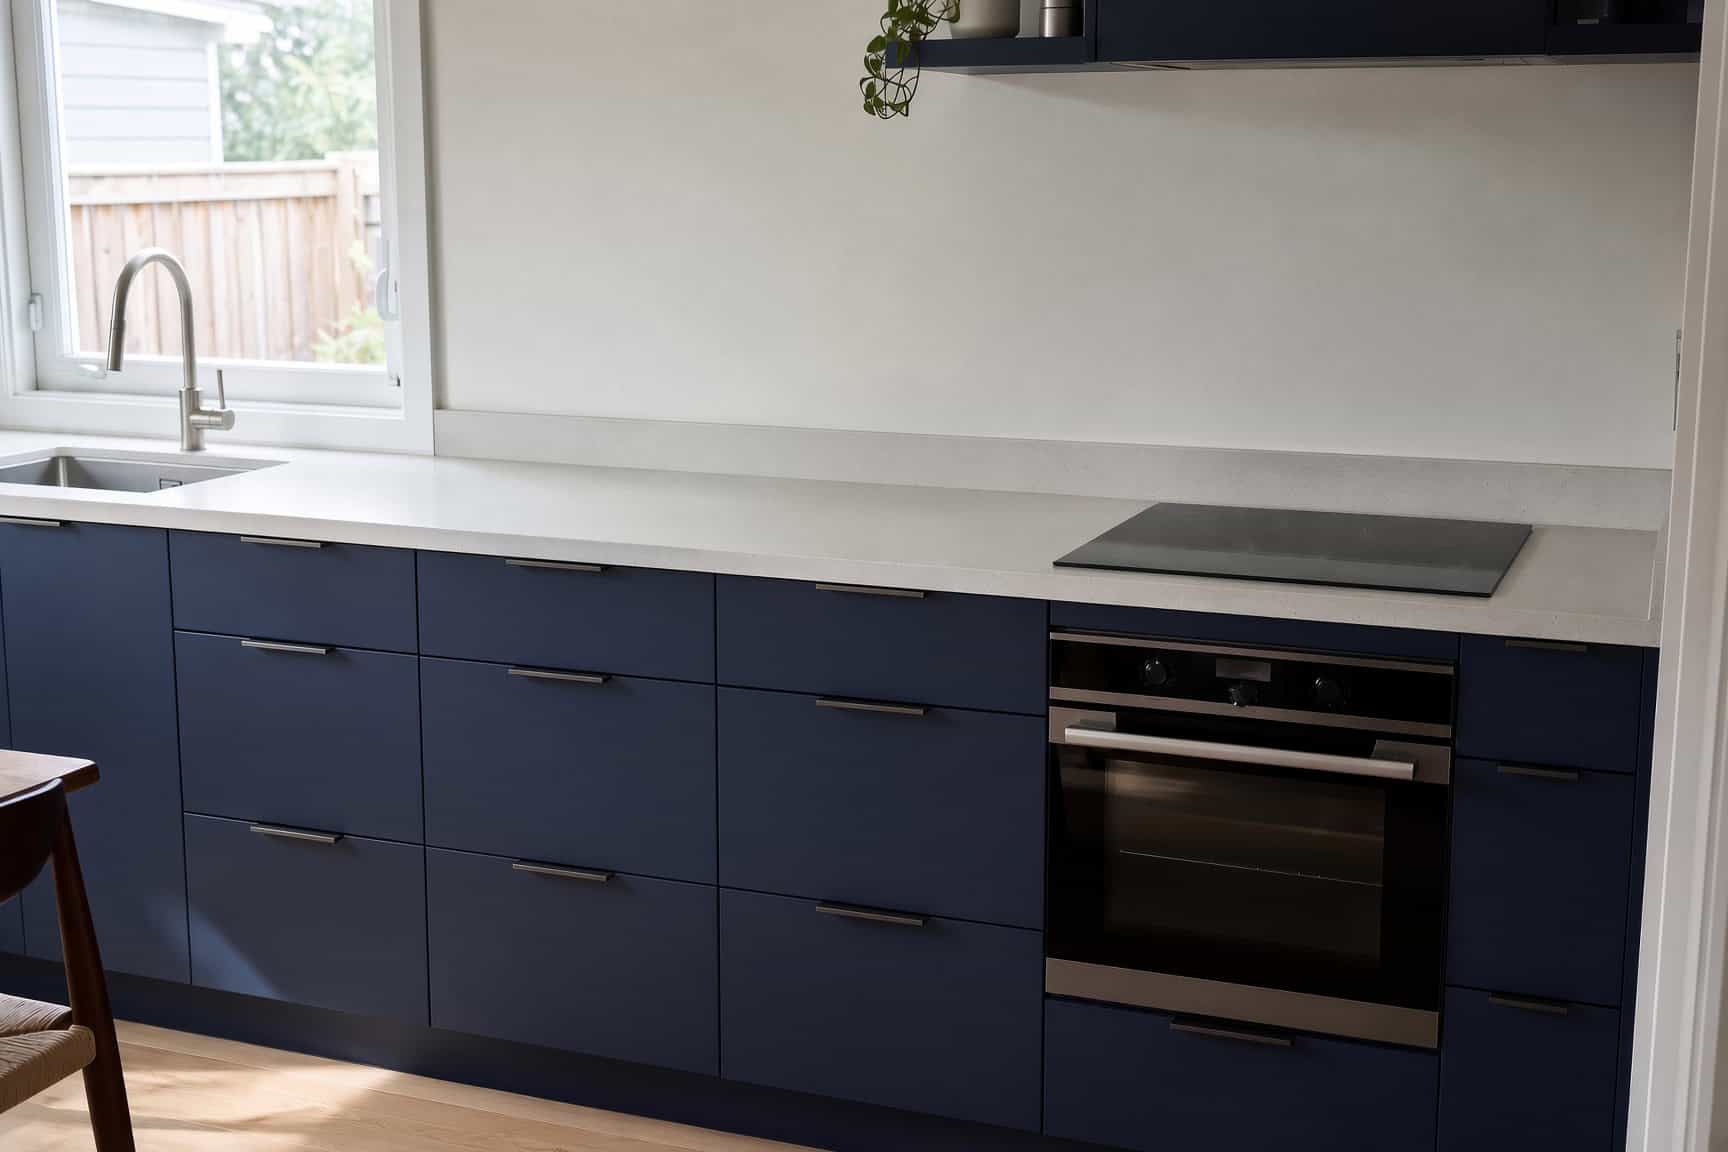
This week: Move cleaning products out of the under-sink cupboard and up high. Fit latches to the drawers a child can reach. Turn pot handles to the back of the cooktop and use the rear elements. Add a knob cover to the oven.
When you renovate: This is where good design does the heavy lifting. A dedicated, latched “chemical drawer” up at bench height means the cleaning gear lives somewhere a toddler physically can’t get to – not behind a clip they’ll defeat by age three. An induction cooktop stays cool to the touch almost everywhere except directly under the pot, so there’s no red-hot element and no gas flame. Soft-close everything, so small fingers don’t get caught in a slammed drawer. We design these details into every kitchen before it’s built in our Rosedale cabinetry factory, which means the safety is joinery, not an add-on.
💡 Quick tip: A deep pot drawer with a positive latch beats a wall of overhead cupboards for a young family – you keep the dangerous items low but locked, and you’re not lifting a baby on one hip while reaching over your head.
Kitchen safety checklist
- ☐ Cleaning products and dishwasher tablets moved up high, out of the under-sink cupboard
- ☐ Latches on the drawers and cupboards a child can reach
- ☐ Pot handles turned to the back; rear elements used where you can
- ☐ A knob cover on the oven
- ☐ When renovating: a latched high “chemical” drawer, an induction cooktop and soft-close joinery
Bathroom
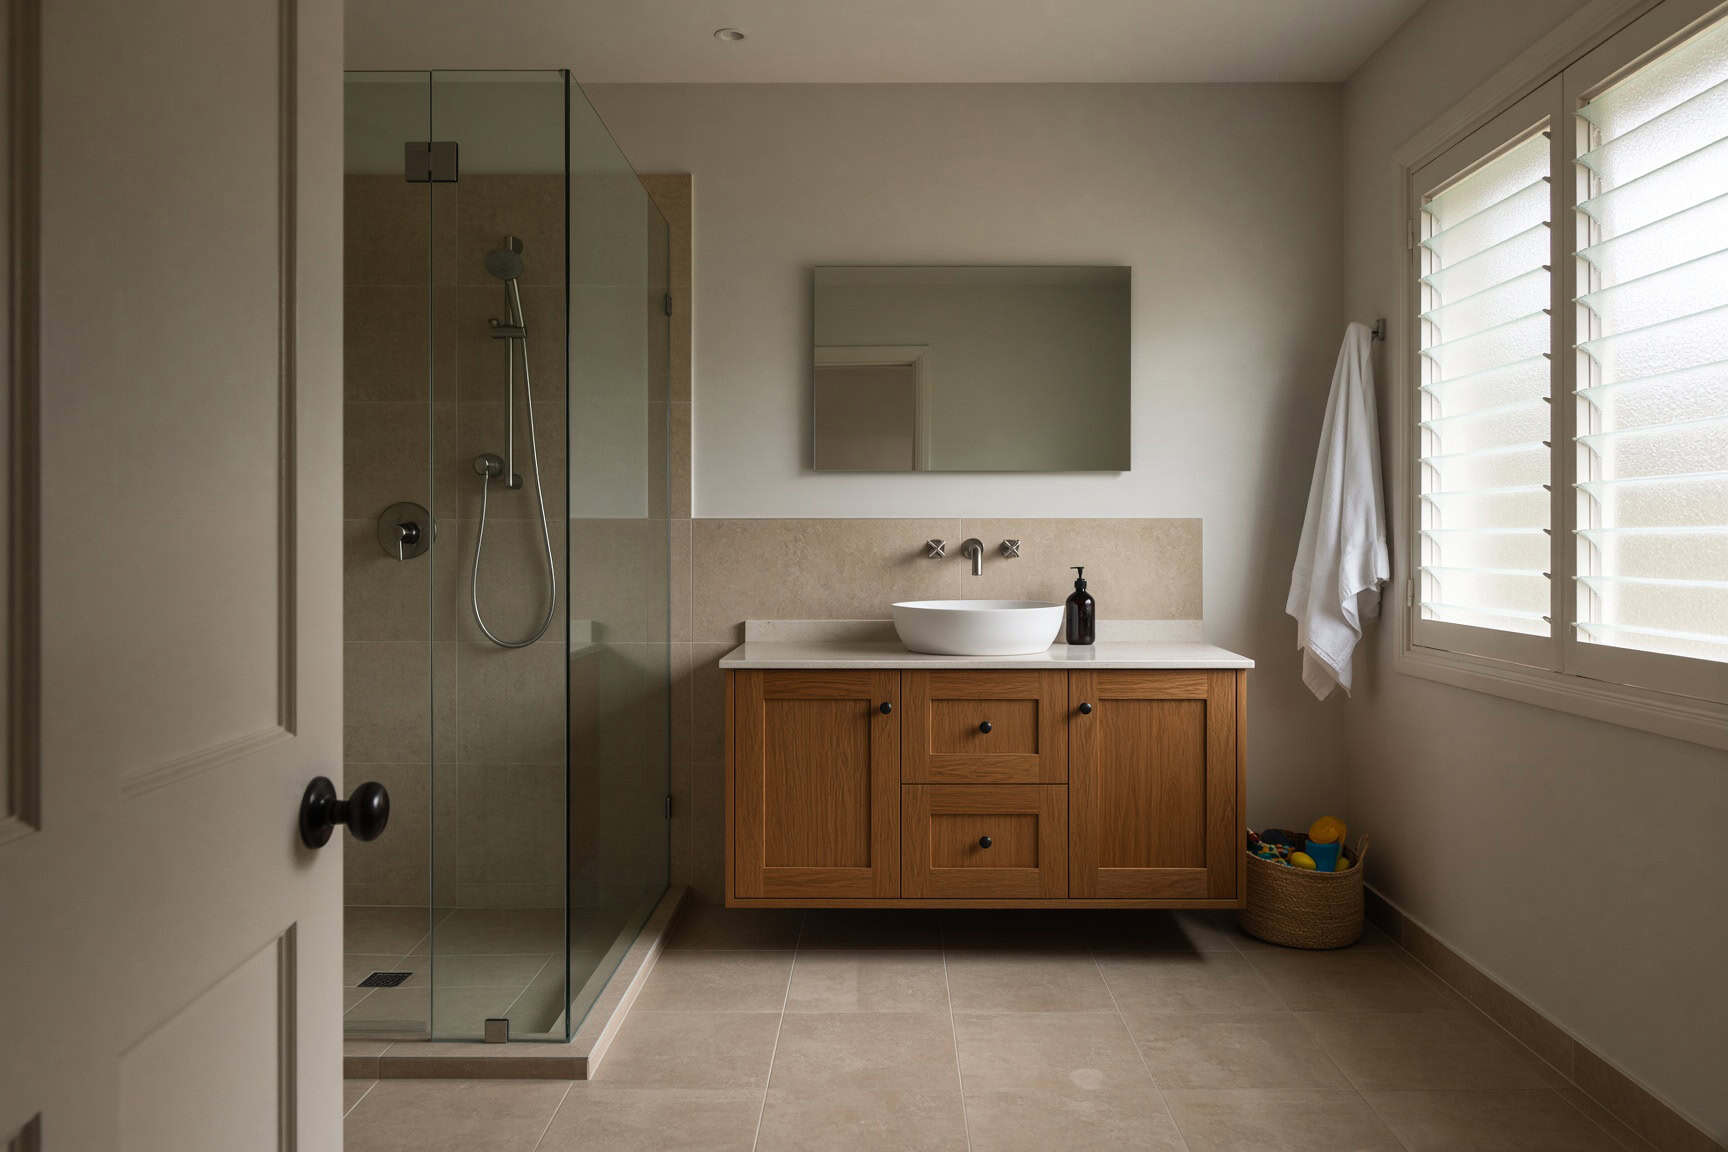
This week: Never leave a bath filling unattended. Store medicines and razors in a high, latched cabinet – not the vanity drawer. A non-slip bath mat and a tap cover for the spout take five minutes.
When you renovate: The bathroom is the room where built-in safety pays off most. A tempering valve caps the hot water at a safe temperature at the tap (more on the code detail below), so a bumped mixer can’t scald. Specify slip-resistant floor tiles rather than a polished finish that turns into a skating rink when wet. Frameless shower panels and any low glazing should be toughened safety glass – which, in impact zones, the Building Code already requires. A wall-hung vanity with a latched top drawer keeps the sharp and the toxic up and away.
If you’re planning a bathroom update anyway, it’s the natural moment to fold these in. A bathroom renovation done with young kids in mind costs no more than one that isn’t – it’s the same tiles, the same joinery, specified a bit smarter.
Bathroom safety checklist
- ☐ Never leave a bath filling unattended
- ☐ Medicines and razors in a high, latched cabinet, not the vanity drawer
- ☐ A non-slip bath mat and a cover on the tap spout
- ☐ When renovating: a tempering valve (hot water capped at 55°C), slip-resistant floor tiles and toughened safety glass to low glazing and the shower
Stairs, Levels and Windows
This week: Fit a hardware-mounted safety gate at the top and bottom of the stairs – the pressure-fit ones can be pushed out at the top, so screw the top gate into the wall. Add window stops or restrictors so a window can’t open more than about 100mm. Move any climbable furniture away from windows and balustrades.
When you renovate: Auckland’s split-level and hillside homes are full of half-flights, mezzanines and decks – lovely to live in, a genuine fall risk with a toddler. A renovation is the moment to fix the balustrade properly: solid infill or vertical balusters with no horizontal rails to climb, gaps too narrow to slip through, and height that meets the code. Open-tread stairs can be backed with risers. If you’re opening up the plan, designing clear sightlines from the kitchen to the living zone means you can see the kids while you cook – the cheapest safety feature there is.
Stairs, levels and windows checklist
- ☐ A hardware-mounted safety gate screwed in at the top of the stairs
- ☐ Pressure-fit gates only for doorways and the bottom of the stairs
- ☐ Window restrictors so windows open no more than about 100mm
- ☐ Climbable furniture moved away from windows and balustrades
- ☐ When renovating: a compliant balustrade (at least 1m high, gaps under 100mm, no horizontal rails to climb)
Living Areas and Whole-House
This week: Anchor tall furniture and the TV to the wall with anti-tip straps – a chest of drawers is one of the most common tip-over injuries. Swap corded blinds for cordless, or tie cords up out of reach; blind cords are a strangulation hazard. Corner guards on the coffee table and hearth. Cover unused power points.
When you renovate: Built-in joinery doesn’t tip over, because it’s fixed to the structure – one reason a wall of custom cabinetry beats a row of freestanding units in a family home. Recessed or wall-washer lighting removes the floor lamps and their cords. And if a fireplace is part of the plan, a flush hearth and a screen designed in from the start is safer than a raised stone edge at forehead height.
Living areas and whole-home checklist
- ☐ Tall furniture and the TV anchored to the wall with anti-tip straps
- ☐ Corded blinds swapped for cordless, or cords tied up out of reach
- ☐ Corner guards on the coffee table, hearth and other sharp edges
- ☐ Unused power points covered
- ☐ When renovating: fixed built-in joinery that can’t tip, and recessed lighting with no trailing cords
The Outdoors: Decks, Pools and the Bits People Forget
Outside is where the most serious hazards live, and where the rules are strictest.
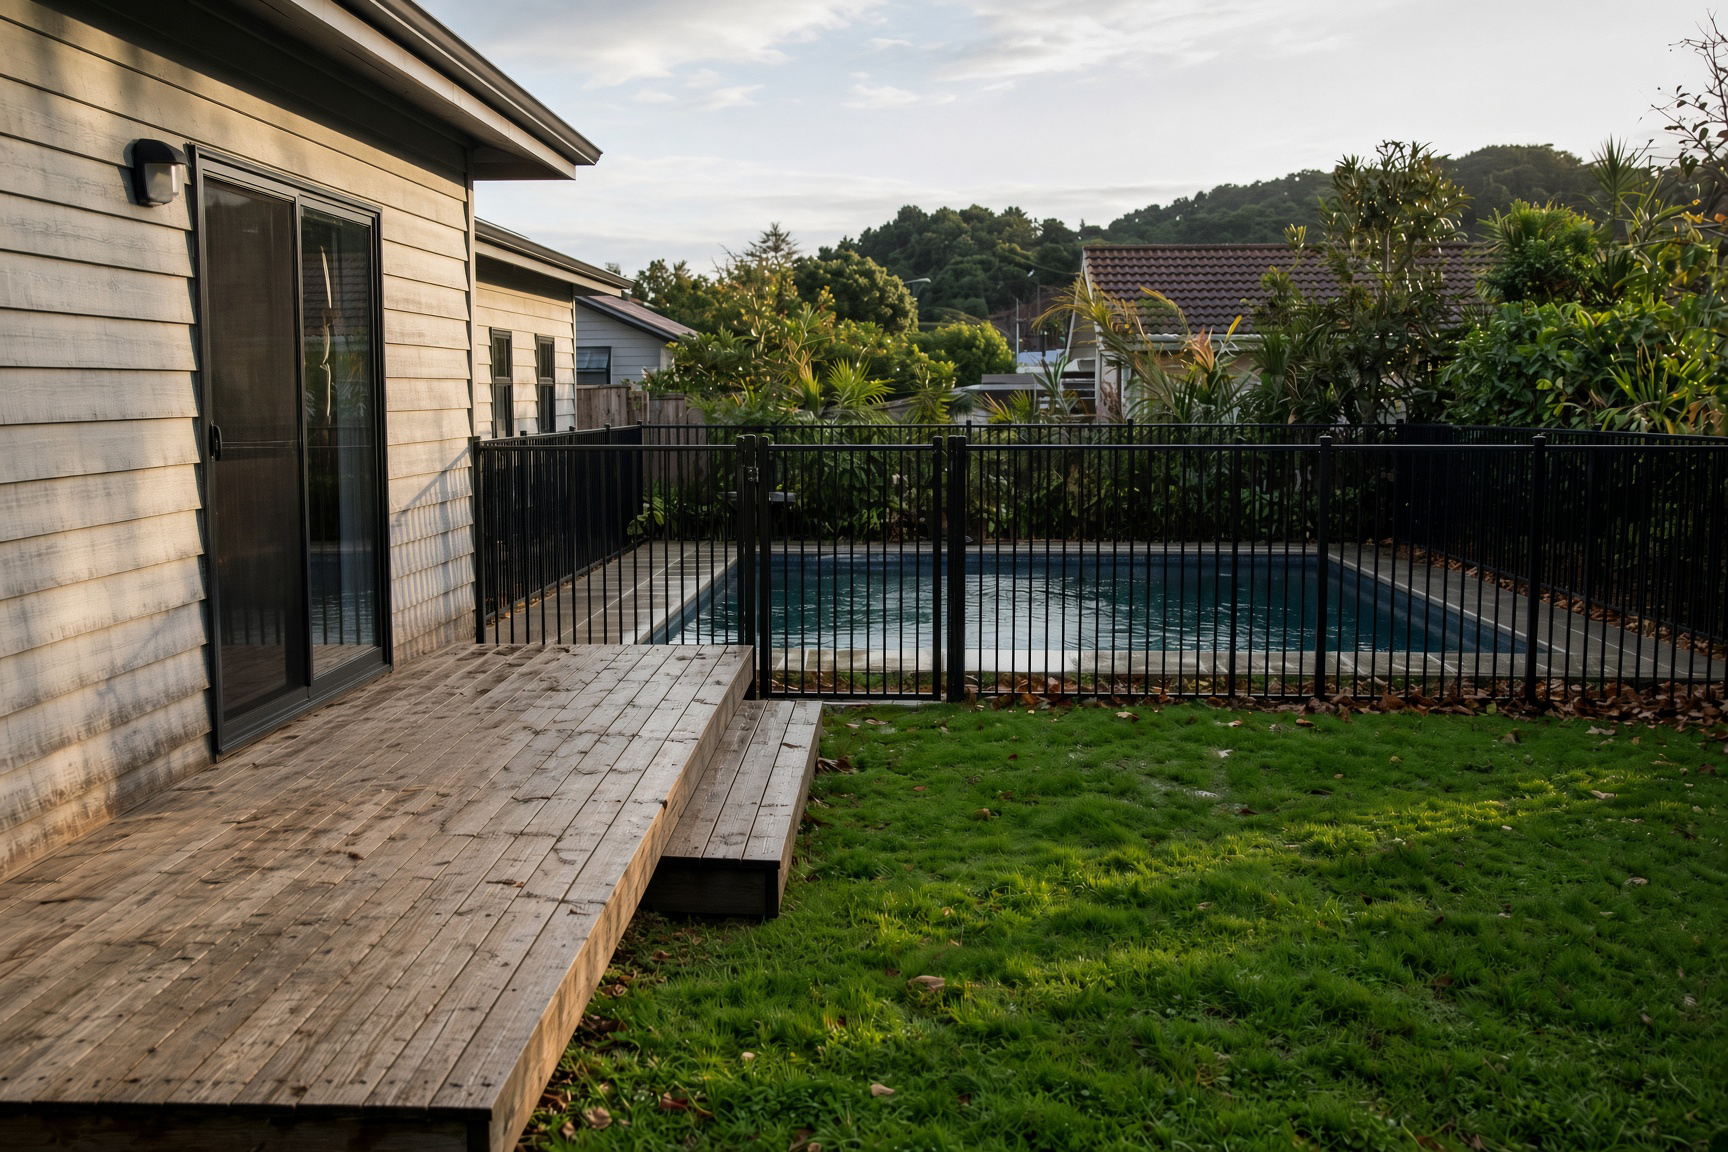
Pools and spas. In New Zealand a residential pool – including most spa pools that can’t be locked with a hard cover – must be fenced. The barrier has to be at least 1.2m high, with gaps no wider than 100mm, a self-closing and self-latching gate that opens away from the pool, and nothing climbable in the zone beside it. This isn’t optional and it isn’t a guideline; it sits under the Building Act and the Building Code, and councils do audit it. If your pool fence is old, a landscaping or outdoor renovation is the time to bring it up to standard.
Decks and balconies. Same barrier logic as indoor levels: a 1m-plus drop needs a compliant barrier, non-climbable, with gaps under 100mm. Timber decks weather – a balustrade that was fine ten years ago may have soft fixings now.
The forgotten ones. Water features and ponds, the gap under a raised deck, gates to the driveway, and anything stored in the garage – fuel, tools, weedkiller. Walk the section with the same toddler’s-eye view you used inside.
Important note: Pool-fencing rules are specific and strictly enforced, and the detail depends on your property. Confirm your barrier with Auckland Council or a Licensed Building Practitioner before you rely on it – this guide is general information, not a compliance sign-off.
Outdoor and pool safety checklist
- ☐ Pool or spa gate self-closing and self-latching, opening away from the water
- ☐ Nothing climbable in the zone beside the pool fence
- ☐ Buckets, paddling pools, ponds and water features emptied or secured
- ☐ Garage locked – fuel, tools and weedkiller out of reach
- ☐ When renovating: bring the pool fence to standard (at least 1.2m, gaps under 100mm) and check deck and balcony barrier heights and fixings
What the NZ Building Code Already Does for You
Here’s the part the imported checklists miss entirely: a lot of childproofing is baked into New Zealand’s building rules. Knowing what the code covers tells you what to insist on in a renovation – and what a good builder should be specifying without being asked.
| Hazard | Building Code clause | What it means for your reno |
|---|---|---|
| Glass at child height | Clause F2 (safety glazing) | Glass in doors, side panels, low windows and wet areas must be safety glass (toughened or laminated) so it can’t shatter into shards. |
| Falls from height | Clause F4 (safety from falling) | Where there’s a drop of 1m or more, a barrier is required: roughly 1m high, gaps that won’t pass a 100mm sphere, and a non-climbable zone so kids can’t use it as a ladder. |
| Drowning | Clause F9 (restricting access to pools) | Residential pools need a compliant barrier – 1.2m high, 100mm gaps, self-closing self-latching gate. |
| Scalding | Clause G12 (water supplies) | Hot water to baths, basins and showers must be delivered at no more than 55°C, via a tempering valve, to prevent scalds. |
The takeaway: if your home was built or renovated to current code, some of this is already handled. If it’s an older Auckland villa or bungalow that hasn’t been touched in decades, a renovation is what brings it up to a standard designed around exactly the hazards you’re worried about. Any structural change – taking out a wall for sightlines, adding a barrier to a mezzanine – is worth running past an architectural team; our partners at Sonder Architecture handle that side.
Designing Safety In From the Plan
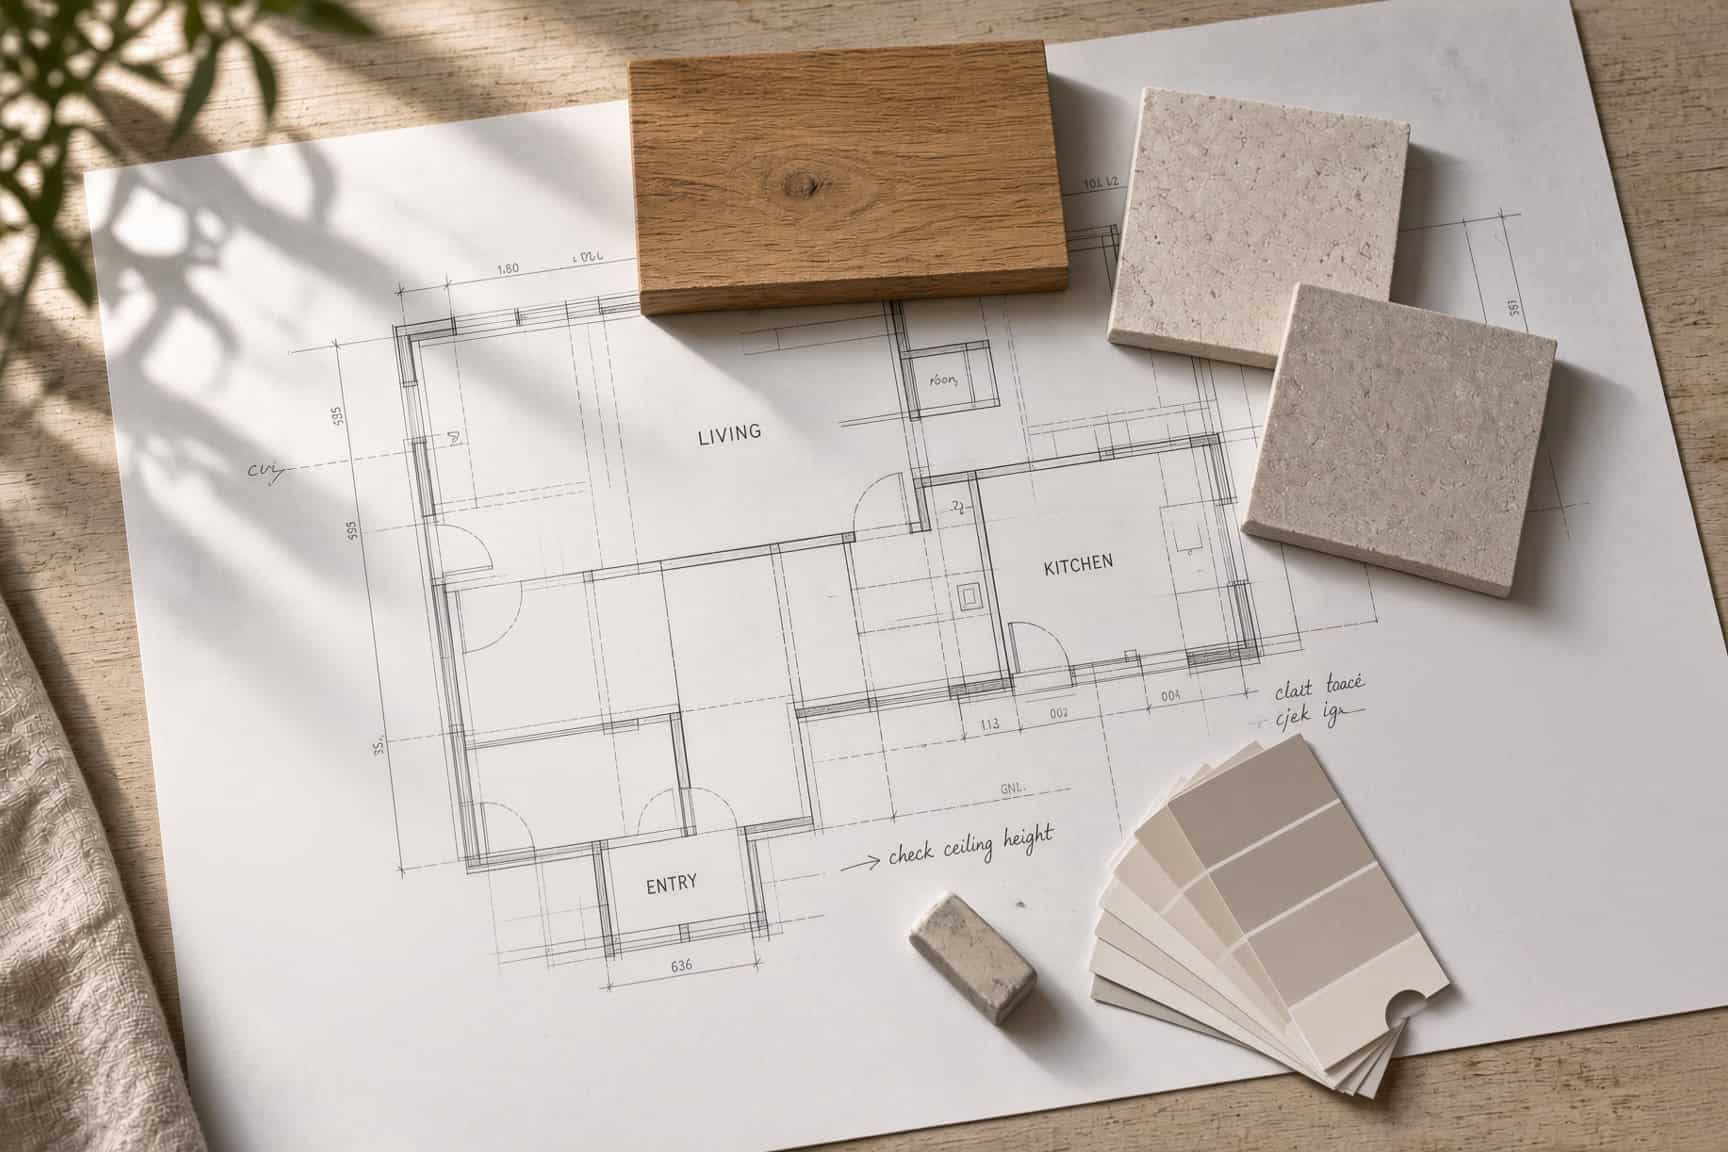
The difference between a childproofed house and a child-safe one is where the safety lives. Clips and gates sit on top of the house and come off. Designed-in safety is the house.
When we plan a family renovation, safety isn’t a separate conversation – it’s threaded through the design from the first sketch. Our in-house design team specs the latched storage, the tempered glass, the induction cooktop and the non-slip floor into the drawings, so it’s costed and built as one job rather than retrofitted later at a premium. One dedicated project manager owns the schedule and the council side, so nothing to do with consent or compliance slips through a crack.
“Parents ask us to ‘make it safe’ and expect a list of gadgets. What we actually do is design the risk out – put the dangerous things where little hands can’t reach, choose materials that don’t shatter or scald, and keep clear sightlines so you can see your kids from the kitchen. Done at the design stage, it costs almost nothing extra. Bolted on afterwards, it never quite fits.”
— Dorothy Li, Design Manager, Superior Renovations
That’s the case for folding childproofing into a renovation you were going to do anyway, rather than treating it as a separate project. Whether it’s a renovation of the whole family home or a single room, the safest version and the nicest version are usually the same drawing.
Planning around little ones more broadly? Our guide to kid-friendly renovation ideas covers the design side – durable finishes, flexible spaces and rooms that grow with the family.
Your Full Childproofing Checklist
Here’s the whole lot in one place. Print it, stick it on the fridge, or bring it to your first renovation conversation. The first list is what to sort this week; the second is what’s worth building in when you renovate.
Do this week – the quick layer
- ☐ Cleaning products, medicines and dishwasher tablets moved up high and latched
- ☐ Latches on the reachable drawers and cupboards
- ☐ Pot handles to the back, rear elements used, oven knob covered
- ☐ No bath, bucket or paddling pool left filling unattended
- ☐ A hardware-mounted safety gate screwed in at the top of the stairs
- ☐ Window restrictors fitted (about 100mm)
- ☐ Tall furniture and the TV anchored to the wall
- ☐ Corded blinds swapped for cordless or tied up out of reach
- ☐ Corner guards on sharp edges; unused power points covered
- ☐ Pool or spa gate self-closing and self-latching, nothing climbable beside it
- ☐ Garage locked – fuel, tools and weedkiller out of reach
Build in when you renovate – the permanent layer
- ☐ A tempering valve so hot water tops out at 55°C at the tap
- ☐ Slip-resistant floor tiles in wet areas
- ☐ Toughened or laminated safety glass to low windows, doors and the shower
- ☐ A latched high “chemical” drawer and soft-close joinery in the kitchen
- ☐ An induction cooktop instead of gas or exposed elements
- ☐ Compliant balustrades: at least 1m high, gaps under 100mm, non-climbable, no horizontal rails
- ☐ A pool fence to code: at least 1.2m, gaps under 100mm, self-closing self-latching gate
- ☐ Fixed, built-in joinery that can’t tip
- ☐ Clear sightlines from the kitchen to where the kids play
Working through the second list is where a renovation earns its keep. If you’re weighing one up, our team can spec every one of these into the plan – book a free consultation and we’ll walk your home with you.
The Bottom Line
Childproofing a house is two jobs, not one. Do the quick layer this week – gates, latches, cordless blinds, anti-tip straps, chemicals up high – because it protects your kids tonight. Then, when you renovate, build the permanent layer in: safety glass, tempered water, compliant barriers, latched storage, a pool fence that meets the code.
The families who get it right don’t have a house full of plastic clips. They have a house that was quietly designed to be safe, and looks like any other beautiful home.
➡ Book your free in-home consultation with Superior Renovations
➡ See how we approach family bathroom renovations
➡ Request a free feasibility report for your project
What is the most important thing to childproof first?
Start with the hazard that does the most damage fastest: hot water and drowning risks. Have a tempering valve fitted so hot water tops out at 55°C, and make sure any pool or spa has a compliant fence. Then work through falls (stairs, windows, tip-over furniture) and poisoning (move chemicals and medicines up high and latched). Those four - burns, drowning, falls, poisoning - cover the injuries children are most often hospitalised for in New Zealand.
How much does it cost to childproof a house?
The quick, aftermarket layer - gates, latches, cordless blinds, corner guards, anti-tip straps - typically runs a few hundred dollars across a whole house. Built-in safety is different: it's specified as part of a renovation, so it isn't a separate cost so much as a smarter version of work you're already doing. A family bathroom or kitchen renovation with safety designed in costs the same as one without - it's the same materials, chosen well. Use our cost calculators for a room-by-room range.
At what age do I need to childproof my house?
Most parents start around the time a baby becomes mobile - crawling at six to ten months - because that's when floor-level and low-cupboard hazards suddenly matter. But the built-in items are worth planning earlier, ideally before a renovation, since retrofitting safety glass or a tempering valve later costs far more than specifying them up front. If a renovation is on the horizon and children are in the picture, factor it in from the first design conversation.
Does hot water really need to be that low?
Yes. New Zealand's Building Code (Clause G12) requires hot water to sanitary fixtures used for personal hygiene - baths, basins, showers - to be delivered at no more than 55°C, using a tempering valve. Water at 60°C can cause a serious burn to a young child in about a second, while 55°C gives far more margin. The cylinder itself is usually kept hotter to control bacteria, and the tempering valve brings it down at the tap.
Do I legally have to fence my pool in NZ?
Yes. Under the Building Act and Building Code Clause F9, residential pools - including most spa pools without a compliant lockable cover - must have a barrier at least 1.2m high, with gaps no wider than 100mm, a self-closing and self-latching gate, and no climbable objects beside it. Auckland Council inspects pool barriers, and the rules are strictly enforced. Confirm your specific situation with the council or a Licensed Building Practitioner.
What kind of glass is safe for a house with young children?
Safety glass - toughened (tempered) or laminated - which either breaks into small blunt granules or holds together rather than forming sharp shards. New Zealand's Building Code (Clause F2) already requires safety glazing in human-impact areas like doors, side panels, low-level windows and wet areas. In a renovation it's worth confirming these are specified, and considering safety glass anywhere a child might run into it, such as a low living-room window or a glass balustrade.
Are pressure-fit safety gates safe for the top of stairs?
No - for the top of a staircase, use a hardware-mounted gate that screws into the wall or newel post. Pressure-fit gates rely on tension and can be pushed out of position, which is dangerous at the top of a flight. Pressure-fit gates are fine for doorways and the bottom of stairs where a dislodged gate won't cause a fall. This is one of the most common childproofing mistakes we see.
Can I childproof an old Auckland villa without a full renovation?
Largely, yes - the quick, aftermarket layer works on any house. But older villas and bungalows often have single-glazed low windows, open-tread stairs, non-compliant balustrades and no tempering valve, so a renovation is what brings the built-in safety up to today's standard. If you're renovating an older home anyway, it's the ideal moment to correct those things as part of the work rather than as separate retrofits.
Should the kitchen or the bathroom be childproofed first?
Both are high-risk, but for different reasons - the kitchen for burns, sharp objects and chemicals under the sink, the bathroom for scalds and drowning. If you have to choose, deal with the bathroom's hot water and any standing water first, because those hazards are the fastest to cause serious harm. Then lock down the kitchen's chemical storage and cooktop. In a renovation, both rooms benefit most from designed-in safety.
Further Resources for your family renovation
- Featured projects and Client stories to see specifications on some of the projects.
- Real client stories from Auckland
Need more information?
Take advantage of our FREE Complete Home Renovation Guide (48 pages), whether you’re already renovating or in the process of deciding to renovate, it’s not an easy process, this guide which includes a free 100+ point check list – will help you avoid costly mistakes.
Download Free Renovation Guide (PDF)

Have you been putting off getting renovations done?
We have partnered with Q Mastercard ® to provide you an 18 Month Interest-Free Payment Option, you can enjoy your new home now and stress less.
Learn More about Interest-Free Payment Options*
*Lending criteria, fees, terms and conditions apply. Mastercard is a registered trademark and the circles design is a trademark of Mastercard International Incorporated.
Still have questions unanswered?
Book a no-obligation consultation with the team at Superior Renovations, we’d love to meet you to discuss your renovation ideas!


