

How to Renovate a Bathroom in NZ: Process & Timeline
Last updated:
How to Renovate a Bathroom in NZ: Step-by-Step Process and Realistic Timeline
Free cost calculator
How much will your bathroom renovation cost?
Answer a few questions and we’ll email you an Auckland price range.
Quick answer: To renovate a bathroom in NZ you run eight stages in a fixed order: design, ordering, demolition, plumbing and electrical rough-in, lining, waterproofing, tiling and fit-off. A standard Auckland bathroom takes three to four weeks once demolition starts.
Most guides tell you a bathroom renovation has “five easy steps” and then spend the rest of the page talking about cost. That’s not much help when you’re standing in your only bathroom wondering how long you’ll be showering at the gym.
So here’s the part nobody explains properly: the order of a bathroom renovation isn’t a suggestion — it’s a chain of dependencies, where each stage physically cannot start until the one before it has finished and, in some cases, cured. Get the sequence wrong and you’re ripping out new tiles to fix a pipe.
There’s a reason we take this seriously. A bathroom is one of the hardest rooms in the house to renovate. Not because it’s big, but because it’s small and crammed with trades. Demolition crew, plumber, electrician, waterproofer, tiler, painter, and the fit-off team all have to move through the same few square metres in the right order. Coordinating that is the whole job.

First, Know Which Project You’re Running
Before the process makes sense, one decision shapes everything after it: are you doing a cosmetic refresh or a full strip-out? A refresh keeps the layout, plumbing positions, and waterproofing intact — you’re updating surfaces and fixtures, and you can often be back in the room inside a fortnight. A full strip-out takes the room back to the framing, runs the complete eight-stage process below, and is the right call when the bones need work or you’re moving fixtures.
That choice deserves its own proper comparison: costs, timelines, and the signs that push a job one way or the other. We’ve covered it in full over here: deciding between a refresh and a full renovation. The rest of this guide walks the full renovation process — the harder of the two paths, and the one where getting the order right actually matters.
💡 Quick tip: If you’re moving any fixture more than a few hundred millimetres, you’ve left “refresh” territory. Relocating a toilet or shower drain means new drainage falls, which means opening the floor, so plan it as a full strip-out, not a tidy-up.
Can you keep the existing tiles?
Sometimes, yes. If the tiles are sound and the shower has never leaked, a refresh can leave the tiled surfaces and the waterproofing behind them alone and change the vanity, tapware, lighting and paint around them. That’s the cheaper path, and for a bathroom in good order it’s the honest recommendation.
If the shower has leaked, keeping the tiles stops being a style question. Schedule 1 of the Building Act 2004 exempts like-for-like repair and replacement from consent, but clause 1(3)(c) takes out the repair or replacement of anything that has failed the Building Code’s durability requirements. A leaking shower is exactly that kind of failure, so put the question to Auckland Council or a Licensed Building Practitioner before anyone quotes you a re-grout.
The Bathroom Renovation Process, Stage by Stage
This is the part the five-step guides skip. Each stage gates the next, and understanding why is what stops you making expensive ordering mistakes. We’ll walk a full strip-out, the more involved of the two paths.
Stage 1: Design and final decisions
Nothing physical happens until every decision is locked. Layout, fixture positions, tile selections, tapware, vanity, lighting, heating, the lot. This feels slow when you’re keen to get started, but it’s the single biggest protection against blowouts. Gathering bathroom design ideas before this stage makes those decisions far easier to lock in. Every decision left open when the trades arrive becomes a delay, a variation, or both.
A villa in Grey Lynn with original rimu framing needs decisions a 2010s townhouse in Flat Bush never will: where the waterproofing meets old timber, how a heated towel rail gets wired into knob-and-tube remnants. The design stage is where those get solved on paper instead of mid-build.
“The decisions people think they can leave until later are exactly the ones that hold a job up. Tile choice, where the niche sits, which way the vanity drawers open — sort those at the design table and the build just runs. Leave them, and the tiler’s standing in your bathroom waiting on a phone call.”
— Cici Zuo, Sales Manager, Superior Renovations
Stage 2: Ordering and lead times
Everything gets ordered and, ideally, delivered to site before demolition starts. This is non-negotiable for a reason: a standard three-to-four-week timeline assumes all materials are on site before the first tile comes off the wall. A custom vanity on a six-week lead time, ordered the week demolition starts, doesn’t delay your bathroom by the difference — it stalls the whole job, because tiling and fit-off can’t proceed around a missing centrepiece.
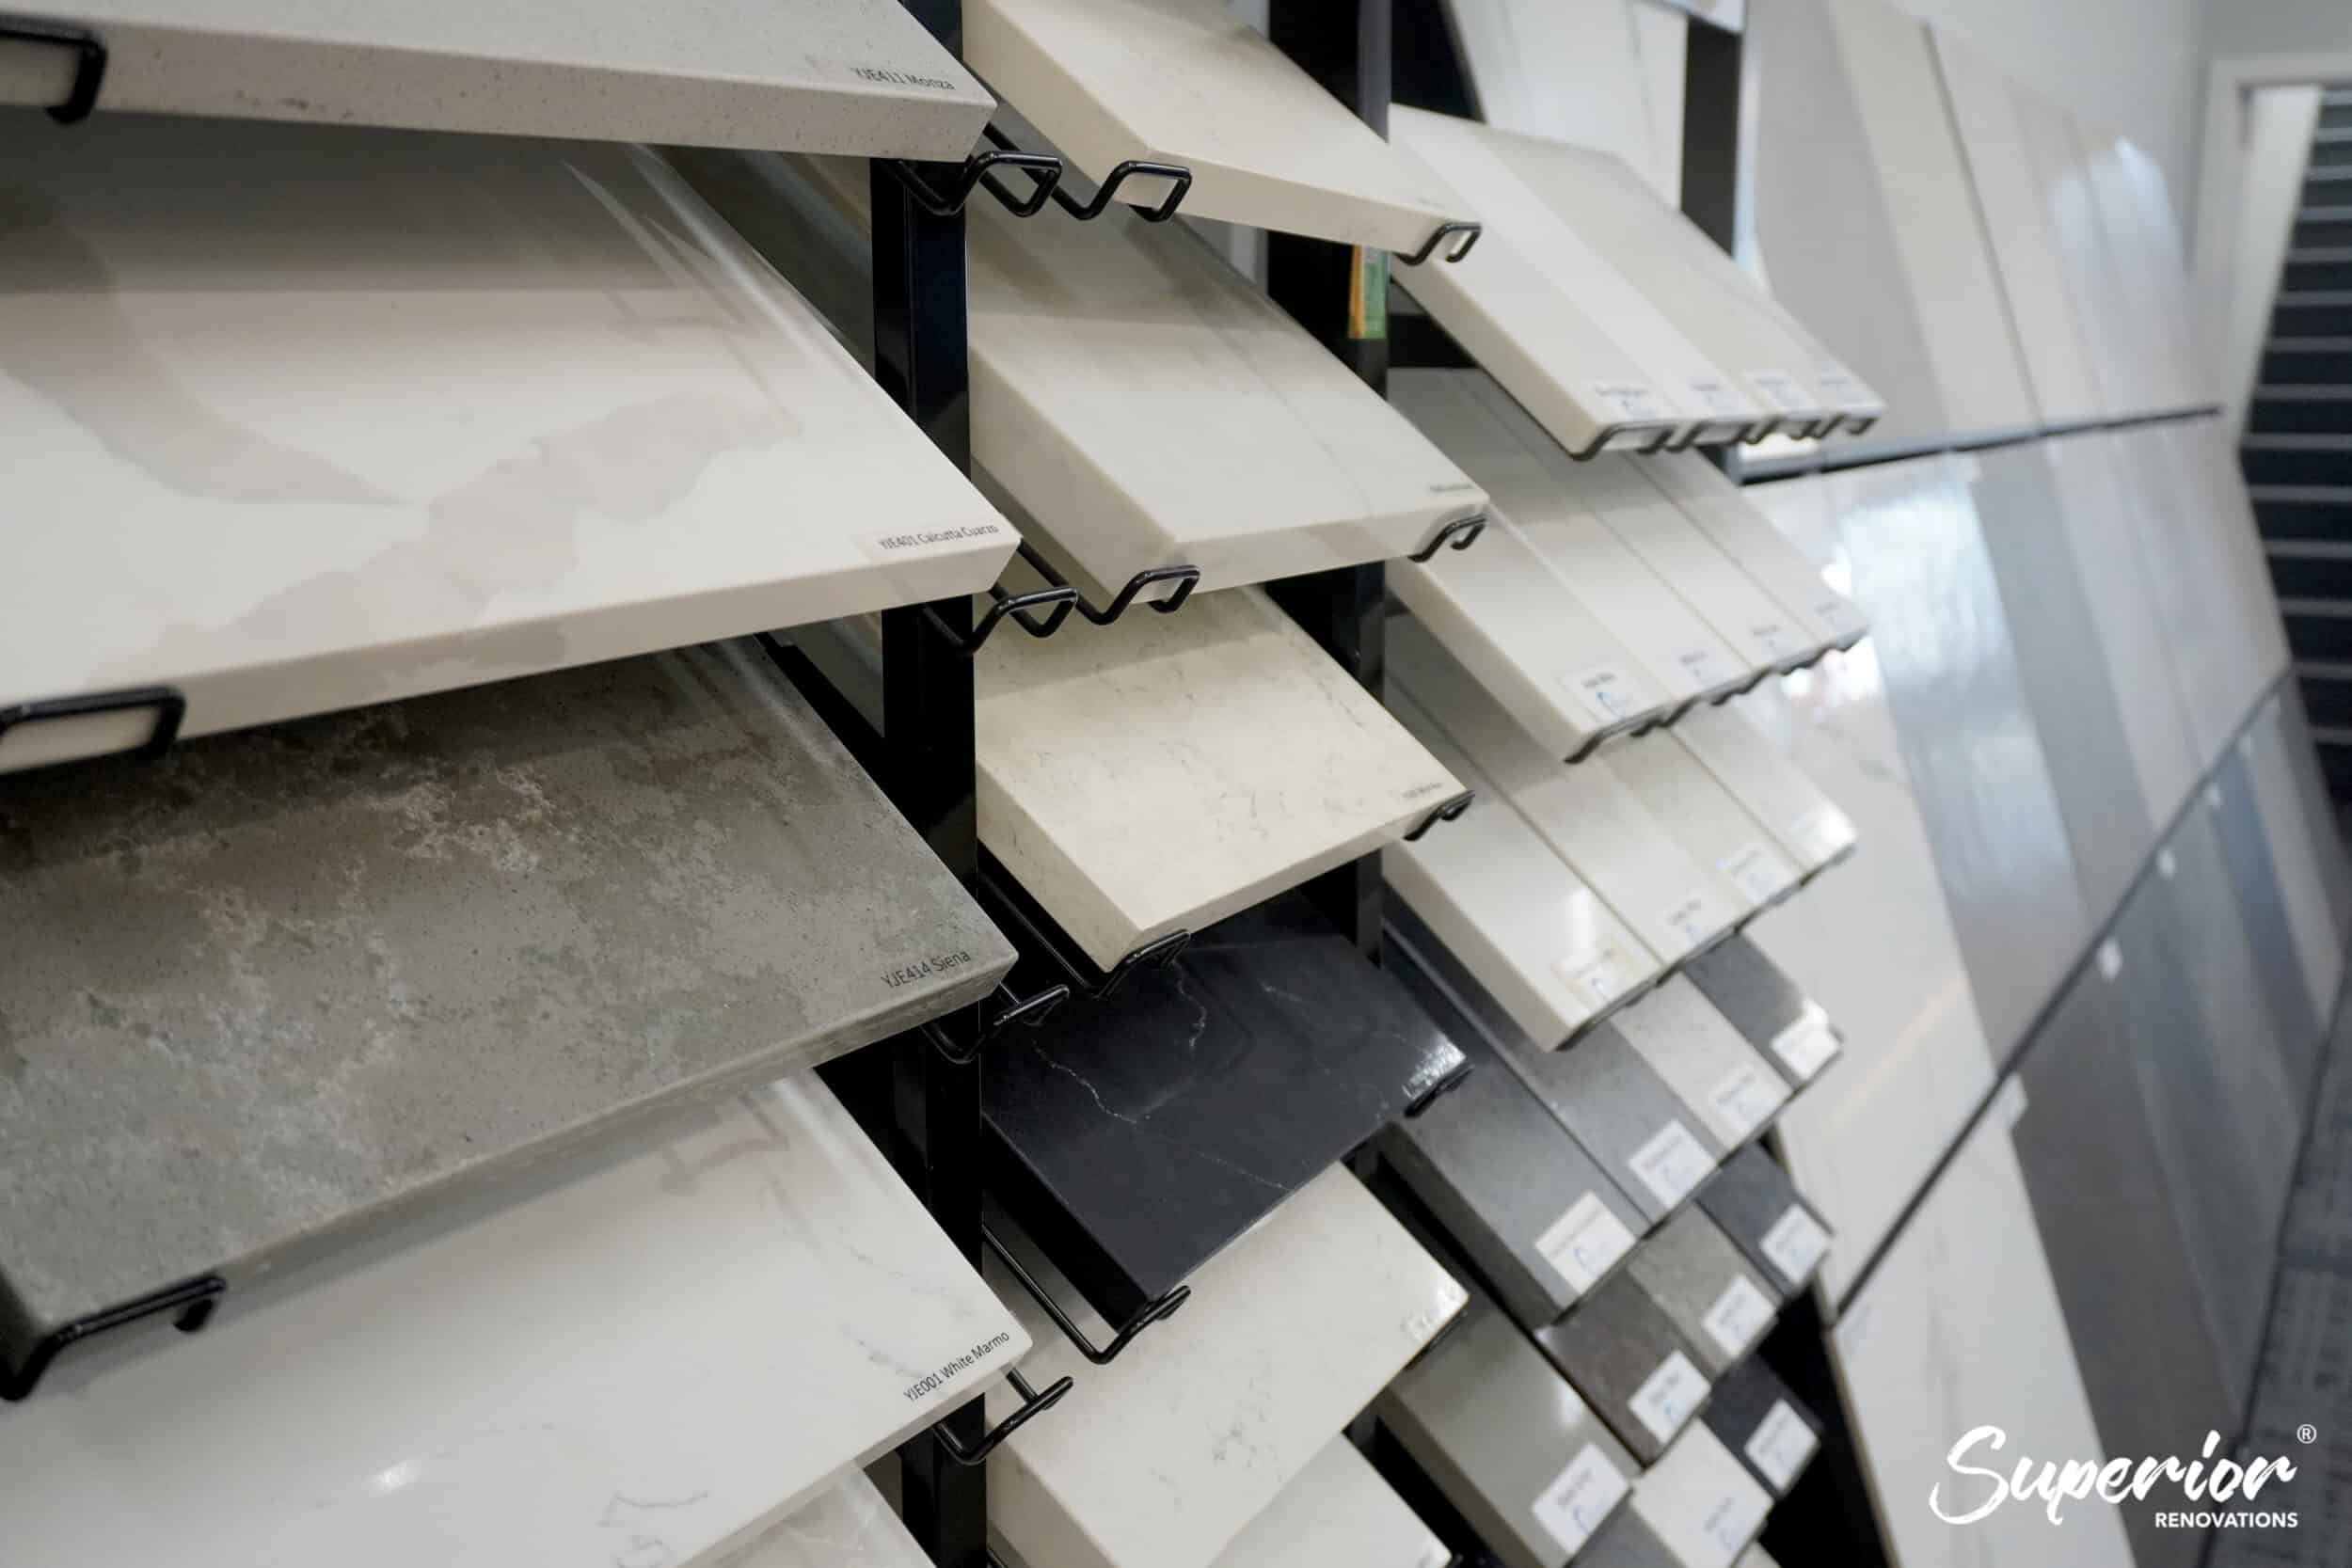
Tapware, tiles, shower trays, and toilets are usually quick. Custom vanities, imported tiles, and made-to-order shower glass are the long poles. Order them first.
Stage 3: Demolition and strip-out
Now the old bathroom comes out: fixtures, tiles, linings, sometimes back to the framing. On a standard job this takes a couple of days. It’s also the stage where the house tells you its secrets: rotten framing behind a leaking shower, old galvanised pipes due for replacement, a subfloor that’s been quietly wet for years. In Auckland’s older stock, the pre-1940s villas and bungalows through Mt Eden and Ponsonby, the odds of finding something behind the wall go up with every decade of the house’s age.
💡 Quick tip: Hold a contingency in your budget specifically for what demolition uncovers, and on an older home plan on spending some of it. Rotten framing and dead plumbing don’t announce themselves until the GIB is off.
Stage 4: Plumbing and electrical rough-in
With the walls open, the plumber and electrician do their “rough-in”, the pipework and wiring that lives inside the walls and floor. New drainage falls for a relocated toilet, hot and cold feeds for the shower and vanity, wiring for lights, the extractor fan, underfloor heating, and the heated towel rail. This work has to happen now, while everything’s open, because the next stage seals it inside the walls for good.
In NZ this is regulated work. Sanitary plumbing and drainlaying sit under the Plumbers, Gasfitters, and Drainlayers Act 2006, and electrical work has its own licensing regime, so each trade on this stage needs to be registered and licensed for what it does. The plumbing Act does carry a householder exemption (section 15), but it only applies in some places and comes with conditions, so treat this as a stage for the trades. You can check any plumber or drainlayer on the Plumbers, Gasfitters and Drainlayers Board’s public register, which shows their registration and licence history and any conditions on their licence.
Stage 5: Lining and the pre-line check
The walls get re-lined, in a bathroom with a moisture-resistant board such as GIB Aqualine rather than standard plasterboard. Before the lining goes up, the rough-in gets checked, because once it’s covered, fixing a missed pipe means cutting open new work. Measure twice, line once.
Stage 6: Waterproofing (and why it can’t be rushed)
The wet areas (shower, floor, splash zones) get a waterproof membrane applied. This is the most important stage in the entire renovation and the one most likely to be hurried by an impatient schedule. Done properly it’s invisible for the life of the bathroom. Done badly it’s the leak that rots the framing you’ll be paying to replace in five years.
Here’s the bit that trips up DIY timelines: the membrane needs curing time before anything goes on top of it. Allow at least 24 hours, and longer for some systems. The Waterproofing Membrane Association’s Code of Practice for Internal Wet-area Membrane Systems notes that acrylic membranes can be slow to cure in colder or wetter conditions, and that some systems need several coats over a period of days. You can’t tile over a membrane that hasn’t cured, and in an Auckland winter, June through August, that wait stretches.
Then comes the flood test. The Code of Practice requires every membrane to be inspected and flood tested once it is complete and fully cured, before any tile goes on. The floor waste is bunged, the area is filled to the height of the lowest threshold with water from an outside source (not the shower rose, so a leak can’t be confused with the plumbing), and it sits for at least 12 hours while the rooms next to it and below it are checked for staining. Ask your waterproofer for the signed flood-test record. It’s a small piece of paper that tells you the most important layer in the room was proven before it disappeared.
“If a quote has the tiler starting the morning after the waterproofer finishes, I’d want to know why. The membrane needs to cure, full stop. We’ve seen the shortcuts other people’s bathrooms were built on when we strip them out — and the cure time is almost always where someone tried to save a day and cost the owner a re-do.”
— Dorothy Li, Head of Design, Superior Renovations
New Zealand wet-area waterproofing sits under Building Code clause E3, Internal moisture. E3 requires the floor of any space with a sanitary fixture, and the walls next to those fixtures, to be impervious and easily cleaned, and surfaces likely to be splashed to stop water getting behind the linings (E3.3.3 to E3.3.6). MBIE’s Acceptable Solution E3/AS1, Amendment 7, in effect since 5 November 2020, is one way to show compliance: for a shower it calls for impervious wall linings up to the higher of 1800 mm above the shower floor or 50 mm above the shower rose. The membrane is selected against AS/NZS 4858, Wet area membranes, the standard the Code of Practice works from. Whether your design meets E3 is a question for your LBP or Auckland Council, not a guess on site.
Stage 7: Tiling
Now the tiler goes to work on the floor and walls, then grouting and sealing once the adhesive has set. On a standard bathroom this is several days of work, and it’s another stage with built-in waiting: tile adhesive needs to set before grouting, and grout needs to cure before the shower gets used. Tiling is also where the quality of every earlier stage shows up — a level floor, square walls, and a properly prepped substrate are what let a tiler do clean work.
Stage 8: Fit-off and final checks
The finishing stage. The plumber returns to install and connect the toilet, vanity, tapware, and shower fittings. The electrician fits the lights, fan, switches, and heated towel rail. Painting is finished, the shower glass goes in, the mirror and accessories go up. Then a final check — every joint tested for leaks, every fitting working, the room cleaned and handed back.
That’s the full chain. Want to see how we hold all of that together on a real job? You can see how our team manages a bathroom renovation from start to finish, including the project-management side that keeps seven trades from tripping over each other.
How Long Does a Bathroom Renovation Take in Auckland?
So how long are you actually without a bathroom? A standard full bathroom renovation takes three to four weeks from the day demolition begins, and that figure assumes design is finalised and all materials are on site before work starts. Here’s how those weeks break down on a typical Auckland job.
| Stage | Typical duration | What’s happening |
|---|---|---|
| Demolition | 1–2 days | Strip-out to framing; uncover any surprises |
| Plumbing & electrical rough-in | 2–4 days | In-wall pipework and wiring, certified by trades |
| Lining & pre-line check | 1–2 days | Moisture-resistant board fixed after rough-in sign-off |
| Waterproofing + cure | 1 day work + at least 24 hrs cure, then a 12-hr flood test | Membrane applied, cured, then flood tested before tiling |
| Tiling, grouting & sealing | 3–5 days | Floor and walls, with set and cure time between |
| Fit-off & final checks | 2–4 days | Fixtures connected, painting, glass, leak testing |
| Total (standard, no consent) | 3–4 weeks | From demolition to handover |
Notice the timeline isn’t just the sum of the labour. The cure times between waterproofing and tiling, and between tiling and use, are built-in waits that no amount of money makes go faster. That’s why “we’ll have it done in a weekend” is a promise worth being suspicious of.
💡 Quick tip: If your home has only one bathroom, plan where you’ll wash for a month before demolition day — a relative nearby, a gym membership, or timing the job around a holiday. The single-bathroom squeeze catches more Auckland homeowners off guard than the budget does.
Want a realistic budget to sit alongside this timeline? You can estimate your bathroom renovation cost in a couple of minutes before you commit to anything.
Consent: The Bit That Changes Your Timeline
Consent is the single biggest variable in how long your renovation takes, and the part homeowners most often forget to plan around. Most standard bathroom renovations don’t need building consent. Schedule 1 of the Building Act 2004 exempts replacing a building product with a comparable one in the same position, and replacing sanitary plumbing with comparable products in the same position (clauses 1 and 32). It also exempts altering existing sanitary plumbing, when the work is done by a person authorised under the plumbing Act, the total number of sanitary fixtures in the building doesn’t go up, and no specified system is affected (clause 35).
Each of those exemptions has conditions and exclusions, so moving the toilet across the room, adding a second basin or taking out a wall is a question to settle before anything is ordered. A heritage or character overlay, common across Devonport, Ponsonby and Mt Eden, is a separate planning question again.
Important note: This is general information, not consent advice. Whether your bathroom work is exempt depends on exactly what is being done and on your property, so confirm it with Auckland Council or a Licensed Building Practitioner before you commit. We assess consent requirements at your free consultation, with our in-house Licensed Building Practitioner (LBP #BP156911) overseeing consent-related work.
We’ve covered exactly what crosses the line, and the Schedule 1 detail behind it, in our guide on when a renovation needs building consent. What that guide doesn’t dwell on, and what matters most for sequencing, is the clock.
 Before
 After
See the full project
If your renovation needs consent, the Building Act gives the council 20 working days to grant or refuse a complete application (section 48). The catch is that the council can ask for further information inside that period, and a request for information stops the clock until you answer it. Add design and documentation time on top: we plan on 4 to 8 weeks for Auckland Council consent processing, and that window sits before demolition can start. Plan it as the front of your timeline, not an afterthought. Even where no consent is needed, section 17 of the Act says all building work must still comply with the Building Code, and plumbing and drainage still need the right registered tradespeople.
💡 Quick tip: If consent is even a possibility, get the application in early — ideally while your fixtures are still on order. Running the consent clock in parallel with your lead times, rather than after them, can claw back weeks. We manage the application on your behalf, so it’s not on your plate.
What Actually Makes a Bathroom Renovation Run Late
The three-to-four-week timeline is real, but it’s the timeline for a job that’s been set up properly. Here’s what turns three weeks into seven, and almost none of it is the actual building work.
Decisions made late
The single biggest cause of delay isn’t a trade — it’s a homeowner who hasn’t chosen the tiles yet. Every decision still open when the trades arrive becomes a gap in the schedule. The design stage exists to kill this risk. Use it.
Materials ordered too late
We’ve said it already because it matters most: a long-lead custom vanity or imported tile ordered after demolition starts doesn’t delay itself, it delays everything downstream. Imagine a custom vanity ordered on demolition day with a three-week lead time: the room sits gutted for those three weeks, and there’s nothing the tiler or the plumber can do around the gap.
What demolition uncovers
Rotten framing, failed old waterproofing, dead galvanised pipes, a subfloor that needs replacing. On Auckland’s pre-war housing stock this is common, and it adds both time and cost. It’s not bad luck, it’s the age of the house, which is exactly why the contingency budget exists.
The consent clock and RFIs
If consent’s involved, an incomplete application drawing a Request for Information can add weeks, because the processing clock stops until the council has what it asked for. Getting the application right the first time is worth more than getting it in fast.
Cure times in winter
Waterproofing membranes and tile adhesives cure slower in cold, damp conditions. An Auckland bathroom renovated in July will have longer dead-time waits than the same job in February. It’s minor, but on a tight timeline it’s real.
If you’re coordinating the trades yourself
Some owners run the trades themselves to save the management margin. It can work if you treat every handover as a hold point, not a date. Book each trade for the day after the previous stage is signed off, never the day after it’s due to finish, so a slipped sign-off costs a rebooking rather than a re-tile.
Three hold points matter most. Before the lining goes up, have the plumber and electrician confirm the rough-in is finished, and photograph every wall and the floor while they’re open: once the GIB is on, those photos are your only map of what’s inside. Before the tiler starts, get the waterproofer’s signed flood-test record. Before the final payment, collect the paperwork each trade issues: the plumbing and electrical certificates of compliance and the waterproofing warranty, the same documents we hand over at the end of our own jobs.
💡 Quick tip: Keep one shared list with every trade’s name, licence number and booked day, and send it to all of them. When the plumber can see the tiler is booked for Thursday, the pre-line sign-off is far more likely to happen on Wednesday.
“People assume the delays are the building. They’re almost never the building. They’re a tile that wasn’t chosen, a vanity that wasn’t ordered, or a consent that wasn’t lodged early enough. The trades are the easy part to schedule — it’s everything around them that needs managing.”
— Dorothy Li, Head of Design, Superior Renovations
This is the real argument for a managed renovation over a DIY-coordinated one. It’s not that the individual stages are hard — it’s that holding seven trades, a materials schedule, cure times, and a council clock in the right order, in a room you can’t work in two people at once, is a full-time job. That coordination is what we do across our Auckland projects, from a single ensuite in Remuera to a full main bathroom in a Titirangi do-up.
Bringing It Together
A bathroom renovation isn’t complicated to understand — it’s a chain of eight stages, run in order, where the waiting between some of them matters as much as the work itself. Get the design locked, get the materials ordered early, respect the cure times, and sort the consent question before you swing the first hammer, and a standard Auckland bathroom is a three-to-four-week job.
The hard part was never knowing the steps. It’s running them in the right order, around one small room, without a missed pipe or a rushed membrane costing you twice. That’s the bit worth handing to a team that does it every week.
➡ Book your free in-home consultation with Superior Renovations
➡ Estimate your bathroom renovation cost
➡ Request a free feasibility report for your project
How long does a bathroom renovation take in NZ?
A standard full bathroom renovation in Auckland takes three to four weeks from the day demolition begins, assuming the design is finalised and all materials are on site before work starts. The timeline includes built-in cure times for waterproofing and tile grout that cannot be sped up. If your renovation needs Auckland Council consent, that comes first: we plan on 4 to 8 weeks for consent processing, plus design and documentation time, before work can start.
What order do you renovate a bathroom in?
The sequence is fixed because each stage depends on the one before it: design and final decisions, ordering materials, demolition, plumbing and electrical rough-in, lining, waterproofing, tiling, then fit-off. Waterproofing must cure before tiling, and tile adhesive must set before grouting. Skipping or reordering stages (tiling before the membrane cures, for example) leads to leaks and re-work, which is why the order is treated as non-negotiable on a professional job.
Do I need building consent to renovate a bathroom in NZ?
Most standard bathroom renovations do not. Schedule 1 of the Building Act exempts replacing fixtures and plumbing with comparable products in the same position, and altering existing sanitary plumbing by an authorised person where the number of sanitary fixtures in the building does not increase. Each exemption has conditions, so moving or adding a fixture, removing a wall or repairing a shower that has failed is a question for Auckland Council or a Licensed Building Practitioner. Superior Renovations assesses consent requirements at your free consultation and manages any application.
How much does it cost to renovate a bathroom in Auckland?
In Auckland in 2026, a mid-range full bathroom renovation costs between $25,000 and $35,000 +GST, covering design, supply, all trades and project management. A budget refresh of paint, fittings and minor tiling runs $8,000–$15,000 +GST, and a designer or premium bathroom sits at $35,000–$65,000+ (+GST). The final cost depends on the size of the room, your product choices and whether consent is required. Our bathroom cost calculator asks a few questions and emails you an Auckland price range.
Can I live in my house during a bathroom renovation?
Yes, as long as you have another bathroom to use. If it is your only bathroom, you will need to plan alternative washing arrangements for the three to four weeks the room is out of action — a relative nearby, a gym, or timing the job around a holiday. The room itself is unusable from demolition through to fit-off because the floor is open, the plumbing is disconnected, and the waterproofing needs to cure undisturbed.
Why does waterproofing take so long in a bathroom renovation?
The membrane goes on in about a day, but it has to cure before anything is tiled over it: at least 24 hours, and longer for some systems, especially in cold, damp weather. Once it has fully cured, the Waterproofing Membrane Association Code of Practice calls for a flood test of at least 12 hours before tiling starts. Neither wait can be compressed, and both protect the most important layer in the room, because a rushed membrane is the leak that rots framing and forces a re-do years later.
What is the most common cause of bathroom renovation delays?
Late decisions and late material orders, not the building work. Every fixture or finish still unchosen when the trades arrive becomes a gap in the schedule, and a long-lead custom vanity or imported tile ordered after demolition starts stalls the whole job rather than just itself. On older Auckland homes, what demolition uncovers (rotten framing or dead plumbing) is the other major cause. Locking decisions and ordering early is the single best protection against a blowout.
How long does Auckland Council consent take for a bathroom renovation?
When consent is required, the Building Act gives the council 20 working days to grant or refuse a complete application, and a request for further information stops that clock until you respond. We plan on 4 to 8 weeks for Auckland Council consent processing. Lodge the application early, ideally while your fixtures are still on order, so processing runs alongside your material lead times instead of after them.
Is a bathroom renovation a good DIY project?
Some stages, like painting or removing old fixtures, suit a capable homeowner. The core stages do not. Sanitary plumbing, drainlaying and electrical work are regulated work in NZ, restricted to registered, licensed tradespeople apart from a narrow, conditional householder exemption for some plumbing, and waterproofing is the stage most likely to fail expensively if it is done badly. The bigger challenge is coordination: sequencing seven or eight trades, material lead times, cure waits, a flood test and a possible consent clock around one small room.
Can I renovate my bathroom without removing the existing tiles?
Yes, if the tiles and the waterproofing behind them are sound and the shower has never leaked. A cosmetic refresh keeps them and changes the vanity, tapware, lighting and paint around them. If the shower has leaked, keeping the tiles is no longer a style choice: Schedule 1 of the Building Act does not exempt repairing or replacing something that has failed the Building Code durability requirements, so put it to Auckland Council or a Licensed Building Practitioner before you commit to a refresh.
Related guides
- who does what at each stage, and what gets signed off before the next trade starts
- timelines for a cosmetic refresh, a standard renovation and a complex rebuild
- which bathroom jobs a homeowner can legally do themselves
Further Resources
- Featured projects and Client stories to see specifications on some of the projects.
- Real client stories from Auckland
Need more information?
Take advantage of our FREE Complete Home Renovation Guide (48 pages), whether you’re already renovating or in the process of deciding to renovate, it’s not an easy process, this guide will help you avoid costly mistakes.
Download Free Renovation Guide (PDF)

Have you been putting off getting renovations done?
We have partnered with Q Mastercard ® to offer up to 18 months interest-free, so you can enjoy your new home now and stress less.
Learn More about Interest-Free Payment Options*
*Lending criteria, fees, terms and conditions apply. Mastercard is a registered trademark and the circles design is a trademark of Mastercard International Incorporated.
Still have questions unanswered?
Book a no-obligation consultation with the team at Superior Renovations, we’d love to meet you to discuss your renovation ideas!
References
- Building Act 2004 (version as at 8 October 2026): sections 17 and 48, Schedule 1 clauses 1, 32 and 35
- Plumbers, Gasfitters, and Drainlayers Act 2006: section 15, exemption for householders
- MBIE: Acceptable Solutions and Verification Methods for Building Code clause E3 Internal Moisture, Amendment 7
- Waterproofing Membrane Association: Code of Practice for Internal Wet-area Membrane Systems, 4th edition (August 2020)
- Plumbers, Gasfitters and Drainlayers Board: search the public register


