Hillsborough, Central Auckland
Rental Property
Renovation in
Central Auckland
Completed on 2018
RENOVATION
Project Managed By

Kevin Yang
Managing Director
kevin@superiorrenovations.co.nz
0800 199 888
Turning an old house into a successful investment property
Project Finish Date
2018
This was an investment property for the client as it had been tenanted out for several years. It was however in a very bad state of disrepair and not fetching the kind of rent that the client could get for a property of that size. The client did not know where to start; she contacted several companies which basically told her that it would take about 6 months to complete her renovation.
When she got in touch with us, we immediately knew that the scope of work would be challenging. Jimmy who is one of our senior project managers got in touch with the client and scheduled an on-site visit. After Jimmy assessed the property, he realised that the house was
- Health and Safety hazard
- Did not comply by the current insulation laws stated by the government.
- Needed a change in layout for areas such as kitchen and bathroom
- Needed to be refurbished in order to prolong the life of the property.
Our aim was to make the house safe for habitation, make sure that the house abides by the current insulation laws of New Zealand and fetch a higher rent for the client.
The client was not sure where to start so Jimmy drew out a 6 week plan for the renovation of this property.
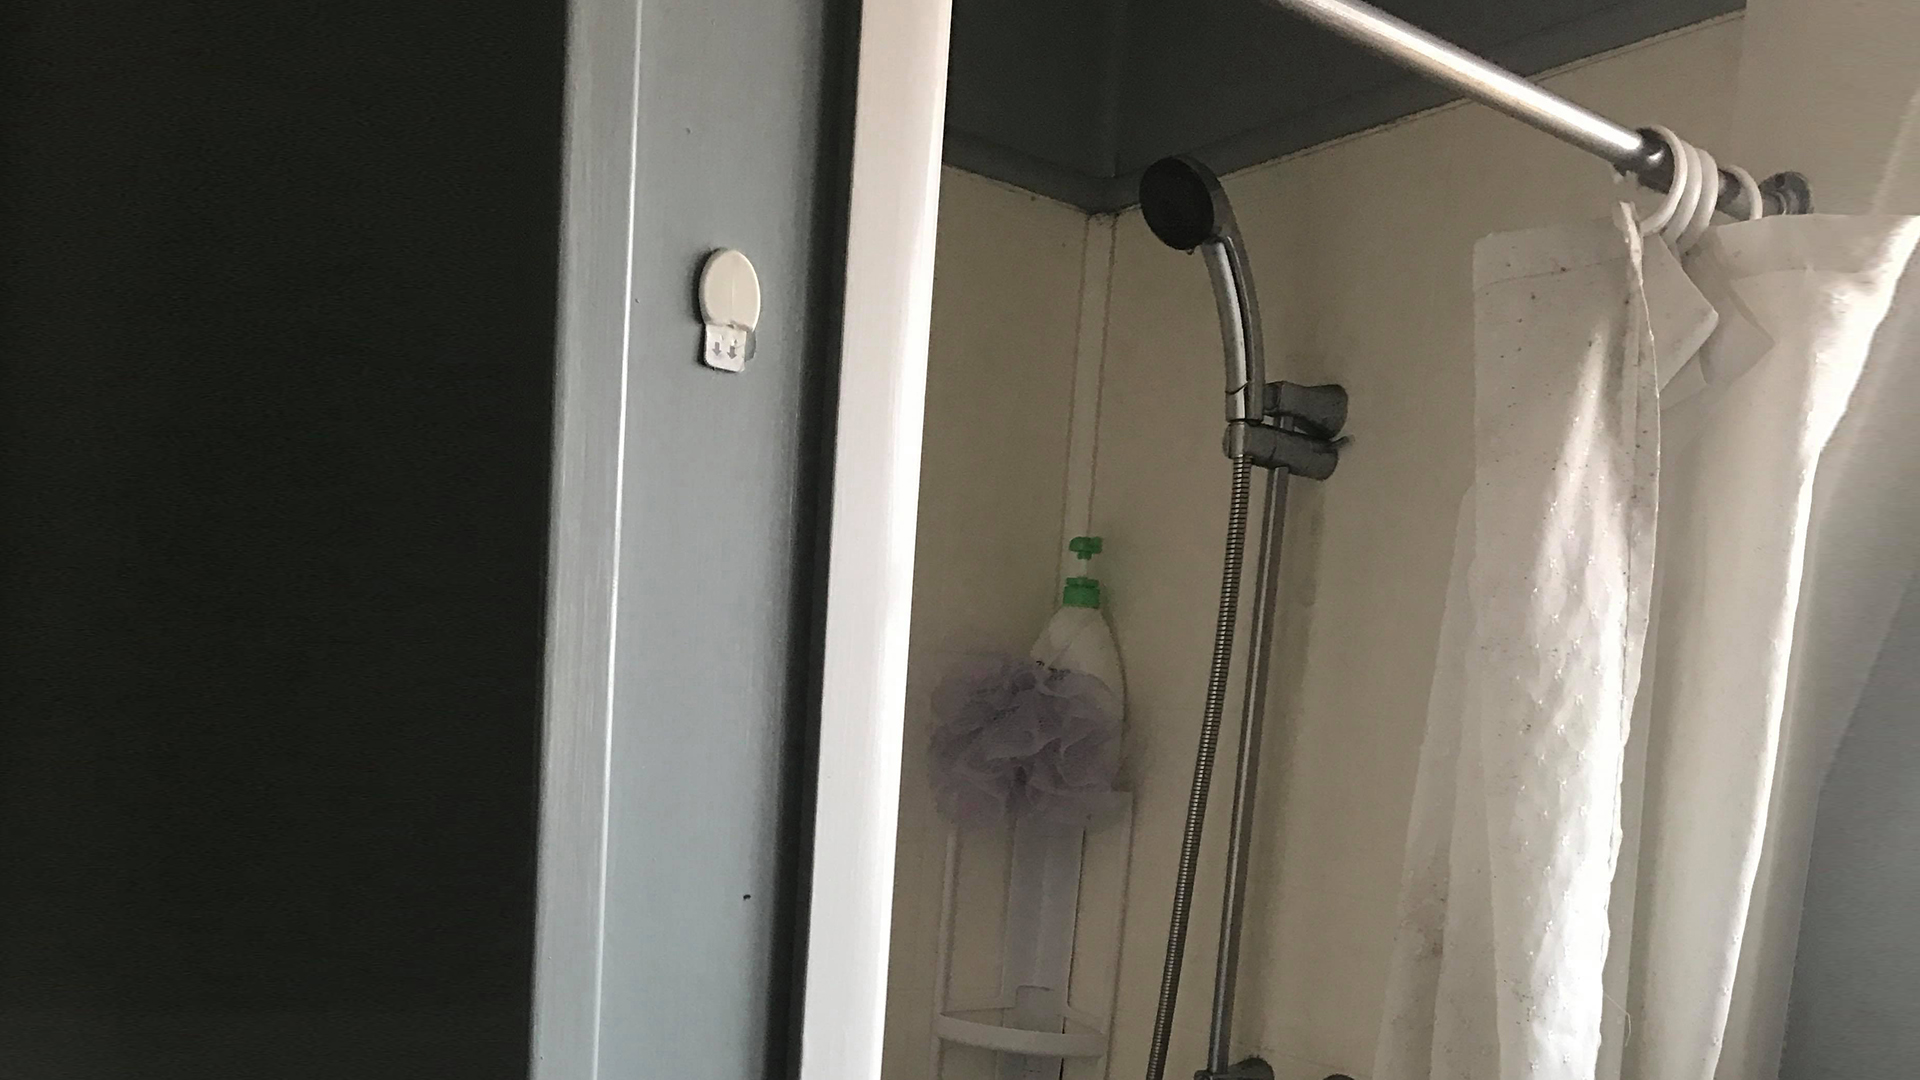
BEFORE
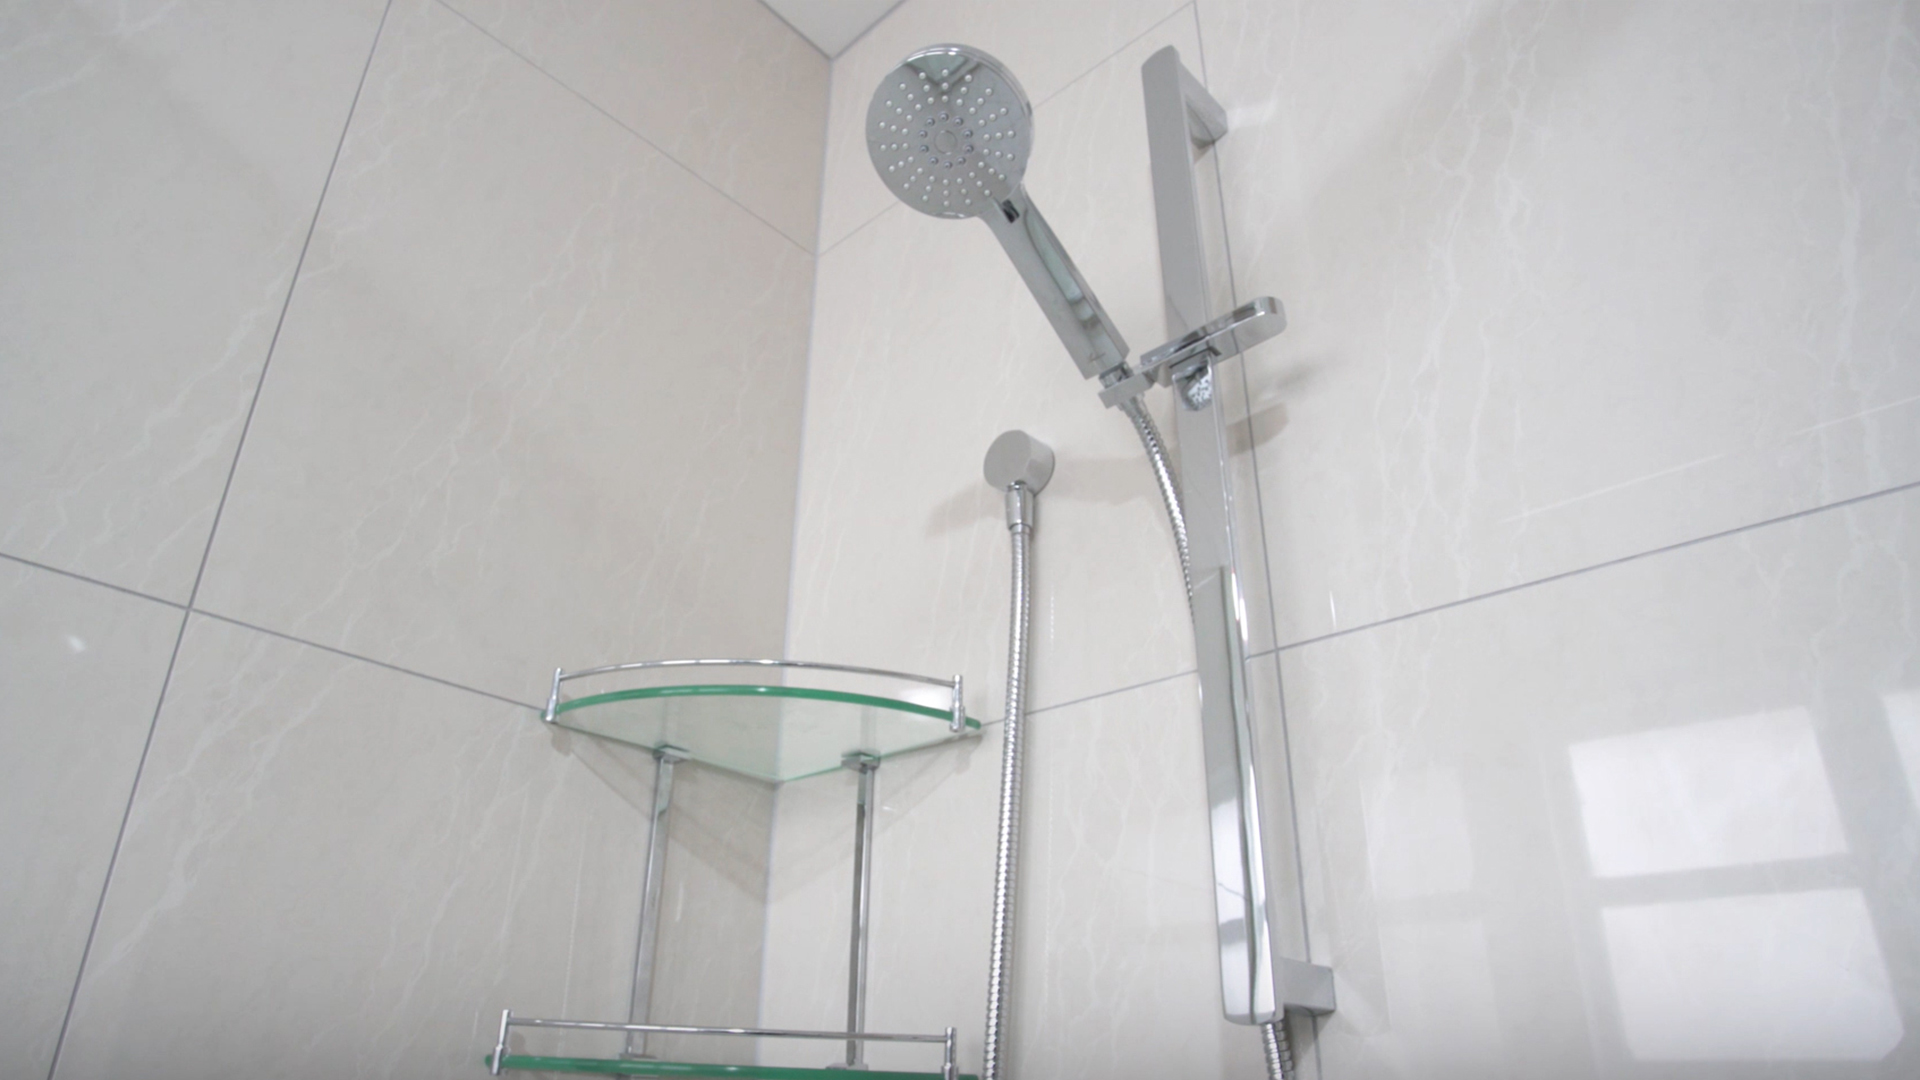
AFTER
Areas Renovated
Week 1 – Demolition, Plumbing and Repair work
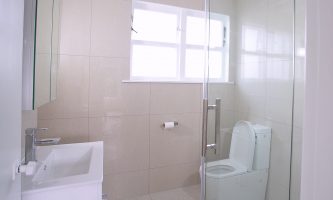
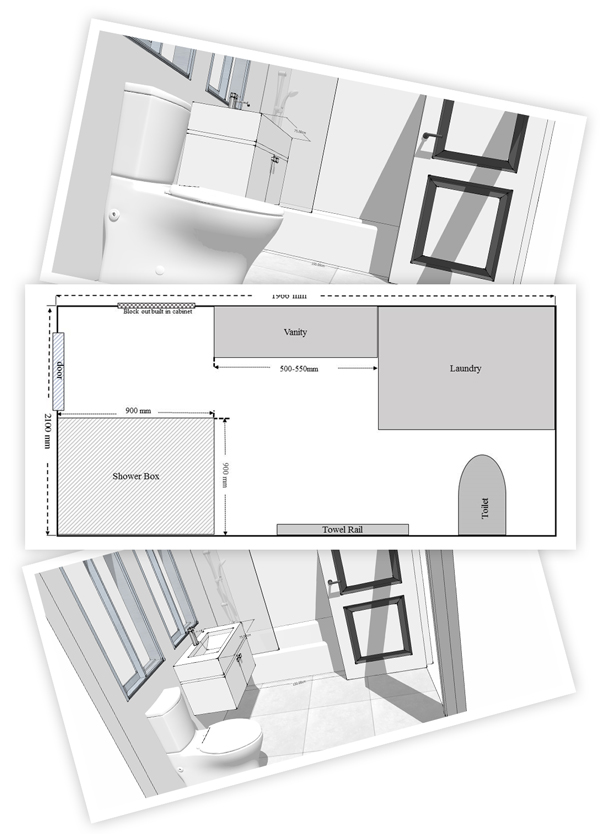
In the first week we focused on the bathroom as it was an extensive project as we were changing the layout. We changed the layout completely to make it more spacious and inviting. We removed the shower box, the bathtub, all cabinets, vanity, and flooring. We also did repair work where we fixed the leakage by removing the liner in the bathroom and underlay. We also removed the damaged GIB from the walls.
We then focused on Plumbing, Builder work and Installation. We then did the GIB fitting for the bathroom, the underlay in the bathroom and waterproofing all the floors and walls. We also built custom cabinets that could accommodate the small space.
Week 2 – Installation of Bathroom Fixtures and Flooring
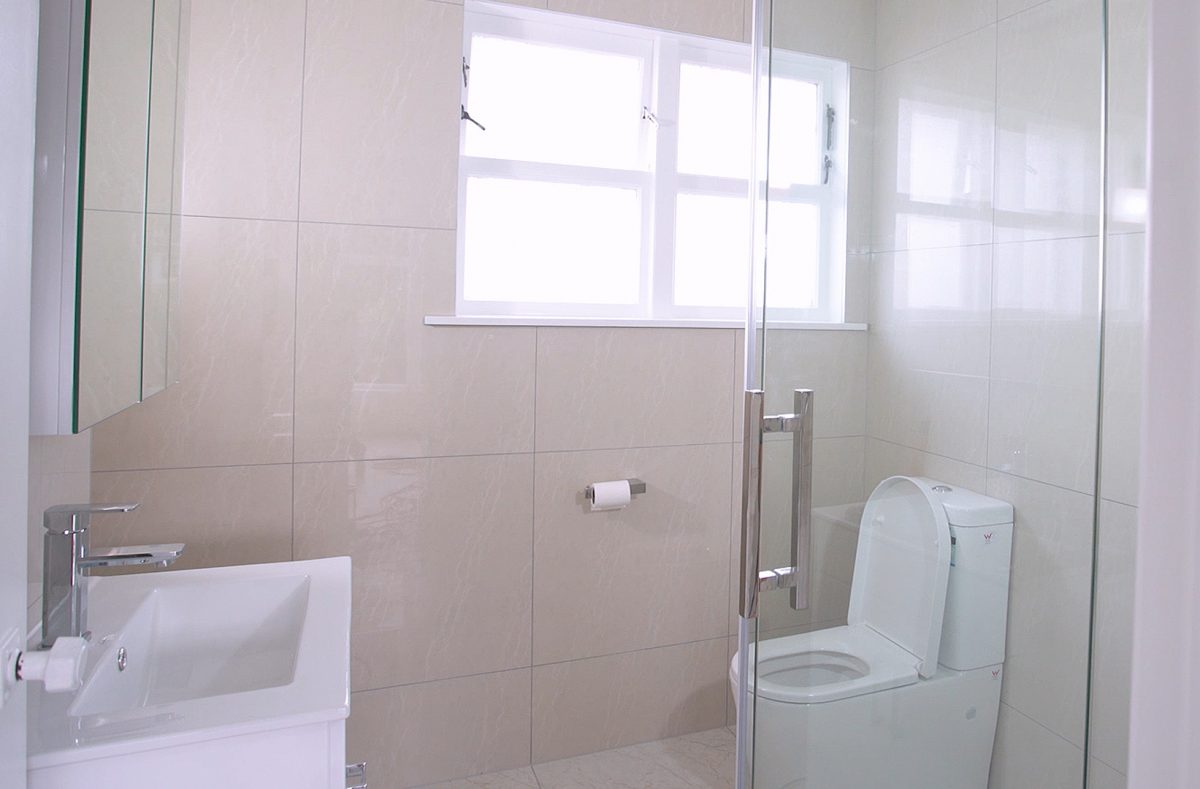
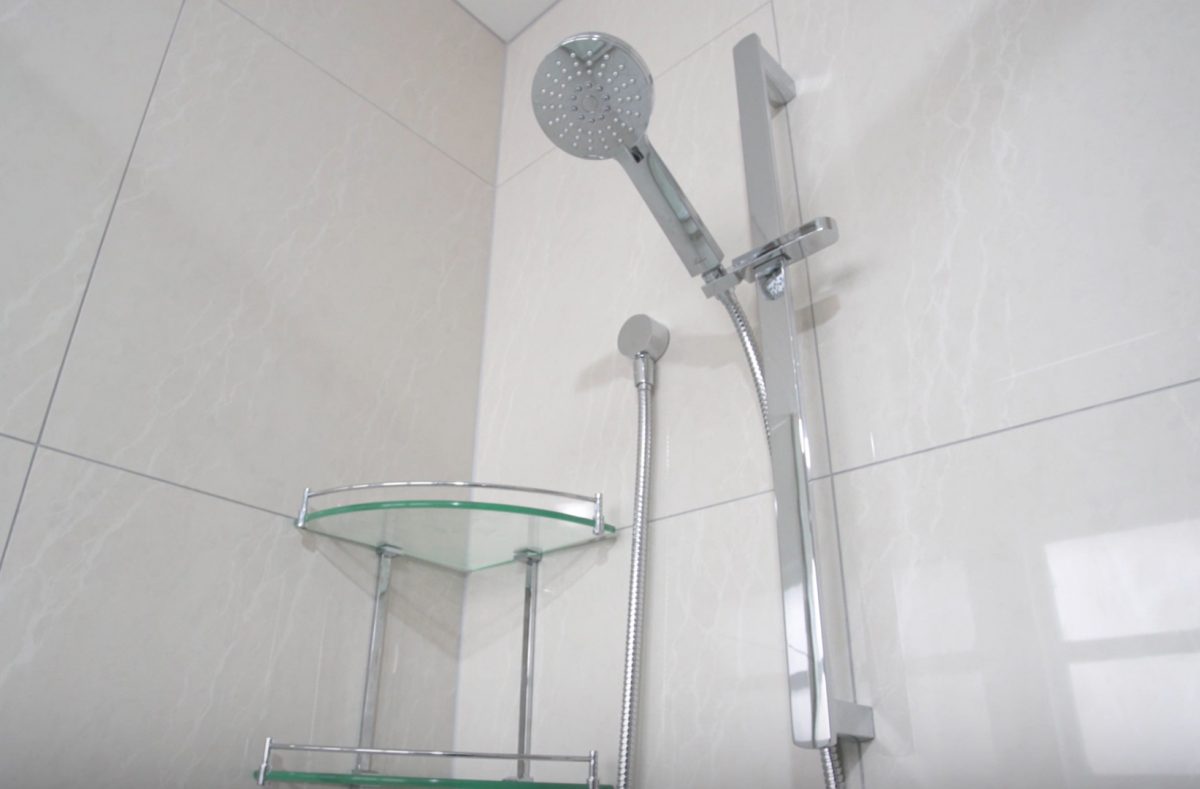
The project manager Jimmy, had to get everything custom made for this renovation involved working with a limited space. As our supplier has a manufacturing factory right here in Auckland, we were able to custom make the shower and vanity within 2 weeks. As we had taken all the measurements for the bathroom on the initial on-site visit, everything was ready by the second week of our renovation. We also connected the laundry to the bathroom as it initially opened into the kitchen rather than the bathroom. We instead erected a wall between the laundry and kitchen and connected it with the bathroom instead.
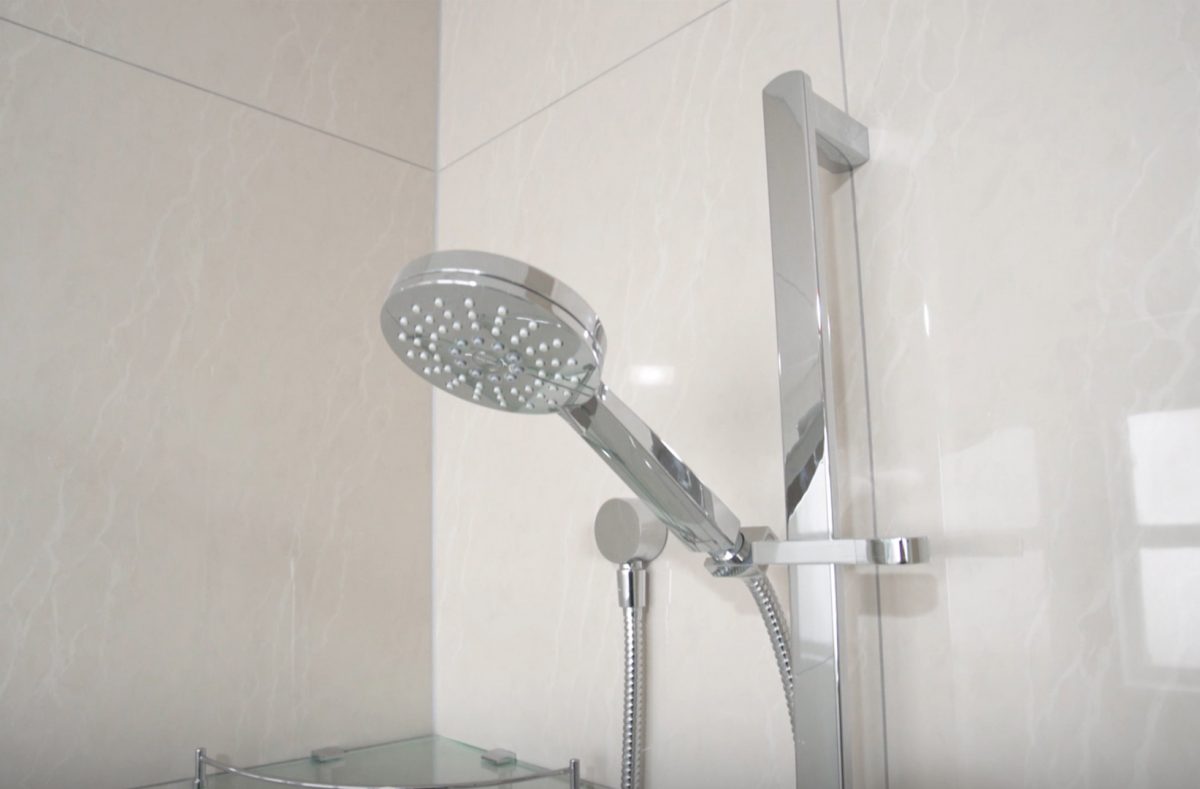
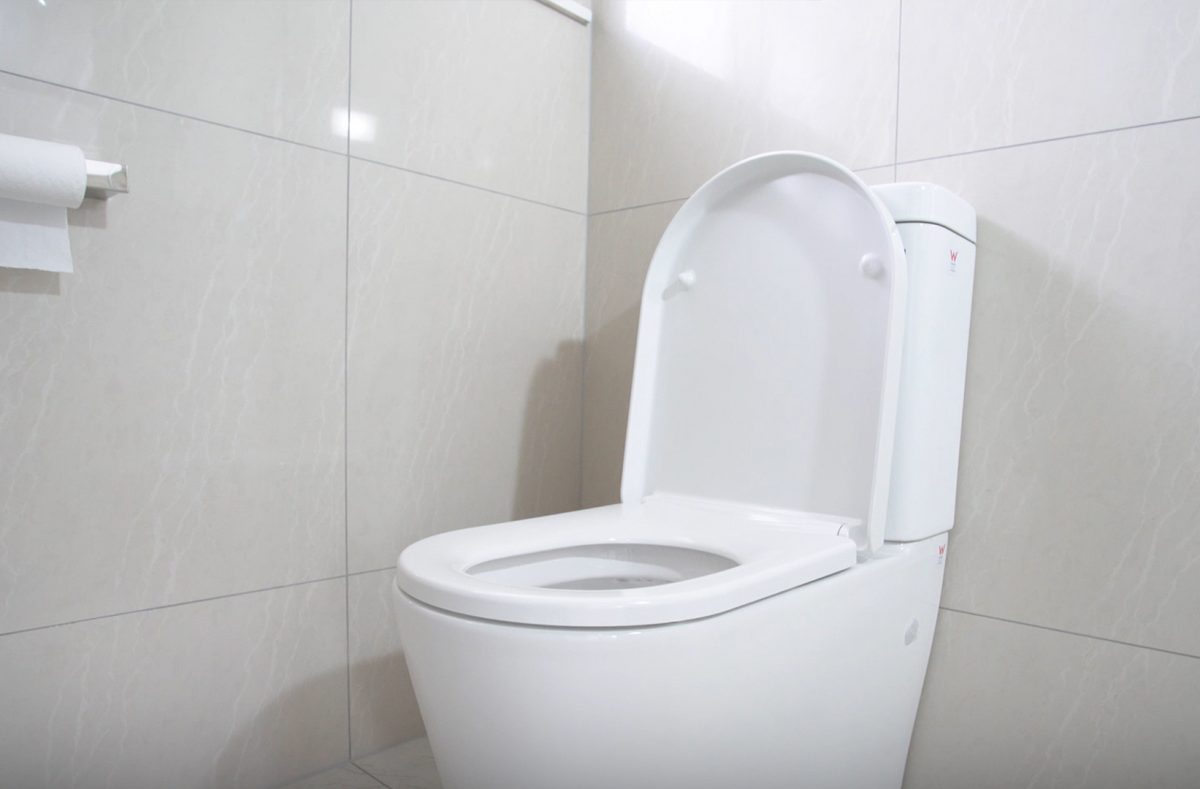
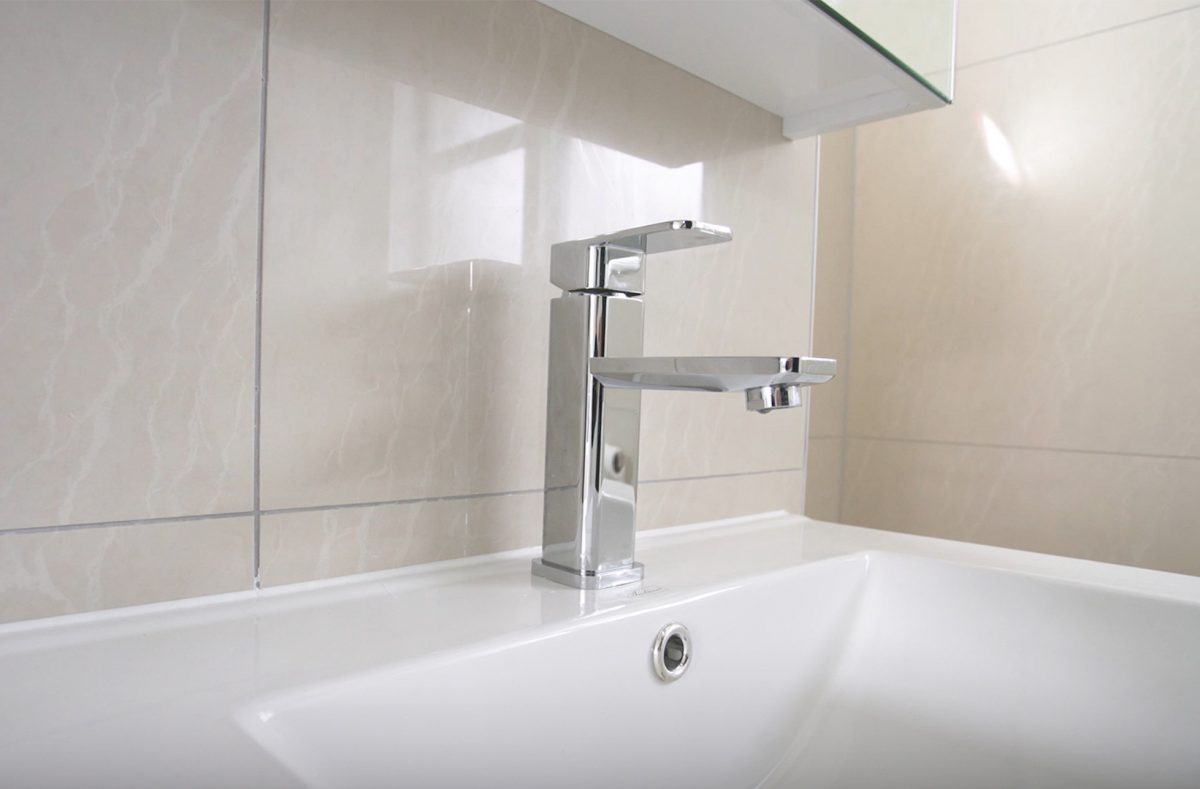
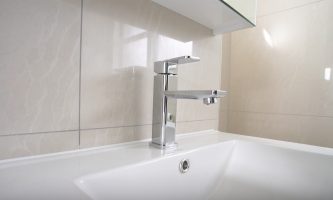
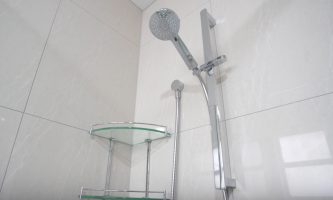
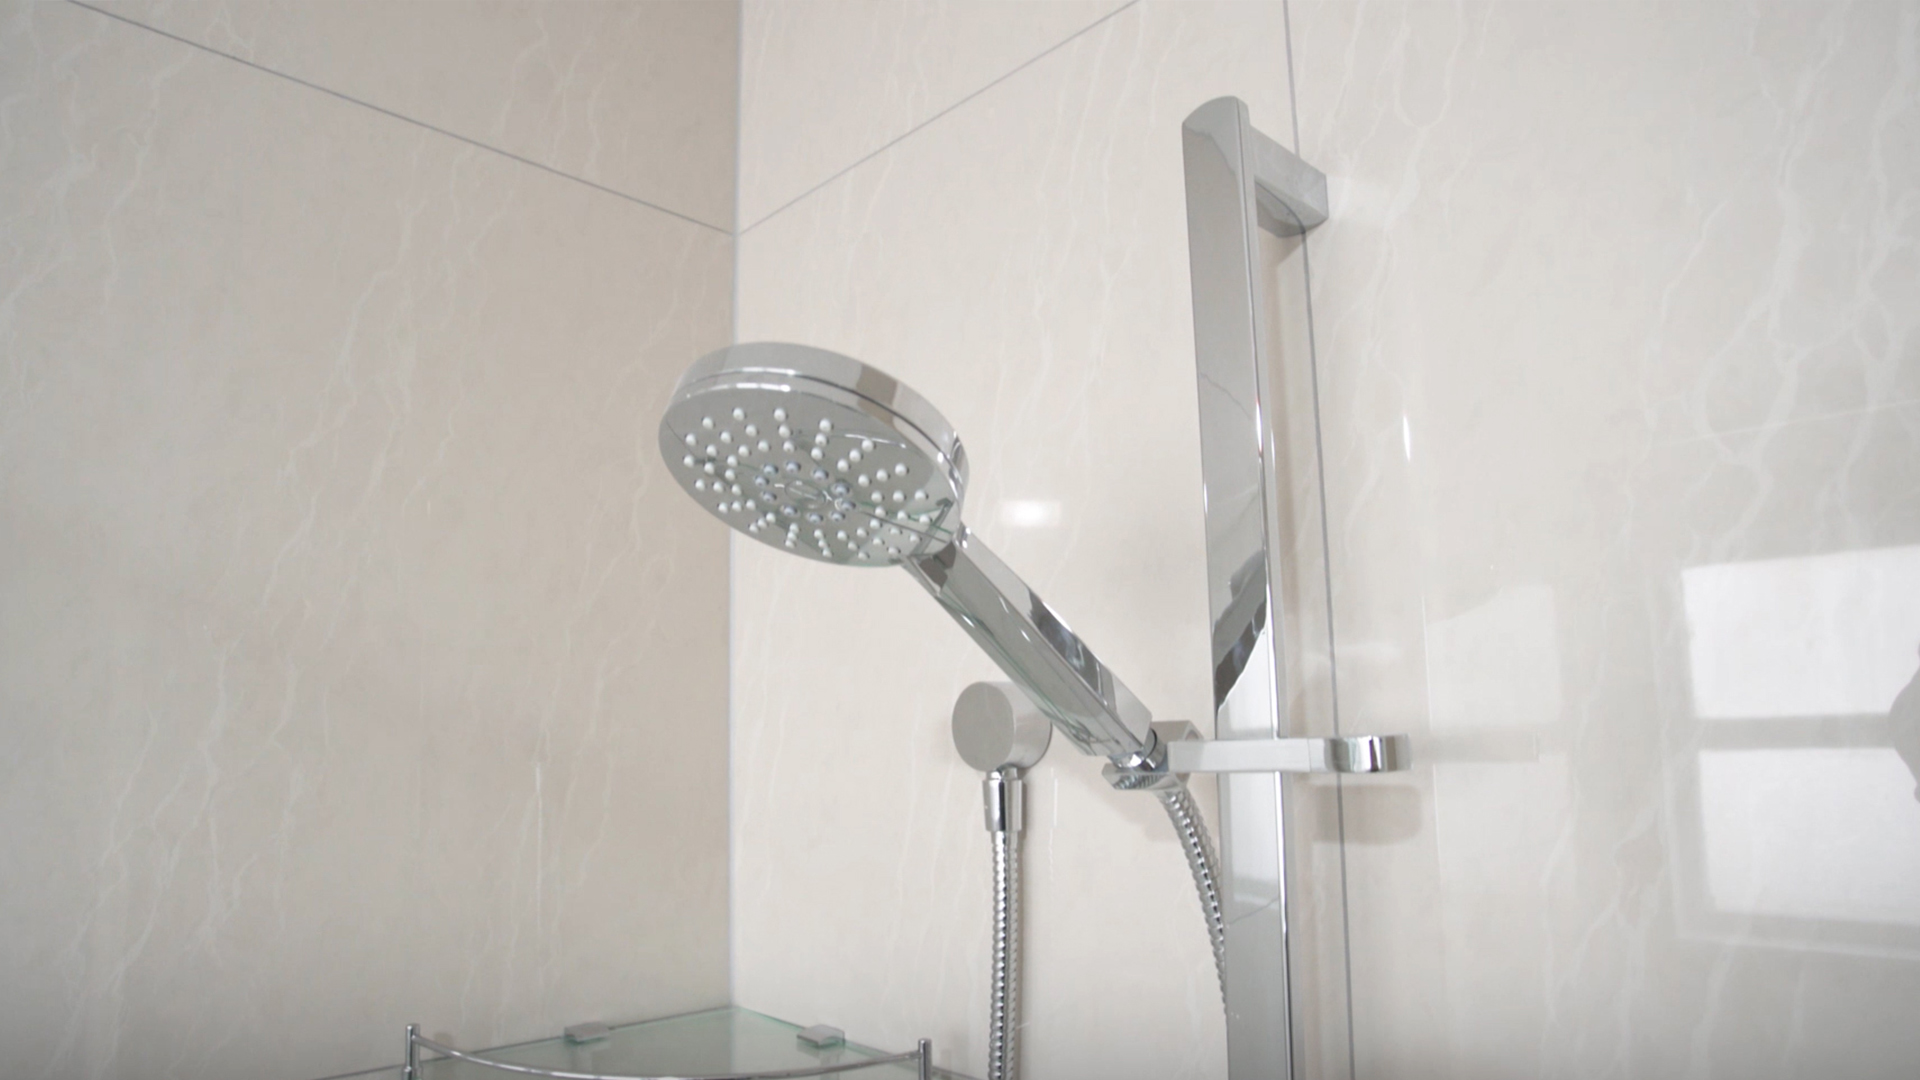
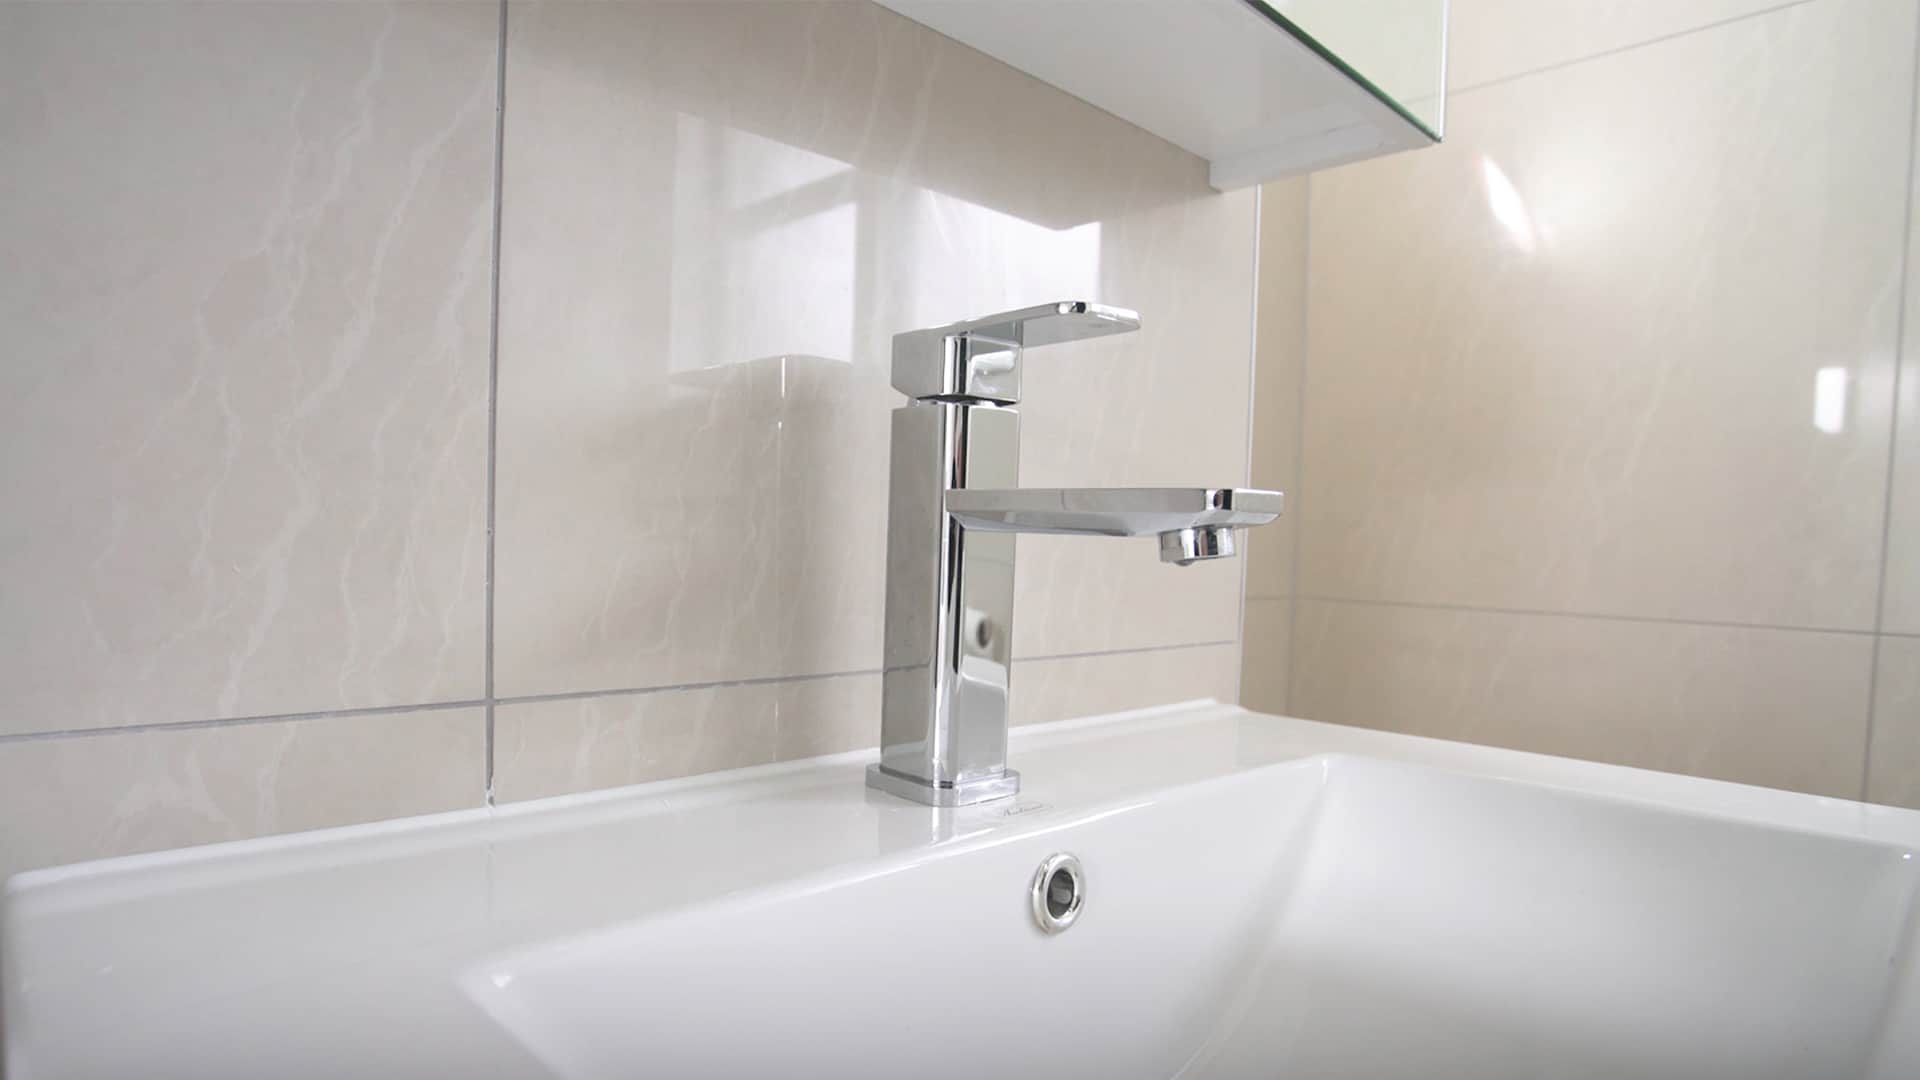
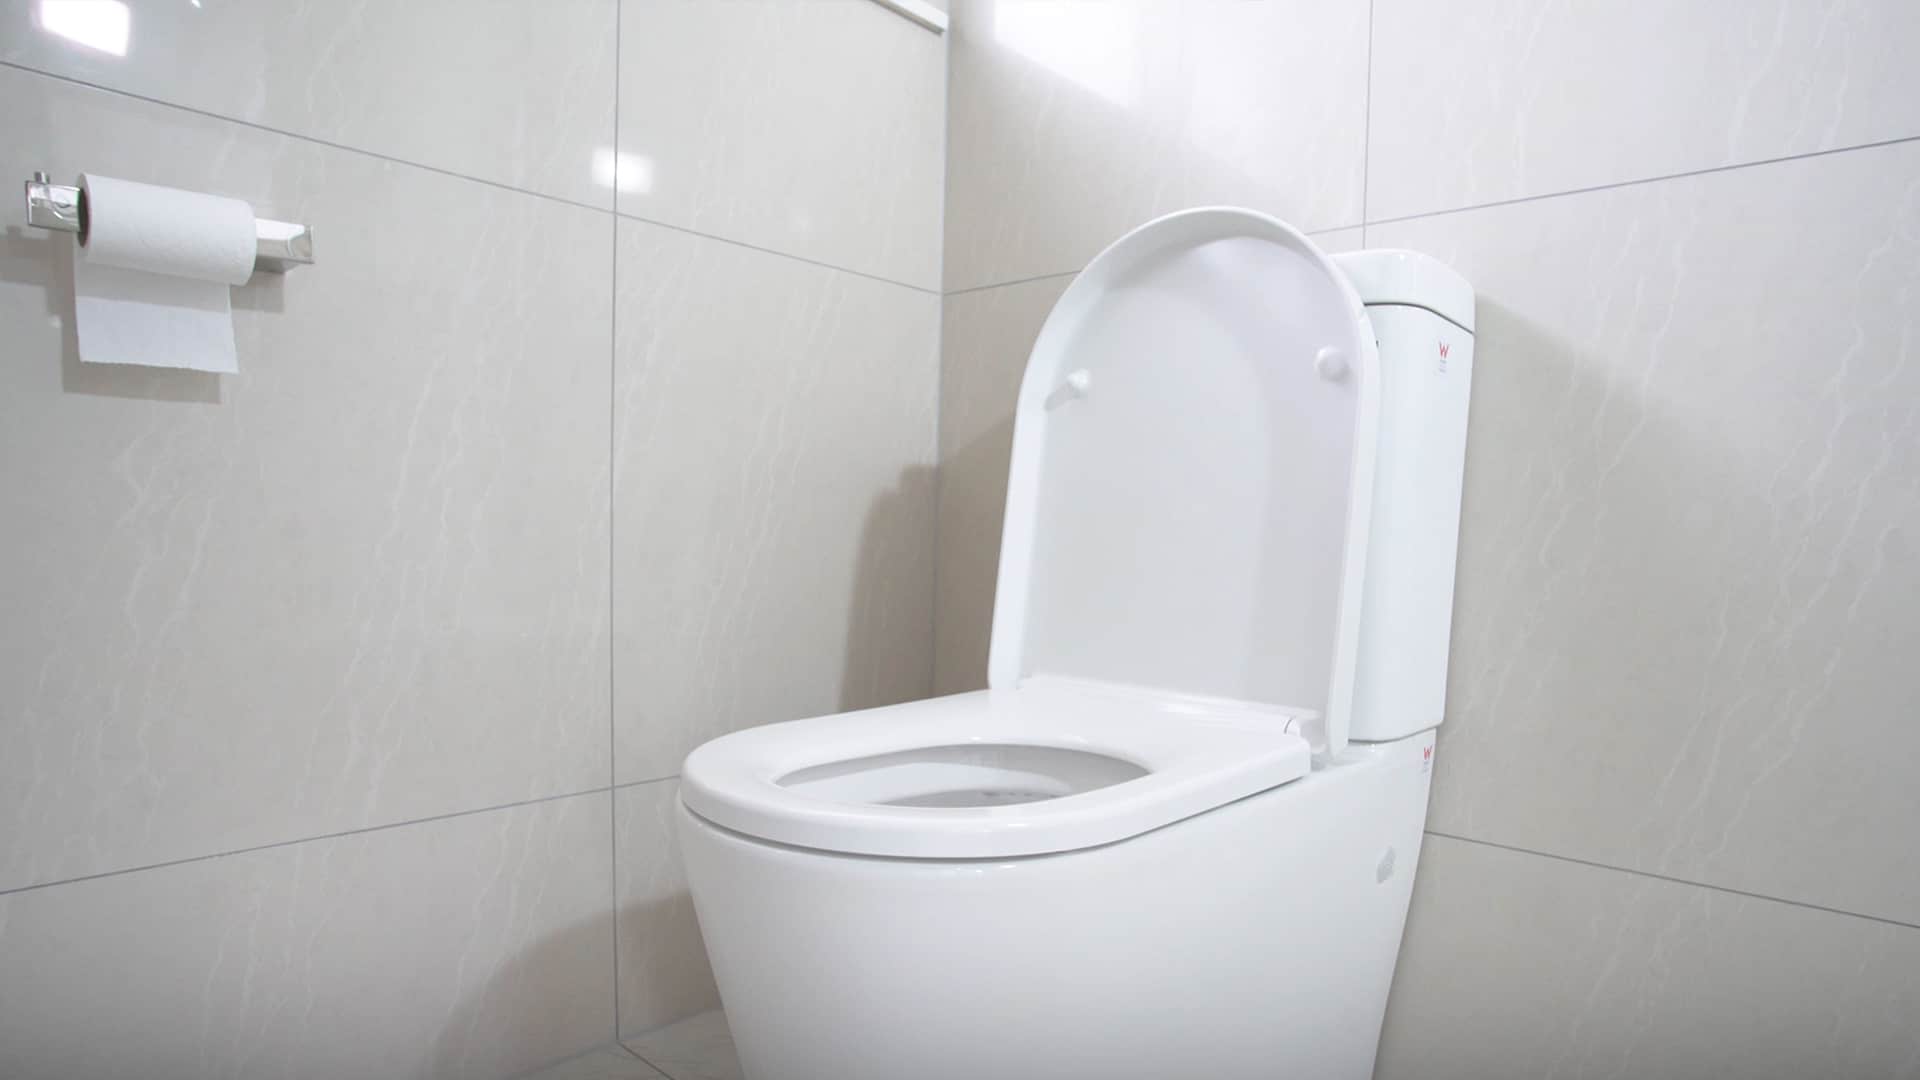
We installed the custom shower box, new vanity and cabinet, new toilet, all tapware and pipe fittings for the laundry. We then focused on installing all the wall and floor tiles. Then came all the electric work where we installed LED lights, power plugs for the vanity, and the mirror.
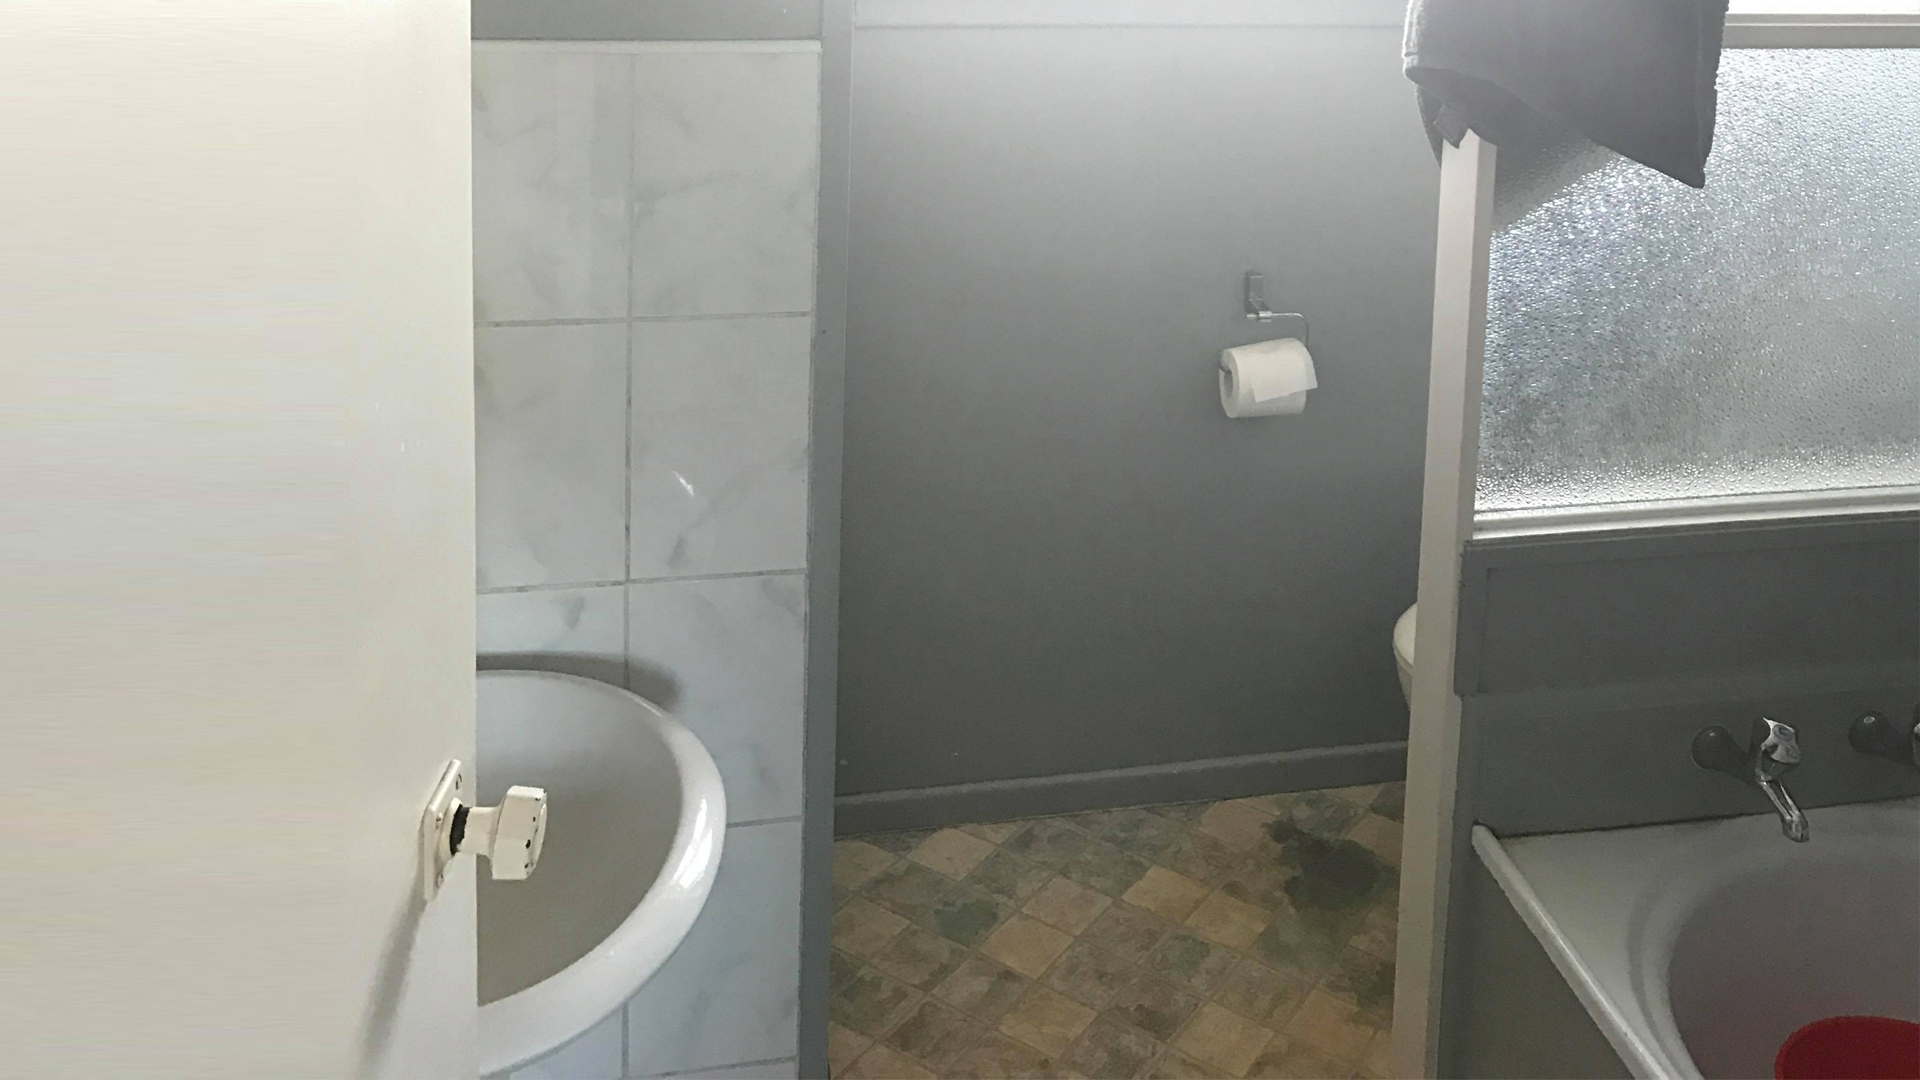
BEFORE
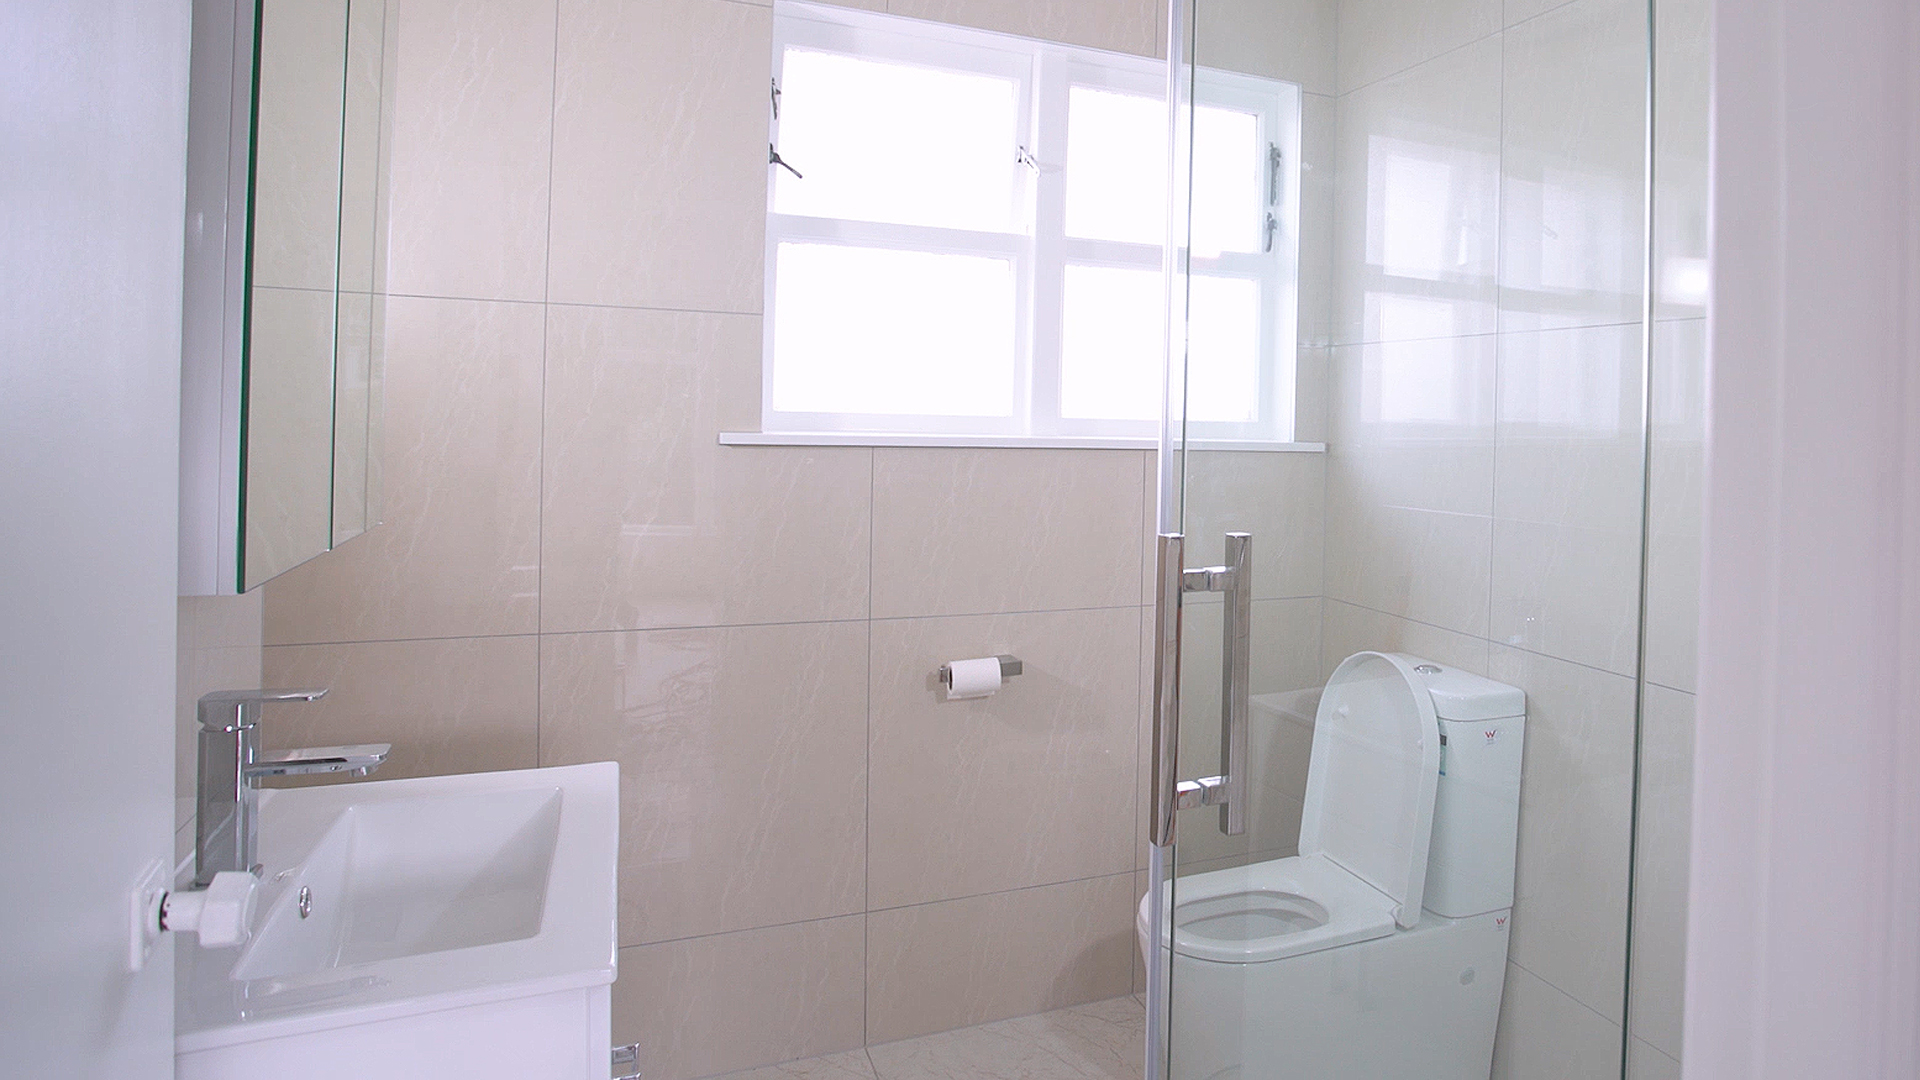
AFTER
Week 3 – Demolition and Change of Layout in the Kitchen
The kitchen was a congested tiny room that opened into the laundry. Our first step was to close the space in the wall that opened into the laundry. We then demolished the two walls that separated the lounge and the kitchen. Jimmy’s vision was to create an open plan kitchen and lounge.
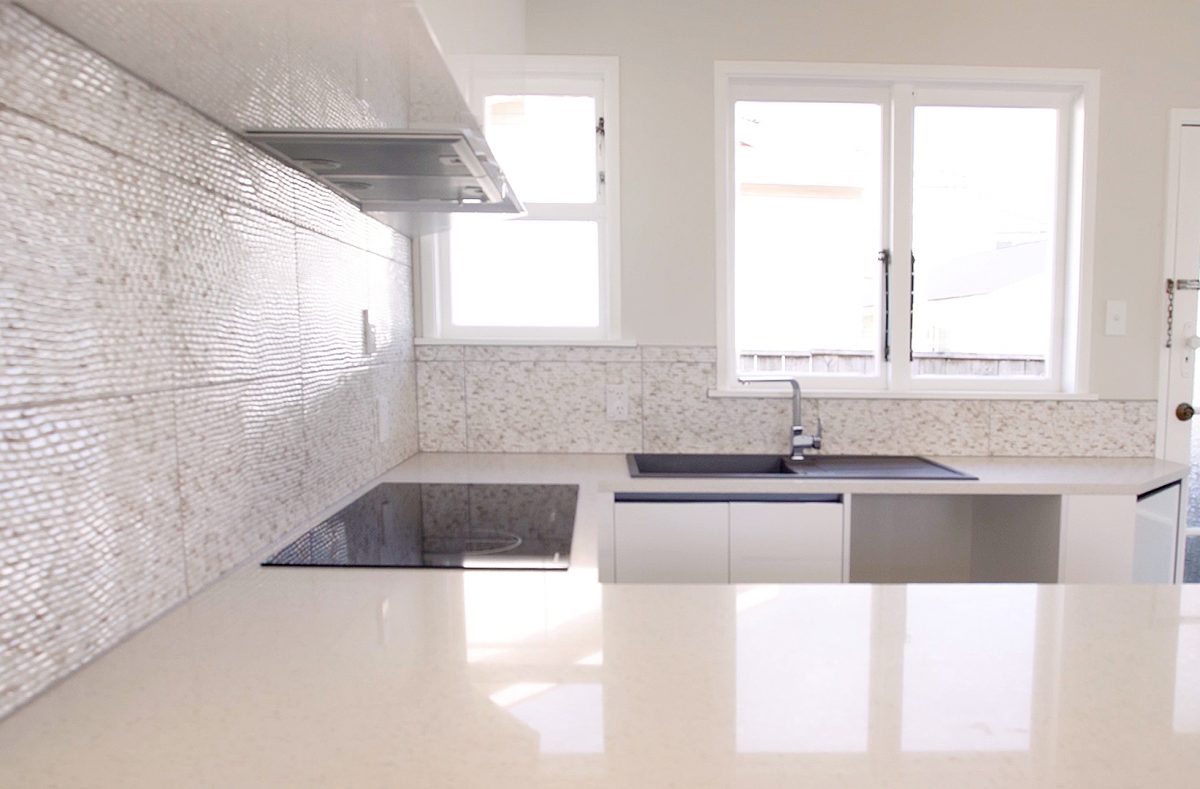
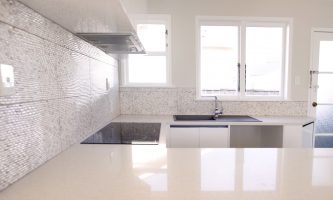
We also added an island between the lounge and kitchen which the client loved. This area would be great for entertaining if the tenants put bar stools next to the island.
During this week we removed all the cabinets, bench tops, hot water cylinder, hot water cabinet, the built in pantry side door and lino. We also carried out all plumbing work in the kitchen during this week. We fitted all the pipes for the kitchen.
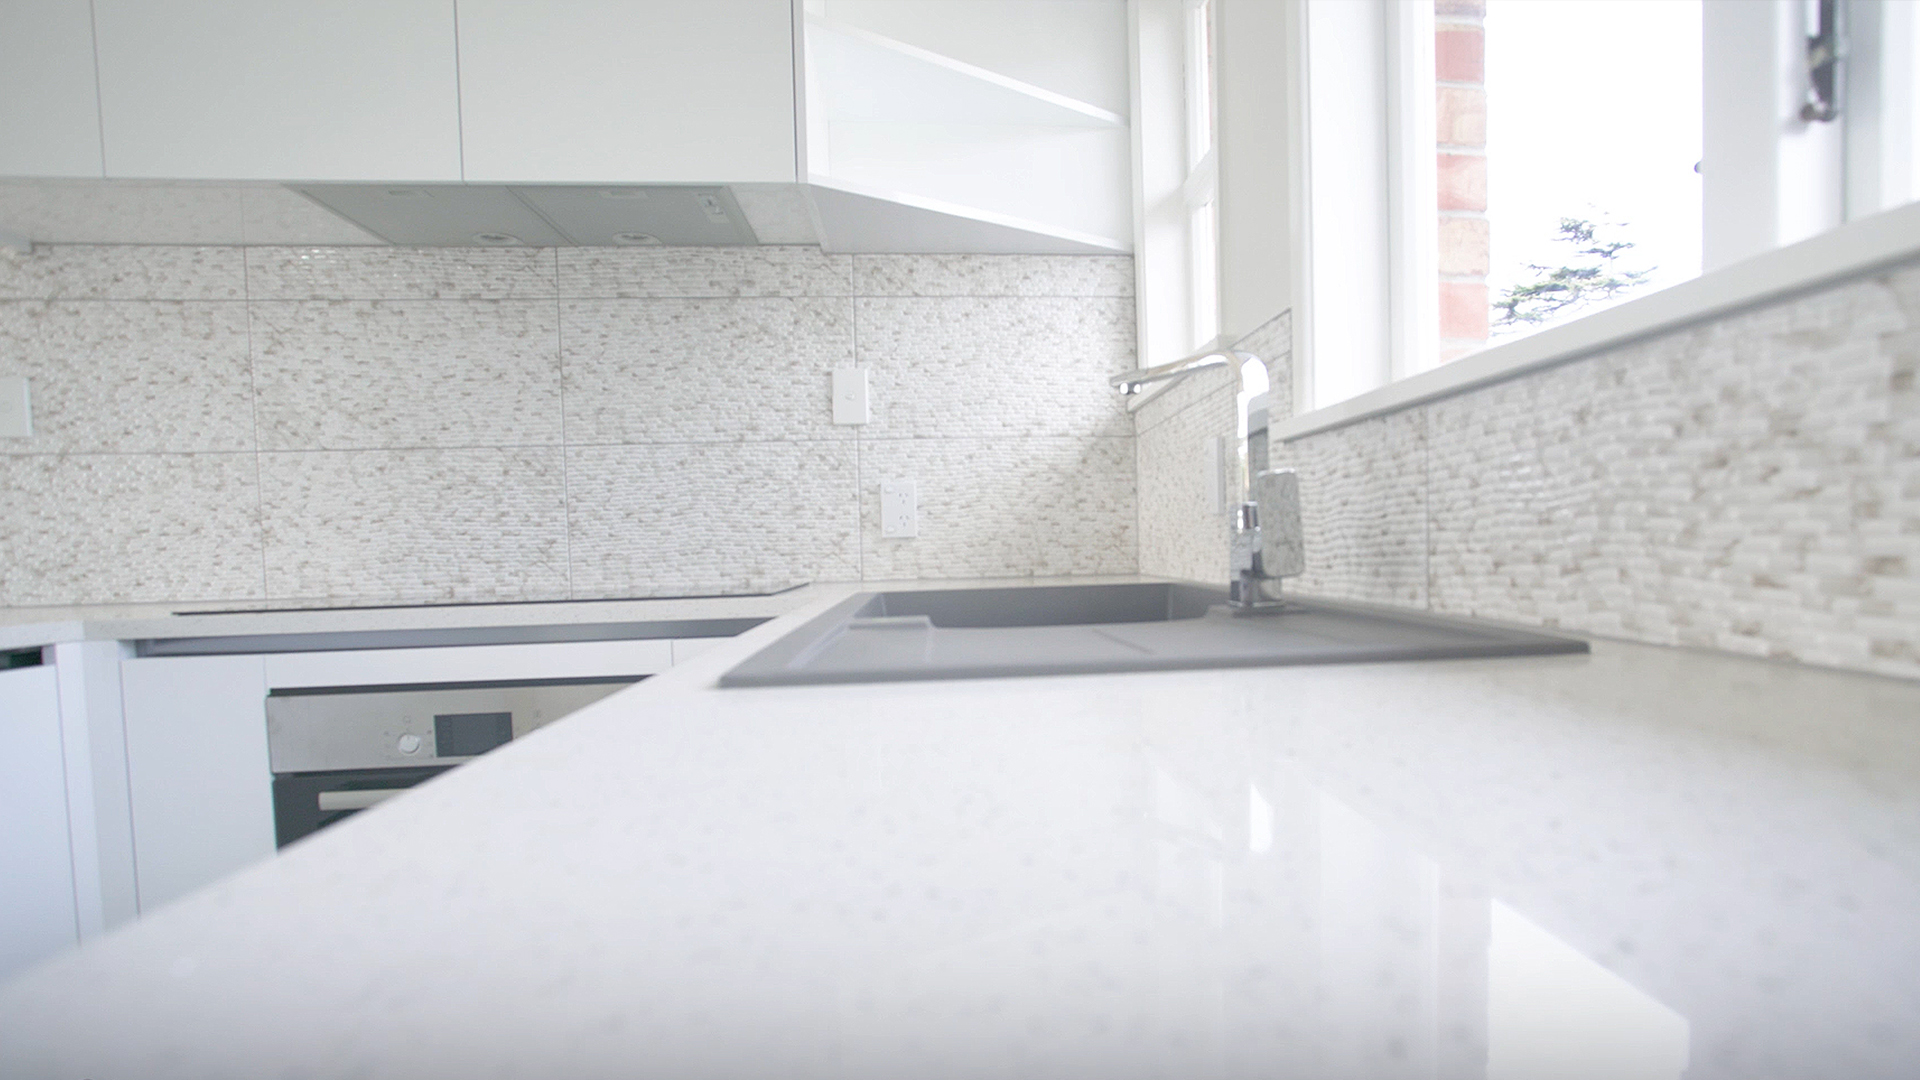
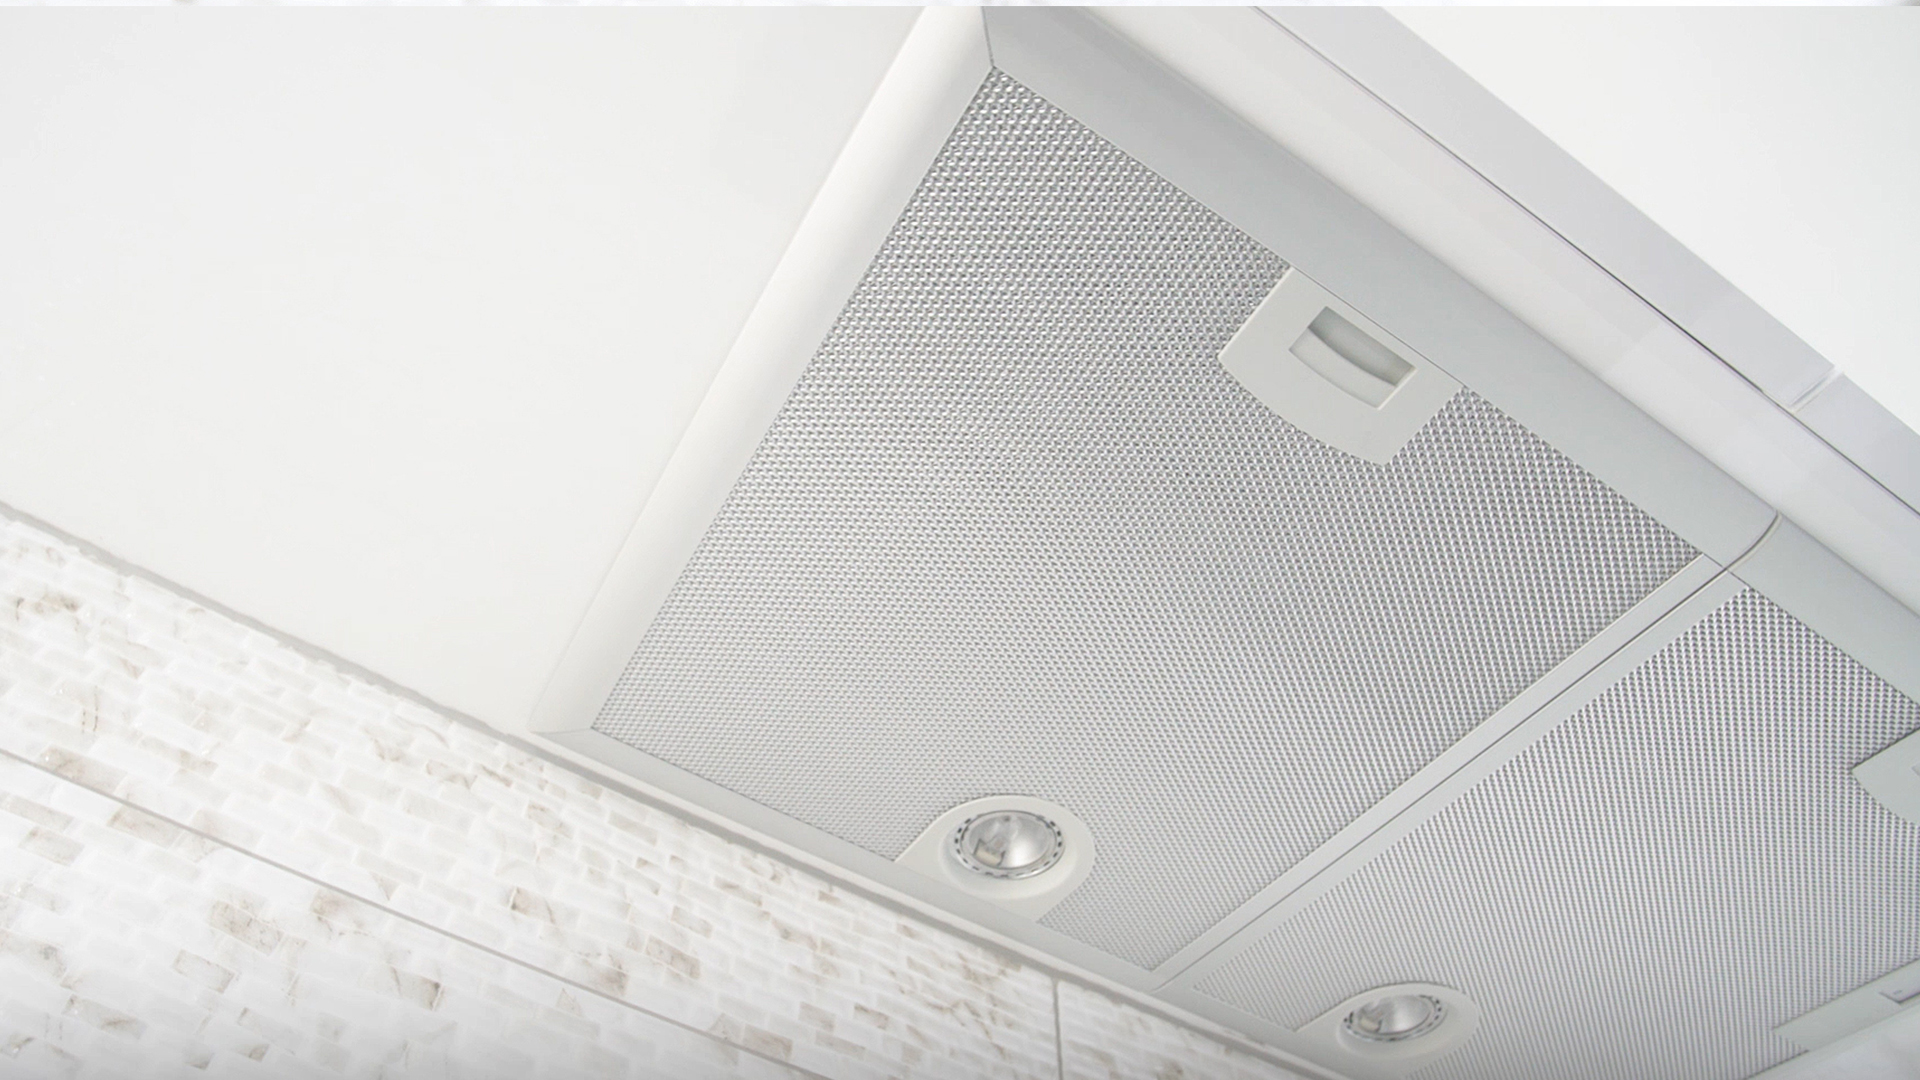
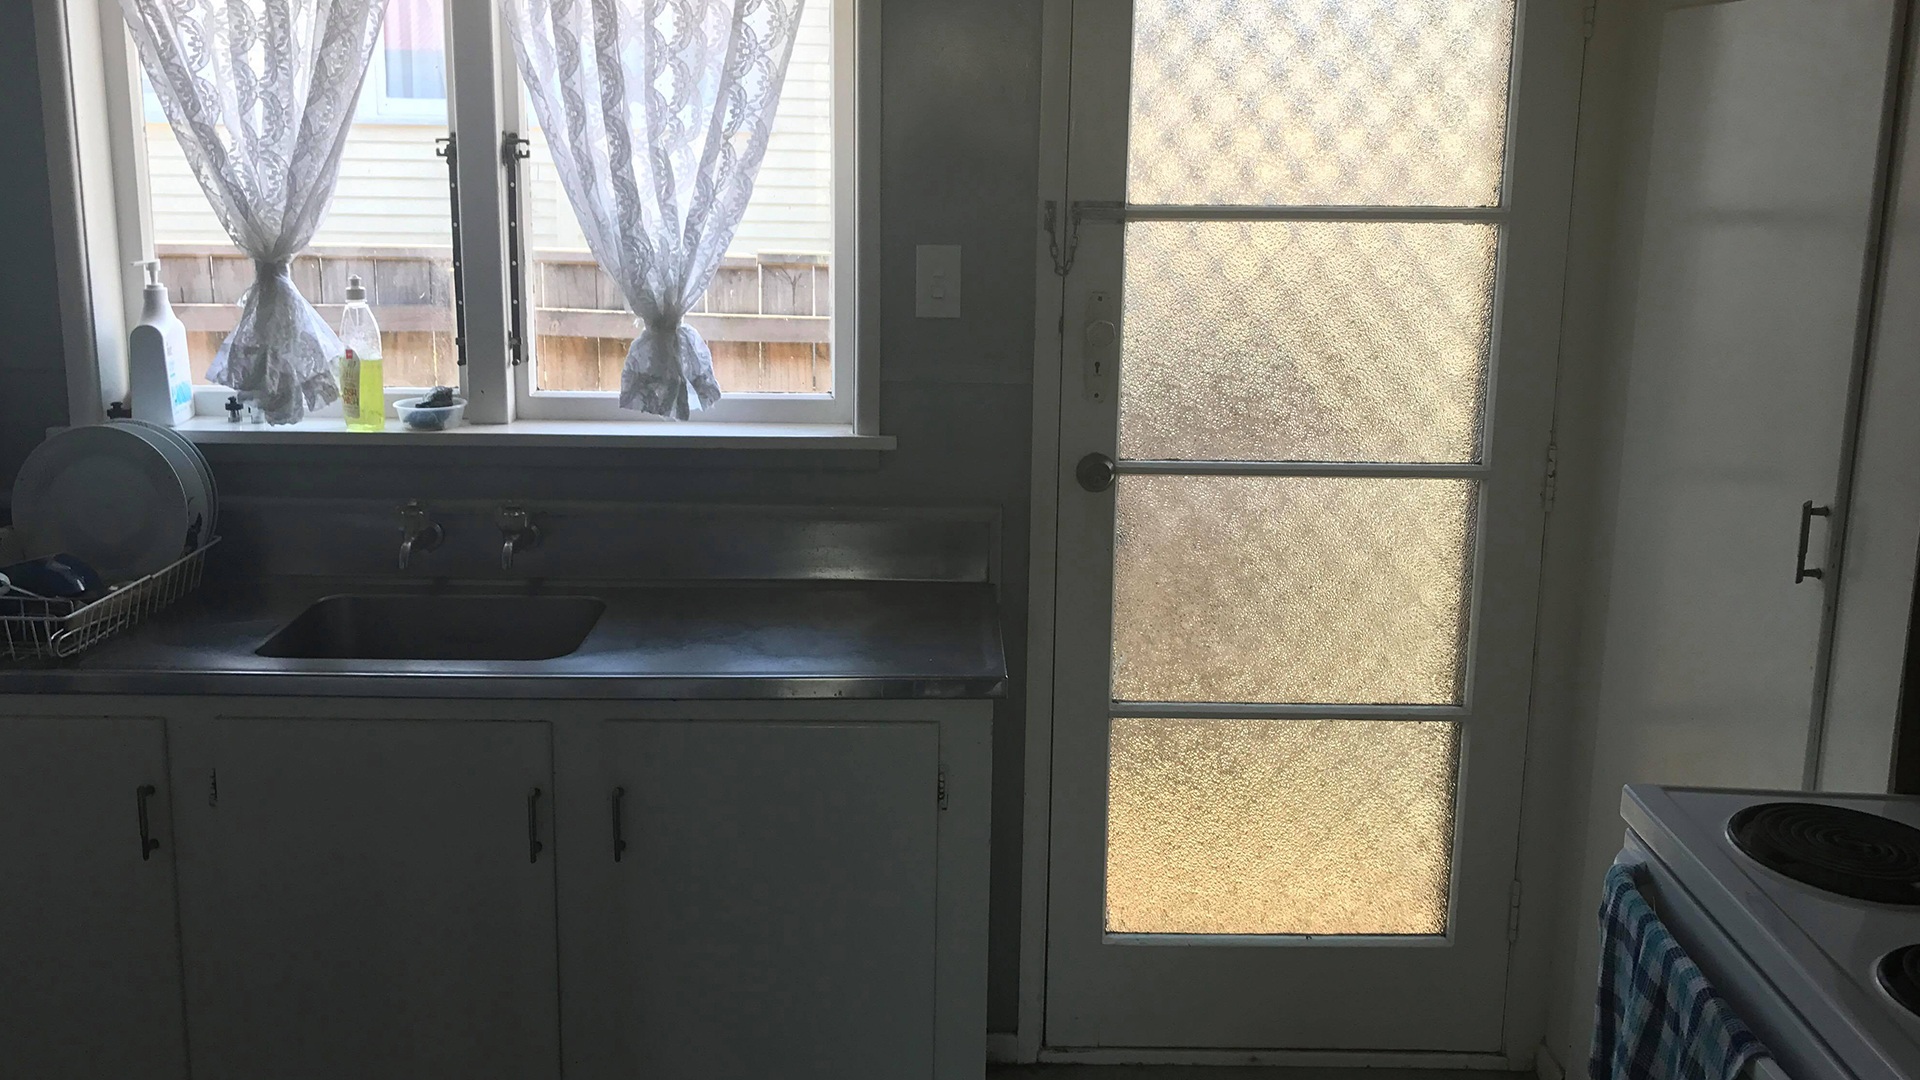
BEFORE
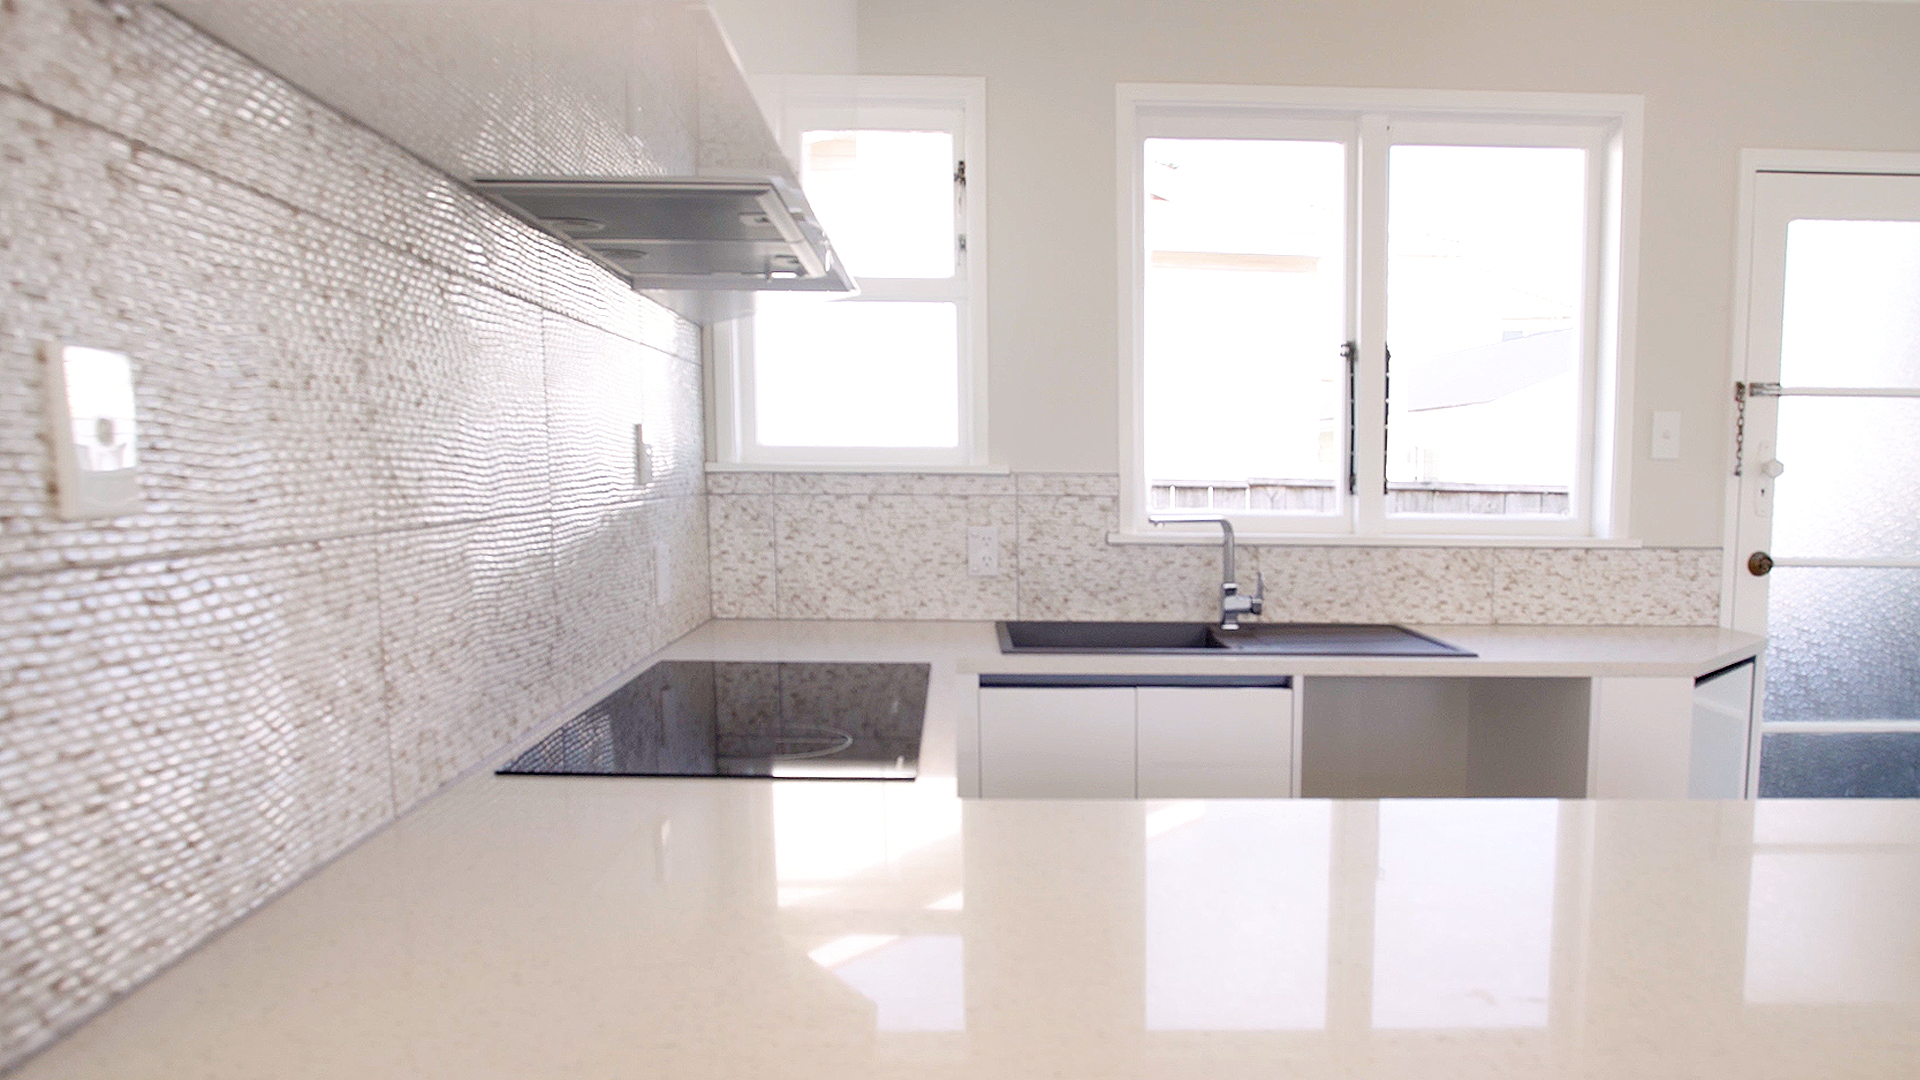
AFTER
Week 4 – Removal of Flooring, Installation of Kitchen
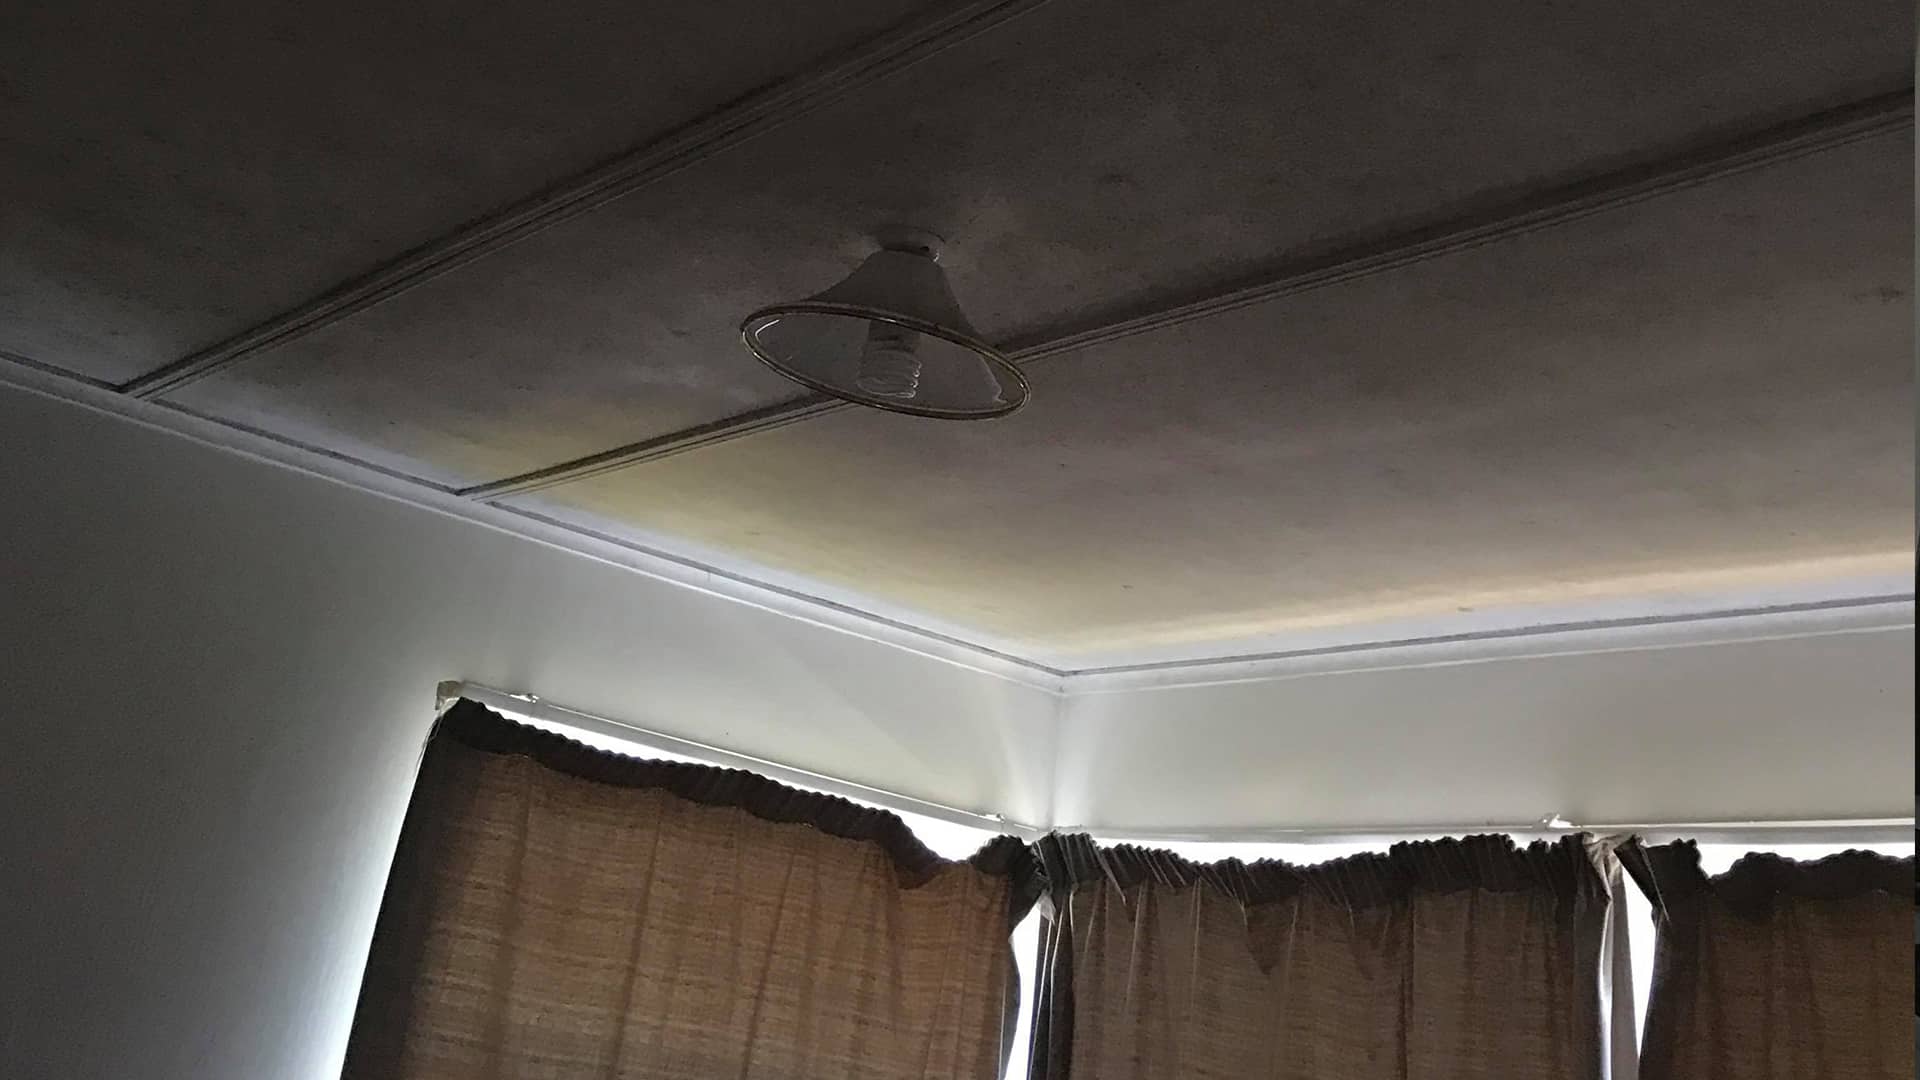
During this week we took a day to about remove all the flooring in the lounge, dining and kitchen area. We were initially meant to just concentrate on just installation of the kitchen and on removal of flooring. However when we started prepping the lounge for next week’s painting, we realised that the ceiling was leaking and had rotted from the inside. The client advised us to just paint over it to contain the leak as she had been advised to do so previously by other companies.
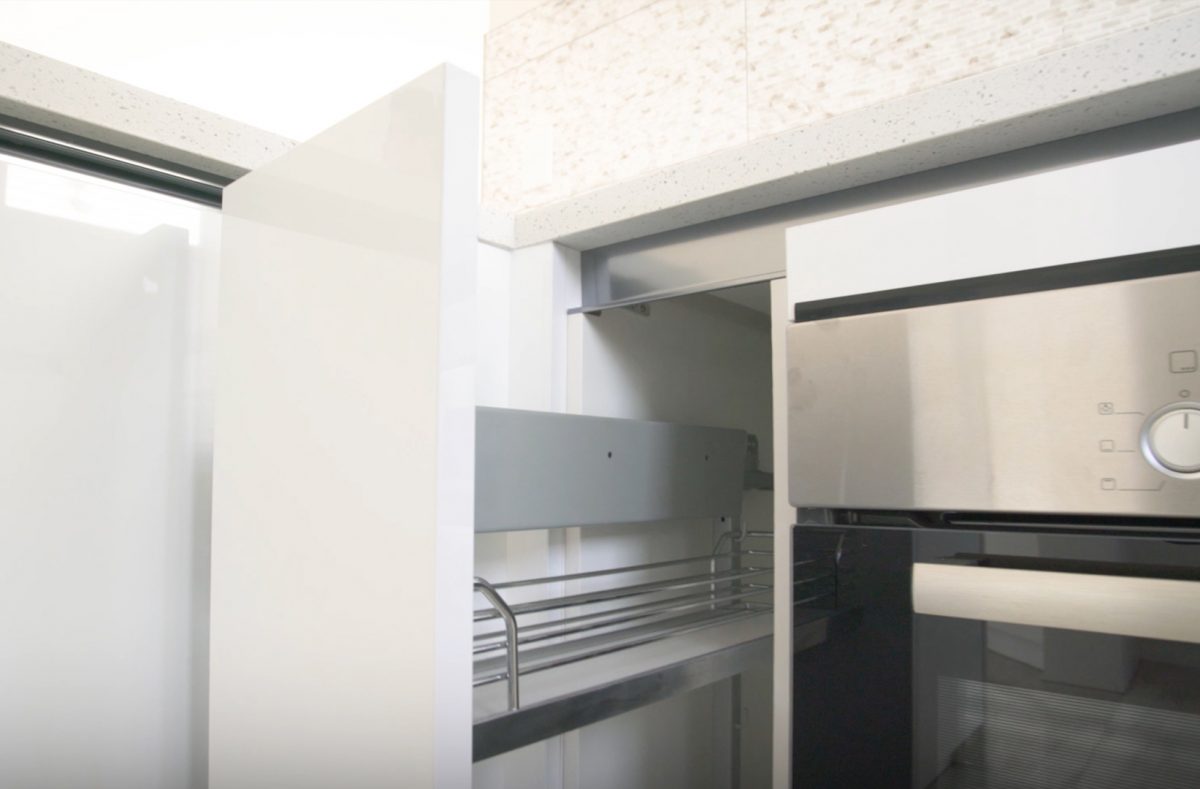
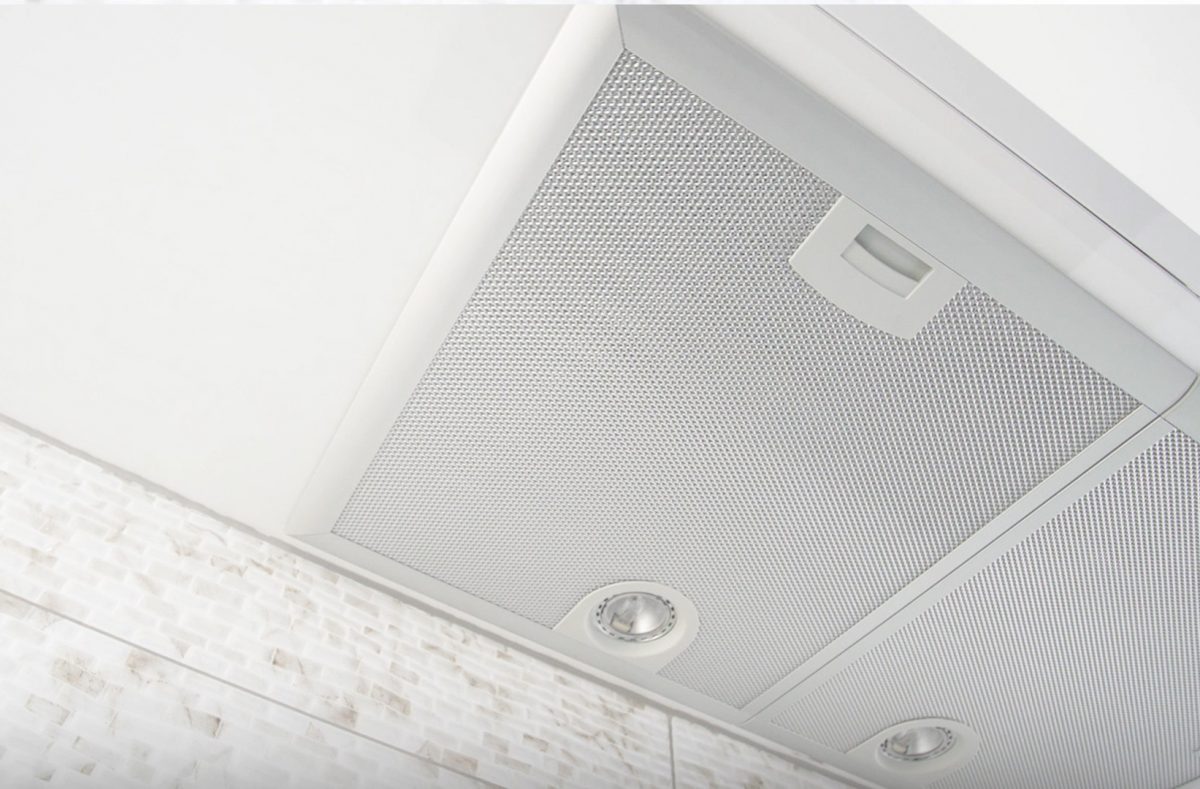
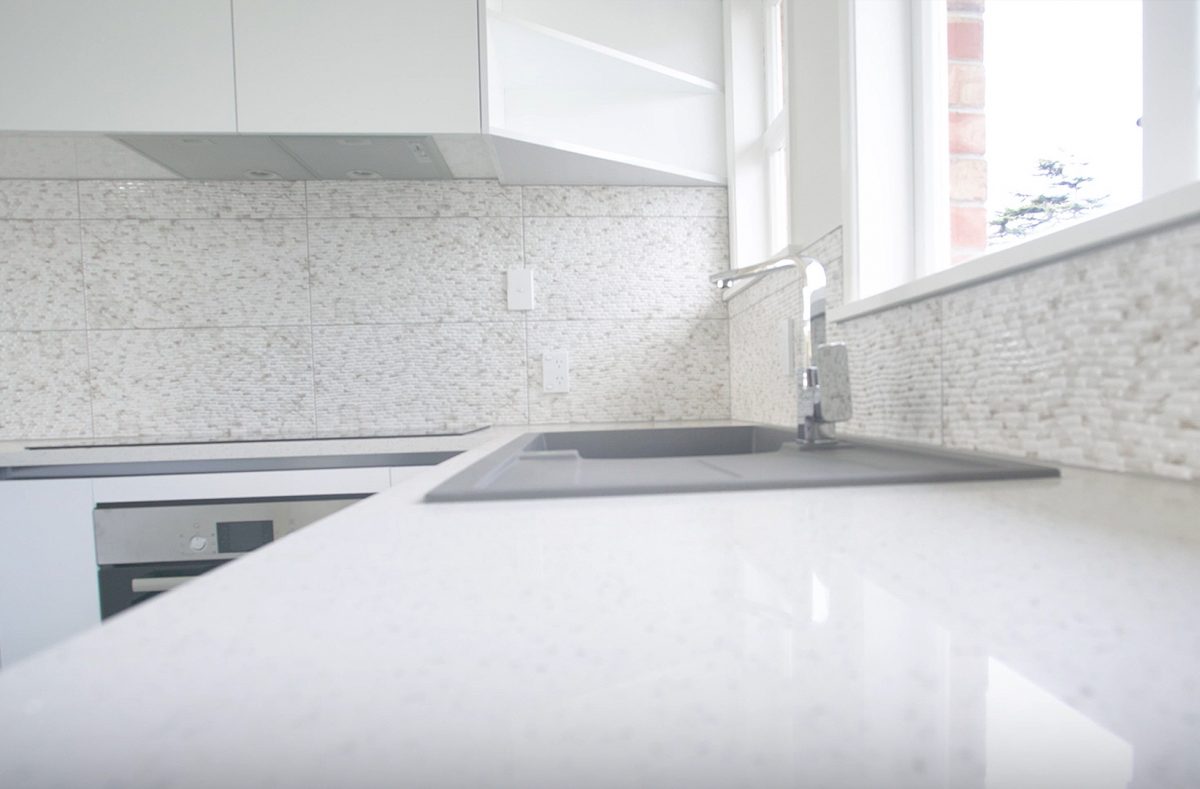
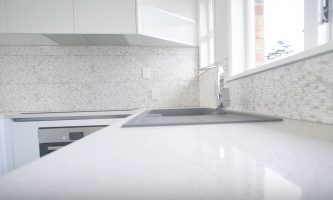
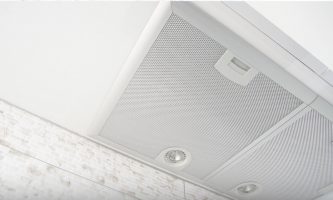
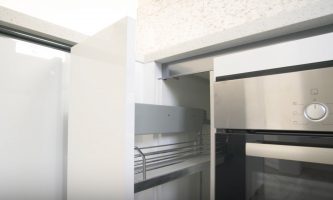
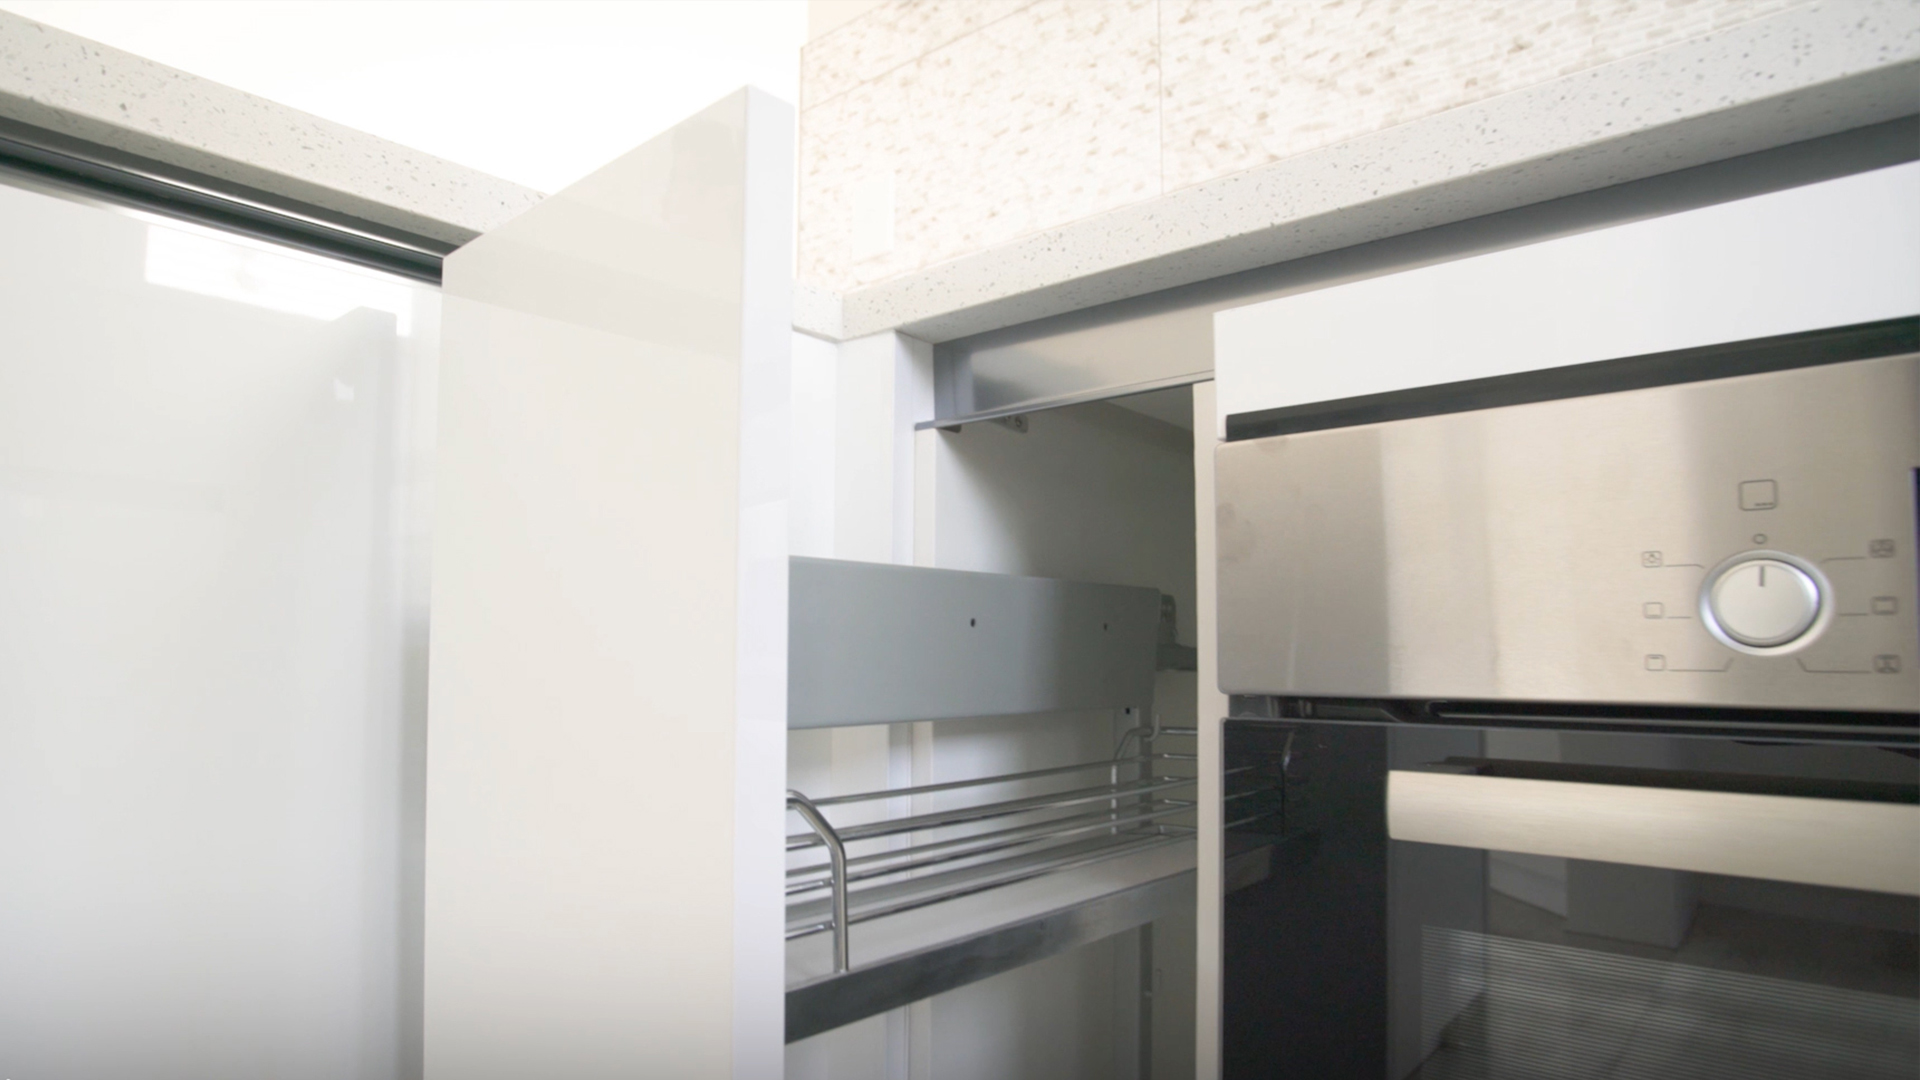
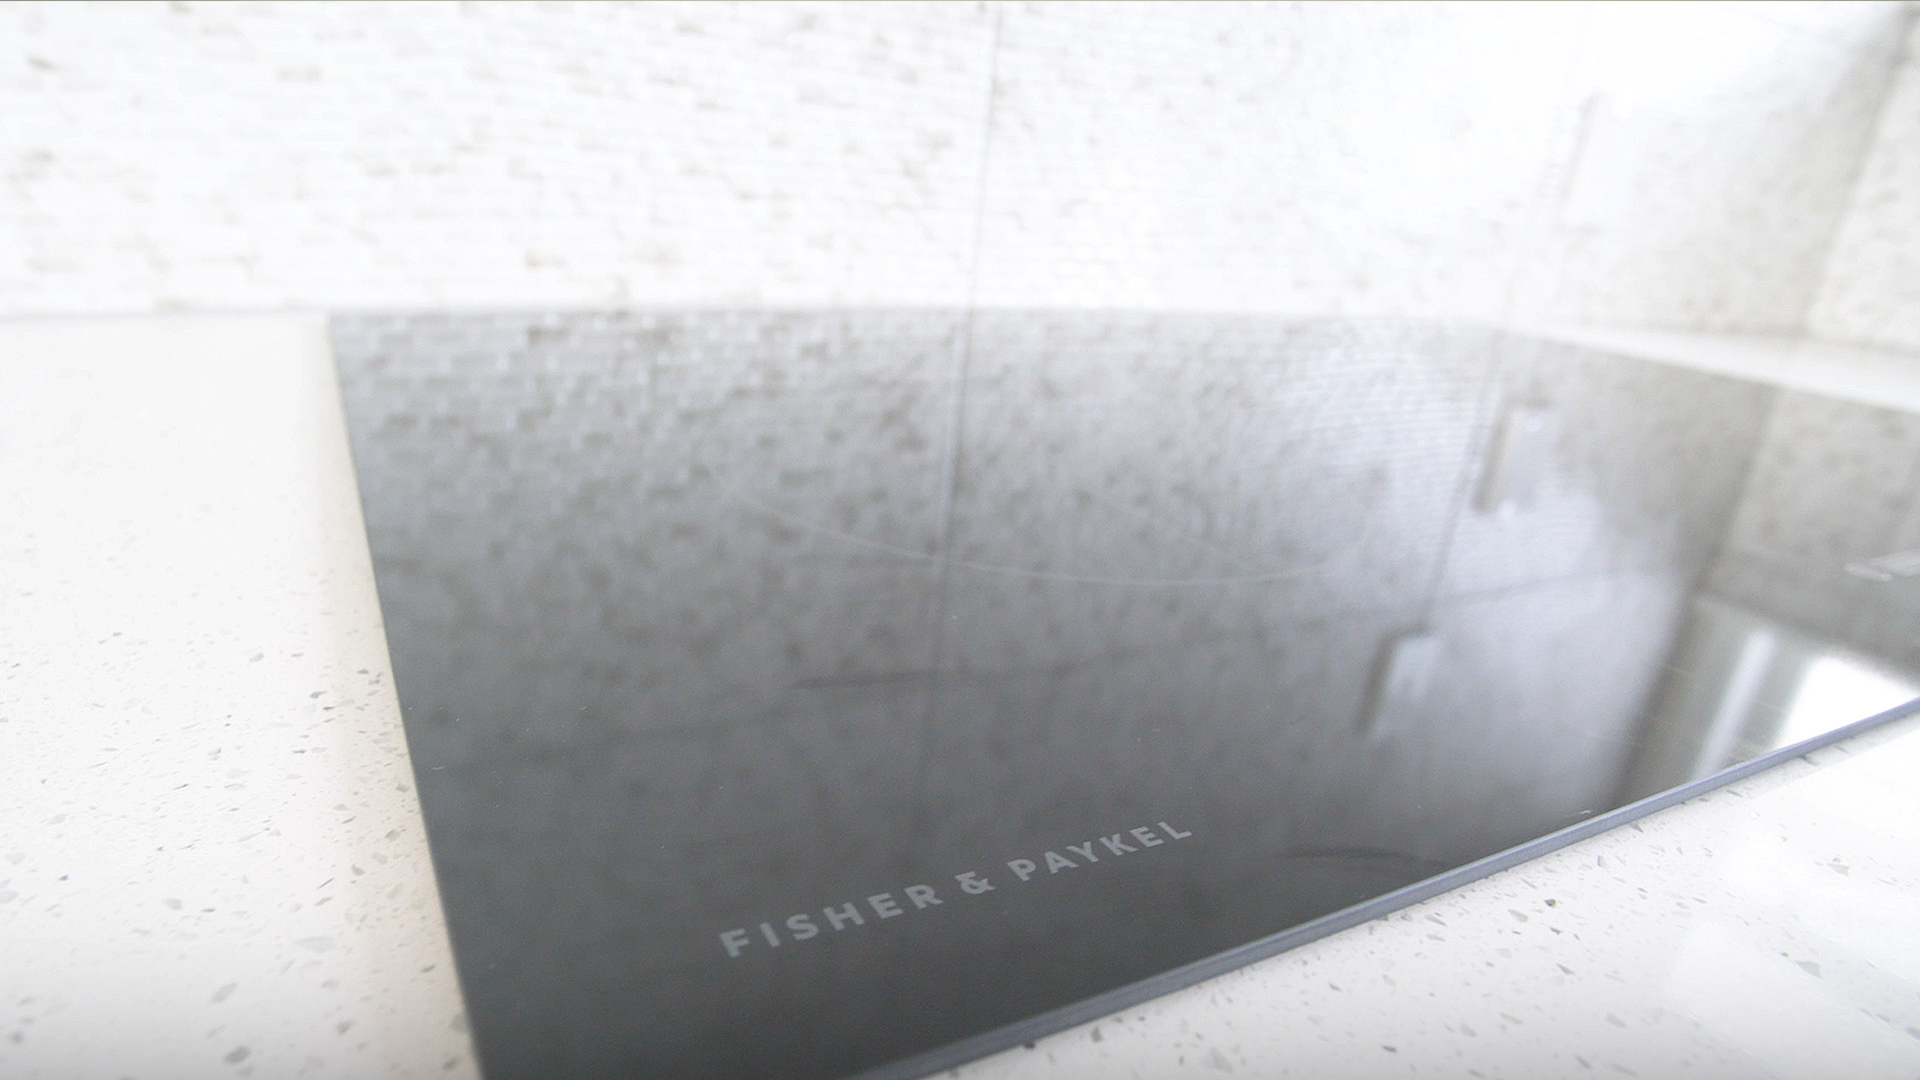
When Jimmy assessed the ceiling he realised that just painting over the leak was not a good solution at all. The ceiling was rotting and the only way to fix it and comply by the healthy and safety regulations we had to completely demolish it. Hence we got our standby team to focus on installing insulation and renovating the entire ceiling. The team regular team assigned to this client carried out the demolition of the floors. At the same time the kitchen renovation team fitted the GIB, and the underlay in the kitchen. They also installed all the cabinets, the pantry, custom made bench top, the island bar, splash back, cook top, range hood, dishwasher, oven, LED lights, sink wall and power plugs for appliances.
Week 5 – Installation of Floors, Remaining Electrical Work and Painting
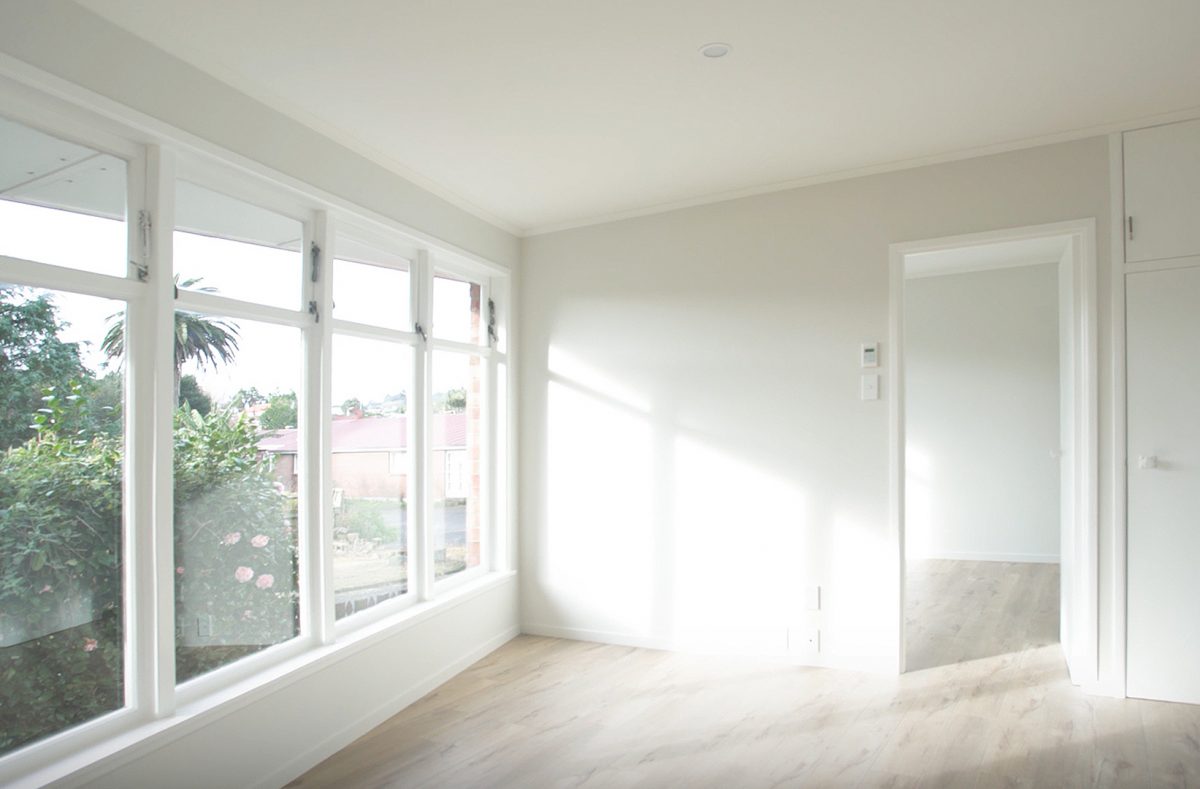
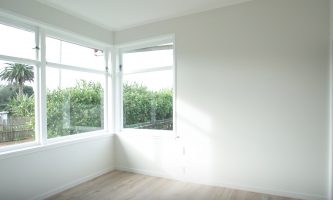
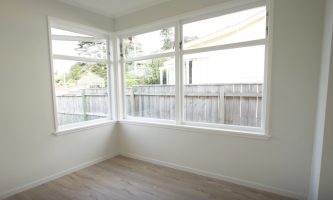
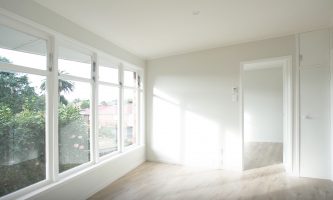
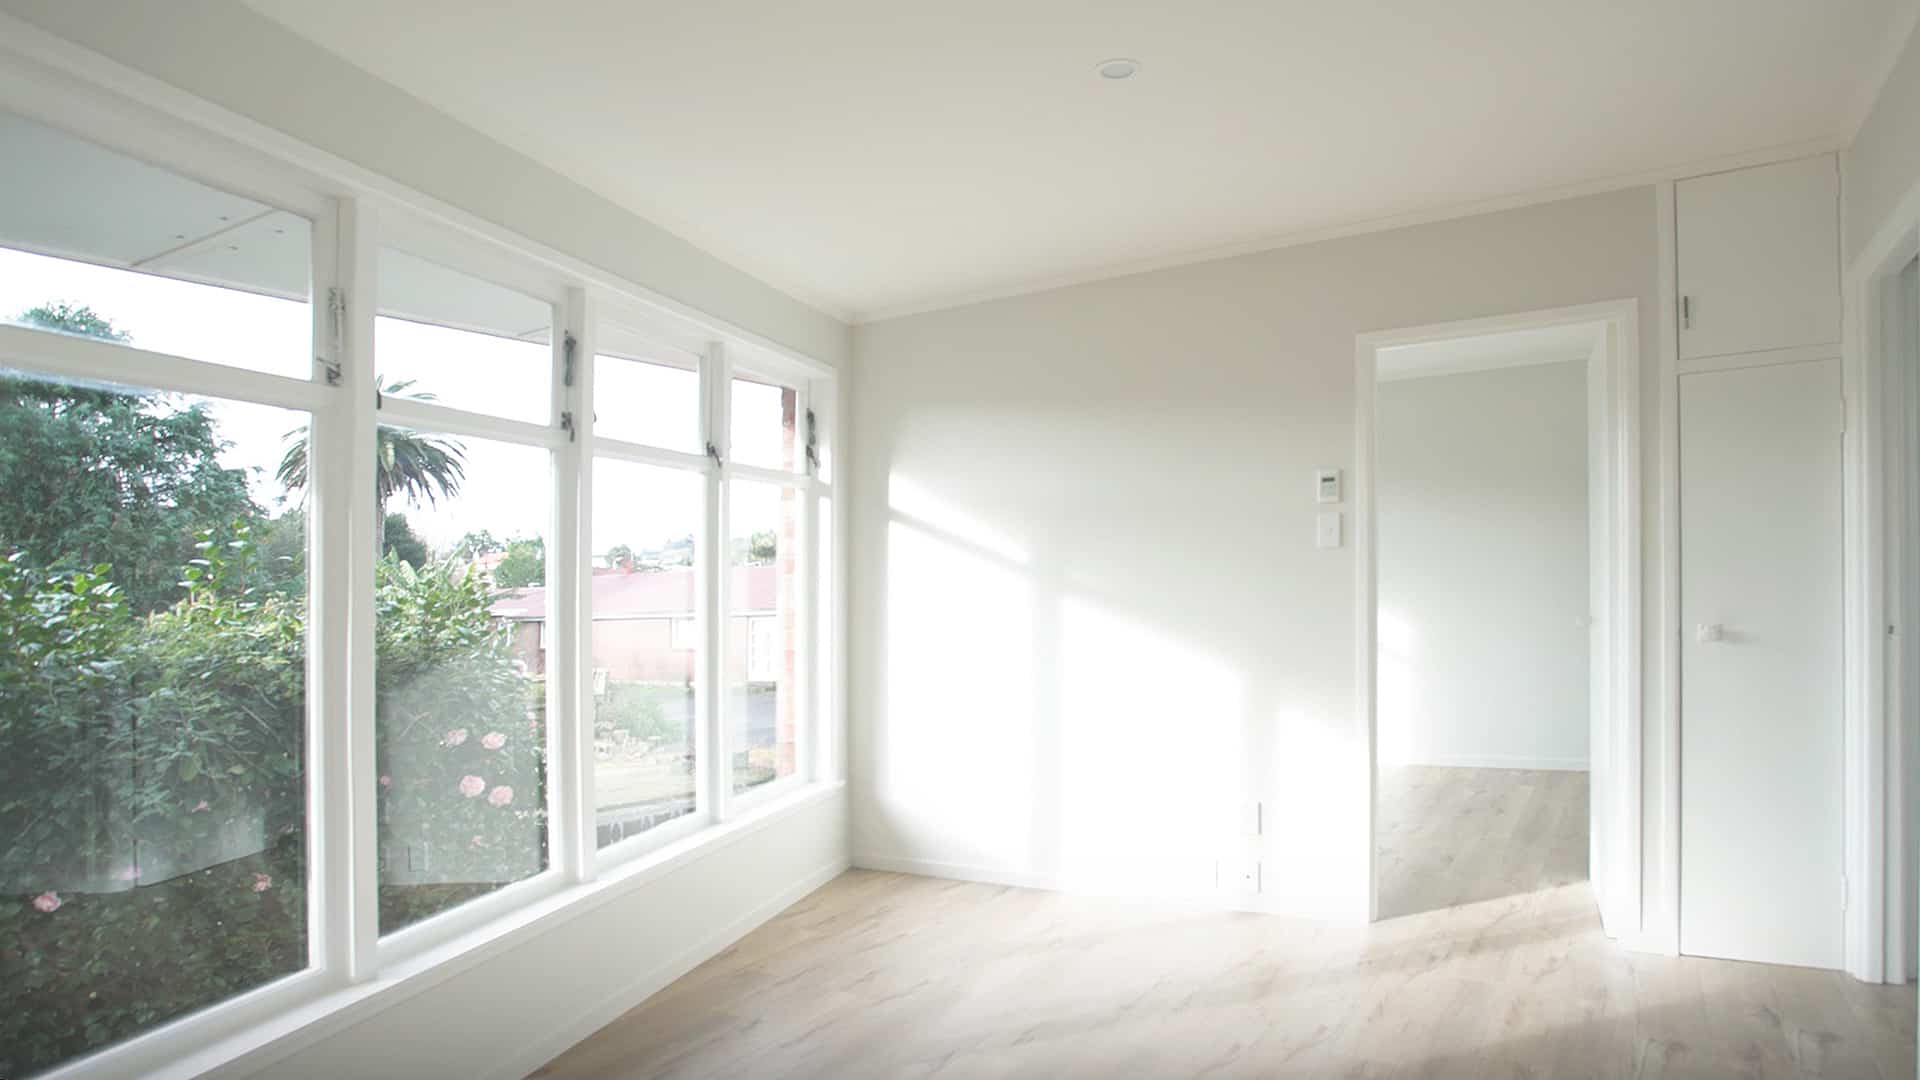
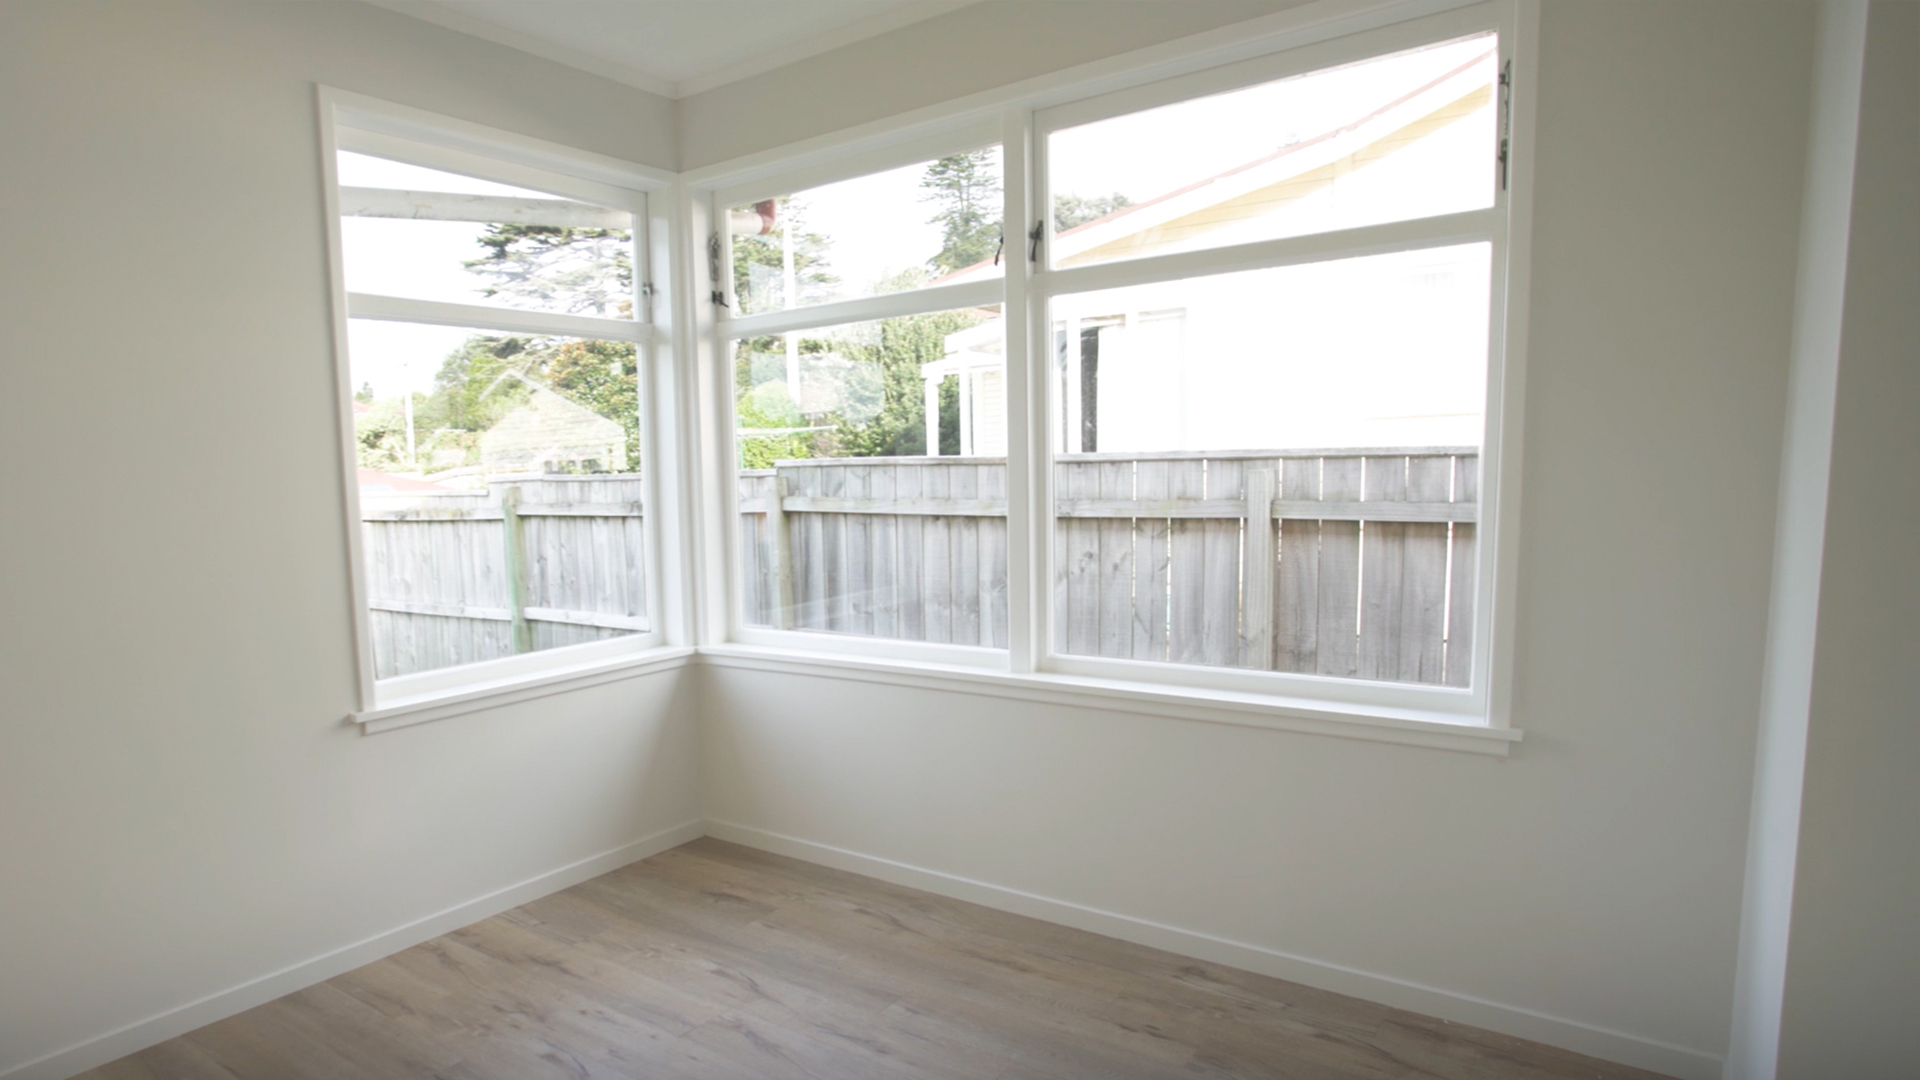
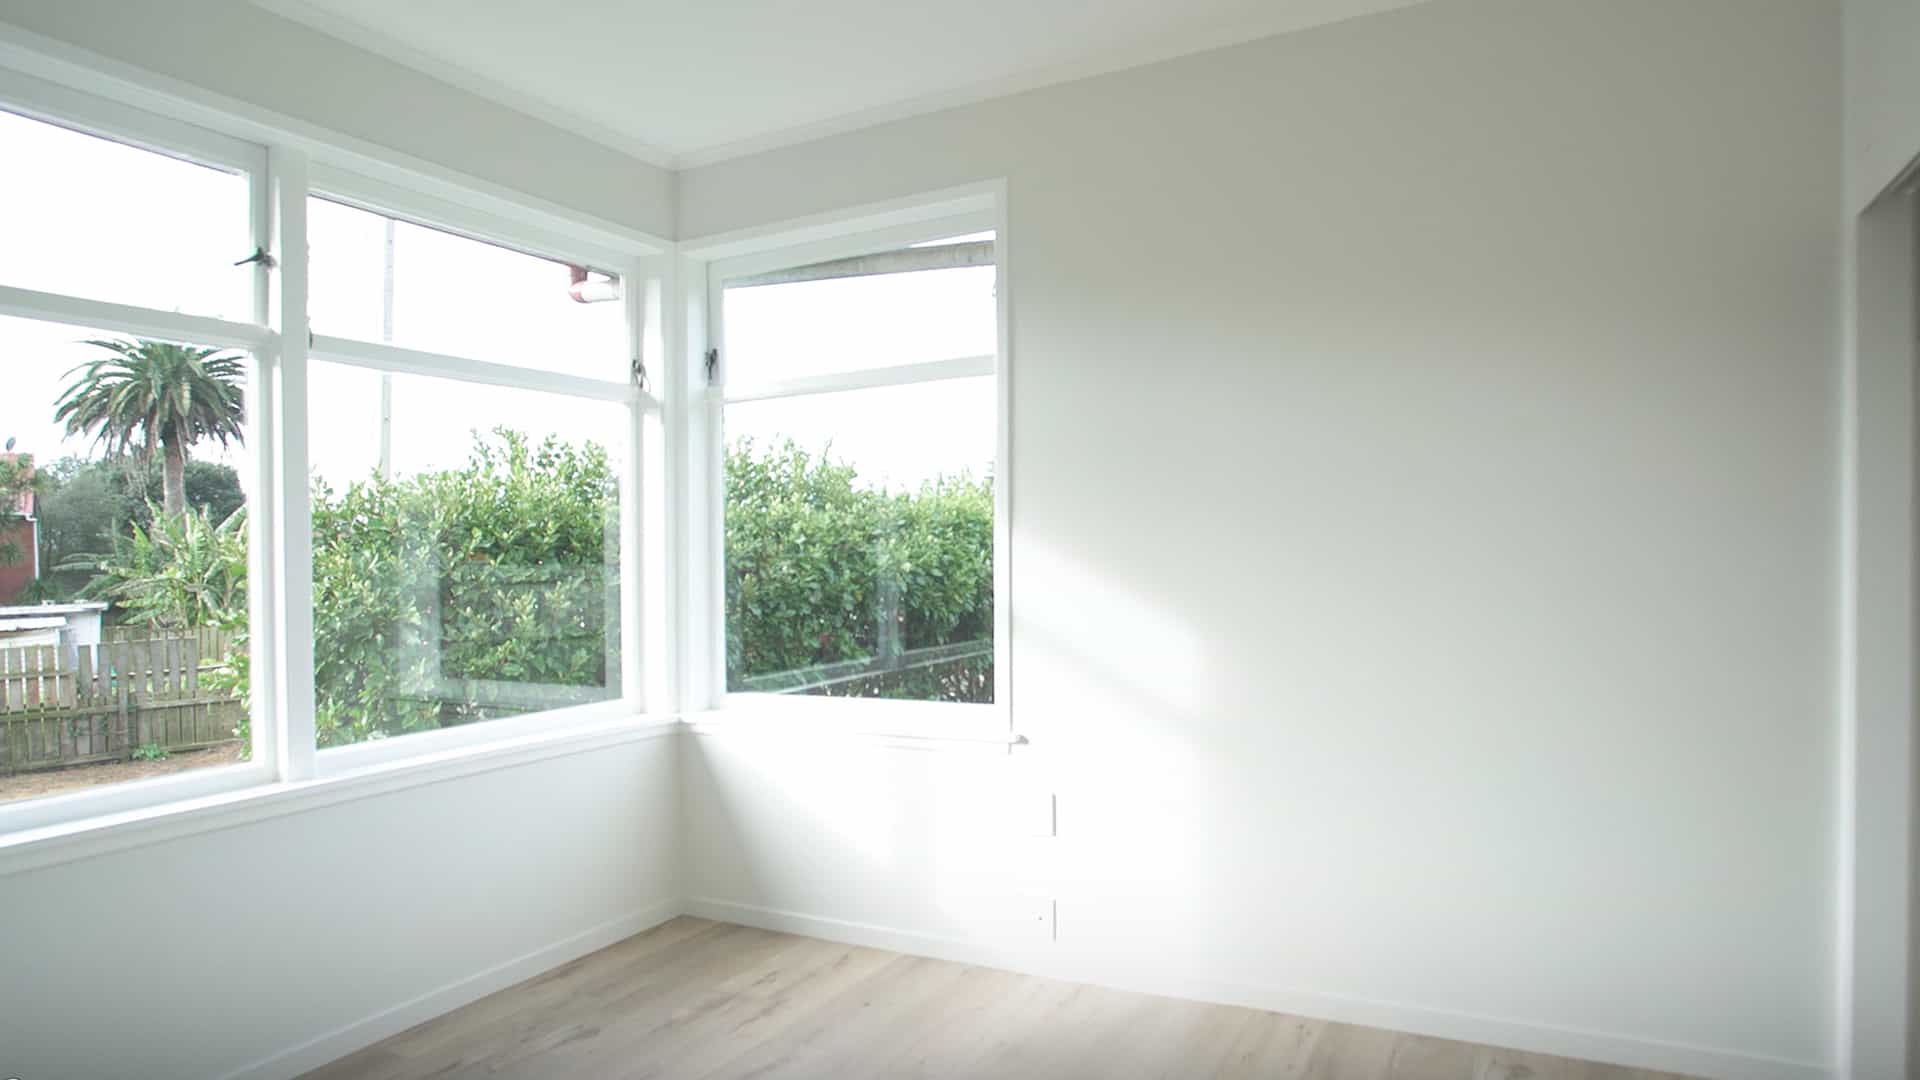
We installed laminate floors for the lounge, engineered wood laminate flooring for the bedrooms and Tiles for the kitchen. All the tiles, carpets and laminated were specifically chosen in light colours to make the small space look open and spacious. We then went on to installing a central alarm system and cooling/heating system.
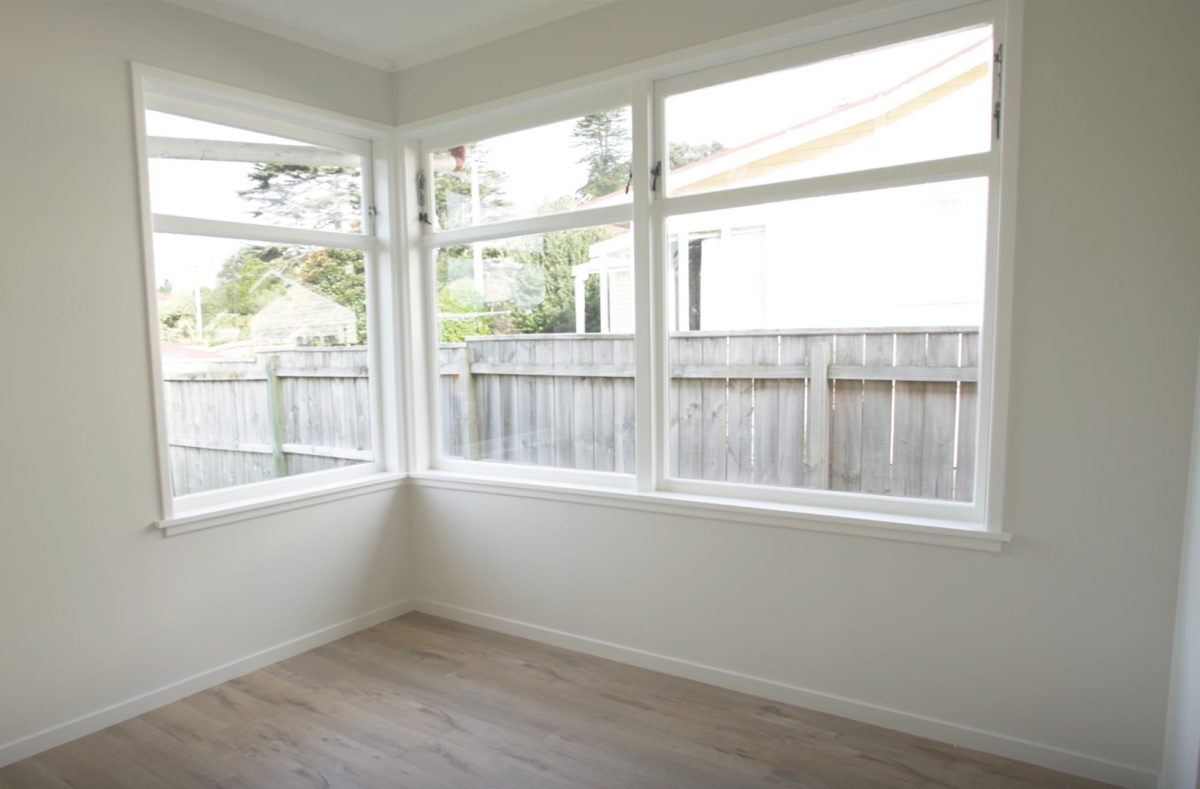
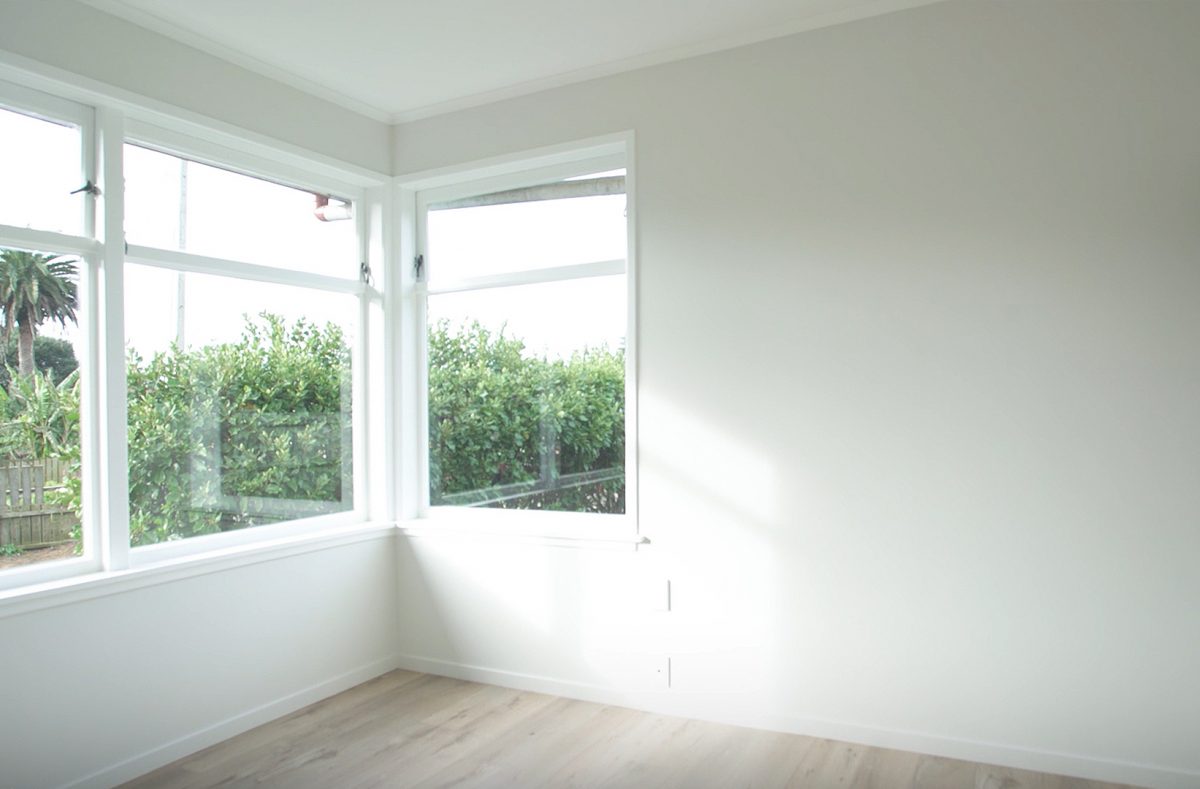
In order to revamp the home, we had to remove all dated wallpaper. Jimmy always advises our clients that it is never a good idea to paint over the wallpapers. Painting over wallpaper will leave a lot to be desired in the end. Over time the paint will crack and the walls do not look as sleek and professional as they should. Hence we removed all the dated wallpaper and repaint all the walls. Majority of the week was spent plastering and sanding all the walls and ceilings throughout the house. We then painted the walls, ceilings, door frames, doors, window frames, and skirting in the two bedrooms, lounge, bathroom and kitchen.
BEFORE

AFTER
Week 6 – Deck and Fence
The client’s deck was falling apart so she asked us whether we could restore it. Restoring was not an option as the wood had rotted. Hence we demolished the previous deck and built a new deck for the client. We did not need consent for this deck as we building the deck within the framework of the previous deck which already had existing consent. We also touched up the paint in the house during this week and installed the pipes and gas cylinder.
Outcome of the renovation
- A very happy client who forged a long lasting friendship with Jimmy
- A newly renovated home that was safe and looked brand new
- The client has tenanted the house as is fetching $300 more compared to the time before the renovation.
- This renovation was a really fun challenge for us as we love transforming homes. This proved to be an investor’s dream and we were happy that we helped our client realise that dream.


