


Insulating a House in NZ: Costs, Consent and Grants
Last updated:
Insulating a House in NZ: What It Costs, What Needs Consent, and When to Do It
Free cost calculator
How much will your renovation cost?
Answer a few questions and we’ll email you an Auckland price range.
Quick answer: House insulation in NZ costs roughly $35–$60 per square metre installed for ceilings and underfloors in Auckland. Walls are priced by access, not area, and need a building consent or a council exemption. Eligible owner-occupiers can get 50–90% off ceiling and underfloor insulation through EECA’s Warmer Kiwi Homes.
Here’s the thing most Auckland homeowners only work out halfway through a reno: the walls are open right now, and they’ll never be this open again without paying to tear them apart a second time.
We’ve pulled the gib off enough Grey Lynn villas and Henderson brick-and-tiles to know how this goes. Someone’s redoing a kitchen or a bathroom, the linings come off, and there it is — bare framing, no insulation, daylight through the weatherboard gaps. That exposed cavity is the single biggest cost lever in the whole insulation question, and it’s open for maybe three weeks before it’s sealed up for the next thirty years. MBIE’s own homeowner guidance says the same thing in plainer words: the best time to insulate is when building a new home or during renovations while walls and ceilings are exposed.
So before you sign off on closing those walls back up, it pays to know what insulation actually costs in NZ, which parts need a council consent, and whether you qualify for a grant. This guide covers all three, for a house you’re renovating and for one you’re not.
Insulation Cost in NZ at a Glance
If you only read one thing, read this. It’s the decision most of our insulation enquiries are really asking about.
| Where | Typical installed cost (Auckland) | Grant? | Building consent? |
|---|---|---|---|
| Ceiling (roof space) | ~$35–$60/m² | Yes, 50–90% if eligible | No (exempt under Schedule 1) |
| Underfloor | ~$35–$60/m², if the subfloor is reachable | Yes, 50–90% if eligible | No (exempt under Schedule 1) |
| Walls, closed (retrofit) | Priced by access; indicatively from ~$5,000 | No, walls are not funded | Yes, or a council exemption |
| Walls, already open (reno or reclad) | Material plus a small labour allowance | No | Covered if the project is consented; if not, it still needs consent or a council exemption |
The ceiling and underfloor rate is the figure we publish on our renovation FAQ. Across every kind of insulation, including walls where the cavity is hard to reach, our Auckland renovation cost guide puts the spread at $40–$160 per square metre, depending on the material and how reachable the cavity is. The wall figure in the table is an indicative starting point, not a quote; the section on cost further down explains why walls refuse to behave like a rate card.
Why a Renovation Is the Cheapest Time to Insulate
Retrofitting insulation into a closed-up wall is a real job. To get insulation into a sealed cavity, someone has to pull off the cladding from outside or the gib from inside, fit the insulation, then patch, stop, and repaint. The insulation itself is cheap, it’s the opening-up and closing-back-down that costs the money.
Now picture the same job during a renovation. The linings are already off for the new wiring and plumbing. The cavity’s already exposed. Fitting insulation at that point is a couple of hours of a builder’s time and the cost of the material. You’re not paying for demolition, because the demolition already happened for the reno. It’s the same logic as doing your wiring and plumbing while the walls are open.
One catch people miss: insulating an external wall needs a building consent or a council exemption even when the linings are already off. A reclad or extension is consented anyway, so it rides on that. A kitchen or bathroom reno often isn’t, so ask your builder to sort the paperwork before the batts go in, not after.
And the payoff is not small. MBIE’s guidance puts it bluntly: a fully insulated home needs about half the heating an uninsulated home requires.
Where the Savings Actually Land
The numbers split into two very different worlds. A standalone wall-insulation retrofit on an Auckland home starts, indicatively, from around $5,000 once you account for stripping and reinstating linings. Fold that same work into a renovation where the walls are already open, and the marginal cost drops to the material plus a small labour allowance, often a few hundred dollars per room rather than thousands.
Ceilings and underfloors are a different story because you don’t usually need to demolish anything to reach them. But even there, a renovation helps: the tradies are already on site, the scaffolding’s up, and bundling the work into one project quote almost always beats calling an insulation crew out as a one-off.
“When we strip the linings off an old villa, I always tell the owner to look at the empty cavity and picture writing a cheque to open it back up in five years. Nobody wants to do that twice. If the wall’s open, you insulate it, full stop.”
— Dorothy Li, Head of Design, Superior Renovations
💡 Quick tip: If your renovation only touches one or two rooms, ask your builder whether it’s worth opening the adjoining wall cavities too while the crew’s already on site. The marginal cost is small and you may never get a cheaper shot at it.
This is exactly the kind of decision that’s easier to get right when the whole job is scoped from the start. If you’re weighing up a larger project, it pays to plan your whole-home renovation properly from the start so insulation, wiring, and waterproofing all get sorted in one coordinated sweep rather than bolted on later.
Ceiling, Underfloor and Wall Insulation: What to Do First
Auckland’s older housing stock tends to get insulated in the same order every time, and for a practical reason. EECA’s insulation guidance is the useful reference here. EECA describes ceilings as often the easiest and most effective area of an existing home to insulate, which is why the roof space is almost always where we start. Underfloors come next where the crawl space is reachable. Walls come last, because they’re the only part that has to be opened up.
Ceiling Insulation
For most Auckland homes, ceiling insulation is the priority and the bargain. Expect to pay around $35–$60 per square metre installed. On a typical three-bedroom roof that’s a manageable spend, and it’s the upgrade you’ll feel first: the house holds its warmth overnight instead of bleeding it into the roof space by morning.
What R-value should you ask for? There’s a legal floor for rentals and nothing stopping you going well past it. The Healthy Homes standard sets R2.9 for ceilings in climate zones 1 and 2, and R3.3 in zone 3 (check your zone on the Tenancy Services map). New, consented work has to meet the Building Code’s H1 clause, which Tenancy Services notes exceeds the Healthy Homes level. EECA’s advice for an existing home is to use those minimums as a guide, “but always go much higher if you can”. The step up in material costs little when an installer is already in your roof space, so get the higher R-value priced on the same quote.
Topping up existing ceiling insulation
If you’re already in the roof for downlights, recessed speakers, or a bathroom extractor during your reno, that’s the moment to top up or replace tired old batts. EECA’s rule of thumb for a top-up is simple: if what’s there is under 120mm thick, sits visibly below the top of the ceiling joists, has gaps, or is damp, mouldy or soiled, it needs replacing or adding to. Dry insulation in decent condition can usually take a new layer over the top. A 1970s ceiling with thin, compacted batts isn’t doing much.
Two catches. Older downlights often need a clearance gap around them because of the fire risk, though some modern LED fittings can be covered safely. And skillion, cathedral or flat roofs with no ceiling space are hard to retrofit unless the roof or lining is being replaced; EECA says to leave at least a 25mm gap between the insulation and the roofing underlay to avoid condensation.
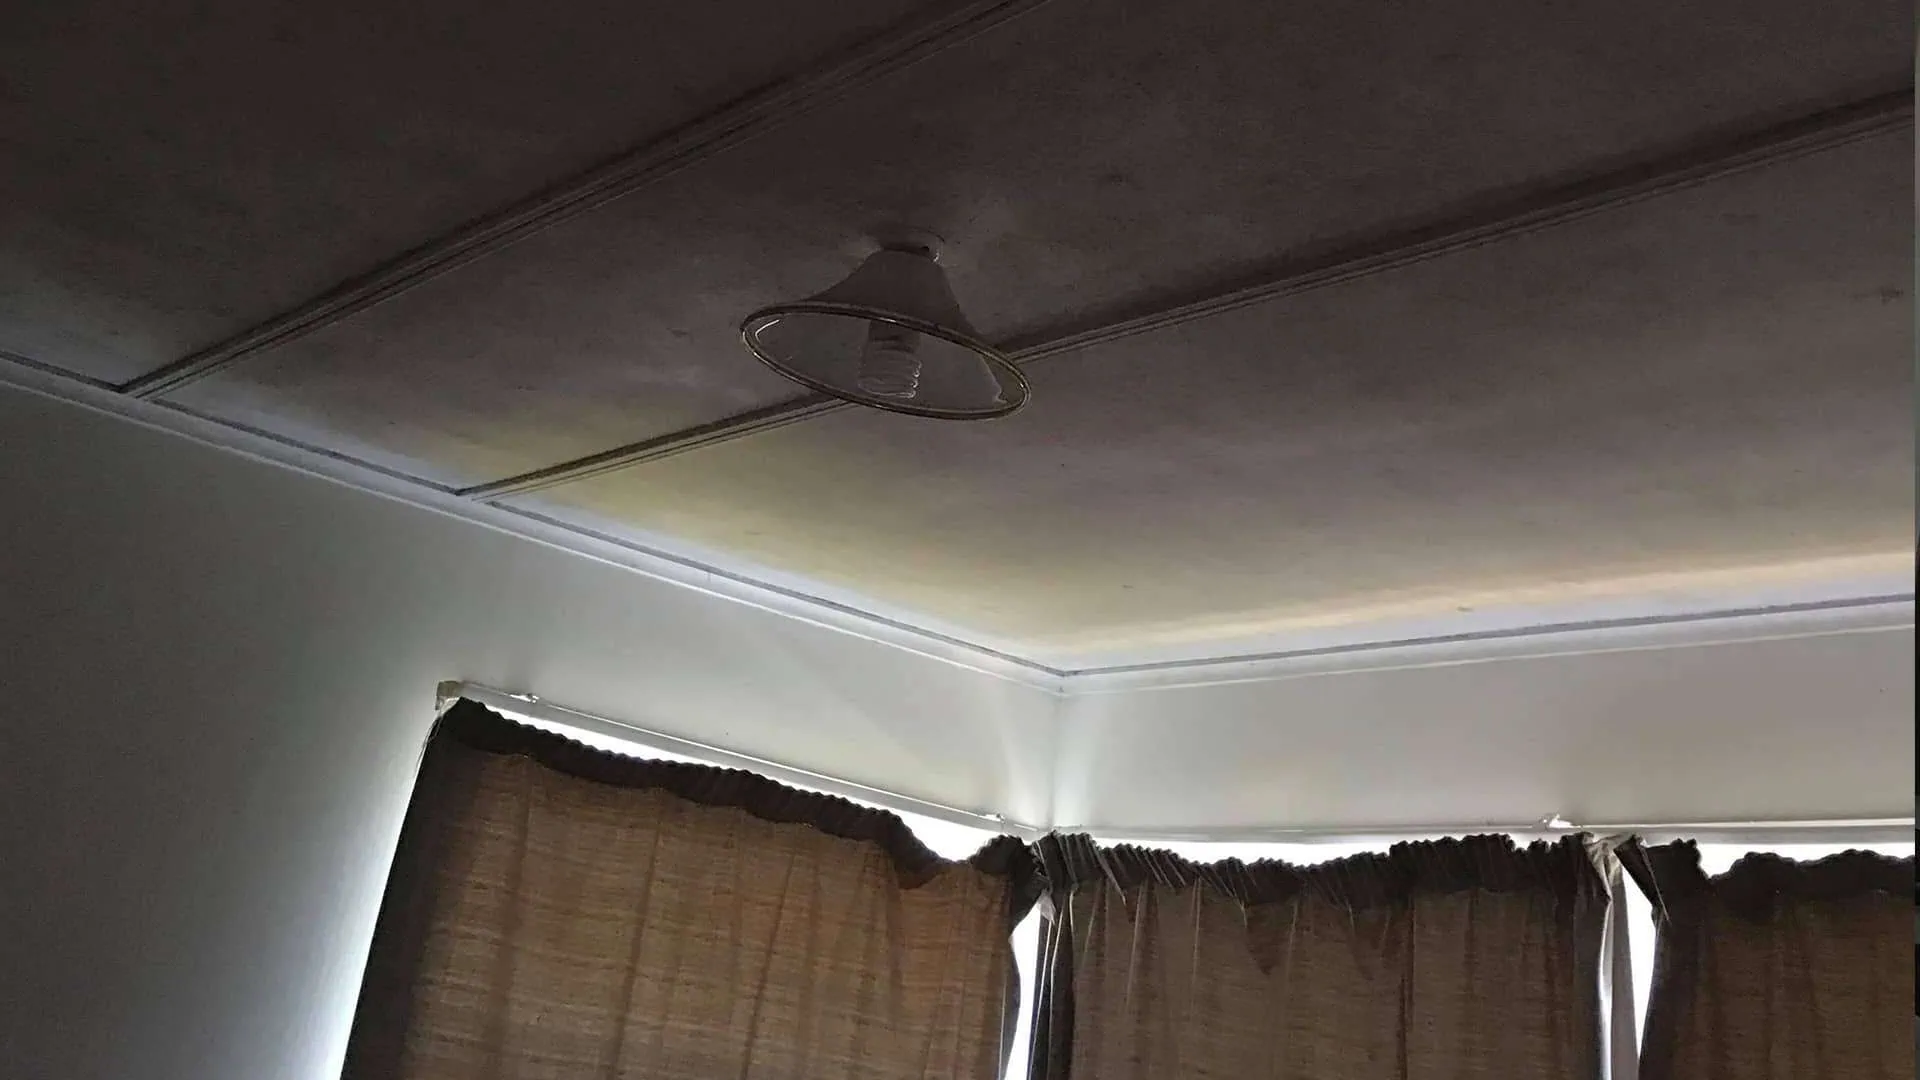 Before
 After
AfterSee the full project
Underfloor Insulation
Plenty of Auckland’s character homes, the villas and bungalows in Mt Eden, Ponsonby, and Grey Lynn, sit on piles over a ventilated subfloor with bare timber floors and nothing underneath. Underfloor insulation stops that icy-floor feeling and is straightforward to retrofit because the crawl space is usually accessible without any demolition. EECA’s guide is that where the subfloor is more than half a metre off the ground, insulation fits easily between the joists.
A few specifics worth knowing before you get a quote:
- Ground moisture barrier. In an enclosed subfloor, a polythene ground sheet laid on the soil under the house cuts moisture and helps the insulation work. Installing one in an existing subfloor is exempt from building consent under clause 13A of Schedule 1 of the Building Act.
- Exposed subfloors. Where wind can get under the house, EECA recommends a product rated for windy conditions, or enclosing the subfloor in line with the Building Code.
- DIY minimum. If you’re doing it yourself, EECA says to choose a product made for underfloors with an R-value of at least R1.4. The Healthy Homes minimum for a rental’s underfloor is R1.3.
- Old foil. Many older NZ homes have aluminium foil under the floor. Retrofitting or repairing foil insulation is now banned; if you find it, EECA says to turn the power off before inspecting it and get an electrician involved if you’re unsure.
- No access? A repile or new floorboards is the natural moment to insulate a floor you can’t otherwise reach.
Wall Insulation
Walls are where the renovation timing really matters. Plenty of older Auckland homes have no wall insulation at all, and getting it in means opening the wall, which is exactly what a renovation or a reclad already does for you. If you’re recladding a leaky-era plaster home or a tired weatherboard exterior, the framing is fully exposed from outside, and that’s the cleanest, cheapest wall-insulation opportunity you’ll ever get. EECA adds one thing people skip: if there’s no building paper behind the cladding, or it’s damaged, it should go in at the same time to protect the new insulation. We cover the full scope of that work on our house recladding service page, because reclad-plus-insulation is one of the highest-value combinations in the whole renovation game.
💡 Quick tip: Always sort any roof or pipe leaks before insulation goes in. EECA lists damp, mould or leak damage as a sign insulation needs replacing, so fix the water first and insulate second.
“The villas we work on in Grey Lynn and Ponsonby were built with nothing in the walls, the floors or the ceiling. Single-skin walls, raw floors. They breathe beautifully and they leak heat constantly. A reno is the one chance to fix that without wrecking the character.”
— Eunice Qin, Designer, Superior Renovations
Warmer Kiwi Homes Insulation Grants: Who Qualifies and What You Pay
This is the part most generic insulation guides get out of date, because grant rules move. Everything below was read on EECA’s Warmer Kiwi Homes page on 05 Oct 2026; check the live page before you rely on it.
Warmer Kiwi Homes pays 50–90% of the cost of ceiling and underfloor insulation for eligible homes, and you pay the installer only the non-funded portion. According to EECA, an insulation retrofit costs about $4,300 on average.
| Grant level | Who gets it | What EECA says you’d pay |
|---|---|---|
| 90% | Community Services Card or SuperGold Combo card holders, or a home in a high-need area | Between $280 and $800 at the 80–90% levels, depending on house size and whether you need ceiling, underfloor or both |
| 80% | Homes in certain areas | As above |
| 50% | Homes in a middle-income area | About $2,150 on the average $4,300 job |
The Eligibility Rules That Catch People Out
To qualify for an insulation grant, you must own and live in a home built before 2008, hold one of the cards above or live in an area the eligibility checker identifies, and the home must not already have ceiling and underfloor insulation. A grant at a previous house doesn’t rule you out at your current one. Eligibility is address-based, so it’s worth running the checker even if a neighbour was turned down.
What it won’t fund matters just as much:
- Wall insulation is not funded. Walls during a reno or reclad are a private cost.
- Rentals, homes owned by businesses, baches, holiday homes and Airbnbs are excluded. The grant is for the home you own and live in.
- Wood and pellet burners are no longer funded. Heating grants now cover high-wall heat pumps only: up to 90% (capped at $3,450) for people in most need, with EECA telling eligible households to expect to pay $400–$700. A heat pump grant needs ceiling and underfloor insulation in place to EECA’s standard first.
Two less-known extras: the programme can now fund creating access to an inaccessible ceiling or underfloor space and repairing minor roof or underfloor leaks, and it can swap older downlights that can’t be covered for LED ones, where the home is assessed as needing insulation. EECA also warns that installation can take up to four months because of installer availability, so if you want it done before winter, apply in spring or summer.
Important note: Warmer Kiwi Homes grants cover ceiling and underfloor insulation, not wall insulation. Wall insulation during a reno or reclad is a private cost, but it’s also the cheapest it’ll ever be while the cavity’s open.
If your renovation budget is the thing holding you back, we’ve also written about renovation lending options, including ANZ’s. Lending products and rates change often, so confirm the current terms with the lender directly.
Insulation Consent and Building Code Rules: What the Council Actually Requires
Two separate questions get tangled together here, so let’s keep them apart.
Do You Need Consent to Insulate?
Insulating an existing ceiling or underfloor doesn’t need a building consent. Clause 13 of Schedule 1 of the Building Act 2004 exempts building work to install thermal insulation in an existing building, other than in an external wall or in an internal fire separation wall. You can top up the ceiling batts in your Epsom bungalow this weekend and the council doesn’t need to hear about it. The work still has to comply with the Building Code; the exemption only removes the consent.
Walls are a different matter, and most insulation content in New Zealand gets this wrong. Retrofitting insulation into an external wall cavity is not the consent-free job people assume it is. MBIE’s guidance is explicit: retrofitting insulation into an external wall cavity is not exempt building work under Schedule 1 of the Building Act, so it either needs a building consent or a specific exemption from the territorial authority. That applies whether the installer opens the linings, pulls the cladding, or blows the material in through drilled holes without opening anything at all. MBIE’s reasoning: all the associated work, down to drilling and repairing holes in the linings, has to be assessed for Code compliance, and the effects on the existing wall can be complex.
The practical read: if a retrofit installer tells you no consent is needed to fill your walls, ask them to put that in writing and check it with the council first.
Wall Insulation Requirements in NZ
People search this expecting a single rule. There are three, and they apply to different houses.
- Rentals (Healthy Homes). The Healthy Homes insulation standard makes ceiling and underfloor insulation compulsory in rental homes, at R2.9 ceiling and R1.3 underfloor in climate zones 1 and 2 (R3.3 ceiling in zone 3). Existing ceiling insulation installed before 1 July 2016 must be at least 120mm thick, and insulation has to be installed to NZS 4246:2016. Walls are not part of that standard. Landlords who don’t comply can face financial penalties of up to $7,200.
- New building work (Building Code clause H1). All building work must comply with the Building Code, consent or not (section 17 of the Building Act). Clause H1.3.1 of the Building Code requires the building envelope around heated spaces to “provide adequate thermal resistance” and “limit uncontrollable airflow”. New external walls on an extension, or a rebuilt wall on a reclad, are designed to that.
- Retrofitting an existing wall. Consent or a council exemption, as above, plus a case-by-case look at moisture, wiring and fire risk.
An owner-occupied home with empty walls isn’t breaking a rule. It’s just cold.
When H1 Gets Triggered
This is the part people miss. When your renovation involves consented building work, a reclad, an extension, new external walls, the new work has to meet the H1 energy-efficiency clause of the NZ Building Code. On a reclad, the council will be looking at the new wall build-up, insulation included, so your designer or Licensed Building Practitioner should tell you exactly what that means for your house. There is a date worth marking here. The current H1 documents (H1/AS1 6th edition and H1/VM1 6th edition) took effect on 27 November 2025, and the previous August 2022 editions stay valid only until 26 November 2026. MBIE says the overall level of insulation required didn’t change in that update, but the old Schedule Method was removed as a compliance pathway and walls are now assessed with framing thermal bridging accounted for more accurately. If your reclad or extension is being drawn now, ask which edition it is being designed to. Full detail sits with Building Performance (MBIE) on H1 energy efficiency, and Auckland Council handles the consent itself.
The upshot is simple. If you’re doing the kind of renovation that needs consent anyway, insulation isn’t really optional, it’s baked into compliance. And since it’s required, you may as well do it properly: go above the minimum while the wall’s open, because the difference between meeting the code and exceeding it is a few dollars of material when you’re already there. For anything involving new external walls, our Auckland house extensions team handles the H1 build-up and consent as part of the job.
💡 Quick tip: Superior Renovations handles all consent applications and council communication in-house, so the H1 compliance side of your insulation is documented and signed off as part of the build, not left as a loose end for you to chase.
Retrofit Wall Insulation: Your Three Options, and the Risk Nobody Mentions
If your walls are closed and you are not renovating, there are only three ways insulation gets into them. They differ enormously in cost, disruption and risk.
1. Blown-in or injected, through drilled holes
The cheapest and least disruptive route: small holes are drilled through the lining or cladding, loose-fill or foamed material is blown into the cavity, and the holes are patched. Nothing comes off, nobody moves out. It is also the option with the least visibility, because no one sees the inside of the wall before or after it is filled.
2. Off the inside, by removing the linings
Strip the GIB, fit batts, re-line, stop and repaint. Full visibility of the framing, wiring and any hidden damage. Expensive as a standalone job because you are paying for demolition and reinstatement on top of the insulation, which is why we treat a standalone wall retrofit as starting, indicatively, from around $5,000 in Auckland.
3. Off the outside, during a reclad
The cladding is coming off anyway, the framing is fully exposed, and the insulation goes in with the wrap and the cavity battens as part of the new build-up. This is comfortably the best-value wall insulation you will ever buy, because the expensive part of the job is already on someone else’s line item. If your home is a leaky-era plaster house or has tired weatherboards, this is the moment.
The Moisture Risk That Decides Which Option Suits Your House
This is the part the quotes rarely cover. MBIE’s guidance on the risks of retrofitting wall insulation warns that the insulation material “will create a pathway for external moisture to migrate to where it could damage moisture-sensitive materials”, and that “the presence of insulation tends to inhibit ventilation and drying in comparison with an uninsulated wall”.
In plain terms: an empty wall cavity dries out. A filled one dries more slowly. On a house where water is already getting past the cladding, filling the cavity can turn a slow leak into rot in the framing. That is why an older Auckland home with no building wrap behind the weatherboards, or with a cladding system that relies on the cavity to drain, needs assessing case by case before anything is blown into it.
It cuts both ways, and MBIE says so. Older houses often lack drainage cavities and treated timber, but many have native heartwood framing that resists decay better than radiata pine, simple forms with wide eaves, and enough air leakage to keep the cavities drying. A 1920s villa and a 1990s plaster house can get opposite answers to the same question.
Wiring, Downlights and Asbestos
The same guidance notes that fires have occurred where ceiling insulation was installed over downlights, and that foamed polystyrene insulation can damage the PVC insulation on most modern wiring. Older wiring is its own issue: VIR and TRS cables were used in New Zealand until the late 1950s, and MBIE suggests talking to an electrician about replacing them if they turn up during an insulation retrofit. Older buildings can also contain asbestos, which needs identifying and managing before anyone drills, cuts or strips; our guide to asbestos in an older house renovation covers the testing and who is allowed to remove it. None of these is a reason not to insulate. All of them are reasons to have someone look inside the wall.
Important note: Before agreeing to any blown-in wall retrofit, ask the installer what is behind your cladding and how they have assessed the drying risk. If there is no answer, that is the answer. Weathertightness and consent questions on an existing wall belong with a Licensed Building Practitioner or Auckland Council, not with a quote.
Where the wall has to come off anyway, we fold the insulation into the build-up rather than treating it as a separate trade. That is covered on our reclad service, where the new wall build-up is specified as one system, and we’ve written separately on when a reclad needs consent and on the cladding options available in New Zealand.
What Insulation Costs in NZ: Ceiling, Underfloor and Walls Compared
The honest answer is that ceiling and underfloor pricing is predictable, and wall pricing is not, because walls are priced by access rather than by area.
Ceiling Insulation Cost
Ceiling insulation runs roughly $35–$60 per square metre installed in Auckland. It is measured, quoted and installed per square metre because a ceiling cavity is a known quantity: the installer can see it, walk it and count it. The product changes the number. Blanket rolls laid over the joists cut the heat lost through the timber and suit a top-up; segments sit between the joists and are quicker to fit; loose-fill blown in suits tight roof spaces, though EECA notes its performance depends heavily on the material and the installer.
Underfloor Insulation Cost
Underfloor is priced the same way where the crawl space is accessible, inside the same $35–$60 per square metre band. What pushes an underfloor quote up is access, not area: a low subfloor, an exposed one that needs a wind-rated product, old foil that has to come out first, or a ground moisture barrier added at the same time.
Wall Insulation Cost
Walls do not behave like that. Two houses of the same size can be priced very differently on the same insulation because one has an accessible cavity and the other needs its linings removed and reinstated, plus the consent. That is why we quote wall insulation as part of a scope rather than off a rate card, and why anyone quoting you a flat per-square-metre wall price sight-unseen is guessing. Our published $40–$160 per square metre spread across all insulation reflects exactly that range of access.
A Worked Example
Take a single-level house with roughly 100m² of ceiling and the same area of reachable subfloor. At $35–$60 per square metre, the ceiling lands around $3,500–$6,000 and the underfloor around the same again, so roughly $7,000–$12,000 for both. That’s simple arithmetic on our published rate, not a quote. EECA’s national average for an insulation retrofit is lower, about $4,300, and EECA is clear that the figure moves with the size of the house and whether it needs ceiling, underfloor or both. On that average job, a 50% grant leaves you paying about $2,150.
For the national picture, EECA also estimates a well-insulated home saves up to $340 a year off the power bill. Note what the grant does and doesn’t reach, which is the single most common misunderstanding we hear.
| Where | How it is priced | Warmer Kiwi Homes grant? | Consent? |
|---|---|---|---|
| Ceiling | Per m² (~$35–$60 installed) | Yes, 50–90% if eligible | Not on its own |
| Underfloor | Per m², subject to crawl-space access | Yes, 50–90% if eligible | Not on its own |
| Walls — standalone retrofit | By access, indicatively from ~$5,000 | No — walls are not funded | Yes — consent or a TA exemption |
| Walls — during a reno or reclad | Material plus a small labour allowance | No | Covered if the reno or reclad is consented; otherwise consent or a council exemption |
What a Fair Insulation Quote Should Show
An insulation quote you can compare line by line should name, for each area:
- The product and its R-value, and that it complies with AS/NZS 4859.1, which EECA says every insulation product sold here should.
- That it will be installed to NZS 4246:2016, the installation standard MBIE cites in H1/AS1 and Healthy Homes requires for rentals. Gaps and compressed batts are where performance disappears: MBIE notes that small gaps “can significantly reduce the effectiveness” of insulation.
- How downlights, flues and old wiring will be handled.
- Whether old insulation or foil is being removed, and what that costs.
- Any ground moisture barrier, access work or leak repairs.
- For walls: who is getting the consent or exemption, and how the drying risk has been assessed.
If a quote is missing the R-value, you can’t compare it. Ask.
Choosing Insulation That Suits Auckland’s Climate
Auckland isn’t Central Otago. Our problem isn’t deep frost, it’s mild, damp, humid winters where moisture is the enemy as much as cold. That makes how the insulation is installed, and how the house is kept dry, matter more than which fibre goes in. A ground sheet under the floor, a sound roof and decent ventilation do more for a damp Auckland house than any product swap.
MBIE lists the common materials as fibreglass, cellulose, polystyrene, polyester and wool fibre. Polyester is non-itchy and an easy choice for ceilings and underfloors. Wool does the same job as a natural-fibre option. Fibreglass batts still do the job and cost less, so they remain a sensible pick for a tighter budget. Polystyrene is common underfloor; foamed polystyrene is the one MBIE warns can damage PVC-sheathed wiring, so it needs care around cables. The key with any of them is a snug fit with no gaps, because MBIE is clear that gaps and compression cut the rated performance.
Insulation only holds what the windows don’t lose. EECA calls windows the biggest source of heat lost in an otherwise well-insulated home, so double glazing is the obvious companion upgrade. We compare the two window options in single vs double glazing in NZ, and cover the option that suits an existing joinery frame in our guide to retrofit double glazing in Auckland. You can ballpark that side of the spend with our double glazing cost calculator before you commit to a scope.
For independent research on how wall retrofits manage moisture, MBIE points readers to BRANZ’s “Warmer drier healthier” articles. And if you’re renovating a character home specifically, we’ve gone deep on keeping the warmth in without losing the soul of the place in our guide to Auckland villa renovation ideas.
The Bottom Line for Auckland Homeowners
If you’re renovating an older Auckland home, the insulation decision is mostly a timing decision. The walls and ceilings are open exactly once during your project, and that’s the cheapest they’ll ever be to insulate. Get the ceiling sorted first, run the Warmer Kiwi Homes eligibility checker, and if you’re recladding or extending, treat wall insulation as part of the build rather than a job for later.
We’ve done this on more than a thousand Auckland projects, and the homeowners who fold insulation into the reno never regret it. The ones who close the walls up and deal with the cold later always wish they’d done it the first time. You can talk it through with our team at the Wairau Valley showroom (16B Link Drive), or start with the links below.
➡ Book your free in-home consultation with Superior Renovations
➡ Estimate your double glazing and energy upgrade costs
➡ Request a free feasibility report for your project
How much does it cost to insulate a house in NZ?
In Auckland, ceiling and underfloor insulation runs roughly $35–$60 per square metre installed, so a single-level house with about 100m² of each lands around $7,000–$12,000 for both before any grant. Walls are priced by access rather than area: a standalone wall retrofit starts, indicatively, from around $5,000, while walls that are already open in a renovation cost the material plus a small labour allowance. EECA puts the average insulation retrofit at about $4,300, and eligible owner-occupiers can get 50–90% off ceiling and underfloor insulation through Warmer Kiwi Homes.
Do I need a building consent to insulate my home?
Not for ceilings or underfloors. Clause 13 of Schedule 1 of the Building Act 2004 exempts installing thermal insulation in an existing building, except in an external wall or a fire separation wall. Walls are where most advice is wrong: MBIE states that retrofitting insulation into an external wall cavity is not exempt building work, so it needs a building consent or a specific exemption from your council. That applies even to blown-in installs where nothing is removed. Superior Renovations handles consent applications with Auckland Council in-house.
What R-value insulation do I need in Auckland?
For rentals, the Healthy Homes standard sets a minimum of R2.9 for ceilings and R1.3 for underfloors in climate zones 1 and 2, and R3.3 for ceilings in zone 3; check your zone on the Tenancy Services map. New consented work has to meet Building Code clause H1, which Tenancy Services notes exceeds the Healthy Homes level. For an existing owner-occupied home there is no legal minimum, and EECA's advice is to treat those minimums as a guide and always go much higher if you can. For DIY underfloor insulation, EECA suggests at least R1.4.
Am I eligible for the Warmer Kiwi Homes insulation grant?
You may qualify if you own and live in a home built before 2008, the home doesn't already have ceiling and underfloor insulation, and you hold a Community Services Card or SuperGold Combo card or live in an area the eligibility checker identifies. The grant is 90%, 80% or 50% depending on those criteria, and you pay the installer only the non-funded portion. Rentals, baches and holiday homes are excluded, and wall insulation is not funded. Rules change, so run EECA's online checker for your address.
Why is a renovation the best time to insulate?
Because the walls and ceilings are already open. The insulation material itself is cheap; the real cost of a standalone wall retrofit is opening up the cladding or linings and reinstating them afterwards. During a renovation that demolition has already happened for the wiring, plumbing or reclad, so you mostly pay for the material and a little extra labour. MBIE's homeowner guidance says the same: the best time to insulate is when building or during renovations while walls and ceilings are exposed. External walls still need a consent or council exemption, even when they are already open.
What's the best type of insulation for an Auckland home?
MBIE lists fibreglass, cellulose, polystyrene, polyester and wool fibre as the common materials, and all of them work when they are installed properly. In Auckland's damp climate, a snug, gap-free install to NZS 4246:2016, a dry roof and a ground moisture barrier under the floor matter more than the fibre. Fibreglass is usually the budget option, polyester is non-itchy, and wool is the natural-fibre choice. Whatever you pick, check it complies with AS/NZS 4859.1 and that the quote states its R-value.
Should I insulate my walls when recladding my house?
Yes. Recladding is the single best wall-insulation opportunity you'll ever get, because the framing is fully exposed from outside and you're already paying to open the wall. A reclad goes through building consent, and new building work has to meet clause H1 of the Building Code, so the council will be checking the new wall build-up. EECA also recommends installing building paper at the same time if there is none or it is damaged, to protect the new insulation from moisture.
Does insulation really lower my power bill?
Yes. EECA estimates a well-insulated home can save up to $340 a year off the power bill, and MBIE's guidance says a fully insulated home needs about half the heating an uninsulated home requires. The comfort gain is immediate: the house holds its warmth overnight instead of losing it through the roof. Ceilings are often the easiest and most effective place to start, which is why we usually do them first.
How much does underfloor insulation cost in Auckland?
Where the subfloor is accessible, underfloor insulation sits in the same band as ceilings, roughly $35–$60 per square metre installed. What moves the price is access: a low crawl space, an exposed subfloor that needs a wind-rated product, old foil that must come out first, or a polythene ground moisture barrier added at the same time. EECA notes insulation fits easily between the joists where the subfloor is more than half a metre off the ground. Eligible owner-occupiers can get 50–90% off through Warmer Kiwi Homes.
How much does retrofit wall insulation cost in NZ?
There is no honest per-square-metre rate for retrofit wall insulation, because walls are priced by access rather than by area. A standalone retrofit on an Auckland home starts, indicatively, from around $5,000 once you account for opening and reinstating the linings and the consent, and two houses of the same size can be priced very differently. Across all insulation types our published spread is $40–$160 per square metre. Fold the work into a renovation or reclad and the cost drops to the material plus a small labour allowance. Warmer Kiwi Homes does not fund walls.
Is blown-in wall insulation safe for an older Auckland home?
It depends entirely on what is behind your cladding, and it needs assessing case by case. MBIE warns that retrofitted insulation creates a pathway for external moisture to reach moisture-sensitive materials, and that insulation tends to inhibit ventilation and drying compared with an uninsulated wall. It also flags old VIR and TRS wiring and foamed polystyrene against PVC cables as electrical risks. On a home with no functioning wall underlay, filling the cavity can turn a slow leak into rot in the framing. Have a Licensed Building Practitioner assess the wall first.
What should an insulation quote include?
For each area, a quote you can compare should name the product, its R-value and that it complies with AS/NZS 4859.1, and confirm it will be installed to NZS 4246:2016. It should also say how downlights, flues and old wiring will be handled, whether old insulation or foil is being removed, and whether a ground moisture barrier, access work or leak repair is included. For walls, it should say who is getting the consent or council exemption and how the drying risk was assessed. If the R-value is missing, ask for it.
Further Resources for your house renovation
- Featured projects and Client stories to see specifications on some of the projects.
- Real client stories from Auckland
Need more information?
Take advantage of our FREE Complete Home Renovation Guide (48 pages), whether you’re already renovating or in the process of deciding to renovate, it’s not an easy process, this guide which includes a free 100+ point check list – will help you avoid costly mistakes.
Download Free Renovation Guide (PDF)
Have you been putting off getting renovations done?
We have partnered with Q Mastercard ® to provide you an 18 Month Interest-Free Payment Option, you can enjoy your new home now and stress less.
Learn More about Interest-Free Payment Options*
*Lending criteria, fees, terms and conditions apply. Mastercard is a registered trademark and the circles design is a trademark of Mastercard International Incorporated.
Still have questions unanswered?
Book a no-obligation consultation with the team at Superior Renovations, we’d love to meet you to discuss your renovation ideas!
References
- Building Performance (MBIE) — Retrofitting insulation in external walls
- Building Performance (MBIE) — Risks with retrofitting wall insulation
- Building Performance (MBIE) — H1 Energy Efficiency (current editions and transition dates)
- Building Performance (MBIE) — Increasing the flexibility of H1 energy efficiency (27 November 2025)
- Building Performance (MBIE) — Insulating for an energy efficient building
- EECA — Warmer Kiwi Homes insulation and heater grants
- EECA — Insulate your home
- Tenancy Services — Healthy homes insulation standard
- Building Act 2004 — Schedule 1, Building work for which building consent not required
- Building Regulations 1992 — Schedule 1, the Building Code (clause H1)
- Auckland Council — Building consents


