

Bathroom Renovation Mistakes NZ: 7 to Avoid and What Repairs Cost
Last updated:
Quick answer: The bathroom renovation mistakes that cost Auckland homeowners most are budgeting $10,000 for a job that sits at $25,000–$35,000, treating the waterproofing membrane as somewhere to save, venting the extractor fan into the ceiling, assuming every change is consent-free, and picking wet-area materials for looks. A failed shower is the expensive one: once a repair reaches the membrane or framing, our own published figures put it in the $25,000–$35,000 band.
A bathroom renovation should be one of the better decisions you make in your Auckland home. Done properly, you get a room that works harder, dries out faster and holds its value.
Done badly? You get mould behind new tiles, a budget that was never realistic, or a call from Auckland Council about plumbing work nobody checked the consent position on.
We’ve been renovating Auckland homes since 2017, and bathrooms are a regular part of that work: villas, bungalows, 1970s brick-and-tile and newer builds. The same handful of mistakes turns up again and again, and nearly all of them are decided before demo day. The fix is almost always better planning, not more money.
This isn’t a list of vague warnings. Each mistake below comes with what it tends to cost to put right, the NZ rule that applies (quoted from the source, not paraphrased from memory) and the specific fix. There’s also a section on the question we get asked most by people who already have the problem: what it costs to repair a shower or ensuite that’s cracking, leaking or lifting.
Mistake #1: Getting the Budget Wrong From Day One
Free cost calculator
How much will your bathroom renovation cost?
Answer a few questions and we’ll email you an Auckland price range.
This is the most common bathroom renovation mistake we see in Auckland, and the gap isn’t small.
Plenty of homeowners walk in expecting to spend $10,000–$15,000 on a full bathroom renovation. The reality? A mid-range full bathroom renovation in Auckland costs $25,000–$35,000 in 2026, covering design, supply, all trades and project management. That isn’t luxury. It’s a properly done standard job with new tiles, vanity, shower, lighting and fixtures.
Where the Numbers Actually Land
These are the bands we publish on our renovation FAQ, so the figure you read here is the same one you’ll hear in a consultation:
| Renovation Tier | Typical Cost (Auckland, 2026) | What’s Included |
|---|---|---|
| Budget refresh | $8,000–$15,000 | New paint, fittings, minor tiling, no layout changes |
| Mid-range full renovation | $25,000–$35,000 | New tiles, vanity, shower, fixtures, lighting, labour, project management |
| Luxury / custom wet room | $35,000–$65,000+ | Premium materials, structural changes, wet room, custom design |
Our FAQ also answers the $10,000 question directly. On a small 4–6m² bathroom, $10,000 can cover a retile of the wet area, a vanity swap, a basic acrylic shower, a new toilet and paint, with everything staying exactly where it is. Move the toilet, change the shower layout or find rotten framing behind the wall and that budget breaks.
Why Are Bathroom Renovations So Expensive?
Because a bathroom is the most trade-dense room in the house. Our FAQ lists 7 to 8 specialist trades on a full bathroom: demolition, plumber, electrician, waterproofer, tiler, plasterer or GIB stopper, painter and installer. They work in sequence in a space the size of a small car, and each one has to come back at the right moment.
Our line-by-line Auckland bathroom cost breakdown puts the fixed trade cost (plumbers, electricians and tilers at $120–$150 an hour) at $10,000–$15,000 regardless of how big the room is. What scales with size is mainly tiles and membrane. That’s why a small ensuite rarely costs half what a big family bathroom does, and why “it’s only a small room” is the start of most underbudgeted projects.
The Real Damage of Underbudgeting
When a renovation starts on unrealistic numbers, one of two things happens. Either the money runs out mid-project, which means compromised finishes and half-done work, or the cuts start landing in the places nobody can see. Cheaper membrane. No check on consent. Tiles chosen on price for the shower floor.
Imagine a homeowner who budgets $15,000, then finds soft framing behind the old shower lining once the tiles come off. The job now touches the framing and the membrane, which is exactly the scope our FAQ places in the $25,000–$35,000 band. With a realistic budget and a contingency set aside, that’s a decision. Without one, it’s a crisis.
💡 Quick tip: Use the Superior Renovations bathroom cost calculator to get an initial estimate based on your specific bathroom size and finish level before you start talking to anyone.
“The number one thing I tell clients in the first design meeting — be honest about your budget and add 10–15% on top for contingency. Auckland bathrooms always have surprises behind the walls, especially in pre-2000s homes. The contingency isn’t a luxury, it’s the thing that stops your project falling apart halfway through.”
Cici Zuo, Sales Manager, Superior Renovations
Mistake #2: Cutting Corners on Waterproofing and Ventilation
If budget mistakes are the most common, waterproofing and ventilation failures are the most expensive to fix after the fact.
Think about it. You can’t see the membrane once the tiles are on. You can’t see where the fan duct goes once the ceiling is closed. These are the parts of a bathroom renovation nobody photographs for Instagram, and they decide whether the room lasts or starts growing mould behind the wall.
Do You Need Waterproofing in an Auckland Bathroom Renovation?
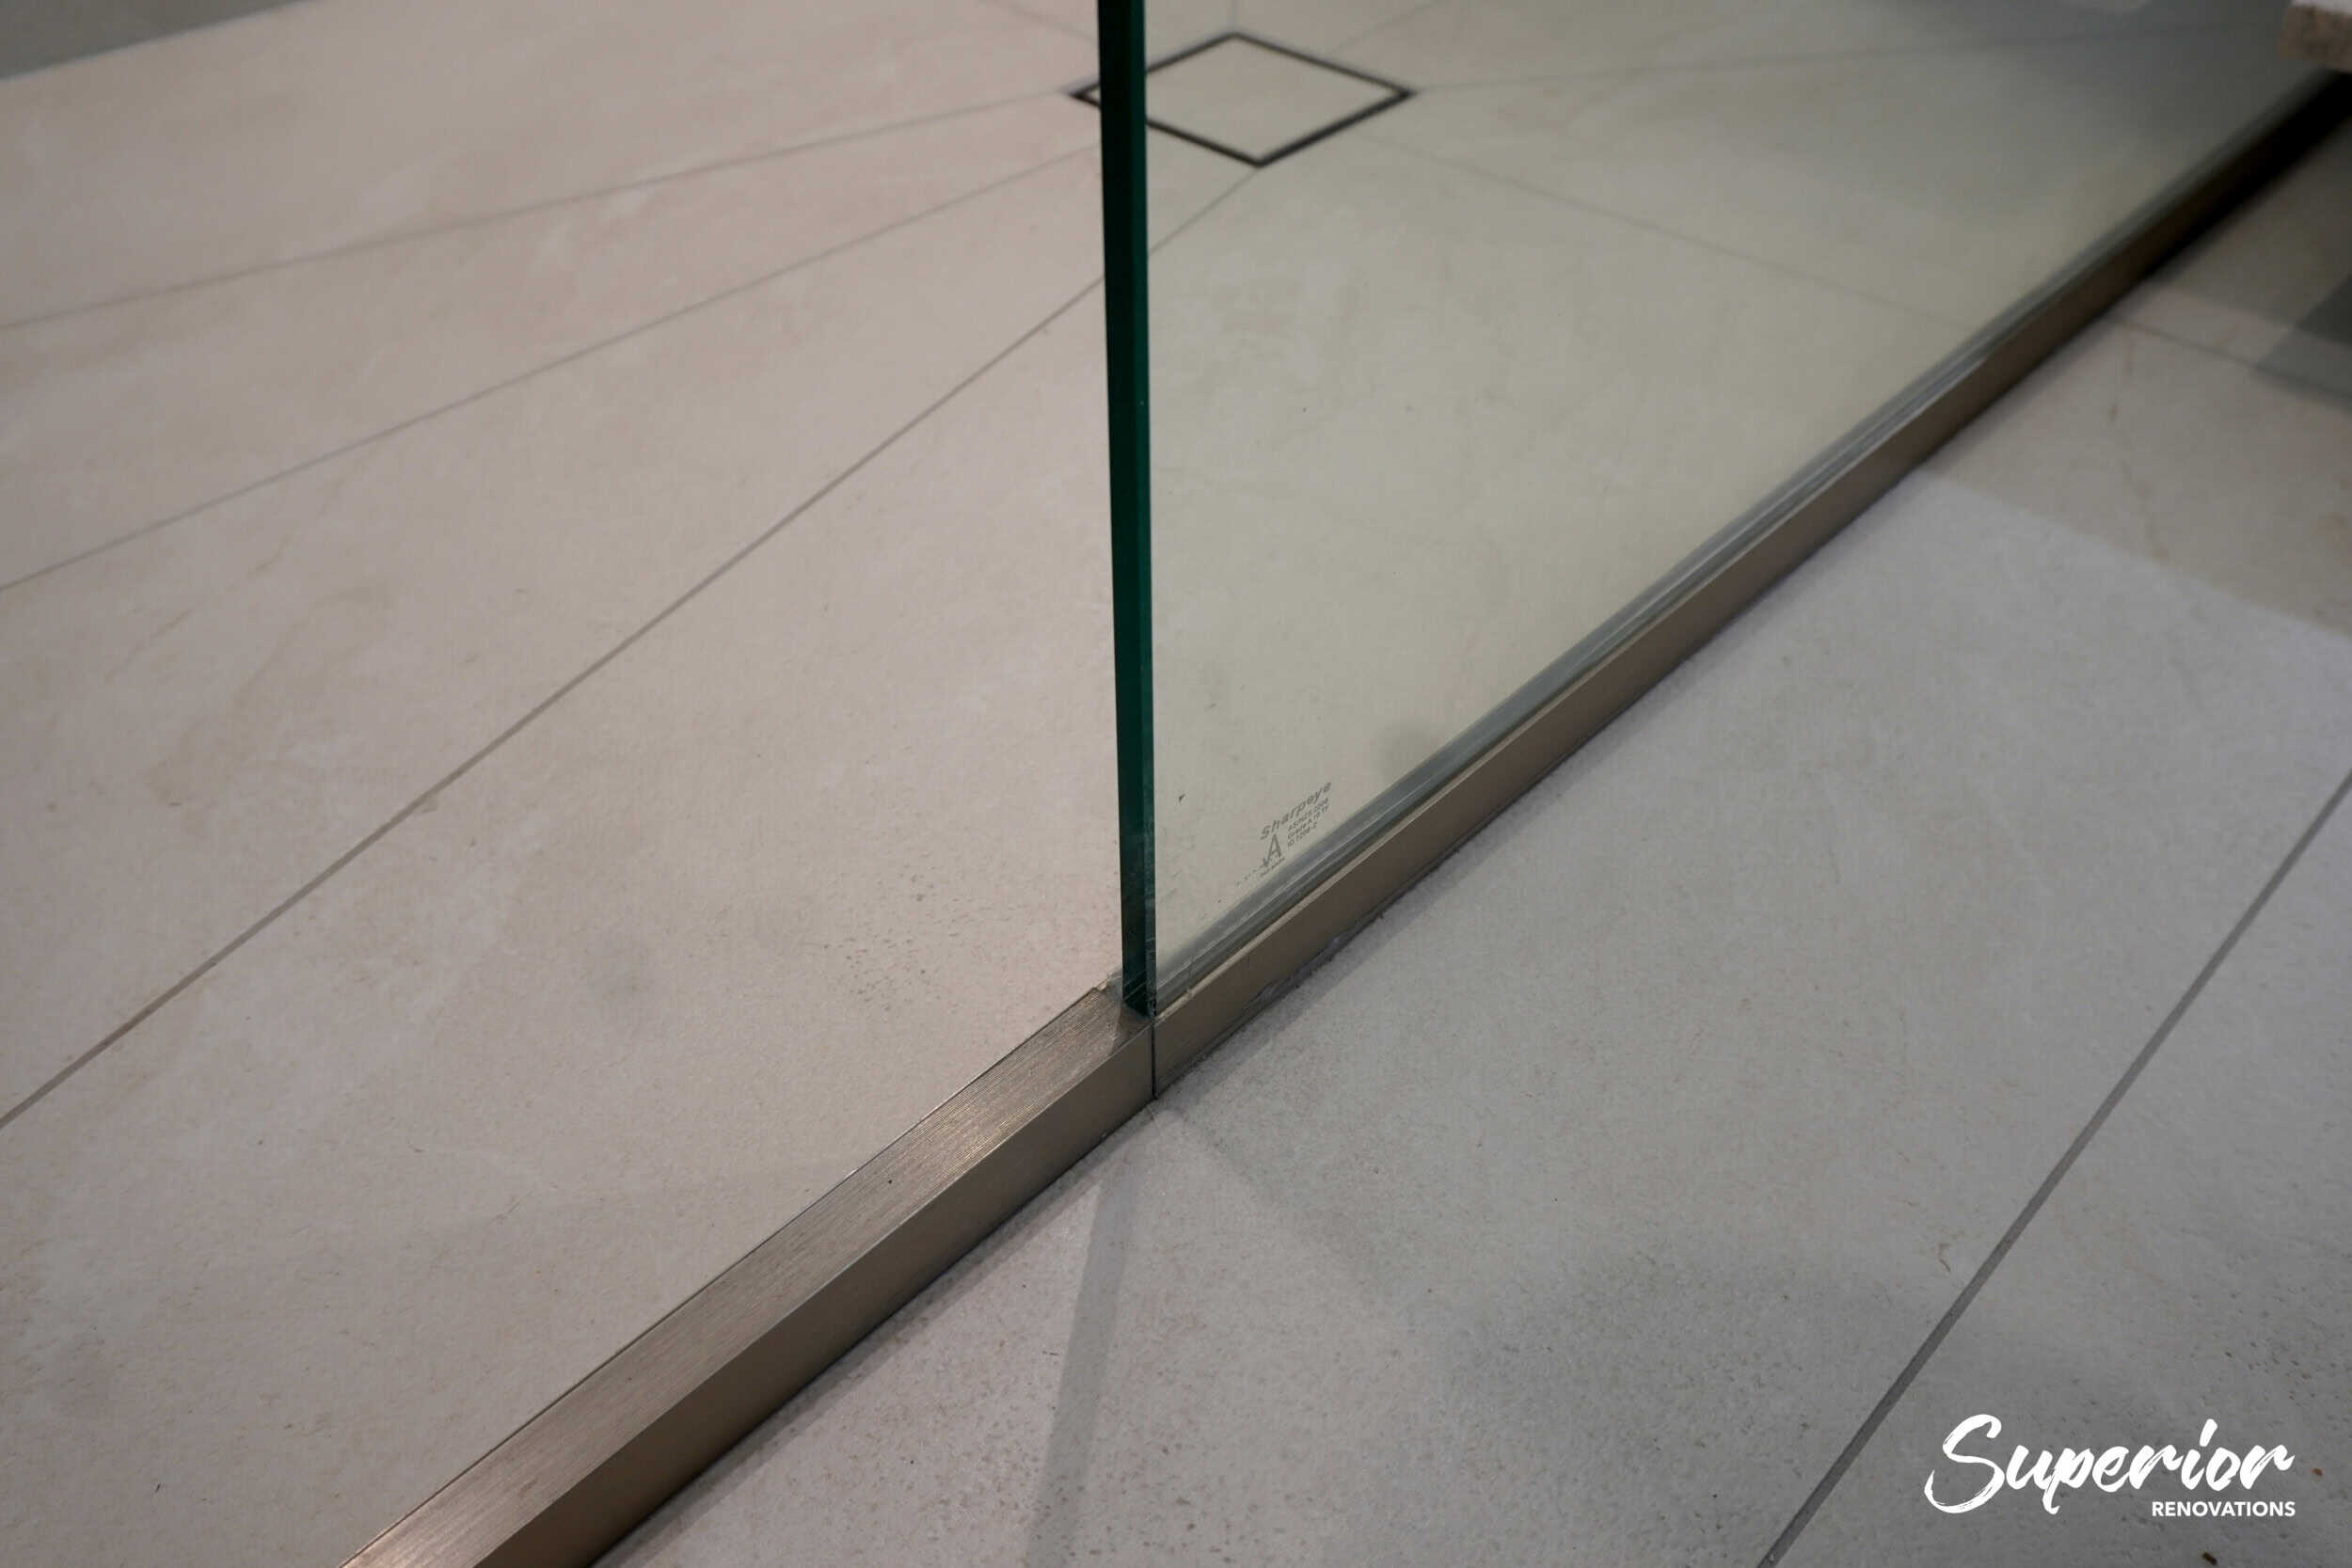
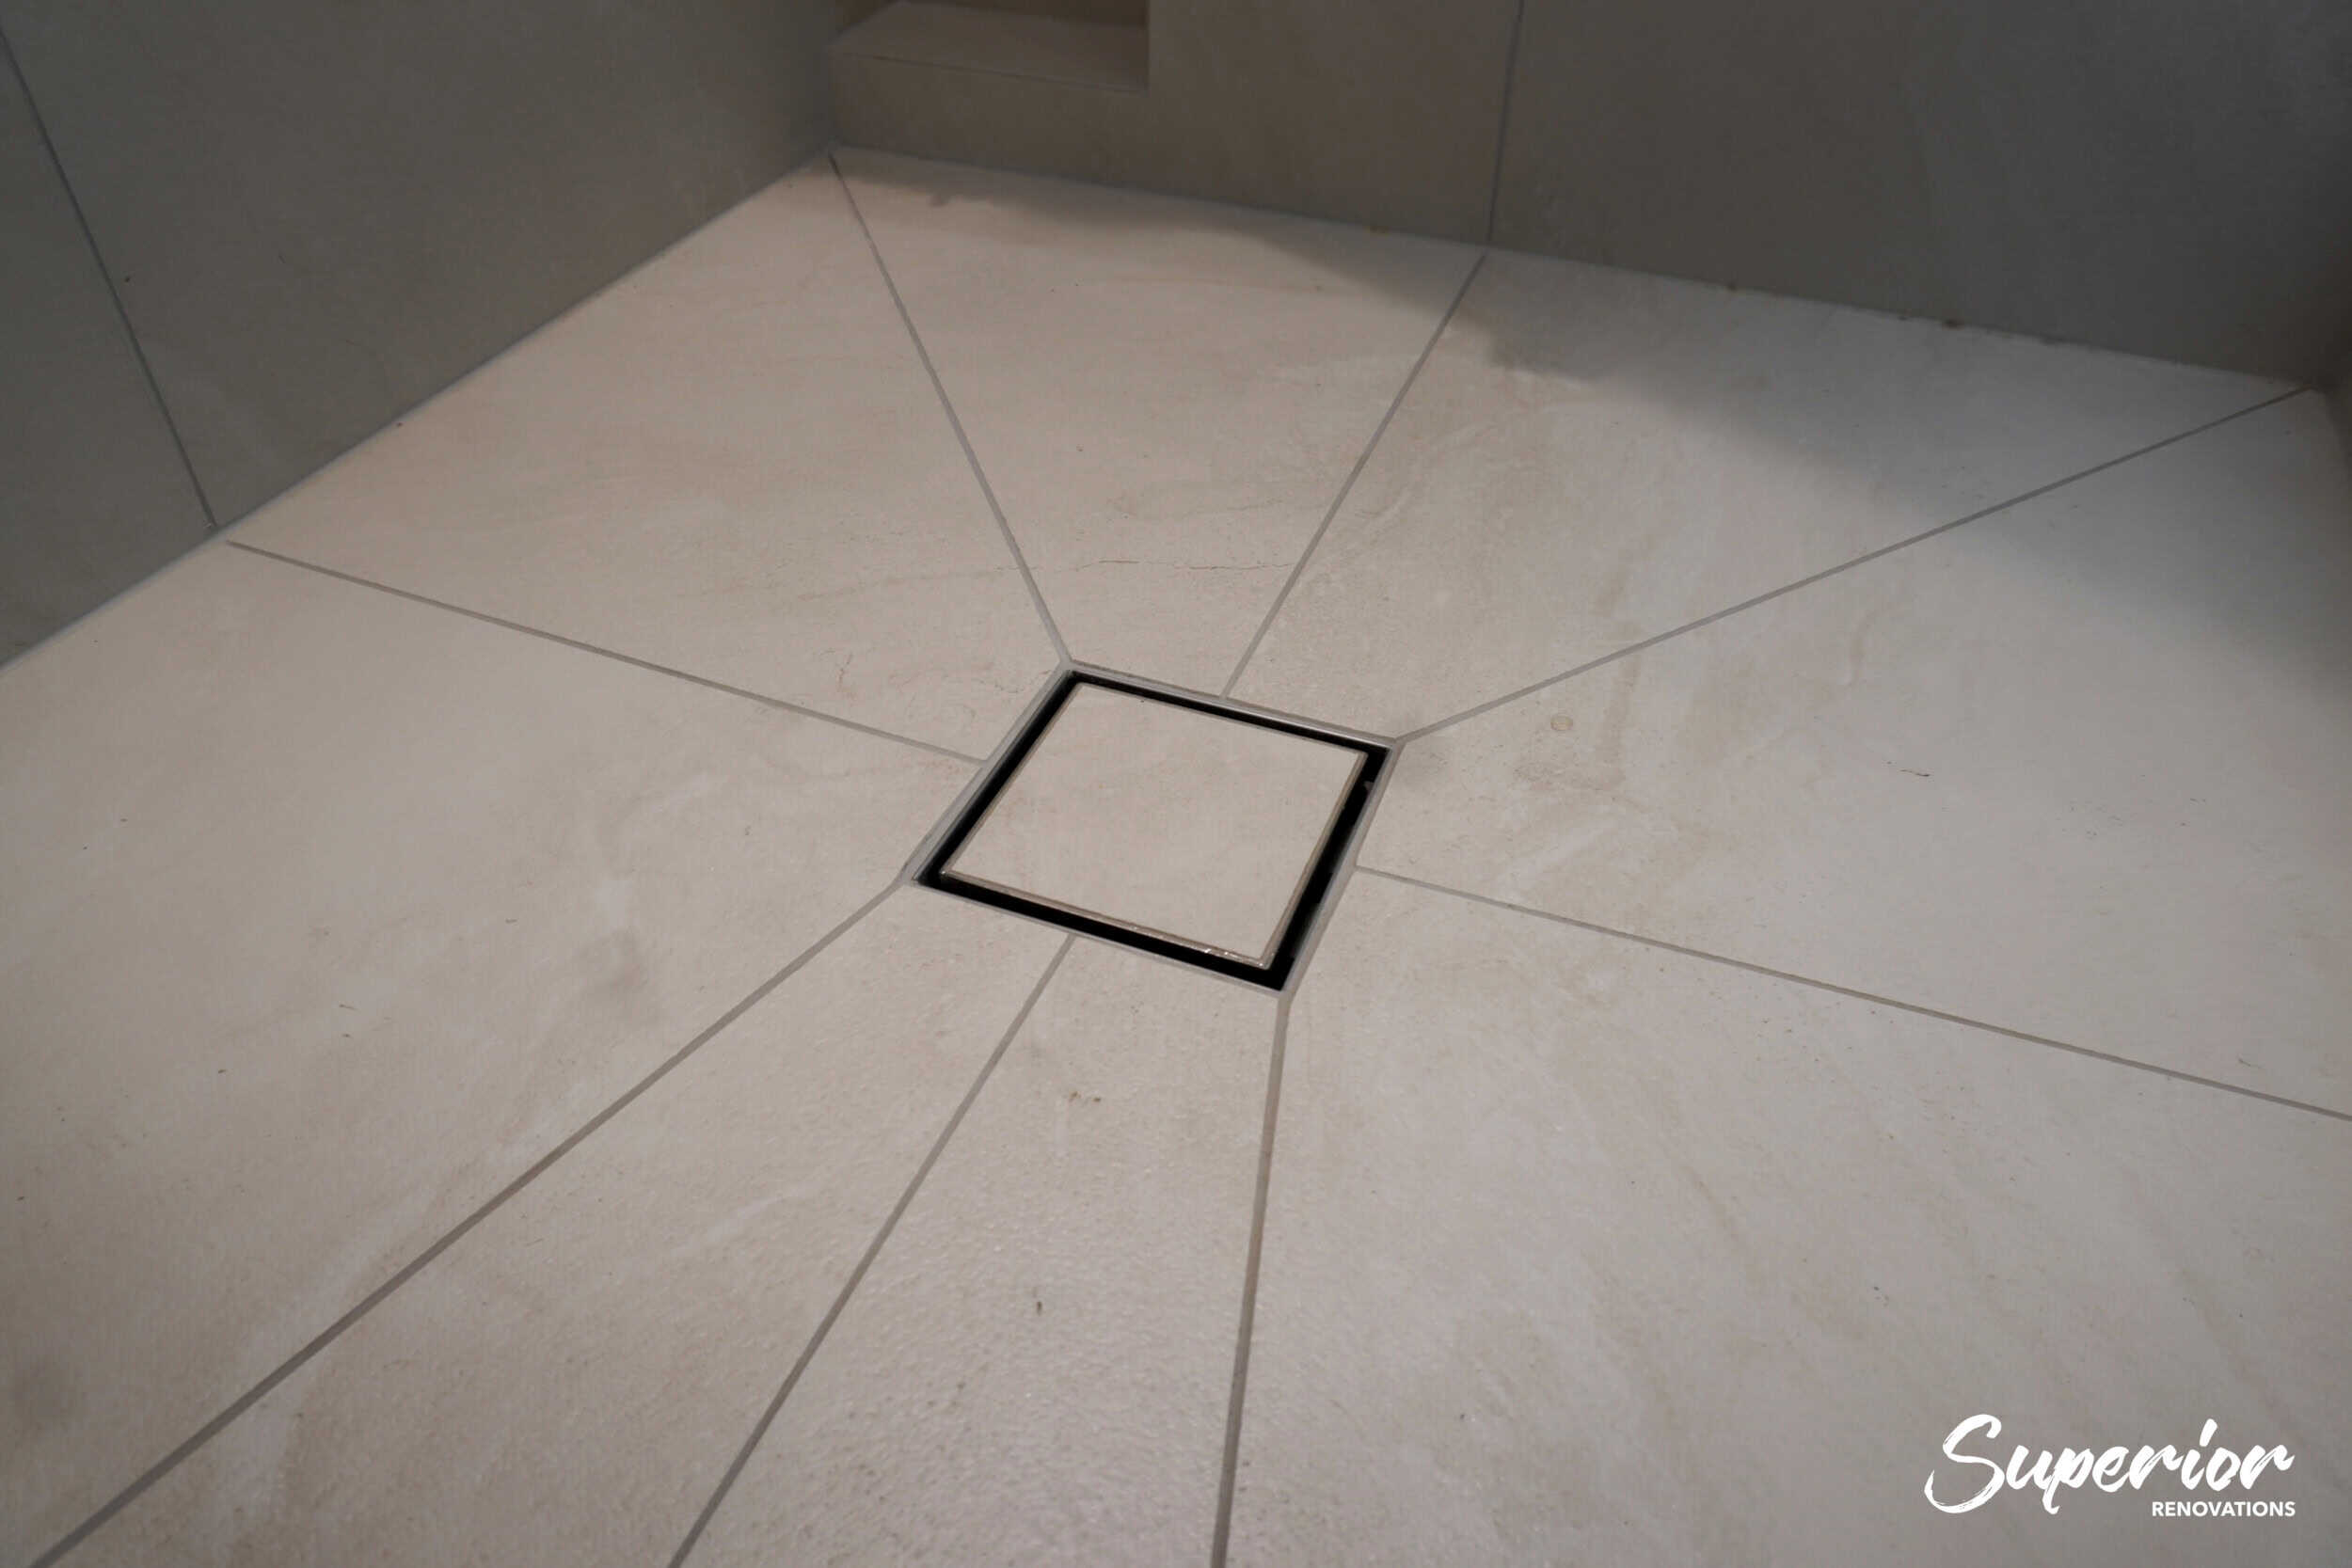
Yes, wherever water reaches. The rule is Building Code clause E3 (Internal moisture). Its performance clauses require the floor of any space with sanitary fixtures to be impervious and easily cleaned (E3.3.3), wall surfaces next to those fixtures to be the same (E3.3.4), and surfaces likely to be splashed to stop water penetrating behind linings or into concealed spaces (E3.3.6). That last one is the clause a failed shower breaks.
The code itself states the outcome, not the product. How a tiled shower gets there is set out in MBIE’s Acceptable Solution E3/AS1, and it’s more specific than most people expect:
- Tiled shower walls must be laid on a membrane specified by the manufacturer as suitable for the tiles, substrate and environment. Tiled shower floors go on a membrane or in a suitable shower tray.
- Ceramic or stone tiles in the shower need a maximum water absorption of 6%, waterproof grouted joints and an adhesive the tile maker specifies for that use.
- The impervious lining runs up to whichever is higher: 1,800mm above the shower floor or 50mm above the shower rose. Its top edge is sealed.
- Penetrations for tapware, mixers and roses are waterproofed with a proprietary flange or sealant.
- A shower without an upstand or an enclosure needs a fall of at least 1:50 to the waste within 1,500mm of the rose.
MBIE’s second route, E3/AS2, accepts membrane systems installed to the Waterproofing Membrane Association’s code of practice for internal wet areas. Either way, the detail sits on the drawings and the product data sheet, so a builder or an LBP can show you which route your shower follows. Older Auckland homes make this matter more: villas in Mt Eden, bungalows in Sandringham and 1990s builds in Albany can arrive with framing that’s already taken on water.
Ventilation: Where the Moisture Goes
The same clause E3 asks for an adequate combination of thermal resistance, ventilation and space temperature in bathrooms (E3.3.1). In practice that means a fan that moves enough air and sends it outside.
For rentals, the healthy homes ventilation standard on Tenancy Services spells it out: any room with a shower or bath needs an extractor fan that vents to the outside, and new fans need a diameter of at least 120mm (including ducting) or an exhaust capacity of at least 25 litres per second. That rule doesn’t bind an owner-occupier, but it’s a sensible floor for your own bathroom. A fan that dumps damp air into the ceiling cavity just moves the mould somewhere you can’t see it. Our guide on why a bathroom fan has to vent outside, not into the roof space covers sizing and placement.
💡 Quick tip: Ask your renovation company which membrane system is going in, whether it’s being installed to E3/AS1 or E3/AS2, and what warranty comes with it. Our quality checklist covers substrate preparation and membrane integrity, and it’s reviewed by the on-site team, the team leader and the project manager before handover.
Defective Ensuite Tiling: What It Costs to Fix and Who Pays
This is where a lot of readers land on this page: the tiles are cracking, the grout is crumbling or there’s a stain on the ceiling below, and the bathroom isn’t that old. Here’s how to read what’s happening and what each level of repair involves.
My Bathroom Tiles Are Cracking After 5 Years. What Went Wrong?
A tile cracking on its own is rarely the tile’s fault. Read it as a symptom and work back through the likely causes:
- Movement underneath. Framing or a substrate that flexes, shrinks or gets wet will crack rigid tiles above it. Timber that has been wet for months behind a shower lining is the classic case.
- A membrane that failed or was never there. Water that gets past the grout should stop at the membrane. If it doesn’t, the substrate swells and the adhesive lets go, so tiles sound hollow when tapped before they crack.
- The wrong tile or adhesive for a wet area. E3/AS1 limits shower tiles to 6% water absorption and asks for an adhesive the tile maker specifies for the job. A wall tile used on a shower floor fails that test.
- Failed sealant at junctions. Where the floor meets the wall, around the waste and at tapware penetrations, the seal is often the first line to go.
Cracks that follow a straight line across several tiles usually point to movement below. Hollow-sounding tiles, black grout lines low on the wall, a musty smell or swelling skirting next door all point to water getting where E3.3.6 says it shouldn’t.
What a Repair Costs, Level by Level
We don’t publish a single “repair price”, because nobody can price the framing until the tiles are off. What we can give you is the figures SR already publishes for each scope, so you can see which band your problem is heading for:
| What’s failed | What the repair involves | SR-published Auckland figure |
|---|---|---|
| Tired or stained grout, membrane sound | Re-grout and seal | $100–$200 in materials, plus $50–$100 for sealing |
| Cracked or lifting shower tiles, plumbing staying put | Retile the existing shower | $1,800–$4,000, excluding waterproofing |
| Membrane failed in the shower only | New membrane to the shower area before retiling | $400–$600 for the membrane on a 2–3m² shower area, on top of the retile |
| Water in the framing, or the layout changing | Strip to the frame, replace damaged timber, new membrane, retile, refit | $25,000–$35,000 (anything touching the framing or membrane, per our FAQ) |
Sources: our Auckland bathroom renovation cost guide (re-grout, retile and membrane lines) and our renovation FAQ (framing and membrane band). These are ranges, not quotes; the framing decides the final number.
The jump between the third and fourth rows is the whole story. A shower retile is a contained job. Once water has reached the framing, you’re paying for most of a bathroom renovation, not a tile repair, because the linings, membrane, tiles and often the fittings all come out to get at it. That’s why the cheap fix (re-grouting over a leak) tends to be the expensive one a year later.
Does a Failed Shower Repair Need Consent?
Possibly, and it’s worth asking before work starts. Schedule 1 of the Building Act 2004 lets you repair or replace building products like-for-like without consent (clause 1). But clause 1(3)(c) carves out the repair or replacement of a product that has failed the Building Code’s durability provisions. A membrane that has failed early may fall into that carve-out, so check the consent position with Auckland Council or a Licensed Building Practitioner before the strip-out, not after.
Who Pays If the Work Was Done Badly?
If a builder did the original job under a residential building contract, section 362I of the Building Act implies warranties into that contract: the work will be done in a proper and competent manner, with reasonable care and skill, using products suitable for their purpose, and in line with the law including the Building Code. Section 393(2) sets a 10-year long-stop for civil proceedings over building work. Our guide to the warranties your renovation contract has to carry sets out how that works in practice, and our first-year checklist for spotting defects after handover covers what to look at early. Get photos, keep the paperwork and put the defect to the original builder in writing first. For a legal view on your specific situation, talk to a lawyer.
If you’re past that point and want the room fixed properly, our team rebuilds failed showers from the framing up under one fixed-price contract.
Mistake #3: Ignoring Building Consent Requirements
This one catches more Auckland homeowners than you’d expect. The logic usually goes: “It’s just a bathroom. Why would I need consent for my own bathroom?”
Fair question. And for many bathroom renovations, you don’t need consent. Replacing tiles, vanity, toilet and shower in the same positions is generally exempt under Schedule 1 of the Building Act 2004.
The plumbing side has its own clauses, and they’re narrower than people assume. Clause 32 exempts repair and like-for-like replacement of sanitary plumbing in the same position. Clause 35 exempts an alteration to existing sanitary plumbing only where the number of sanitary fixtures in the building doesn’t go up and no specified system is affected. Both sit in a part of Schedule 1 that only covers work carried out by a person authorised under the Plumbers, Gasfitters, and Drainlayers Act 2006. So moving a shower isn’t automatically a consent job, and adding a second basin or a new toilet usually is. Removing a wall or changing the structure is a separate question again. The safe move is to check your exact scope with Auckland Council or an LBP before you lock in the design.
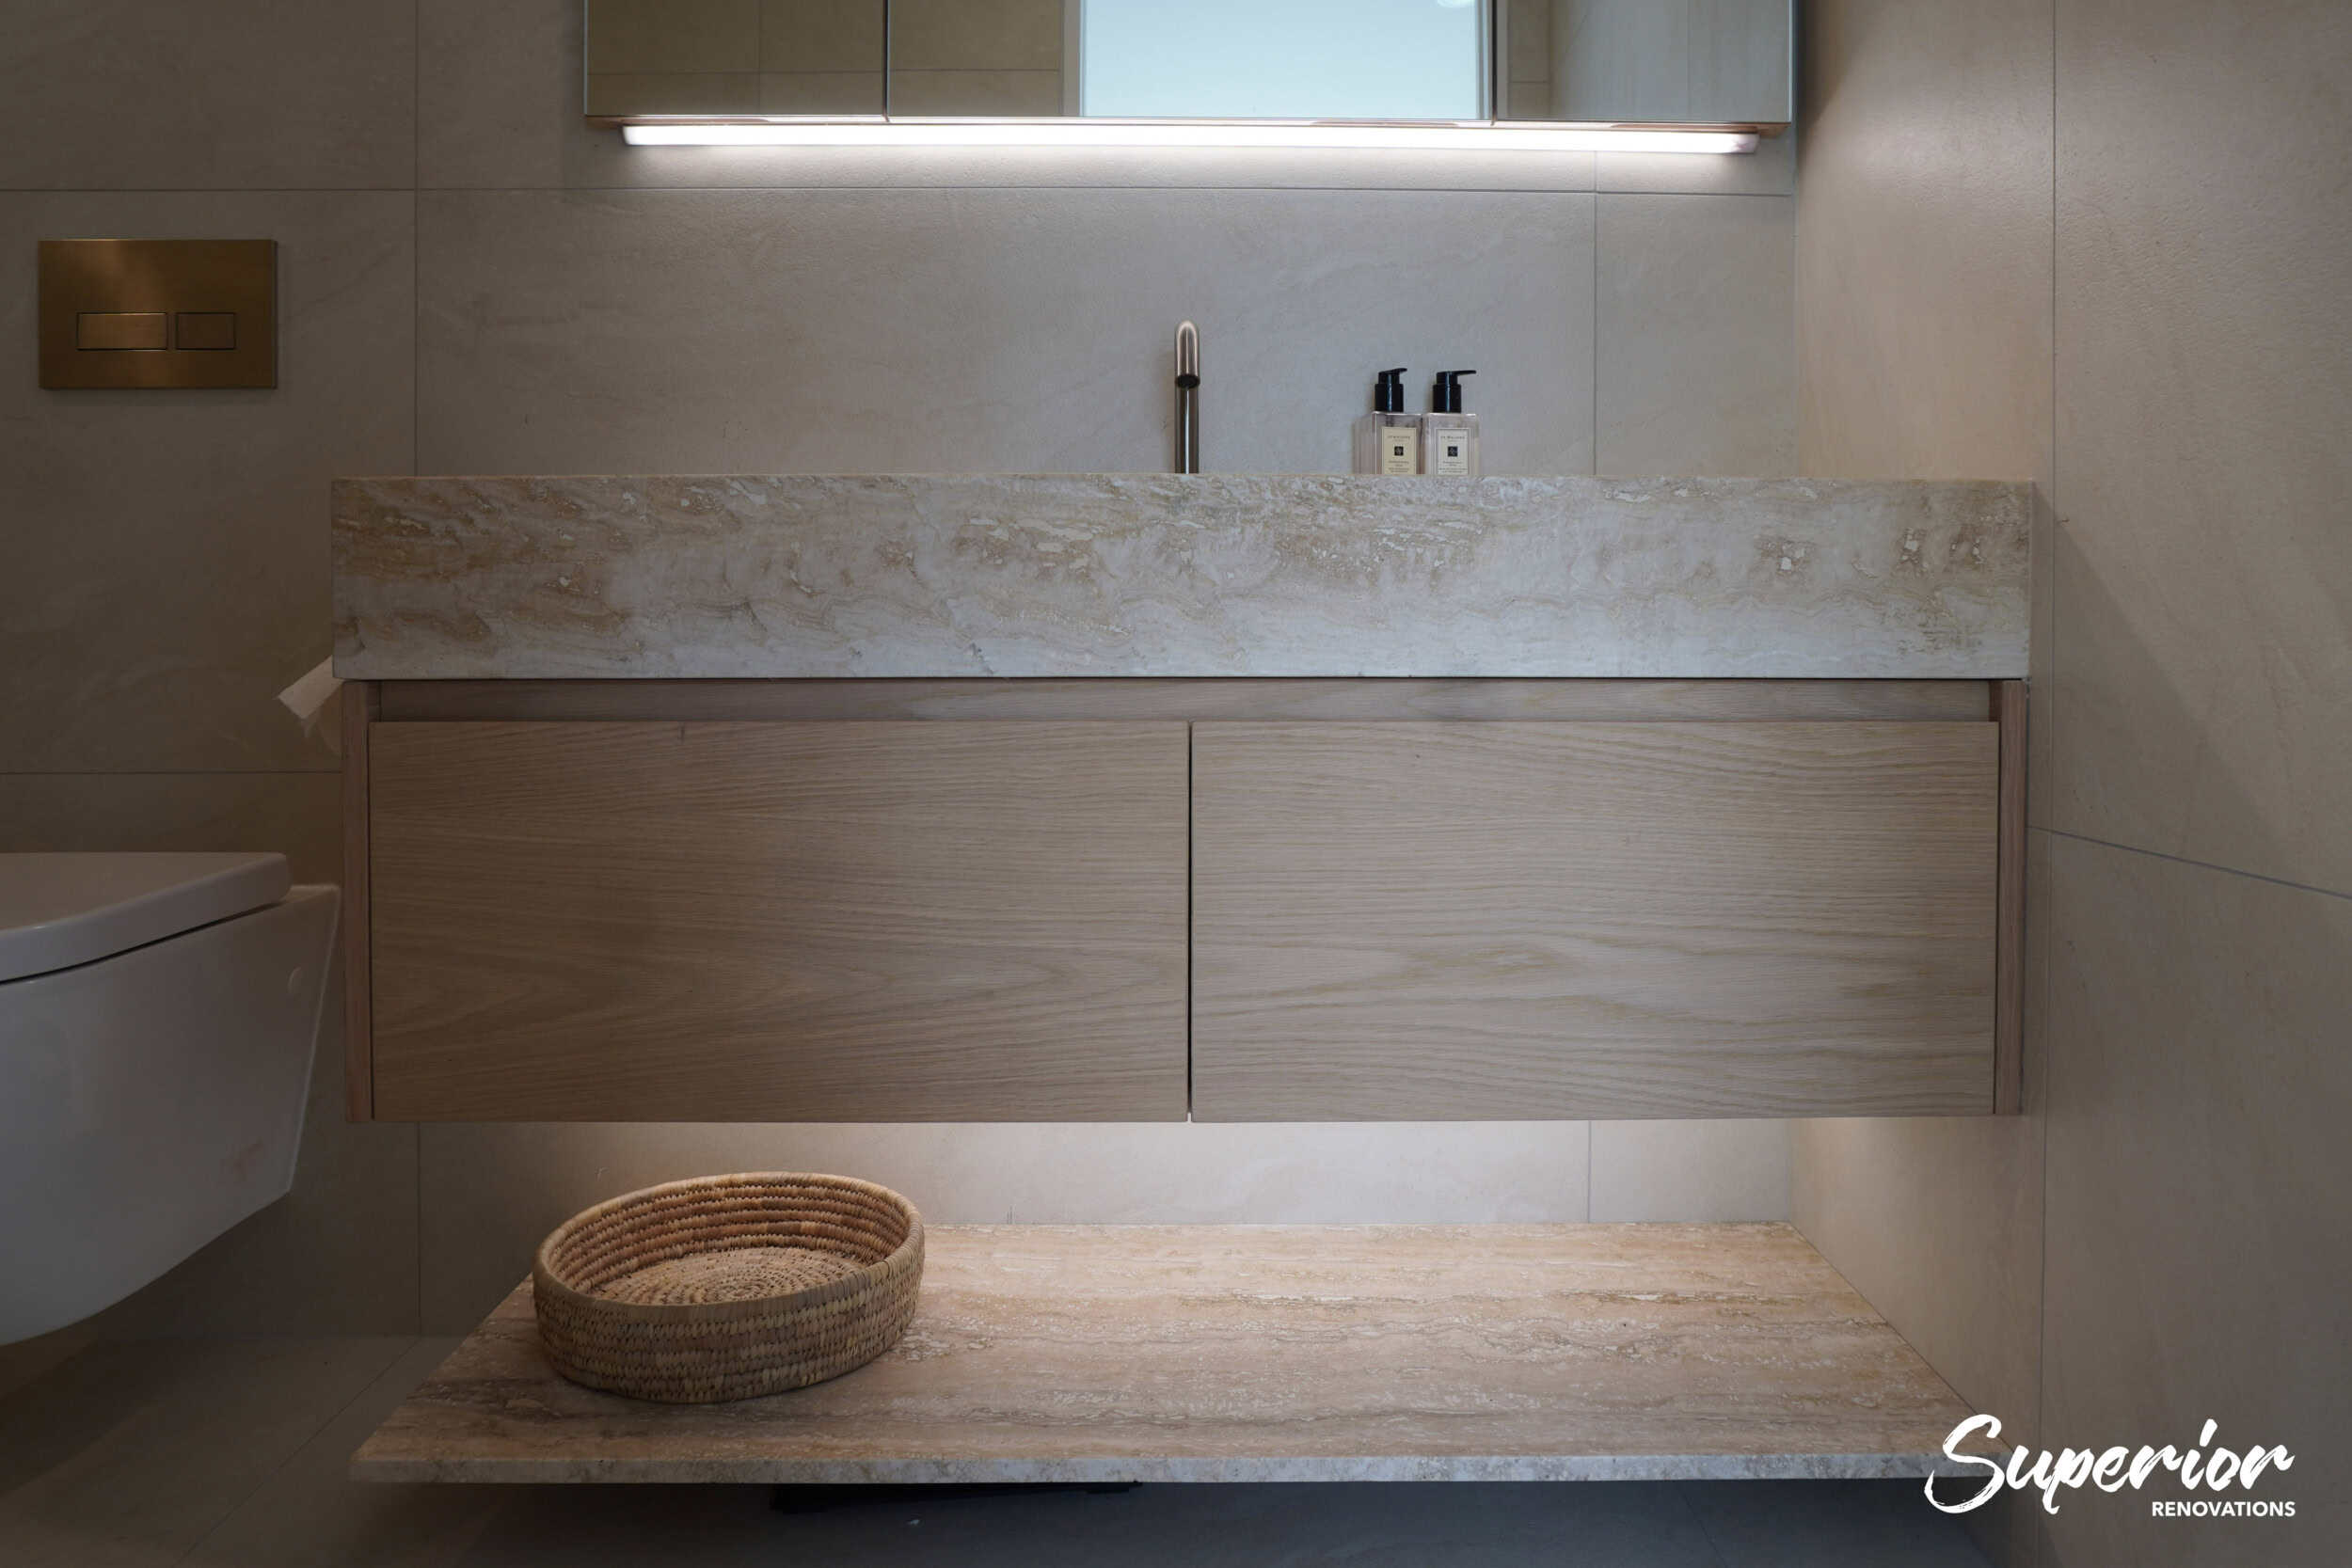
Designer Bathroom By Superior Renovations
What Happens When You Skip Consent
Section 40 of the Building Act says building work that needs consent must be done in accordance with one. Breaching it is an offence: a fine of up to $200,000 on conviction, plus up to $10,000 for every day the offence continues. Most cases never get near court, but the practical cost still hurts. Work stops, the paperwork gets sorted after the fact, and anything that doesn’t meet the code may have to come out again.
The Selling Problem
Even if nobody notices during the renovation, missing paperwork shows up later. When you sell, the buyer’s lawyer and building inspector will ask for the consent and code compliance certificate on any work that needed one. A bathroom that should have been consented and wasn’t becomes a negotiating point at best, and a reason to walk away at worst.
💡 Quick tip: Not sure if your bathroom renovation needs consent? The government’s exempt building work guide on building.govt.nz lists exactly what’s covered. Or just ask during your free consultation — we assess consent requirements for every project.
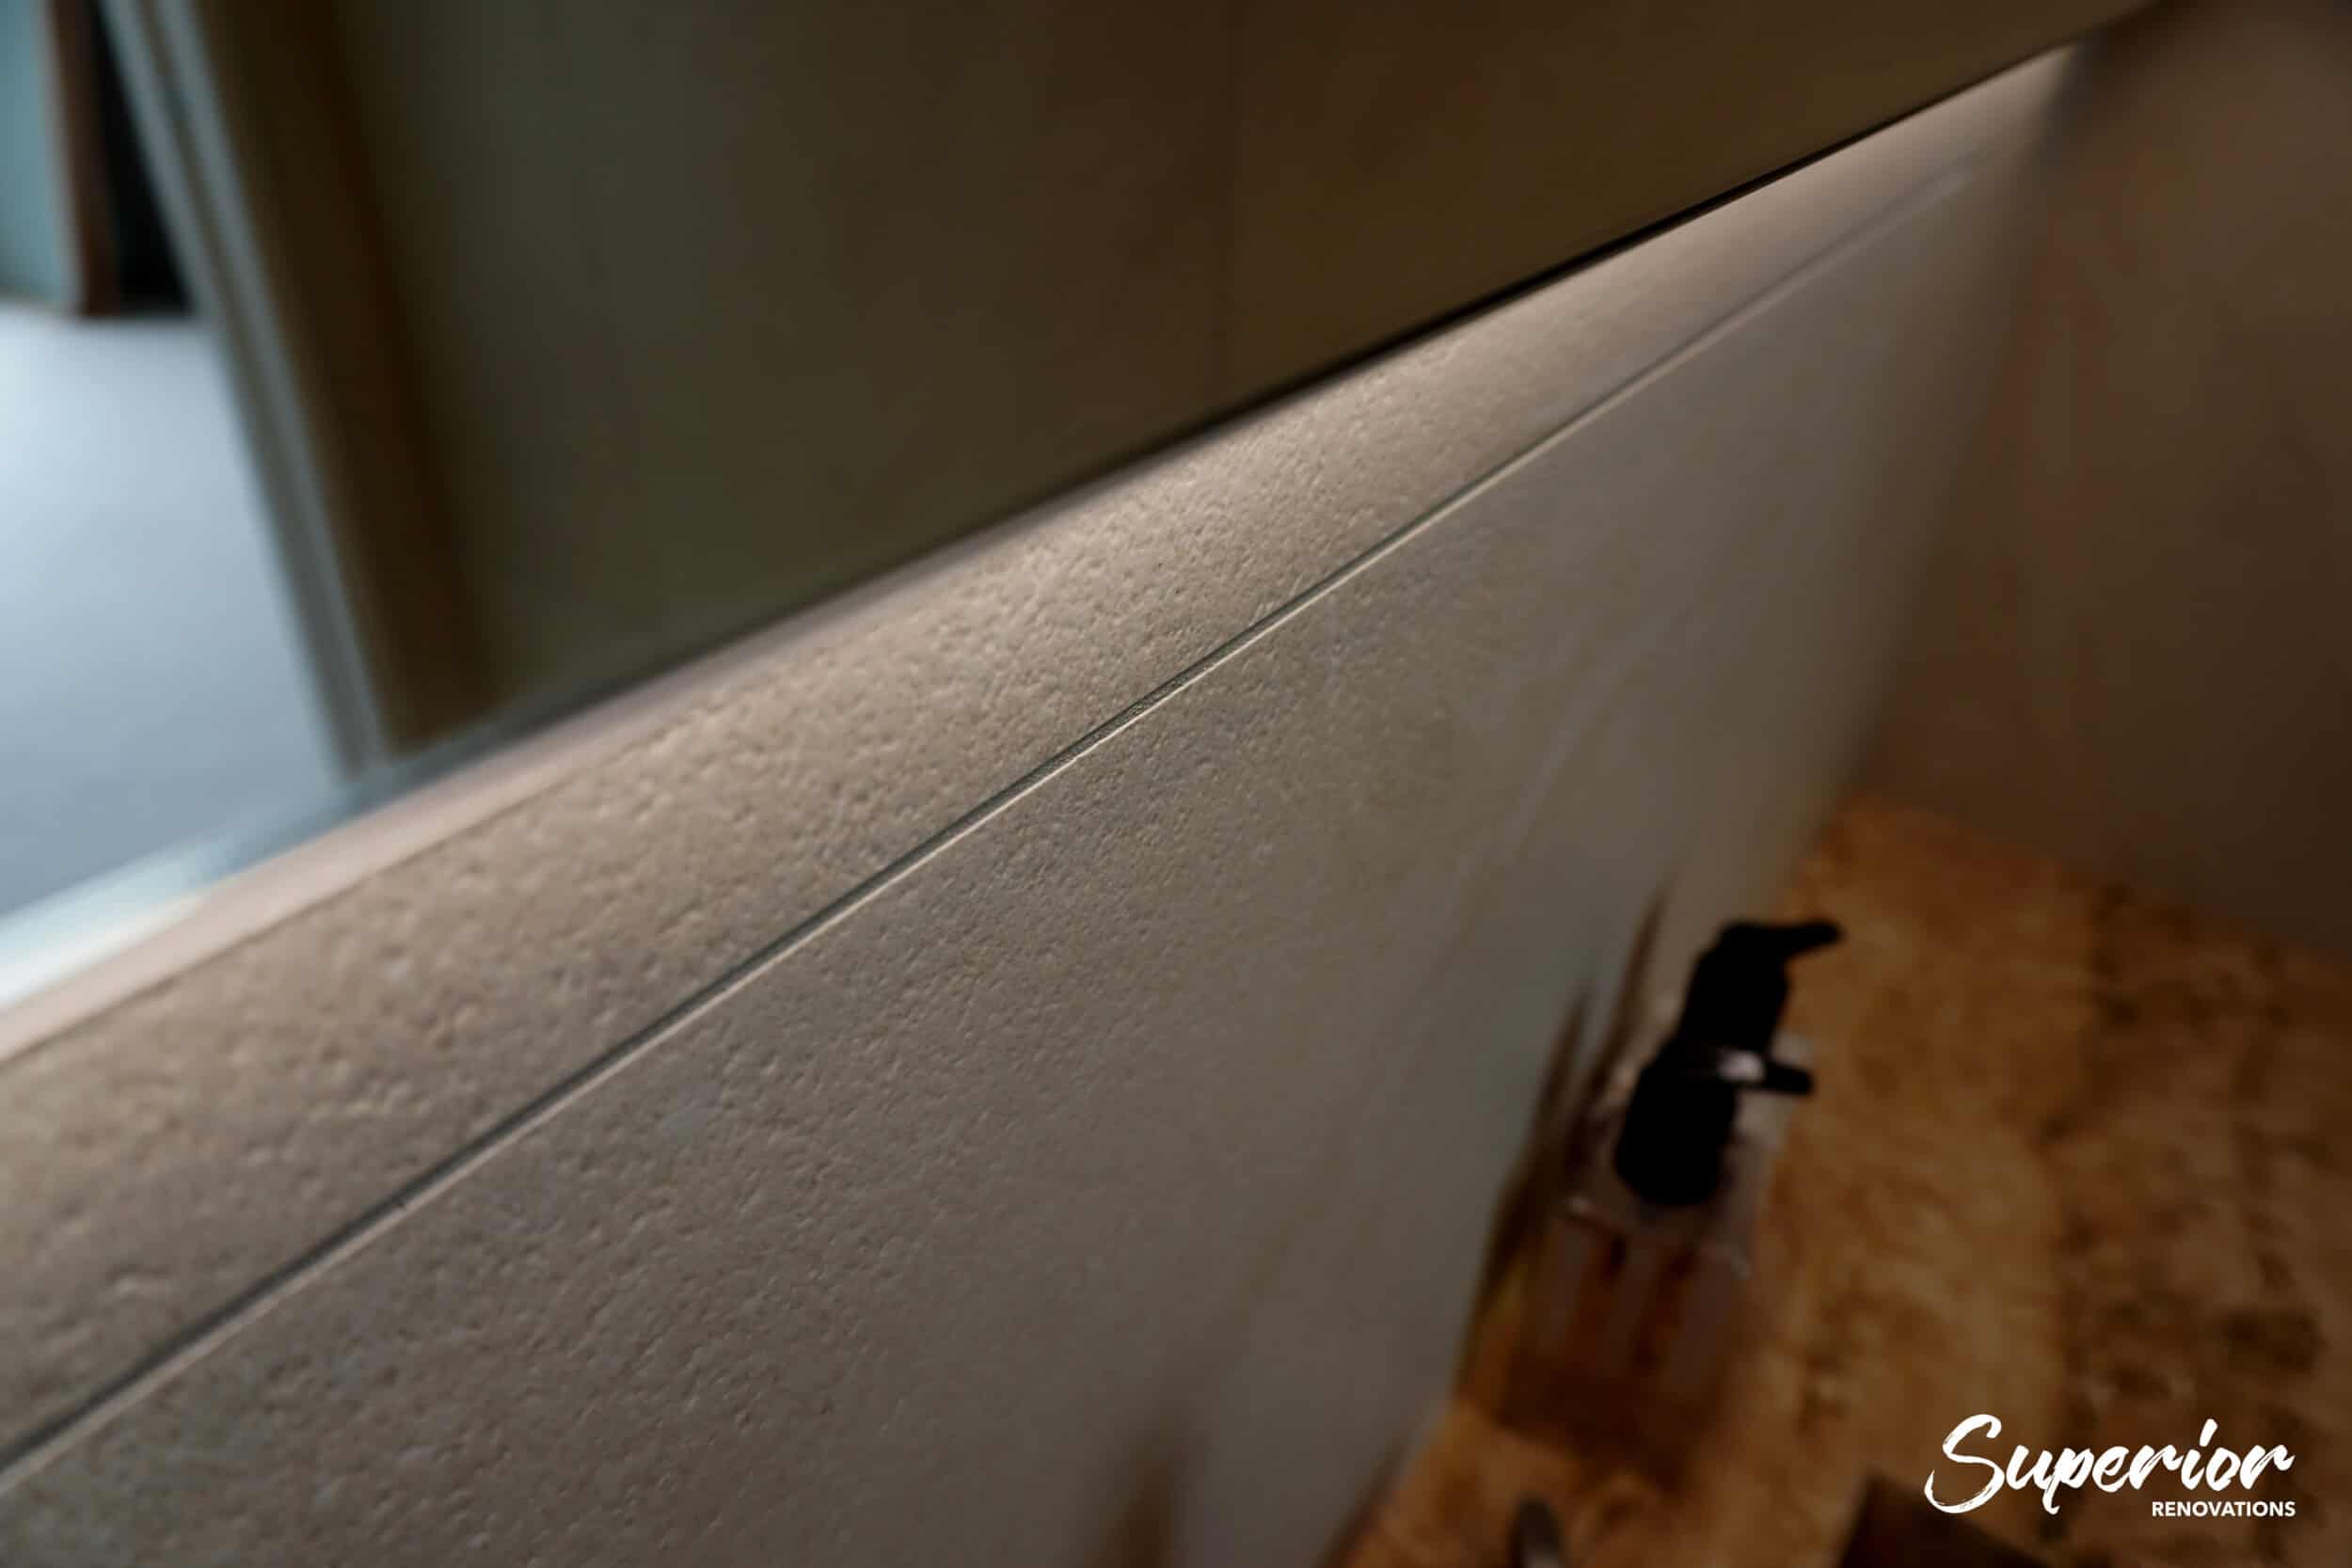
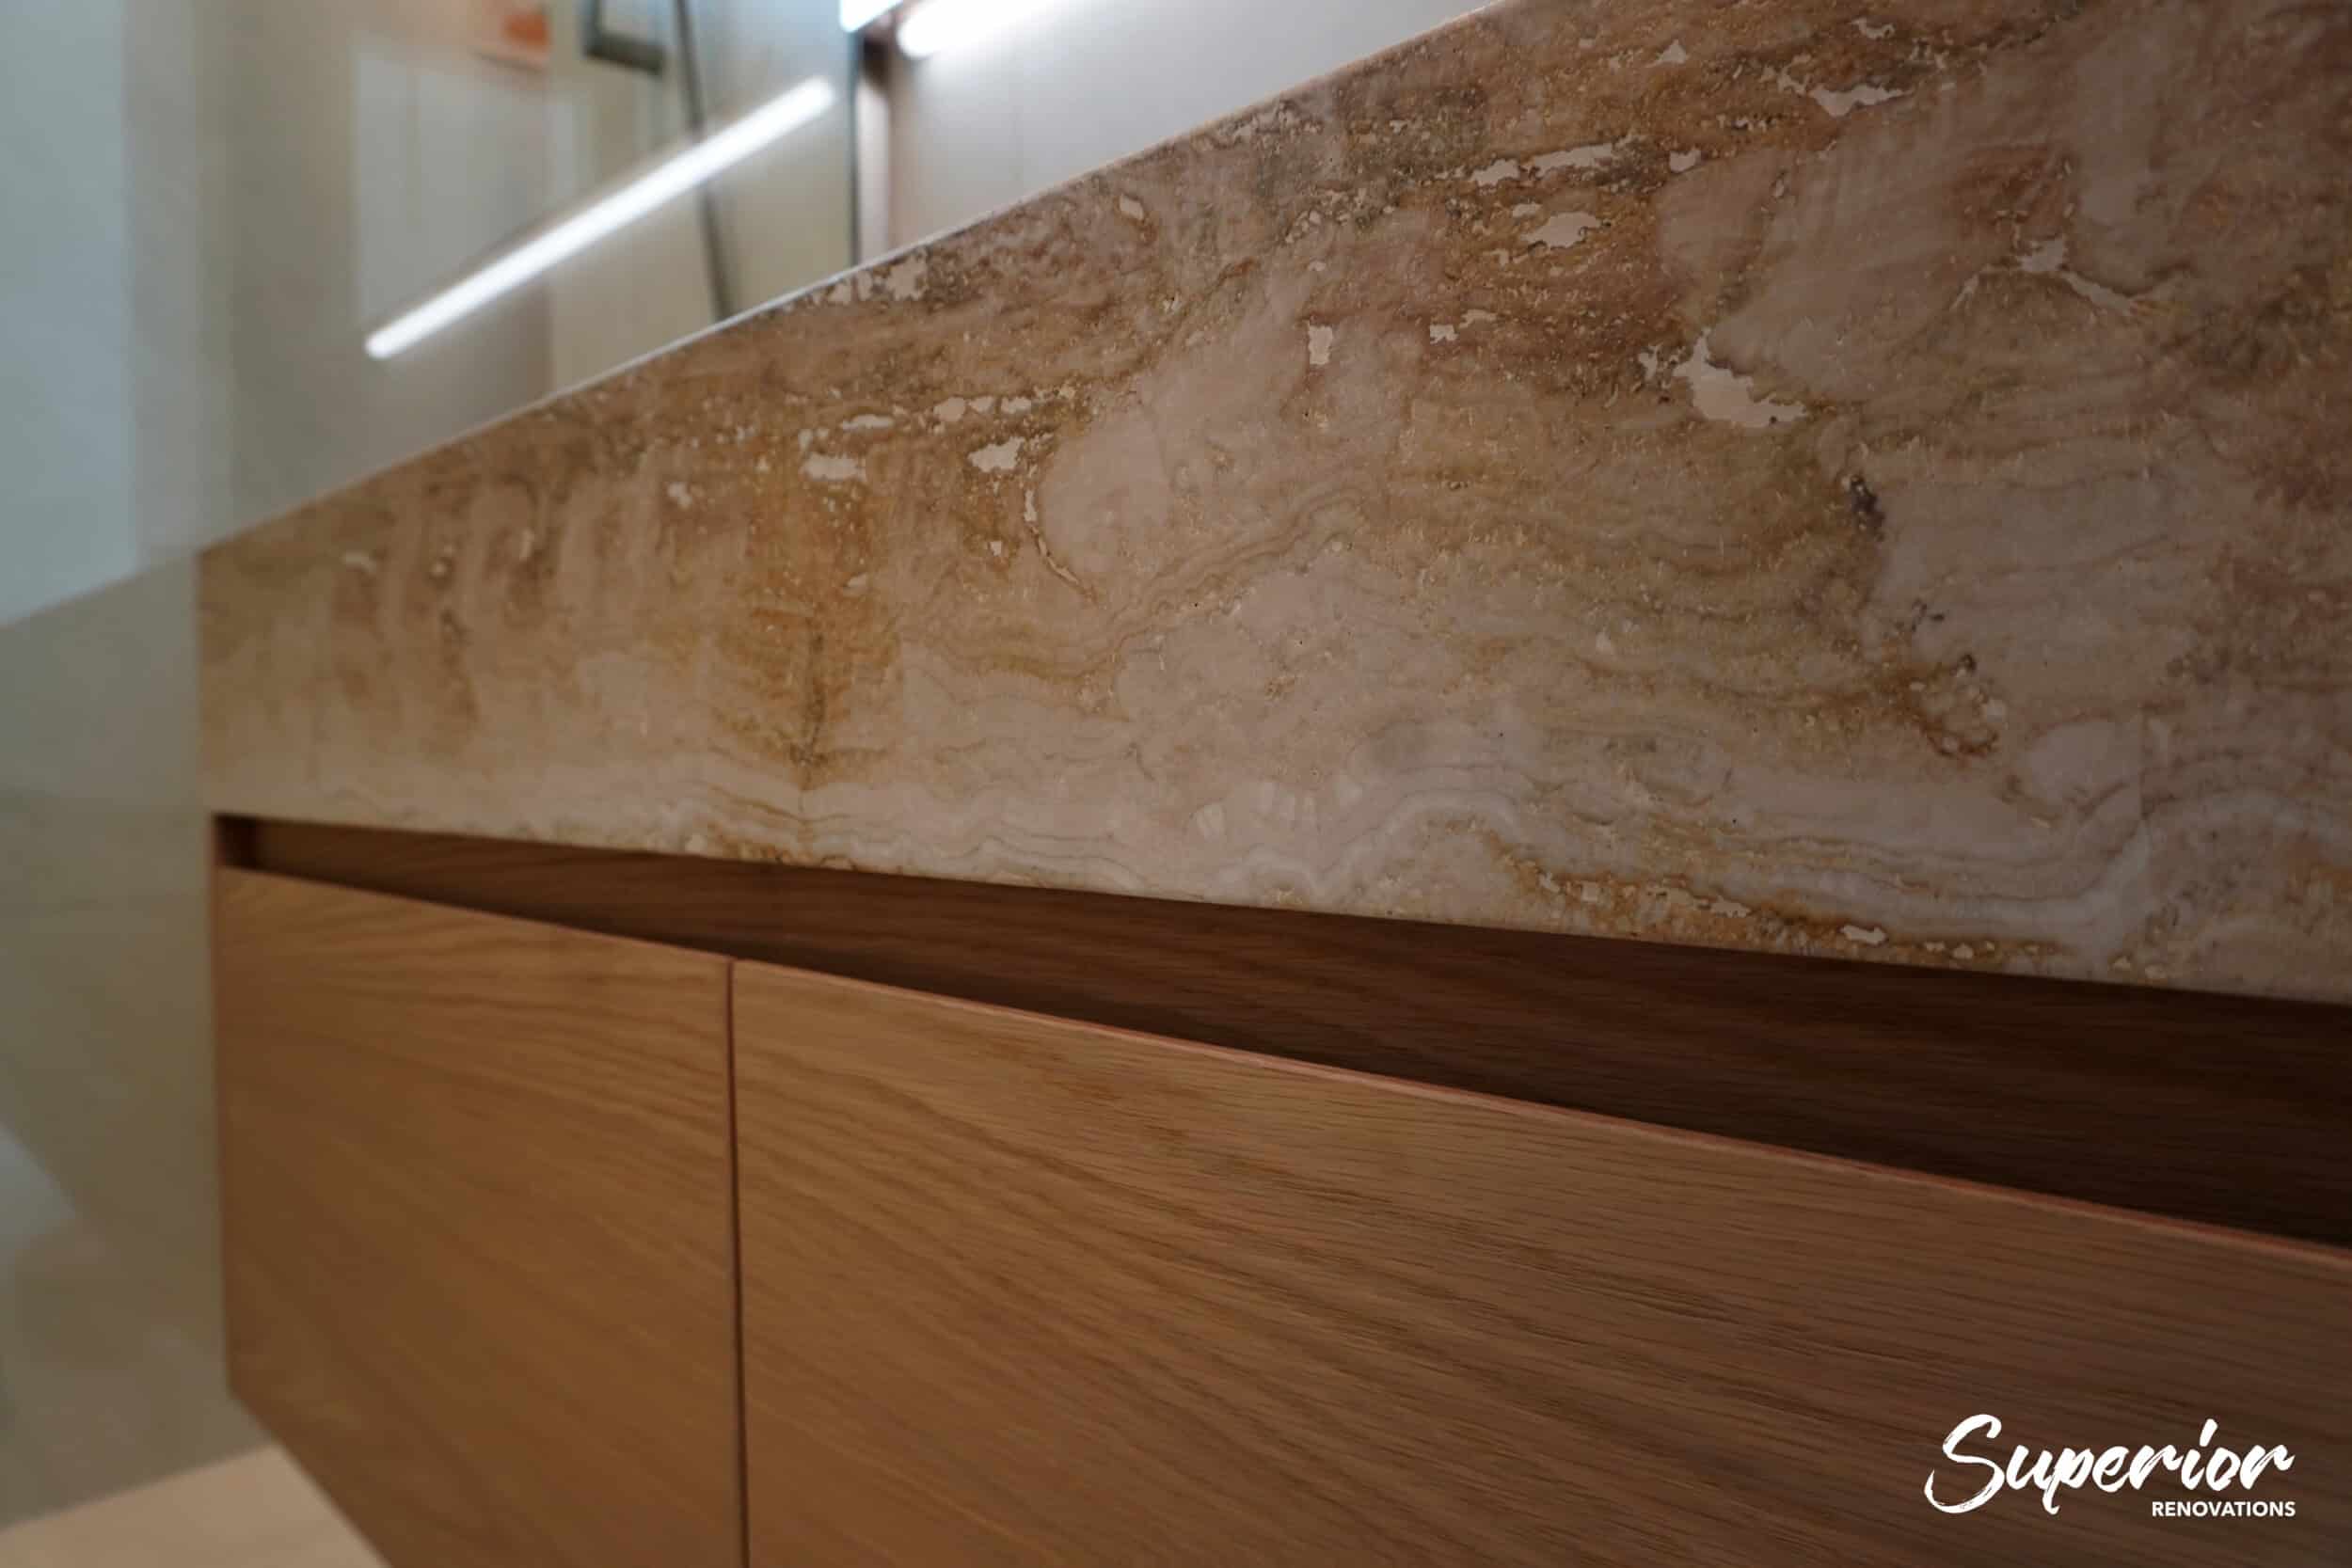
Mistake #4: Choosing Materials That Look Good but Don’t Perform
Pinterest boards are full of beautiful bathrooms, and plenty of them weren’t built for a damp Auckland winter. For bathroom design inspiration that holds up in our climate, browse the renovations we’ve completed across Auckland.
The problem is simple: a finish that’s fine in a dry, well-heated house doesn’t always survive a bathroom that steams up twice a day. Natural timber vanities that haven’t been properly sealed. Porous stone on a shower floor without the right sealing and membrane. Tapware with no local warranty or parts. These look great on day one and turn into problems by year two.
Tiles: Where Cheap Gets Expensive
Our cost guide puts basic ceramic at $30–$50/m² and premium porcelain or stone at $50–$150/m². On a standard bathroom, the step up to a better tile can shift the total by $2,000–$4,000, while a shower retile alone runs $1,800–$4,000 before any waterproofing. Paying once for the right tile is cheaper than paying twice to replace the wrong one.
The test isn’t price, it’s specification. For anything inside the shower, E3/AS1 asks for tiles with no more than 6% water absorption, laid with an adhesive the tile maker specifies for wet areas. Ask for the data sheet. We source most of our tile range through Tile Depot, which covers everything from budget-friendly options to large-format porcelain, and the point is always matching the tile to where it’s going.
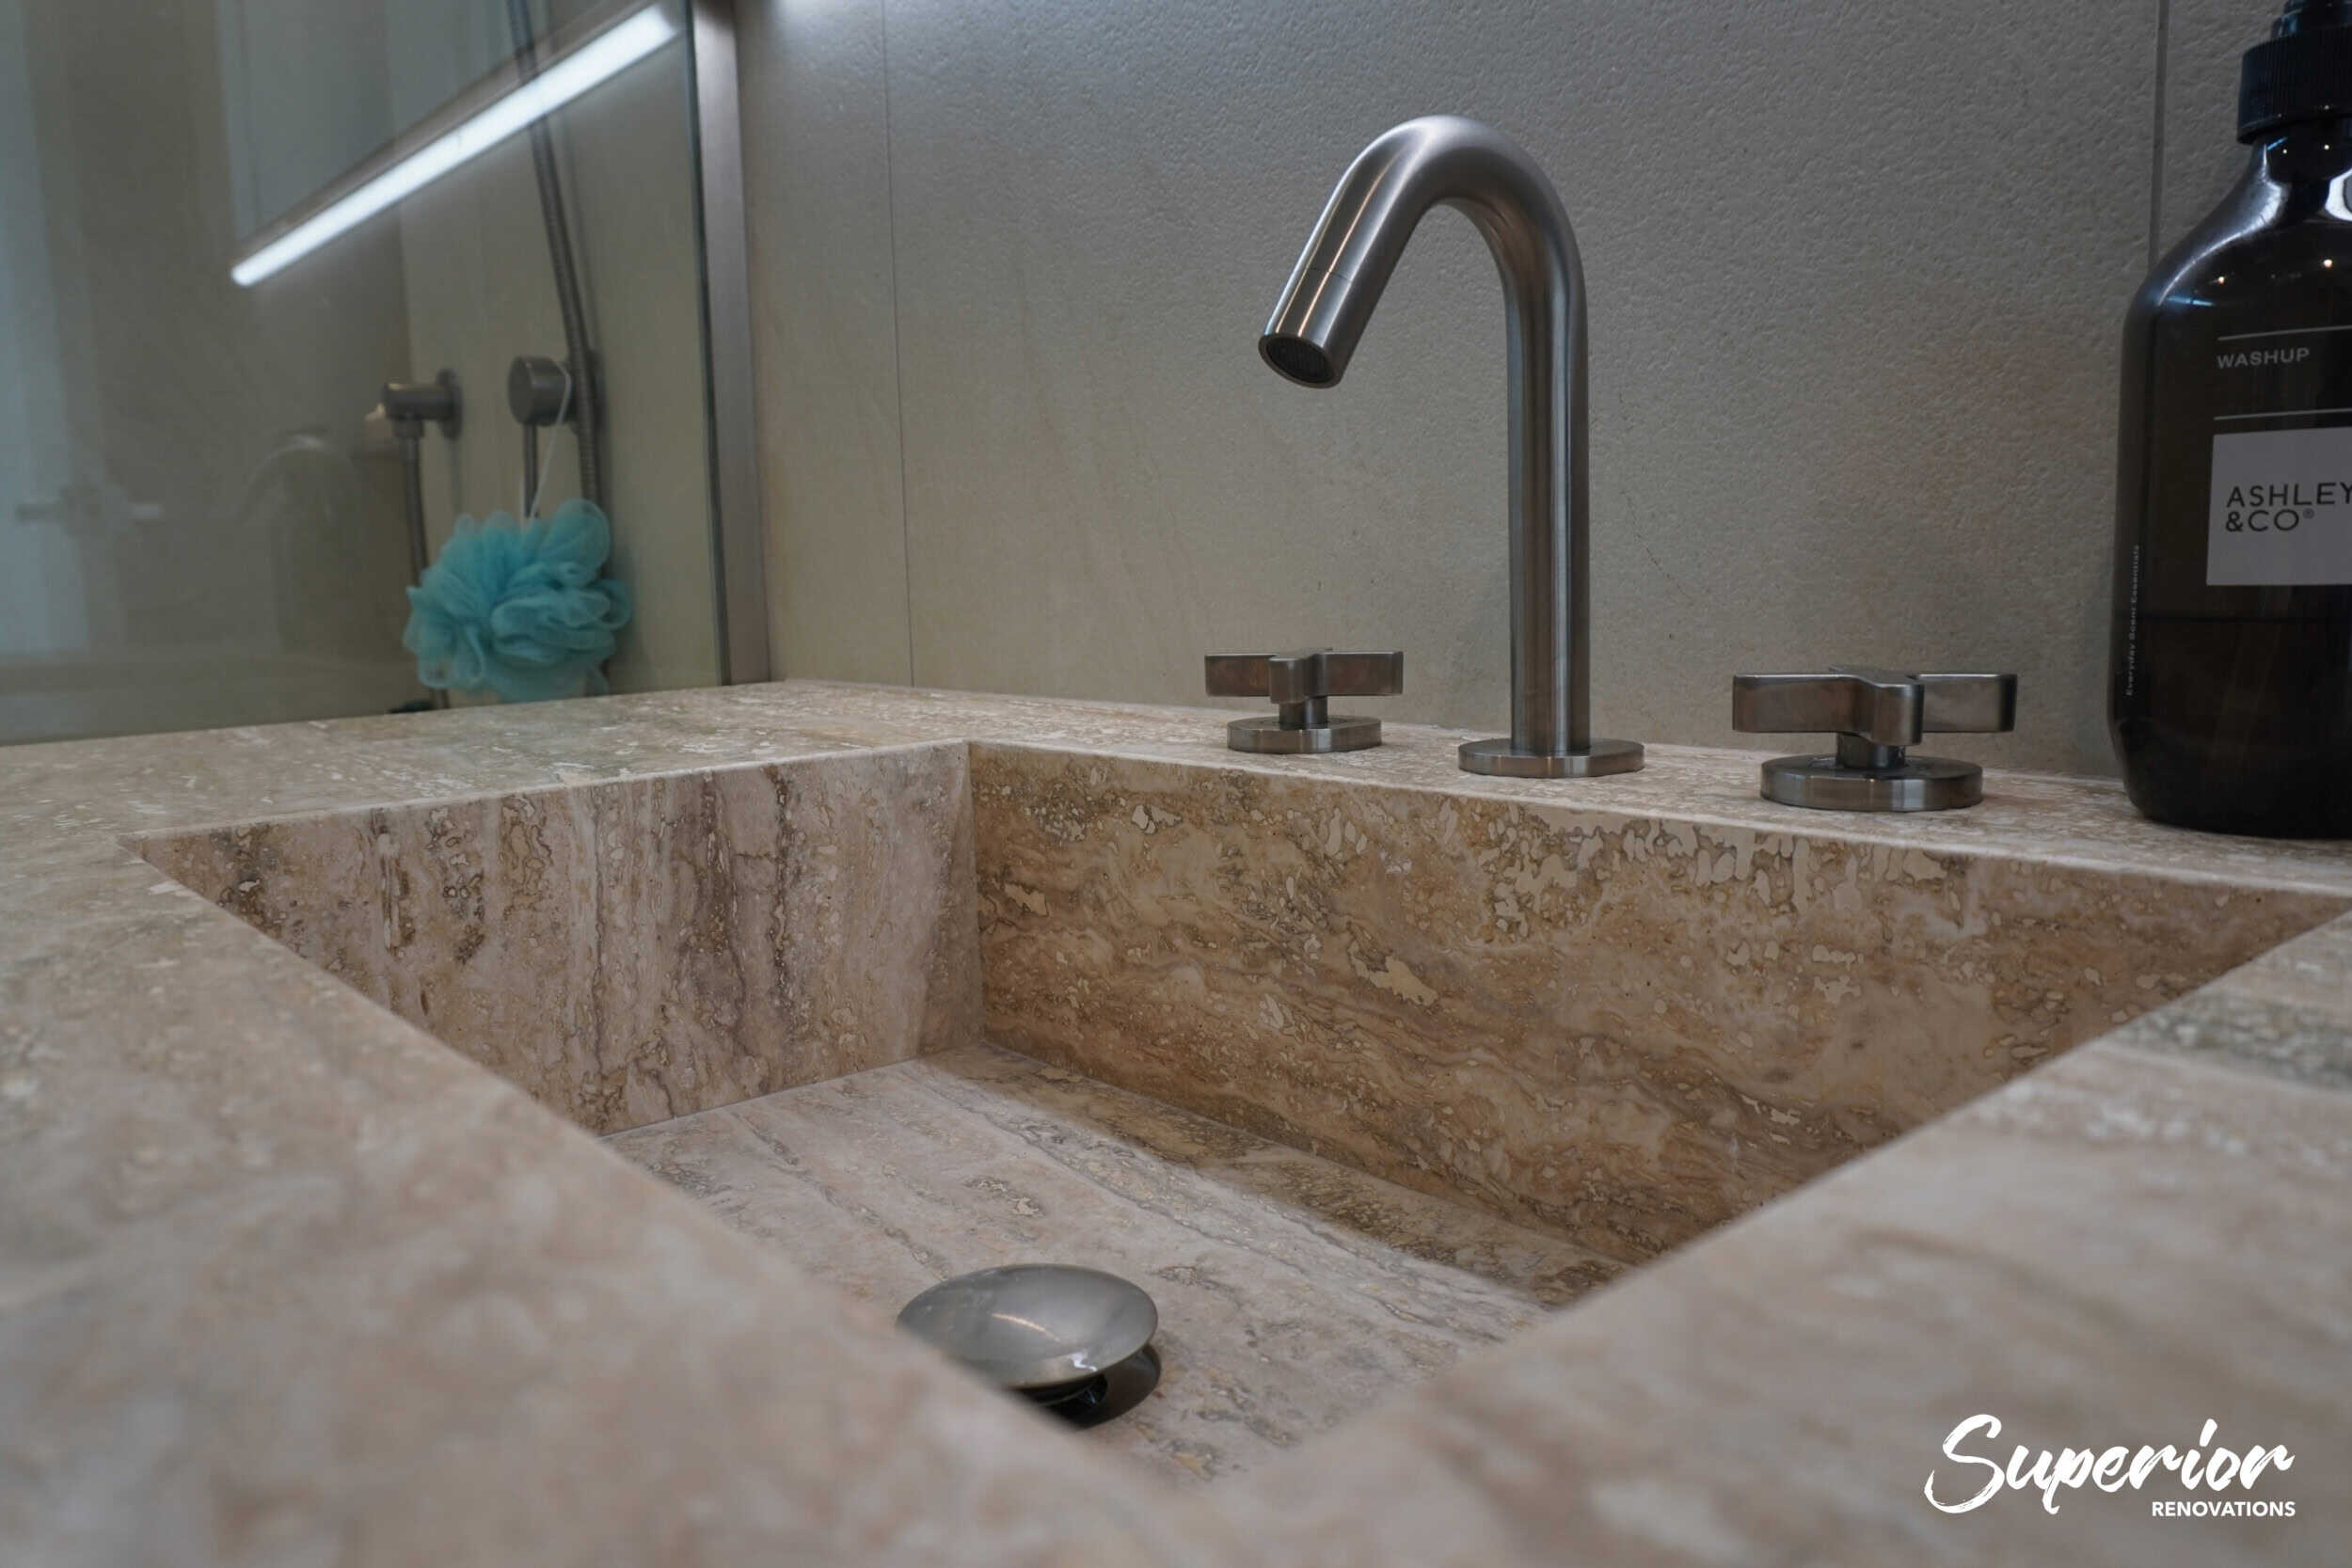
Designer Bathroom By Superior Renovations
Tapware and Fixtures: The False Economy
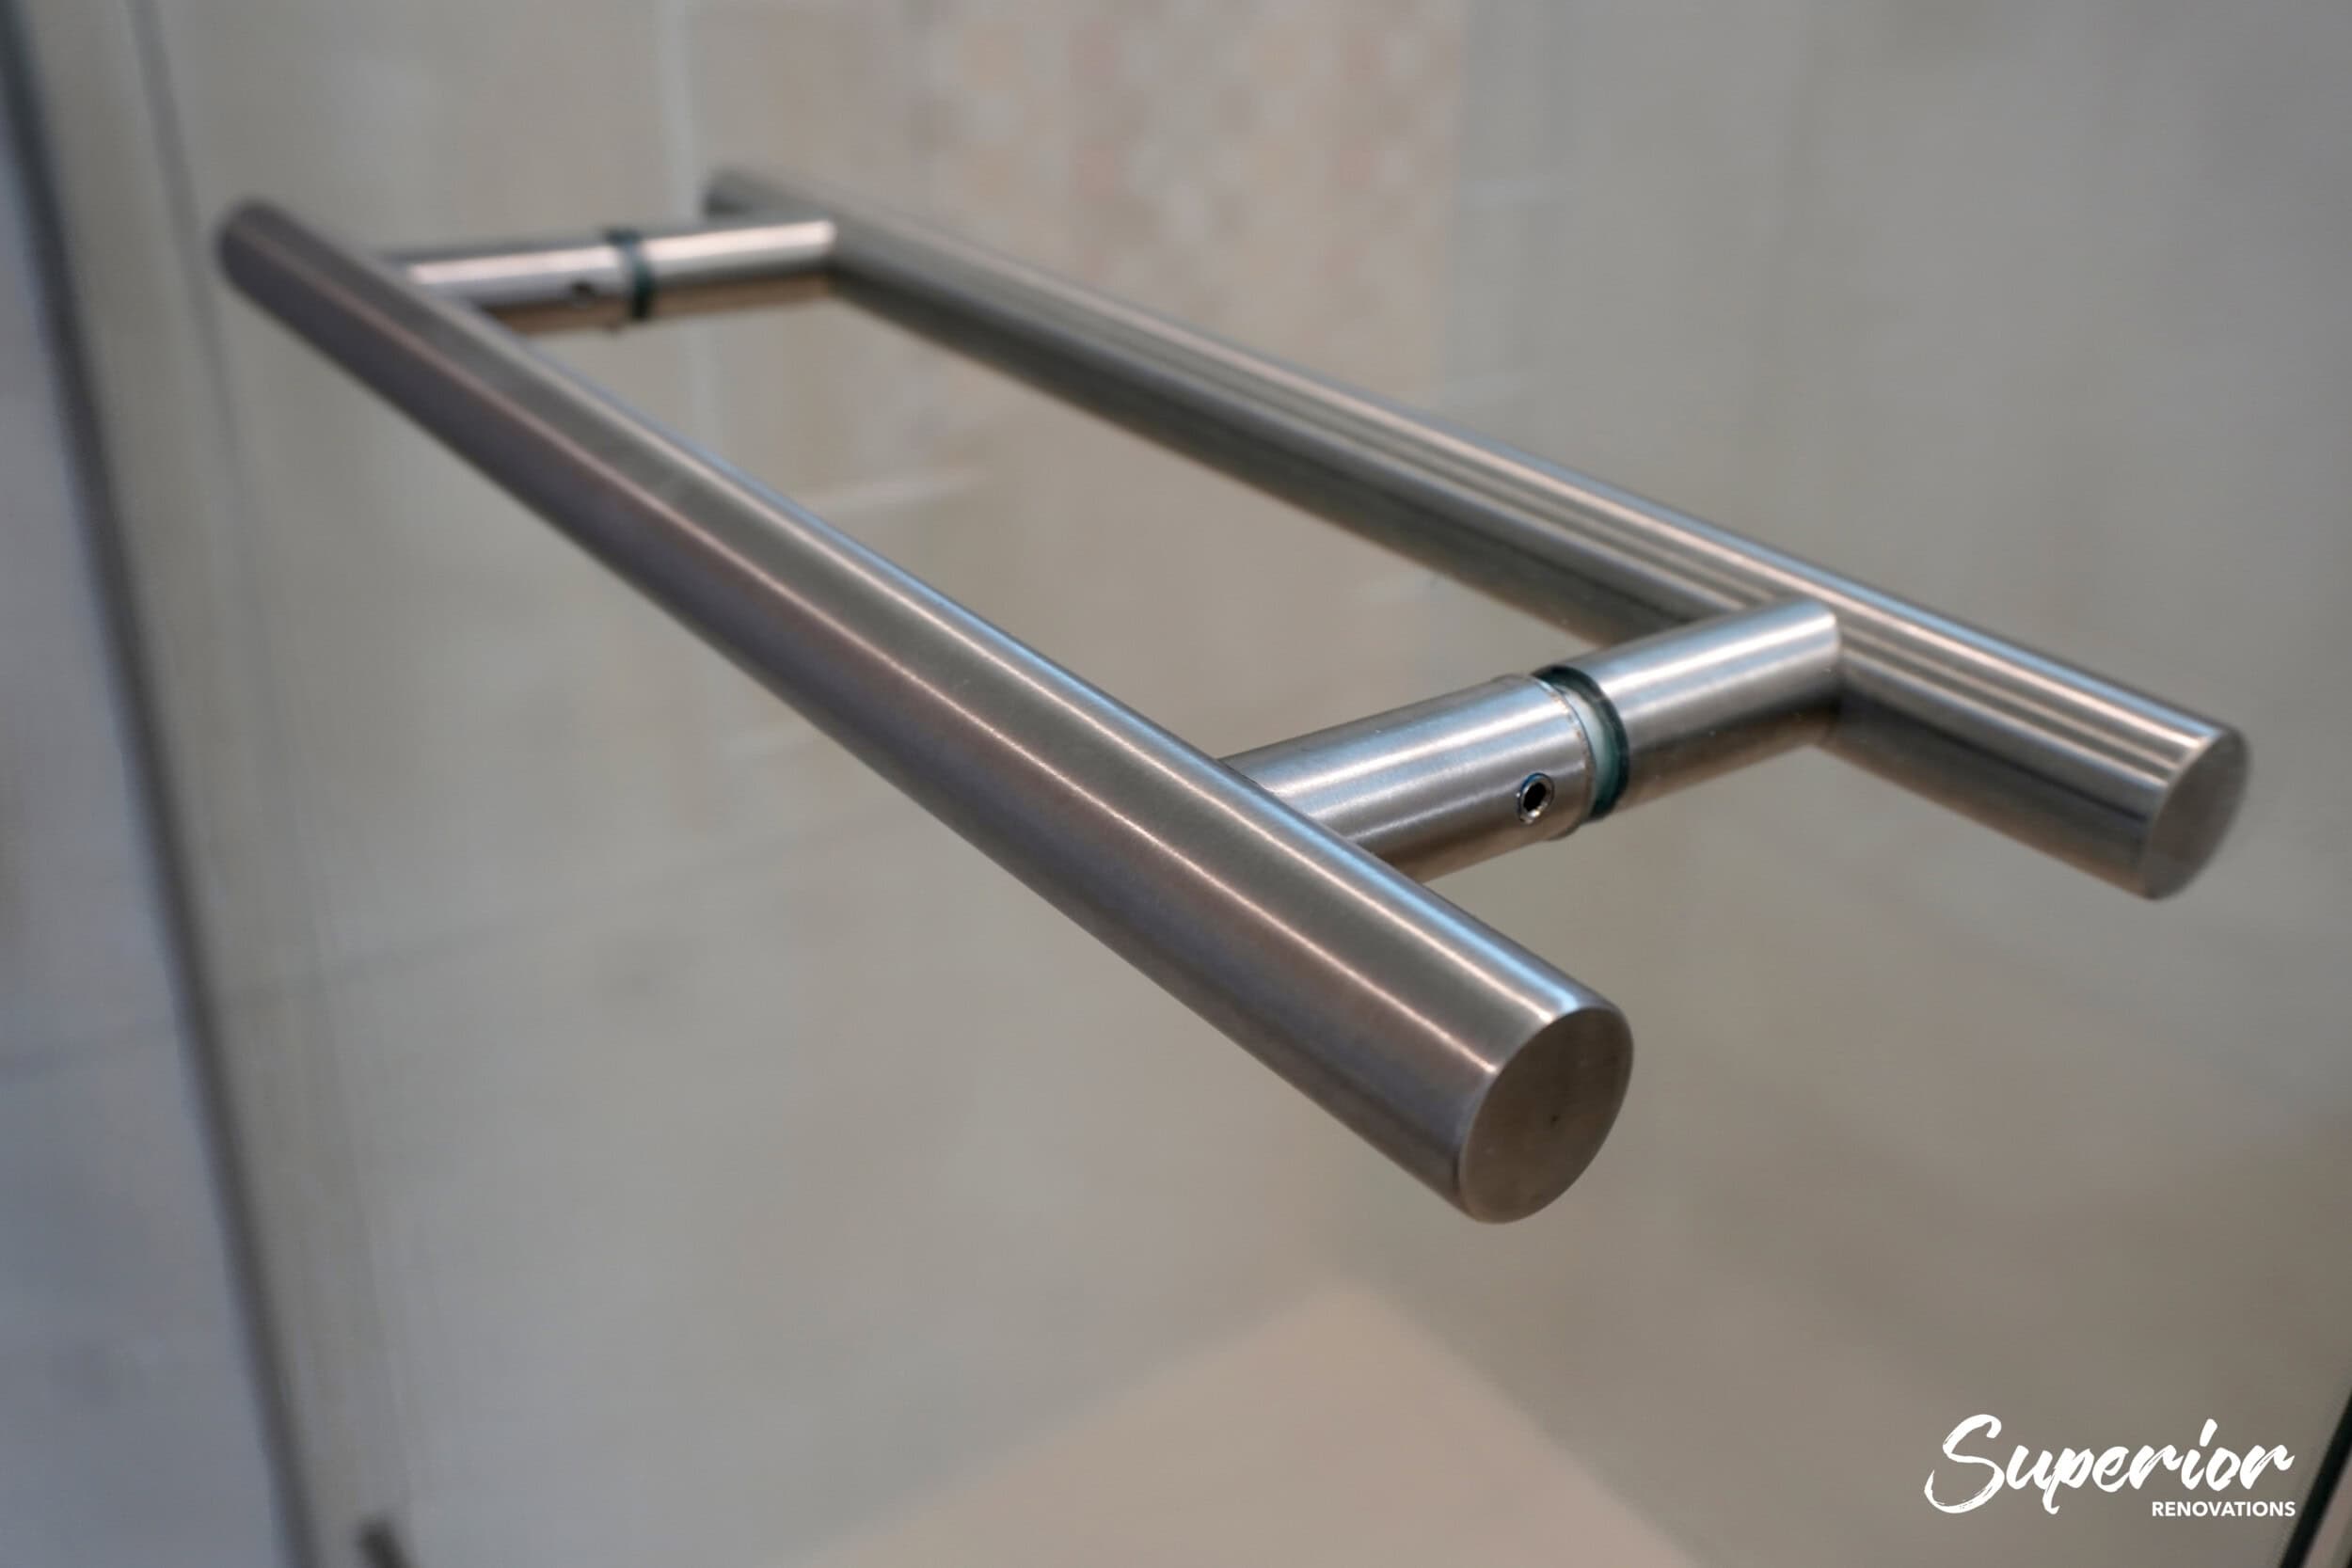
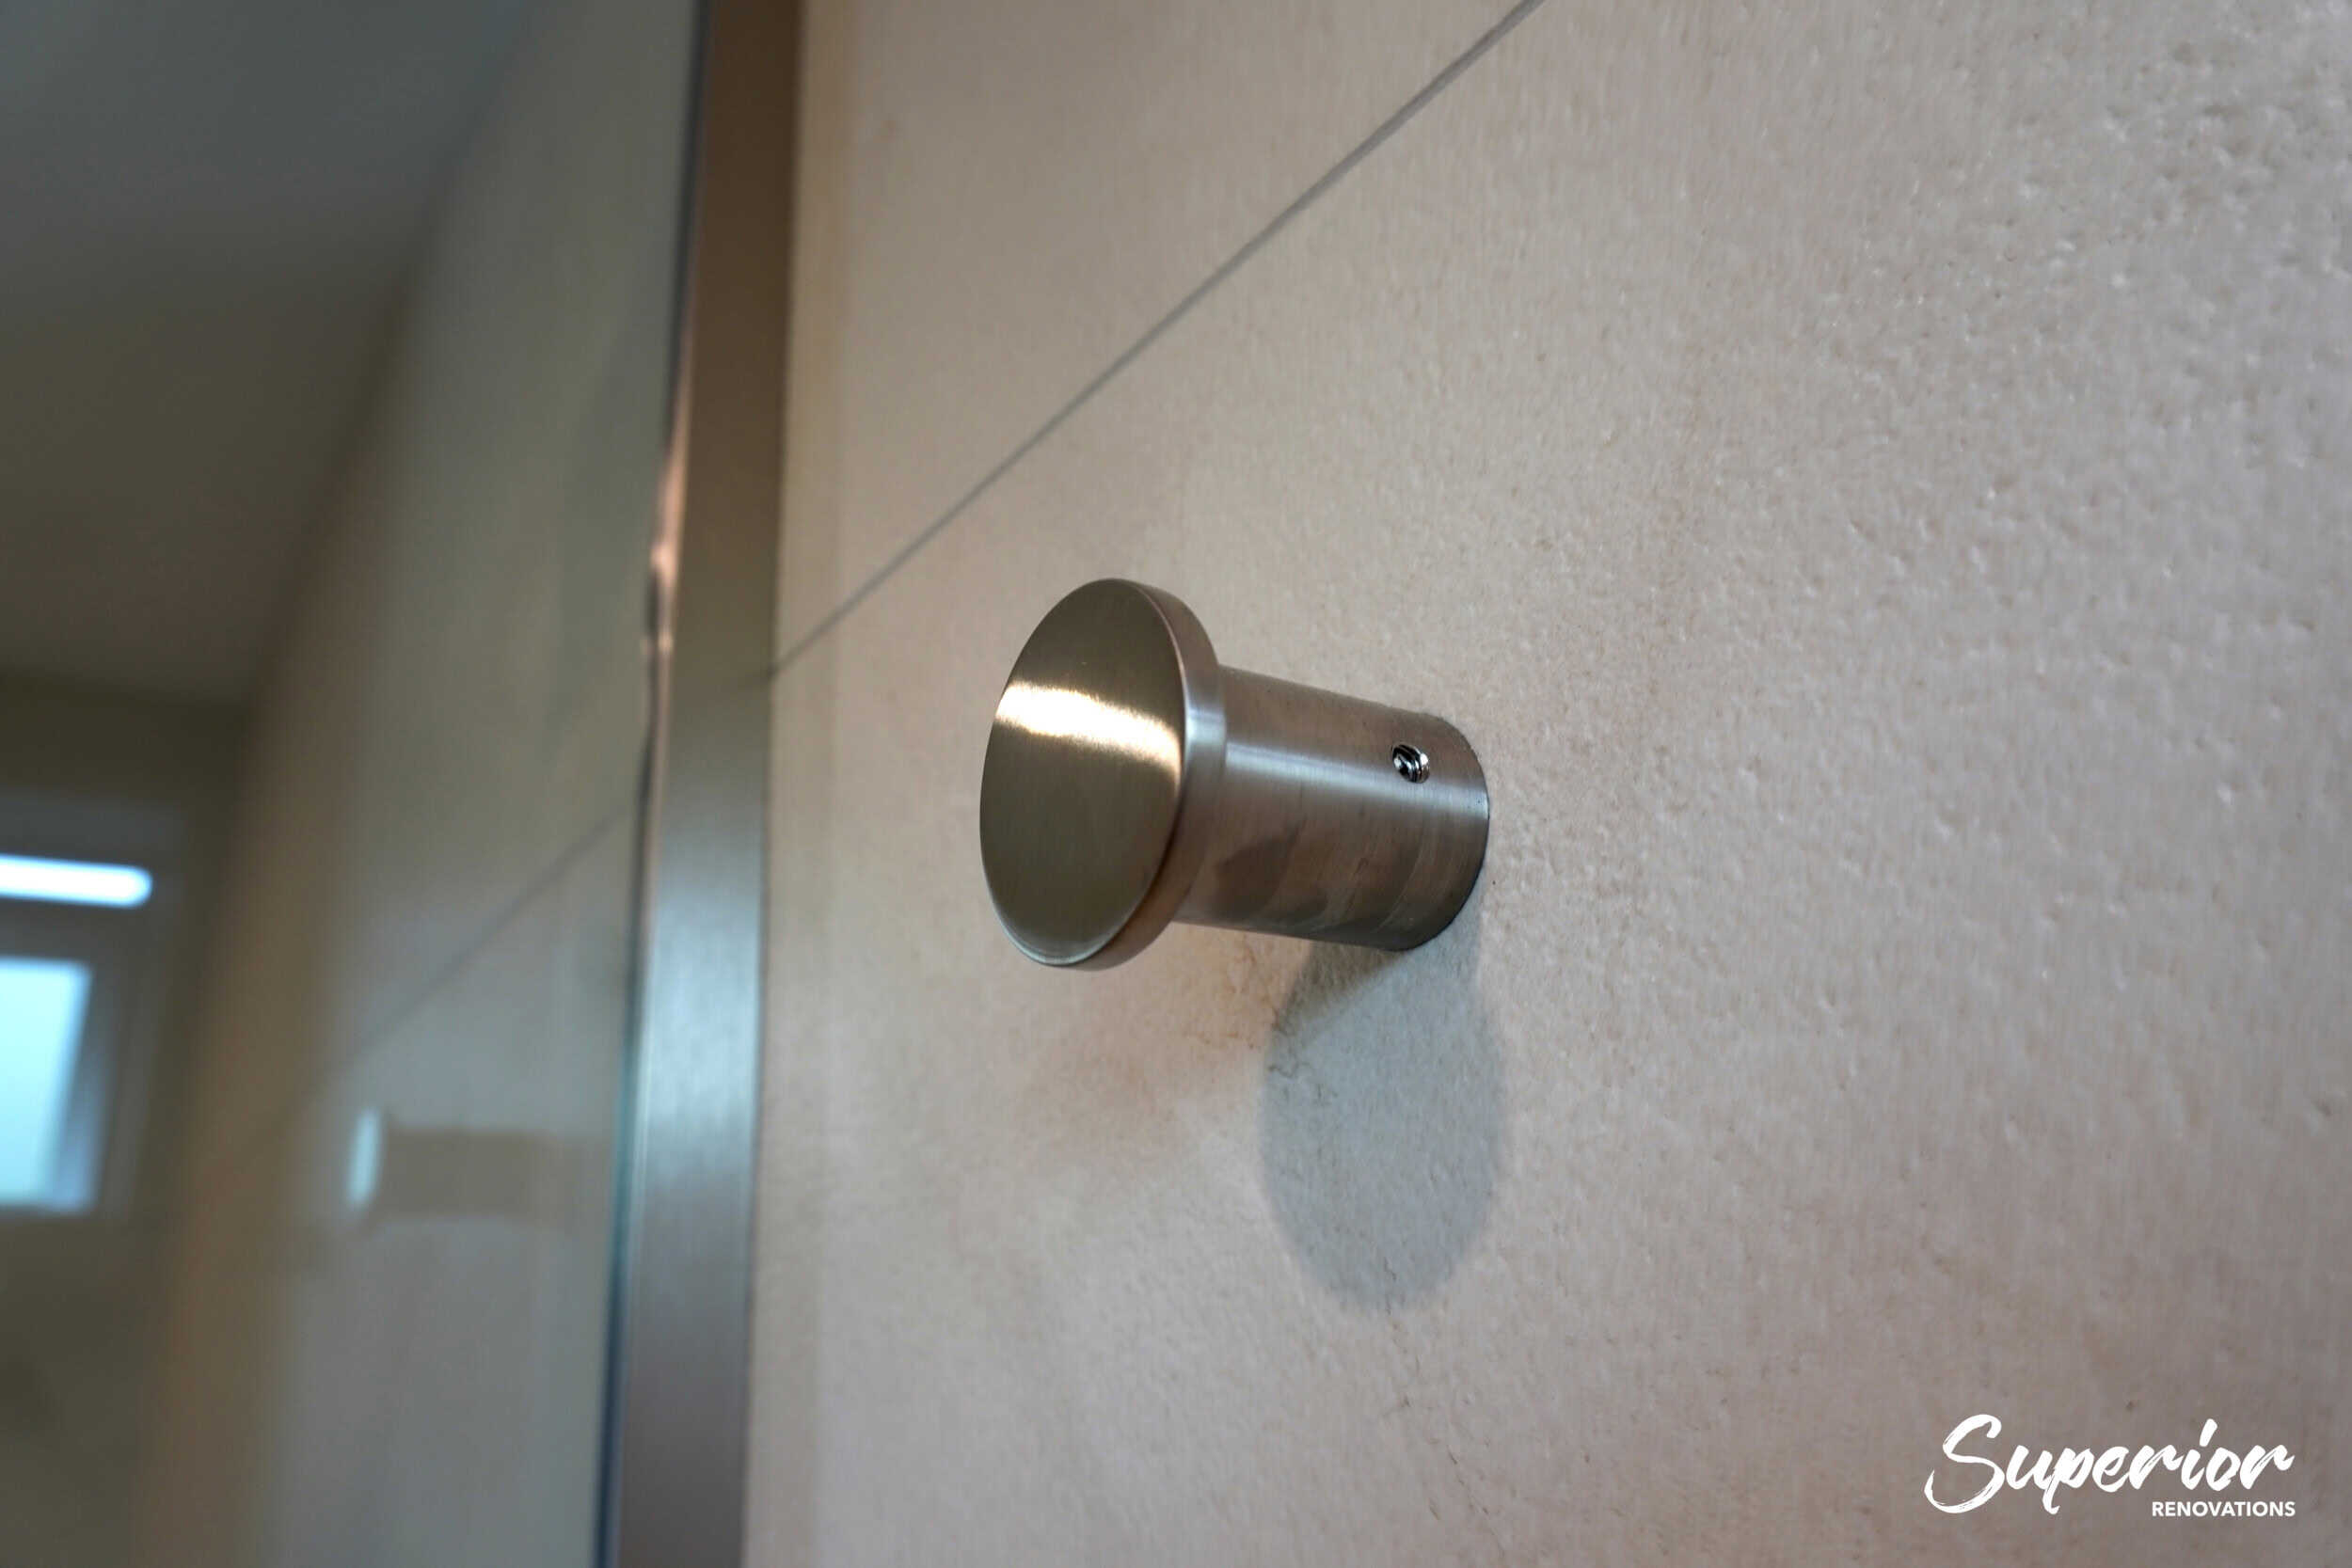
Matte black and brushed brass tapware are everywhere in Auckland bathrooms right now. The finish is the visible part. The cartridge inside is the part you’ll care about in five years, when it starts to drip and you need a replacement that fits.
We work with Reece for our bathroom plumbing and fixtures because the product range is backed by NZ warranties and the supply chain is reliable. When a mixer cartridge needs replacing, you want the part to be available, not discontinued by a no-name import brand.
Designer Bathroom By Superior Renovations
Designer Bathroom By Superior Renovations
“I always tell clients — spend your money where water touches things. Waterproofing, tiles in the shower, quality tapware. The vanity mirror and accessories? That’s where you can save. But the wet zone is not the place to cut corners in Auckland’s climate.”
Alison Yu, Designer, Superior Renovations
💡 Quick tip: Ask your renovation company whether tapware comes with a minimum 5-year NZ warranty. If the answer is vague, the product is probably an unbranded import with no local support.
Mistake #5: Poor Layout Planning and the Space You Can’t Get Back
A bathroom is the smallest room most people renovate, and that makes layout planning more important, not less. Every centimetre counts.
The most common layout mistake we see? Keeping the same layout because it’s cheaper, even when the existing layout is the reason the bathroom doesn’t work. Sometimes keeping it makes perfect sense: our cost guide puts relocating plumbing at an extra $1,000–$5,000, and same-position work keeps you inside the Schedule 1 exemptions. But sometimes the old layout is the problem, and preserving it means spending $25,000 or more on a room that still feels cramped, awkward or badly lit.
The Circulation Problem
Plan the space in front of the toilet, the swing of the door and the reach to the towel rail before you choose a single tile. In Auckland’s older homes, from the compact bathrooms in 1970s brick-and-tile houses to the narrow ones in pre-war bungalows, those clearances get tight even with careful planning.
Picture a bathroom where the toilet sits so close to the vanity your knee hits the cabinet every time. People live with that for years. Shifting the pan a few hundred millimetres is a plumbing change, not a rebuild, and on a room you use every day it’s often the best money in the whole budget. A designer can tell you quickly whether your room has that kind of easy win.
Lighting: The Forgotten Layout Element
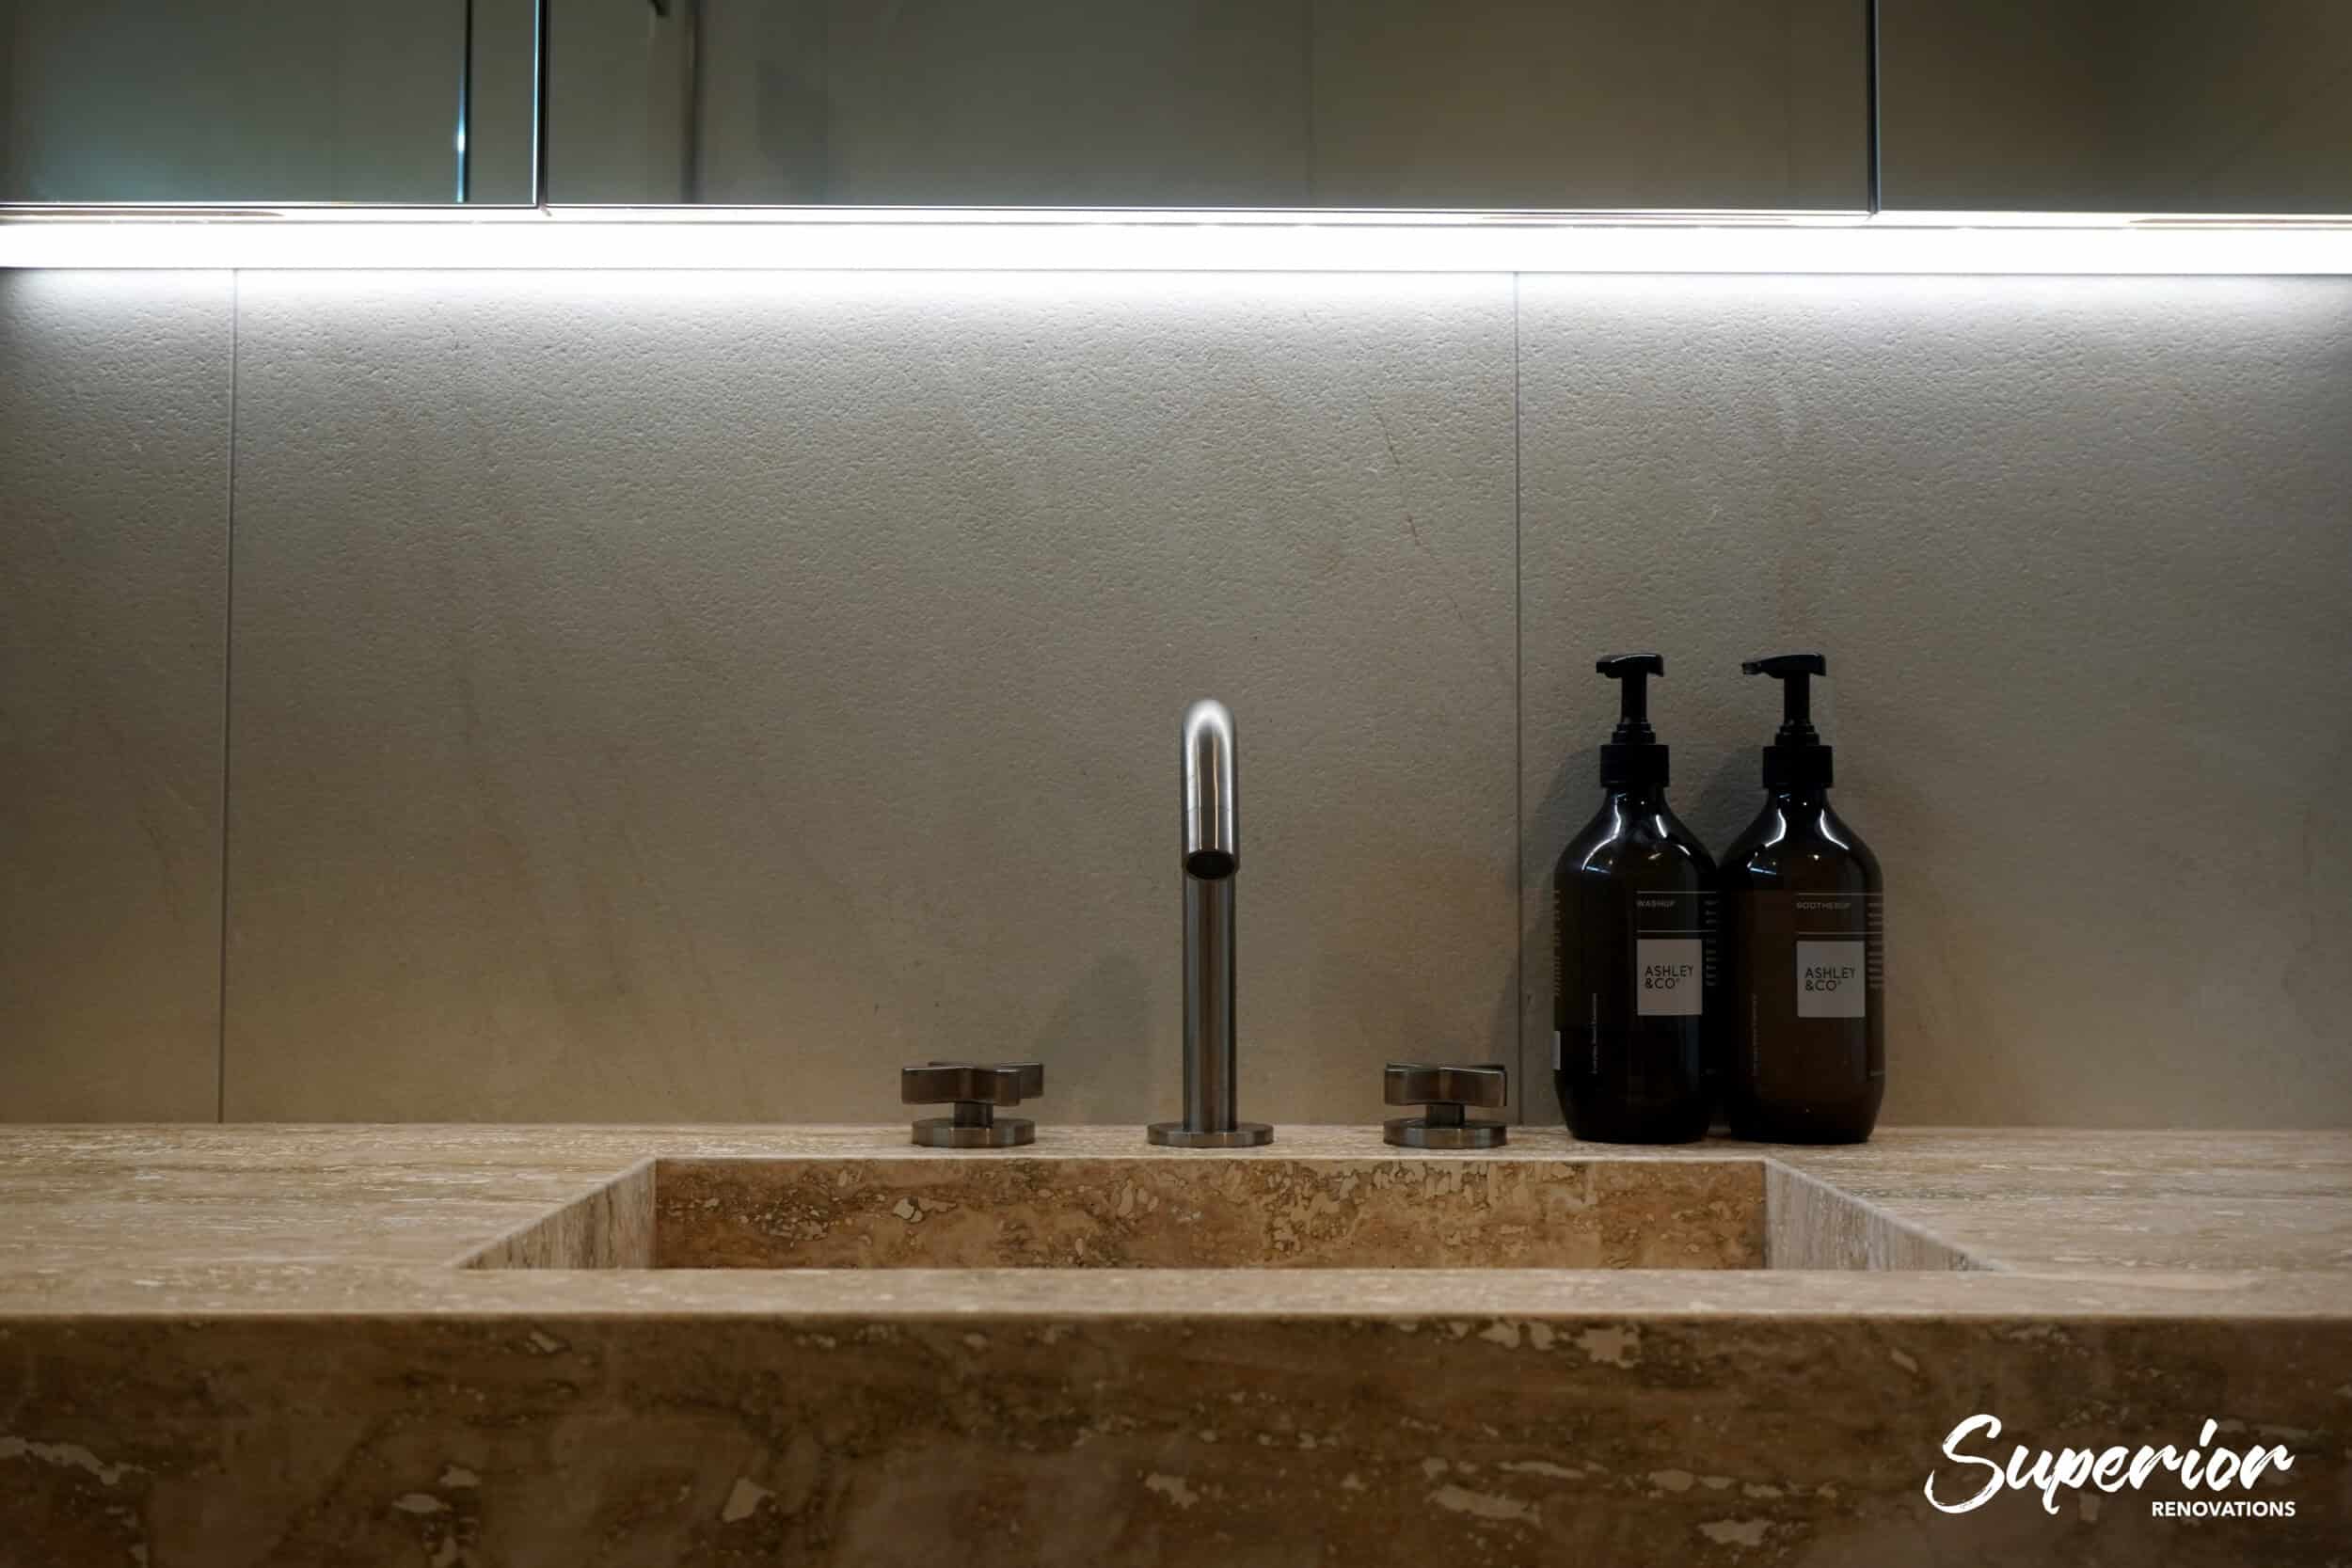
Most homeowners plan the floor layout carefully and forget about lighting entirely. A single ceiling downlight is not enough. You need task lighting at the vanity for shaving and make-up, ambient light for the room, and ideally a low night light so you’re not blinded at 2am.
Layered lighting is one of the highest-impact upgrades you can make for the money, and it’s cheapest while the ceiling and walls are open. Backlit mirrors, LED strip lighting under the vanity and dimmable downlights turn a basic bathroom into one that feels good to use. Every fitting in the wet zone has to be rated for it, and the wiring is a job for a licensed electrician who signs it off.
Designer Bathroom By Superior Renovations
💡 Quick tip: Before committing to a layout, visit the Superior Renovations showroom at 16B Link Drive, Wairau Valley to see real bathroom layouts in person. It’s easier to judge spatial proportions when you’re standing in an actual bathroom rather than staring at a floor plan.
Mistake #6: Hiring Wrong, Managing Trades Poorly, and DIY Overreach
A full bathroom involves 7 to 8 specialist trades. Coordinating them is project management, and it’s where self-managed renovations most often come unstuck.
The Cost of Poor Trade Coordination
You can’t tile before the plumber has roughed in, and you can’t tile before the membrane has cured. Our FAQ allows a day for waterproofing and a minimum of 24 hours’ cure before tiling starts, then 2 to 4 days of tiling and another day for grout. Every out-of-sequence visit costs somebody money, and on a self-managed job that somebody is you. At $120–$150 an hour, a tradie standing around for half a day waiting for the last trade to finish is roughly $480–$600 of your budget doing nothing.
A standard full bathroom takes 3 to 4 weeks on site once the design is finalised and materials are ordered. Lose the sequencing and that stretches, and every extra week is another week without a working bathroom.
The DIY Trap
Some bathroom tasks are genuinely DIY-friendly. Painting. Installing towel rails. Maybe fitting a vanity if it’s a straight swap with no plumbing changes. Plumbing, electrical, waterproofing and wet-area tiling are a different matter.
The plumbing exemptions in Schedule 1 of the Building Act only apply to work carried out by a person authorised under the Plumbers, Gasfitters, and Drainlayers Act 2006, and you can check any plumber on the Plumbers, Gasfitters, and Drainlayers Board register. Electrical work in a bathroom should come with an Electrical Certificate of Compliance from a licensed electrician. Without those certificates, you have nothing to show a buyer, an insurer or a building inspector later.
Checking Credentials Matters
Licensed Building Practitioners can be verified on the LBP register, and our own in-house Licensed Building Practitioner (LBP #BP156911) is listed there. If a builder or renovation company can’t give you LBP numbers and the names of the licensed plumber and electrician on your job, keep asking until they can.
A full-service renovation company like ours handles trade coordination, scheduling, consents and quality checks under one contract and one project manager. It’s not the only way to do a bathroom renovation, but it removes most of the coordination headaches that cause delays and cost blowouts.
Have a look at our real client stories from Auckland homeowners to see how the process works from their perspective.
Mistake #7: Forgetting About Storage, Access, and Long-Term Liveability
A new bathroom can look incredible on completion day and become frustrating within weeks if the liveability details were missed. Storage is the biggest culprit.
Most Auckland bathrooms are short on storage, and you notice it every single morning. Shampoo bottles on the shower floor. Towels piled on the cistern. Cleaning products under the vanity next to the hair dryer. Those are signs of a bathroom designed for the photo, not for daily life.
Storage Solutions That Actually Work
Recessed shower niches, built into the wall during framing and tiling, add almost nothing to the job but genuine daily usefulness. Plan them early, because each niche has to be detailed into the membrane like any other corner. A wall-hung vanity with drawers instead of a pedestal basin gives you storage without eating floor space. Mirrored cabinets above the vanity double as storage and a place for lighting.
These aren’t luxury additions. They’re standard specifications that belong in every bathroom brief, easy to include during the design phase and expensive or impossible to add later.
Future-Proofing and Accessibility
If you’re planning to stay long-term, or you’re renovating with ageing parents in mind, think about grab rails (or at least timber blocking in the wall so they can go in later), a level-entry shower and slip-resistant flooring. E3/AS1 notes that a shower built for people with disabilities has a level threshold, which is another reason the floor fall gets designed, not guessed. These details cost little during a renovation and a lot to retrofit.
💡 Quick tip: Ask your designer to include timber blocking behind the linings in the shower and toilet areas during construction. It’s a small job with the walls open, and it means grab rails can go in at any point without retiling.
How to Avoid These Bathroom Renovation Mistakes: the Summary
Every mistake on this list has the same root cause: not enough planning upfront. The build itself, from demo to fit-off, takes 3 to 4 weeks for a standard Auckland bathroom. The planning deserves at least that long again.
Get your budget realistic before you start talking to anyone. Know which consent rules apply to your exact scope. Ask which membrane system is going in and how it meets clause E3. Make sure the fan vents outside. Choose a renovation company that manages every trade under one contract, gives you a fixed-price quote and documents its checks. Visit a showroom. Talk to a designer. And set aside a contingency, because Auckland’s older homes nearly always have something behind the walls.
The best bathroom renovations we’ve delivered, the ones clients are still happy with years later, have one thing in common. They were planned properly before anyone picked up a hammer.
➡ Book your free in-home consultation with Superior Renovations
➡ Try our free bathroom renovation cost calculator
➡ Request a free feasibility report for your project
What are the most common bathroom renovation mistakes in NZ?
The most common bathroom renovation mistakes in New Zealand are underestimating the budget (an Auckland mid-range bathroom is $25,000 to $35,000, not the $10,000 to $15,000 many expect), treating the waterproofing membrane as somewhere to save, venting the extractor fan into the ceiling instead of outside, assuming every plumbing change is consent-free, choosing wet-area tiles and tapware for looks rather than specification, and leaving the trades to sort out their own sequence, which adds weeks and idle labour.
How much does a bathroom renovation cost in Auckland in 2026?
On our live FAQ, a budget bathroom refresh in Auckland costs $8,000 to $15,000, a mid-range full renovation runs $25,000 to $35,000, and a custom luxury bathroom or wet room sits at $35,000 to $65,000 or more. Auckland tradie rates run $120 to $150 an hour, and a full bathroom involves 7 to 8 specialist trades, which is why small rooms rarely cost as little as people expect. Use our bathroom renovation cost calculator for a range based on your own project.
Do I need building consent for a bathroom renovation in Auckland?
Often not. Replacing tiles, vanity, toilet and shower in the same positions is generally exempt under Schedule 1 of the Building Act 2004. The sanitary plumbing exemptions are narrower: clause 35 covers an alteration only where the number of fixtures does not increase and no specified system is affected, and only when an authorised plumber does the work. Adding fixtures, removing walls or structural changes usually need consent. Confirm your exact scope with Auckland Council or a Licensed Building Practitioner before you lock in the design.
How long does a bathroom renovation take in Auckland?
A standard full bathroom renovation takes 3 to 4 weeks from demolition, assuming the design is finalised and materials are ordered. Inside that, waterproofing takes a day and must cure for at least 24 hours before tiling, tiling takes 2 to 4 days and grouting adds another day. If consent is required, allow 4 to 8 weeks for processing before work can start. Your project manager should give you a clear timeline before anything is pulled out.
What is the biggest waste of money in a bathroom renovation?
Doing the bathroom twice. That happens when the membrane fails and water reaches the framing, when work that needed consent has to be reopened, or when tiles and tapware chosen on price fail early. Our published figures show the gap: a shower retile runs $1,800 to $4,000 before waterproofing, but anything that touches the framing or membrane lands in the $25,000 to $35,000 band. Spending properly on the wet zone is the cheapest insurance you can buy.
Should I move my bathroom layout or keep it the same?
Keep it if the existing positions work, because our cost guide puts relocating plumbing at an extra $1,000 to $5,000 and same-position work keeps you inside the Schedule 1 exemptions. Change it if the current layout causes daily problems, like a toilet jammed against the vanity, a door that clashes with fixtures or dead space you could use. A designer can tell you quickly whether the relocation cost is worth it for your room, and whether the change affects consent.
Can I DIY my bathroom renovation in New Zealand?
Some of it. Painting, towel rails and a straight vanity swap with no plumbing changes are reasonable DIY jobs. The plumbing exemptions in Schedule 1 of the Building Act only cover work by a person authorised under the Plumbers, Gasfitters, and Drainlayers Act 2006, and electrical work should come with an Electrical Certificate of Compliance from a licensed electrician. Waterproofing and wet-area tiling have to meet Building Code clause E3, so they are best left to people who do them every week.
How do I choose the right bathroom renovation company in Auckland?
Check Licensed Building Practitioner numbers on the public LBP register and ask who the licensed plumber and electrician on your job will be. Ask for a fixed-price quote rather than an estimate. Confirm one company manages every trade under one contract with a dedicated project manager. Ask which membrane system they use and how it meets clause E3. Read their Google and Facebook reviews, visit the showroom if they have one, and ask who handles consent.
Do I need waterproofing in my bathroom renovation in Auckland?
Yes, wherever water reaches. Building Code clause E3 requires bathroom floors and the walls next to fixtures to be impervious and easily cleaned, and surfaces likely to be splashed to stop water getting behind linings (E3.3.6). Under MBIE's Acceptable Solution E3/AS1, tiled shower walls go on a membrane, shower tiles must have no more than 6% water absorption, and the impervious lining runs to the higher of 1,800mm above the floor or 50mm above the rose. Ask an LBP which route your design follows.
How much does it cost to fix defective ensuite tiling?
It depends on how far the water has gone. From our published Auckland figures: re-grouting is $100 to $200 in materials plus $50 to $100 for sealing; retiling an existing shower with the plumbing staying put runs $1,800 to $4,000 excluding waterproofing; a new membrane to a 2 to 3 square metre shower area adds $400 to $600. Once water has reached the framing, the repair touches the framing and membrane and lands in the $25,000 to $35,000 band.
Why are my bathroom tiles cracking after 5 years?
Usually because something underneath has moved or got wet. The common causes are framing or substrate movement, a membrane that failed or was never installed, tiles or adhesive not suited to a wet area (E3/AS1 limits shower tiles to 6% water absorption), and failed sealant at junctions and penetrations. Straight cracks across several tiles point to movement; hollow-sounding tiles, black grout and musty smells point to water. Get it assessed before re-grouting over it.
What should I do before starting a bathroom renovation?
Get a realistic budget first, using a cost calculator or a free consultation. Check whether your exact scope needs consent. Visit a showroom to see the materials in person. Ask which membrane system will be used and confirm the extractor fan vents outside. Get a fixed-price quote from a company that manages every trade. Order tiles and fixtures well before your start date, and set aside a contingency, especially if your Auckland home was built before 2000.
Further Resources for your bathroom renovation
- Featured projects and Client stories to see specifications on some of the projects.
- Real client stories from Auckland
Need more information?
Take advantage of our FREE Complete Home Renovation Guide (48 pages), whether you’re already renovating or in the process of deciding to renovate, it’s not an easy process, this guide which includes a free 100+ point check list – will help you avoid costly mistakes.
Download Free Renovation Guide (PDF)

Have you been putting off getting renovations done?
We have partnered with Q Mastercard ® to provide you an 18 Month Interest-Free Payment Option, you can enjoy your new home now and stress less.
Learn More about Interest-Free Payment Options*
*Lending criteria, fees, terms and conditions apply. Mastercard is a registered trademark and the circles design is a trademark of Mastercard International Incorporated.
Still have questions unanswered?
Book a no-obligation consultation with the team at Superior Renovations,
we’d love to meet you to discuss your renovation ideas!
References
- Building Act 2004 (New Zealand Legislation): sections 40, 362I and 393; Schedule 1 clauses 1, 32 and 35
- Building Regulations 1992, Schedule 1 (New Zealand Building Code), clause E3 Internal moisture
- Building Performance (MBIE): Acceptable Solution E3/AS1, 2nd edition, amendment 7
- Building Performance (MBIE): Acceptable Solution E3/AS2, internal wet-area membrane systems
- Tenancy Services: Healthy homes ventilation standard
- Building Performance (MBIE): Technical requirements for exempt building work
- Plumbers, Gasfitters, and Drainlayers Board
- Licensed Building Practitioners register