1")
House Extension Cost NZ – Auckland Prices Per m² (2026)
House Extension Cost in NZ: What Auckland Homeowners Actually Pay
Quick answer: A single-storey house extension in Auckland costs between $2,000 and $5,500 per square metre — so a typical 50m² ground-floor addition runs $100,000 to $275,000 depending on materials, site conditions, and whether you’re adding wet areas like kitchens or bathrooms.
Auckland’s property market doesn’t leave much room for half-measures. If you’re in a three-bedroom bungalow in Grey Lynn that’s bursting at the seams, or a 1970s brick-and-tile in Mt Roskill where the kids are sharing rooms, the question isn’t whether you need more space — it’s whether extending makes more sense than moving.
➡ Try the free house extension cost calculator
For most Auckland homeowners, it does. A ground-floor extension starts from around $80,000, while a second-storey addition begins at roughly $150,000, according to our own project data at Superior Renovations. Those figures shift depending on what you’re building, where you’re building it, and what the ground looks like when your builder starts digging. (For a full overview of what we do and how the process works, see our Auckland house extensions service page.)
This guide breaks down exactly where the money goes. We’ll cover per-square-metre rates, the five biggest cost drivers, how extending compares financially to buying a bigger home in Auckland, and the specific choices that separate a $2,000/m² extension from a $5,500/m² one. Every figure is grounded in Auckland pricing and NZ regulatory requirements — not generic internet estimates.
We’ve been doing this since 2017 from our showroom at 16B Link Drive, Wairau Valley. We work with Sonder Architecture on the design and consent side, and our design team — led by Design Manager Dorothy Li — handles the interior vision for every extension project. The numbers you’ll read here come from the projects we’ve actually built.

What Does a House Extension Cost Per Square Metre in Auckland?
The per-m² rate is where every extension budget starts. But the range is wide — and the reasons for that range matter more than the numbers themselves.
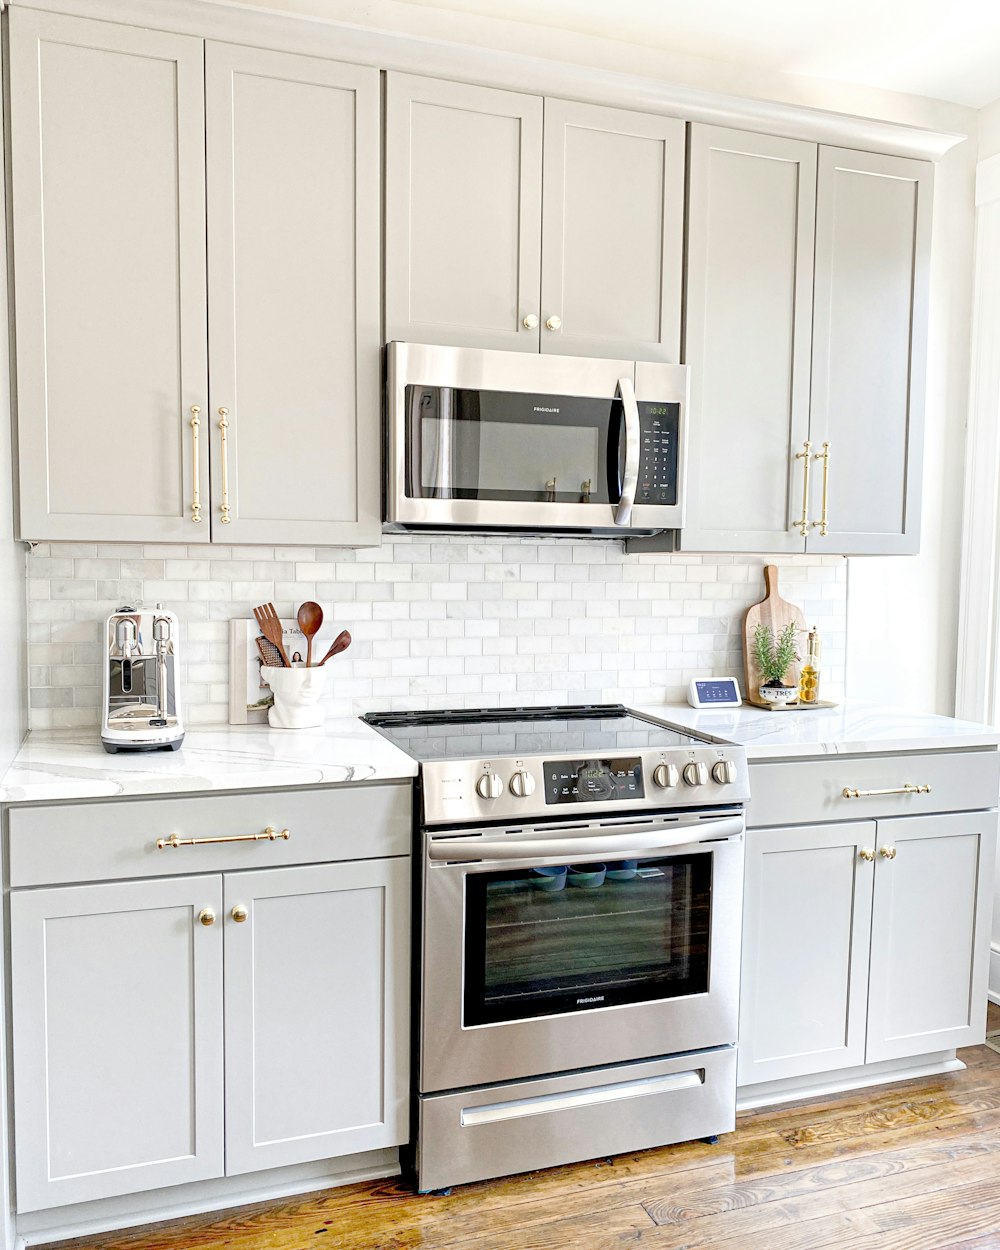
For a standard single-storey extension in Auckland, expect $2,000 to $5,500 per square metre. A basic bedroom or living area addition without plumbing sits at the lower end ($2,000–$3,500/m²). Add a kitchen or bathroom and you’ll push into the $3,500–$5,000/m² range because of pipework, waterproofing, and higher-specification fixtures. Go up instead of out — a second-storey addition — and you’re looking at $4,500 to $6,000+ per m² once structural reinforcement is factored in.
💡 Quick tip: Our house extension cost calculator gives you a personalised estimate in under 60 seconds. It’s free, and results go straight to your inbox.
Per-m² Costs by Extension Type
| Extension Type | Cost Per m² (NZD) | What’s Included |
|---|---|---|
| Basic ground-floor (bedroom/living) | $2,000–$3,500 | Standard framing, weatherboard, insulation, GIB, basic electrical |
| Mid-range ground-floor (kitchen/bathroom) | $3,500–$5,000 | Plumbing, waterproofing, mid-range fixtures, cabinetry, tiling |
| Second-storey addition | $4,500–$6,000+ | Structural engineering, steel beams, reinforced foundations, scaffolding |
| Deck/carport enclosure | $1,500–$2,500 | Existing foundations reused, walls and roof added, basic fitout |
Why Smaller Extensions Often Cost More Per Square Metre
Here’s the bit that catches people off guard. A 30m² extension often costs more per square metre than a 60m² one. The reason is fixed costs. Auckland Council consent fees, architect drawings, structural engineering, and site establishment — none of those scale down just because your extension is smaller. Those overheads get spread across fewer square metres, pushing the per-m² rate up.
We had a client in Epsom who added a 25m² bedroom. The build itself was straightforward, but consent fees, engineering, and professional fees still totalled around $18,000. Spread across 25m², that’s $720/m² before a single nail gets driven. On a 60m² extension, the same fixed costs work out to roughly $300/m².
“The biggest misconception with extensions is that halving the size halves the cost. It doesn’t. The consent, engineering, and design work is almost the same whether you’re adding 20m² or 50m² — so if you’re already going through the process, make sure the extra space is genuinely worth the investment.”
— Dorothy Li, Design Manager, Superior Renovations
Five Cost Drivers That Shape Your Auckland Extension Budget
The per-m² range is wide because no two Auckland sections are the same, no two homes are the same age, and no two homeowners want the same thing. These five factors explain where your project falls within that $2,000–$5,500 spread.
1. Site Conditions and Foundations
This is the one that blindsides people. Site preparation and foundation work can add $10,000 to $75,000 to your extension budget, depending on what’s under the ground and how steep your section is.
A flat section in Flat Bush or Papakura might need basic concrete slab foundations at around $200/m². But a sloped site in Titirangi or the volcanic clay of Mt Eden? That could require piling at $1,000/m² or more, plus retaining walls that run $5,000–$25,000 depending on height and length.
We’ve seen it plenty of times — a client in Remuera budgets $150,000 for a 40m² extension, then the geotechnical report comes back showing reactive clay that needs deep-driven piles. Suddenly $20,000 of that budget goes into the ground before framing even starts.
💡 Quick tip: Get a geotechnical report ($1,000–$2,000) before you commit to any design. It’s the cheapest insurance against a $30,000 surprise mid-build. Your architect needs it anyway for consent drawings.
2. Materials and Finish Level
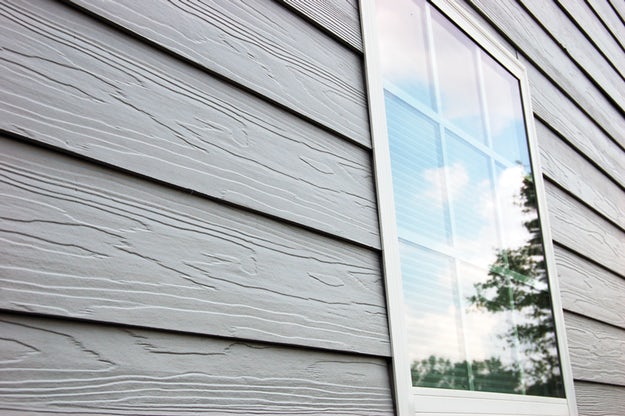
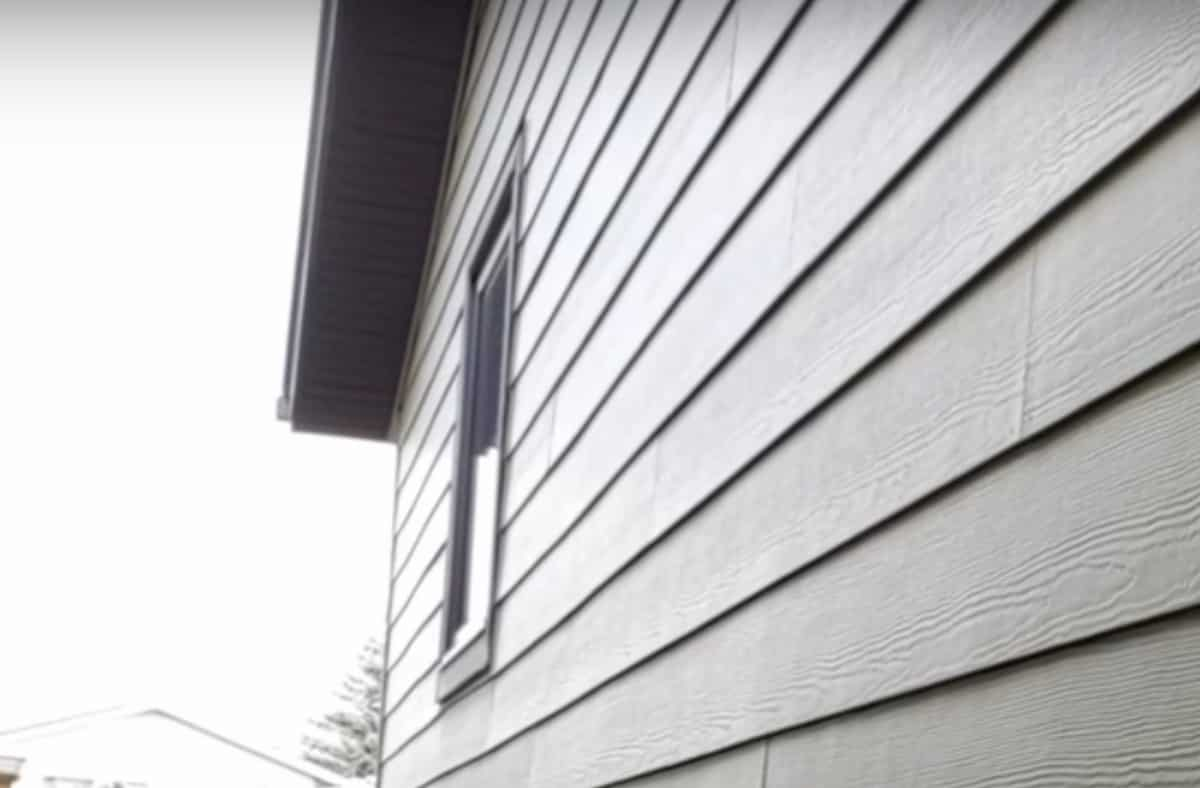
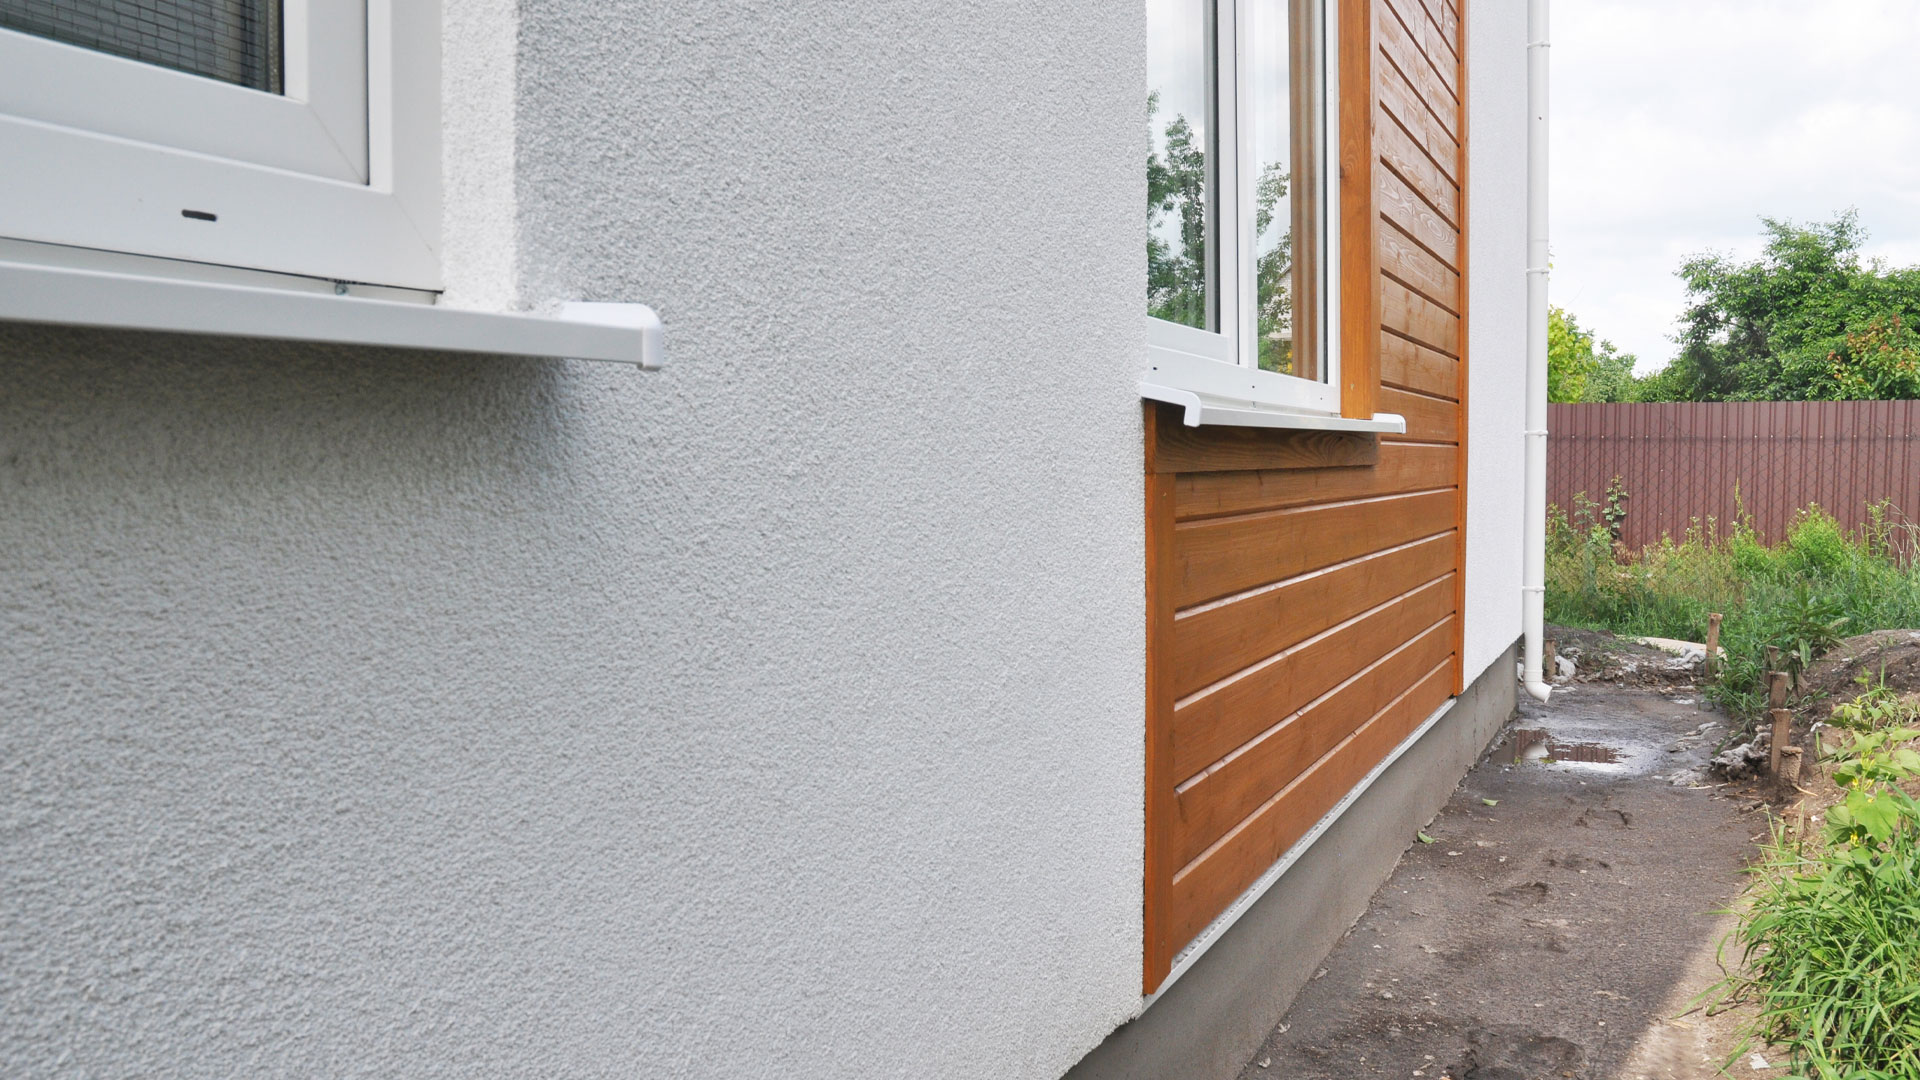
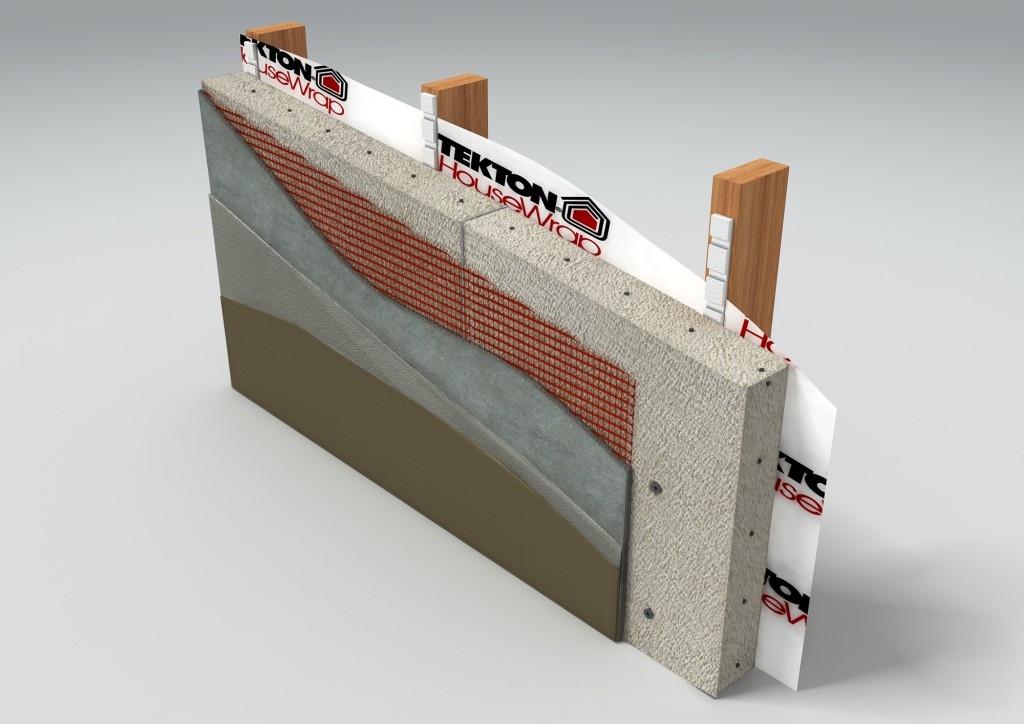
The gap between budget and premium materials is substantial. Weatherboard cladding runs around $150/m²; cedar can hit $300/m² or more. Standard double-glazing sits at $400–$600/m², while thermally broken aluminium joinery pushes past $800/m². Inside, vinyl plank flooring at $50/m² looks remarkably close to engineered timber at $150/m² — but the cost difference on a 40m² extension is $4,000.
According to EECA, investing in quality insulation ($40–$160/m²) can reduce heating costs by up to $600 per year. In Auckland’s damp winters, proper insulation and double-glazing aren’t luxury items — they’re baseline requirements under the updated H1 clause of the NZ Building Code.
3. Council Consents and Compliance
Almost all house extensions require a building consent from Auckland Council. Fees typically run $3,000–$8,000 for a residential extension, with resource consent adding another $5,000–$15,000 if you’re pushing height-to-boundary rules or building in a heritage overlay zone like Parnell or Devonport.
The consent process itself takes 4–8 weeks for processing, and inspections during construction add $500–$1,500. What most homeowners underestimate is the time cost — consent delays can stall your project by months, and every month of delay is money spent on temporary accommodation or living through a half-finished build.
Our partners at Sonder Architecture prepare consent-ready drawings that meet Auckland Council requirements from the start, which cuts the risk of rejection and resubmission. For more detail on what requires consent and what doesn’t, read our building consent guide for Auckland homeowners.
💡 Quick tip: Check your property’s zoning under Auckland’s Unitary Plan before sketching anything. Some zones have recession plane and height-to-boundary rules that can kill a second-storey design before it starts.
4. Professional Fees: Architect and Structural Engineer
Architect fees for a straightforward extension typically run $5,000–$15,000, depending on scope and complexity. Structural engineering — required for any second-storey addition or project involving load-bearing changes — adds another $1,000–$5,000.
That might feel like a lot upfront. But we’ve watched poor design decisions cost homeowners far more during construction — a load-bearing wall that wasn’t identified, a roofline that doesn’t integrate with the existing structure, or a layout that creates dead space nobody uses. Good design is the difference between an extension that adds $200,000 in value and one that adds $80,000.
5. Labour: The 40–50% Factor
Labour accounts for 40–50% of total extension costs in Auckland. A typical project requires carpenters, electricians, plumbers, GIB fixers, painters, and sometimes specialist trades like tilers or waterproofing applicators. Trade rates in Auckland currently run $90–$120/hour depending on the trade, and a 50m² extension might need 800–1,200 trade hours.
The real cost of labour isn’t just the hourly rate — it’s coordination. When trades aren’t sequenced properly, your electrician shows up before the framing is ready, and you’re paying for idle time. At Superior Renovations, we project-manage all trades in-house, which keeps the schedule tight and avoids the kind of delays that quietly inflate budgets by $5,000–$10,000.
Extend or Move? How the Numbers Stack Up in Auckland
This is the question that stops most Auckland homeowners in their tracks. You love your neighbourhood. The kids are settled in school. The commute works. But the house is too small. So: do you extend, or do you sell up and buy bigger?
In most Auckland scenarios, extending costs significantly less than buying a larger home in the same area. And the gap isn’t close.
The Real Cost of Moving Up in Auckland
Auckland’s median house price sits around $1.08 million (per REINZ data). If you’re in a $1 million three-bedroom home in Sandringham and want a four-bedroom place in the same suburb, you’re probably looking at $1.3–$1.5 million for the purchase — plus transaction costs that add up fast.
| Moving Cost Item | Estimated Range (NZD) |
|---|---|
| Real estate agent commission (2.5–4% + GST) | $30,000–$50,000 |
| Legal fees and conveyancing (both transactions) | $3,000–$6,000 |
| Building report + LIM report (purchase) | $800–$2,000 |
| Moving costs | $1,500–$5,000 |
| Total transaction costs (selling + buying) | $35,000–$63,000 |
So you’re spending $35,000–$63,000 just to make the switch — before the price difference between your current home and the bigger one. That’s money you could put directly into an extension that adds the same square metres, custom-designed to exactly what your family needs.
According to Consumer NZ, many buyers also underestimate the renovation costs on a “bigger” home — because rarely does a new purchase have everything exactly how you want it. Most families end up spending another $20,000–$50,000 making a new house feel like theirs.
When Extending Wins (and When It Doesn’t)
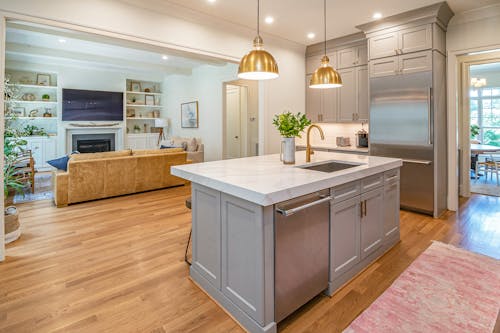
Extending makes clear financial sense when you love your location and your home’s bones are solid. A $150,000–$250,000 extension on a well-built villa in Ponsonby or Mt Eden adds living space in a suburb where the same square metres via purchase would cost $500,000+ more.
Where extending gets harder to justify: if the existing house has major structural issues (rotten framing, failed cladding, non-compliant electrical), or if you’re already at the suburb’s price ceiling. Spending $300,000 on an extension in a suburb where the median is $900,000 risks overcapitalising. In those cases, a full home renovation that transforms the existing footprint — rather than adding to it — might deliver better value.
“The first thing I ask any extension client is: what’s your home currently worth, and what are comparable four- or five-bedroom homes selling for in your street? If the gap is $300,000 or more, extending almost always makes financial sense. If it’s under $100,000, we need to think carefully about scope.”
— Alison Yu, Designer, Superior Renovations
💡 Quick tip: Before committing to either option, request a free feasibility report from Superior Renovations. We’ll assess your home’s extension potential and give you realistic numbers specific to your property.
Where the Money Goes: The Most Expensive Parts of an Extension
Not every dollar in your extension budget is created equal. Some line items are fixed regardless of project size, and others can swing by tens of thousands depending on a single design decision. Here’s where the biggest costs hide — and where you have the most control.
Structural Work and Foundations: The Big One
Foundations and structural reinforcement are the single most expensive component of most Auckland extensions, accounting for 20–40% of total cost. For a second-storey addition, the existing structure needs to carry the weight of an entire new floor — which usually means steel beams, reinforced concrete, and sometimes underpinning the existing foundations.
One of our projects in Titirangi — a 60m² second-storey extension on a sloped site — required $55,000 in foundation upgrades alone. The volcanic clay soil needed deep-driven piles, and the slope meant retaining walls on two sides. Working with Sonder Architecture, we optimised the design to minimise piling runs, which saved around $12,000 — but it was still the single biggest line item on the project.
Ground-floor extensions on flat sections are dramatically cheaper. If you’re on a level site in Hobsonville or Flat Bush, a standard concrete slab foundation might only add $200/m² to the build cost. That’s a $30,000+ difference compared to a complex hillside site.
Wet Areas: Kitchens and Bathrooms
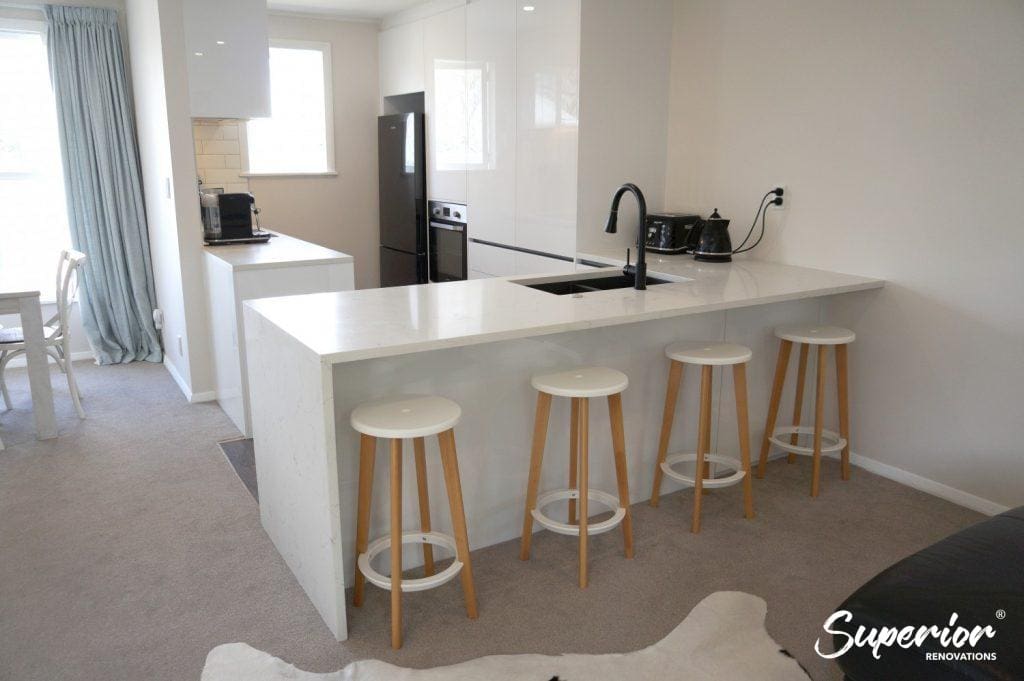
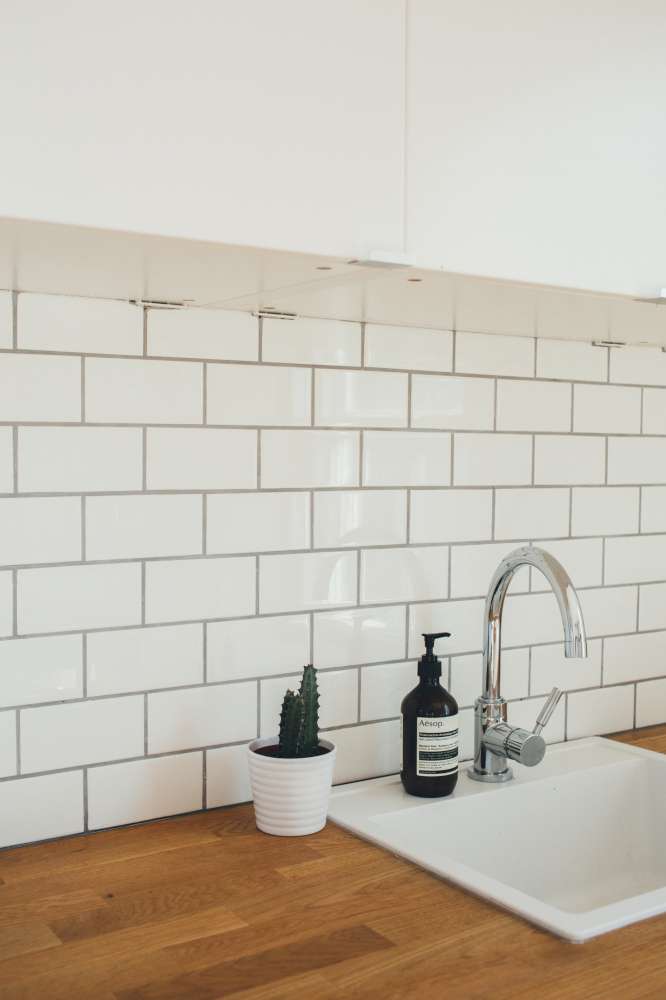
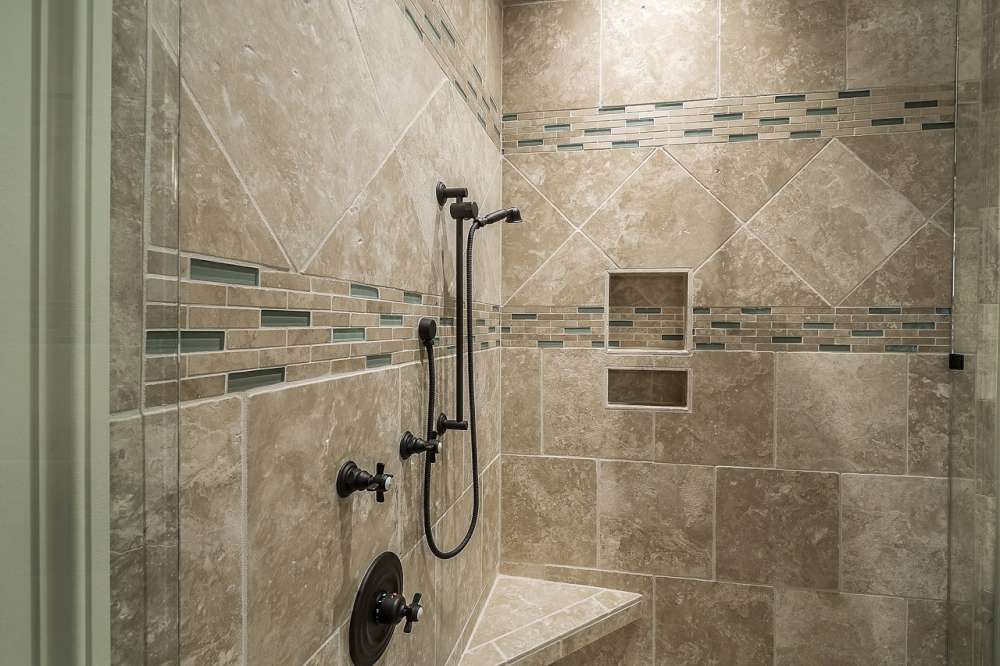
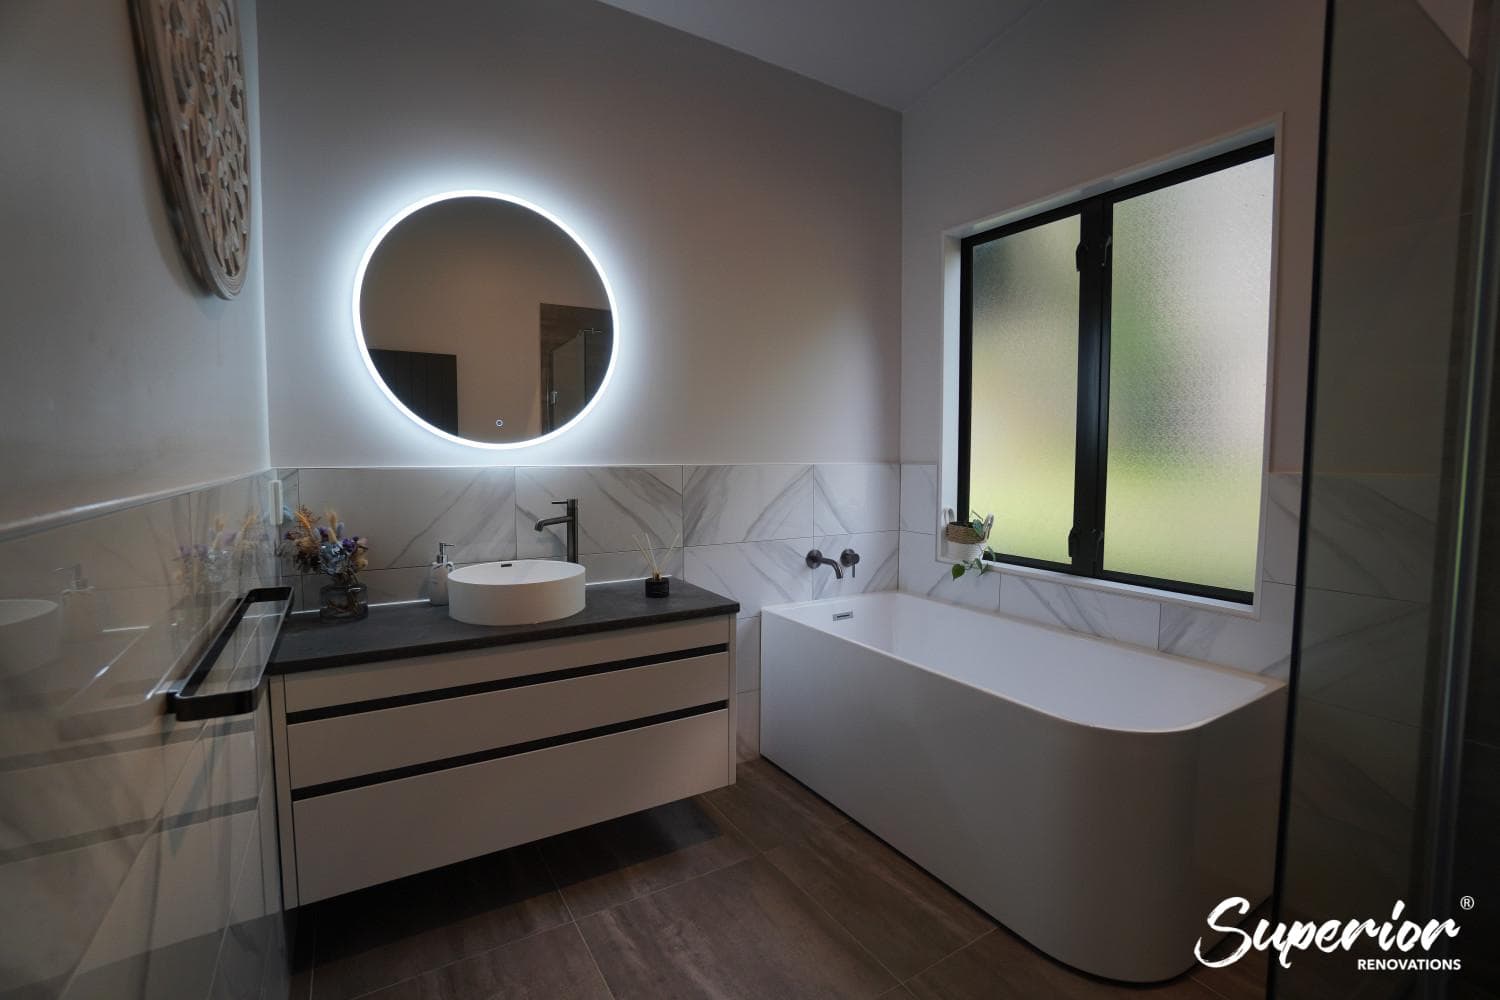
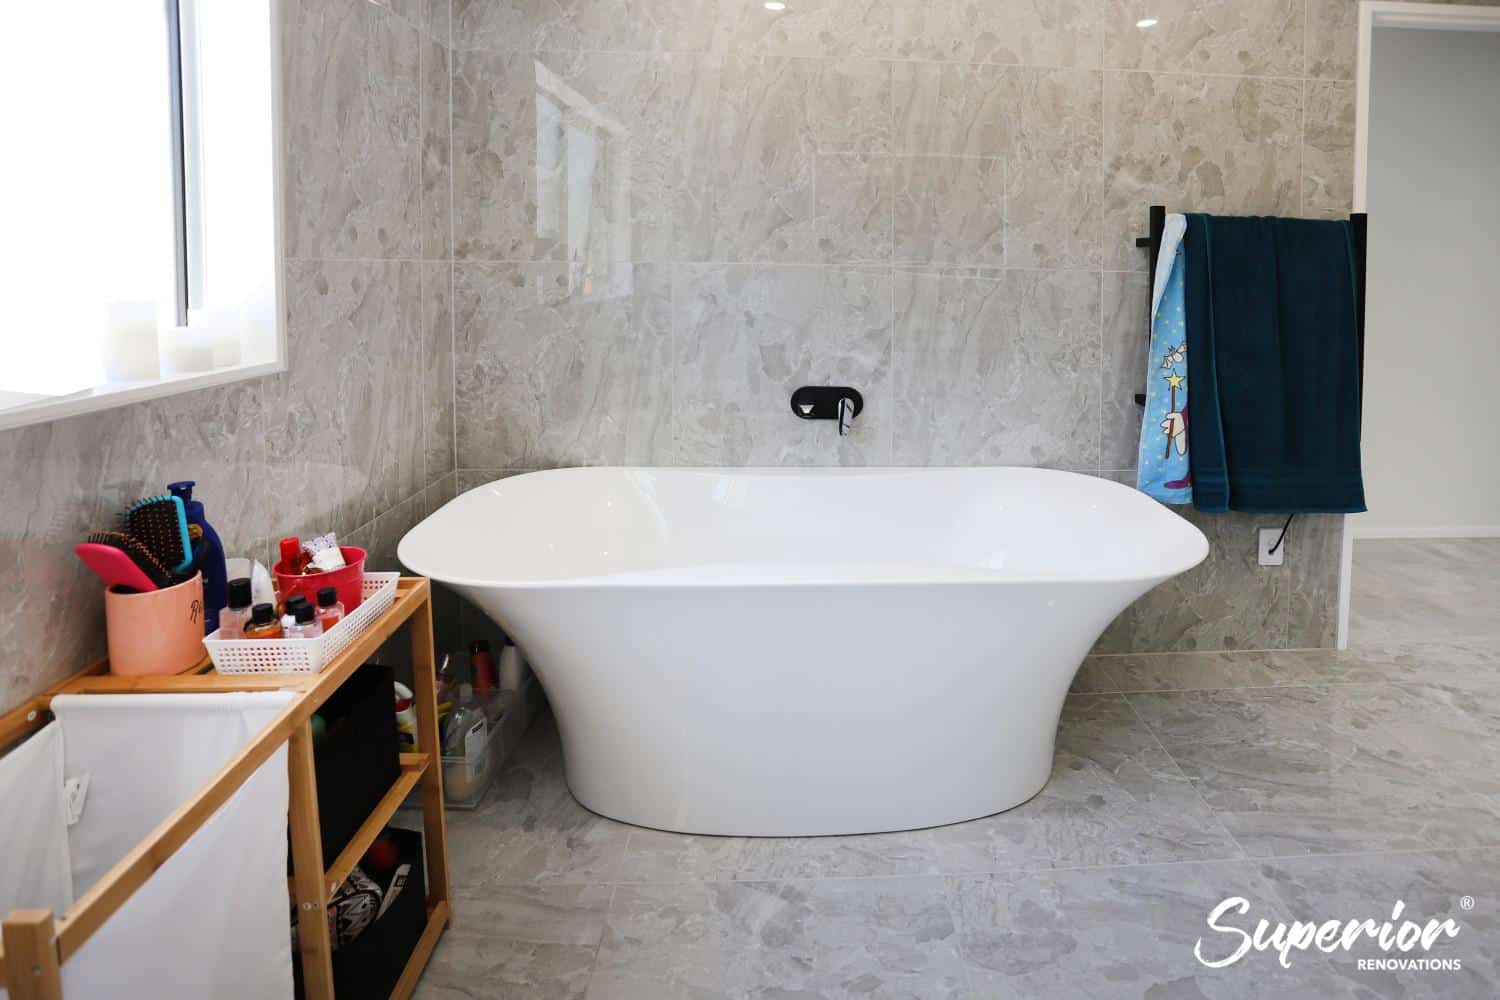
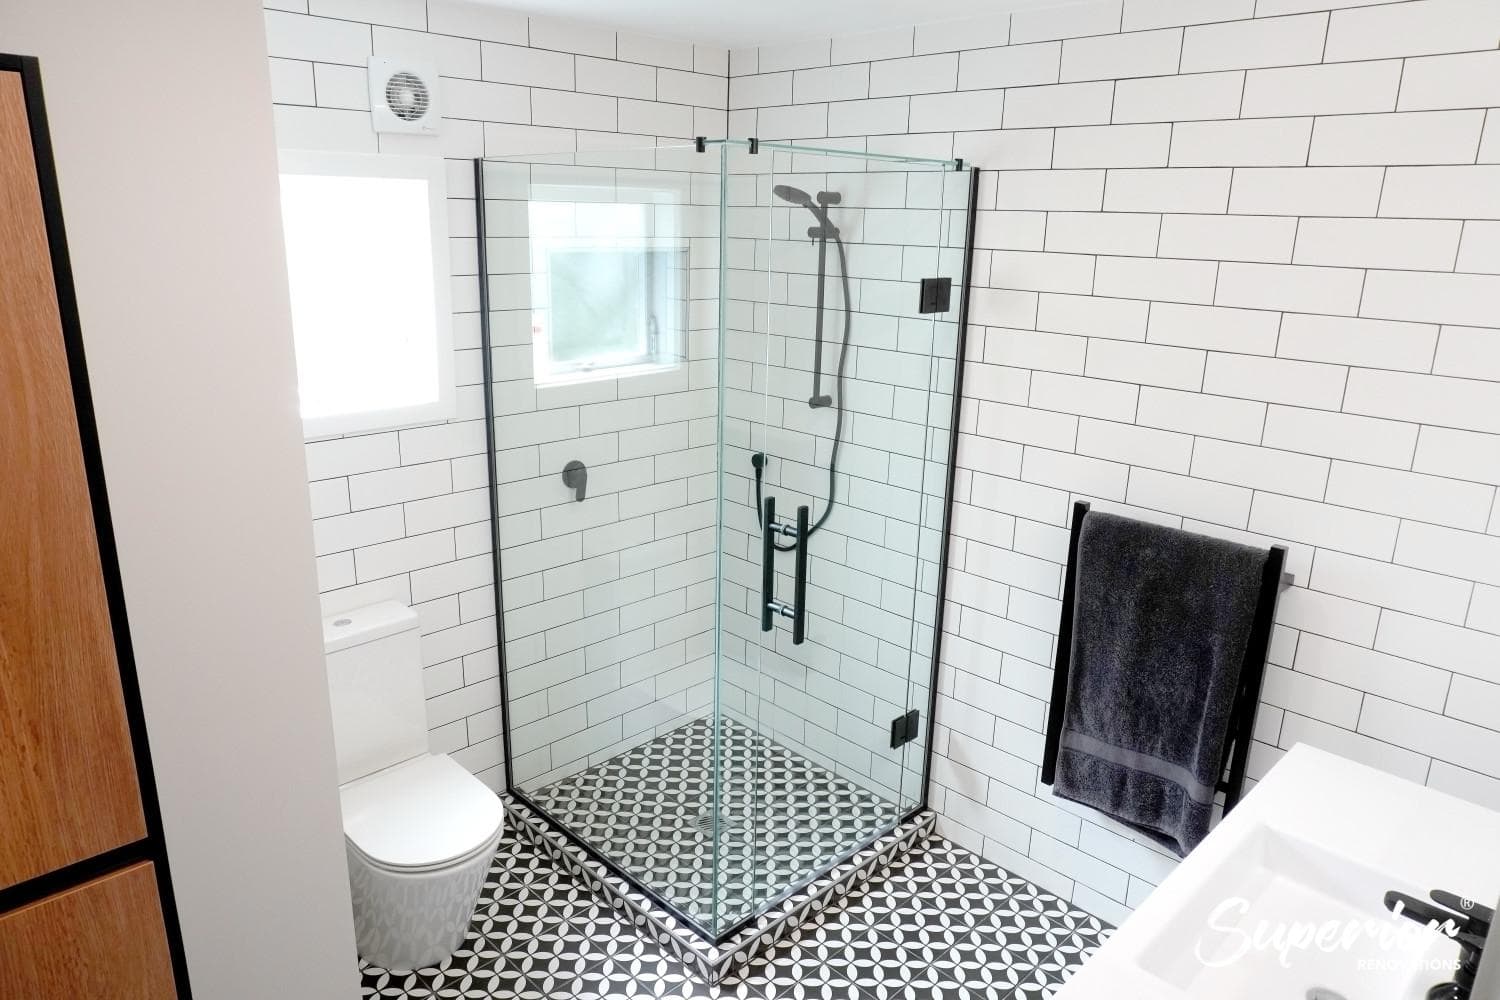
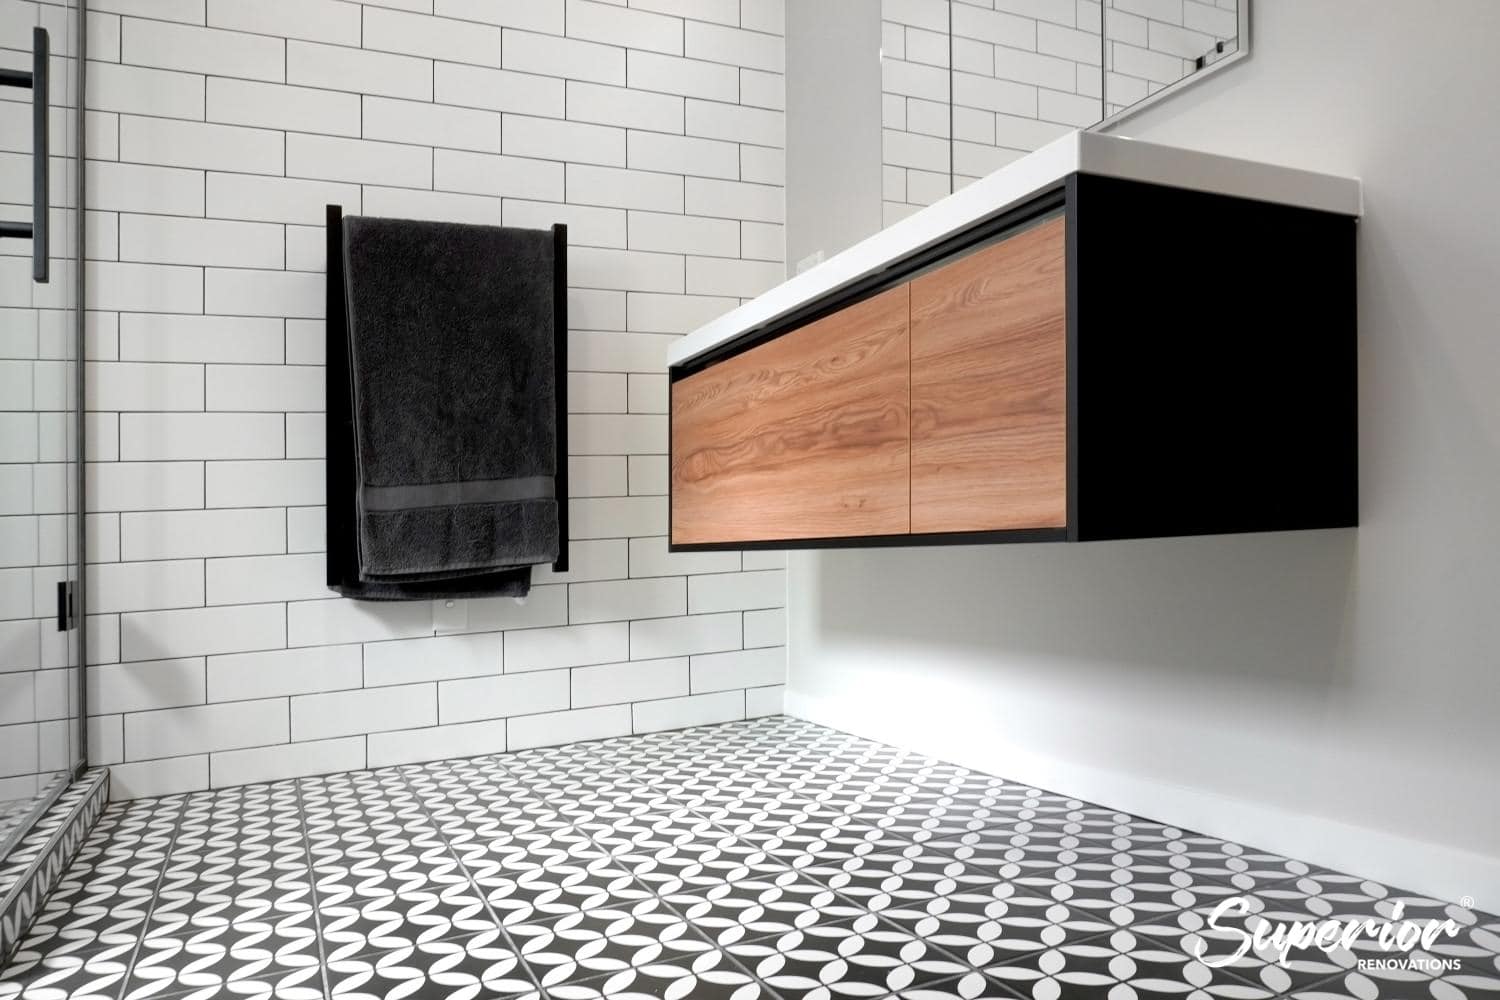
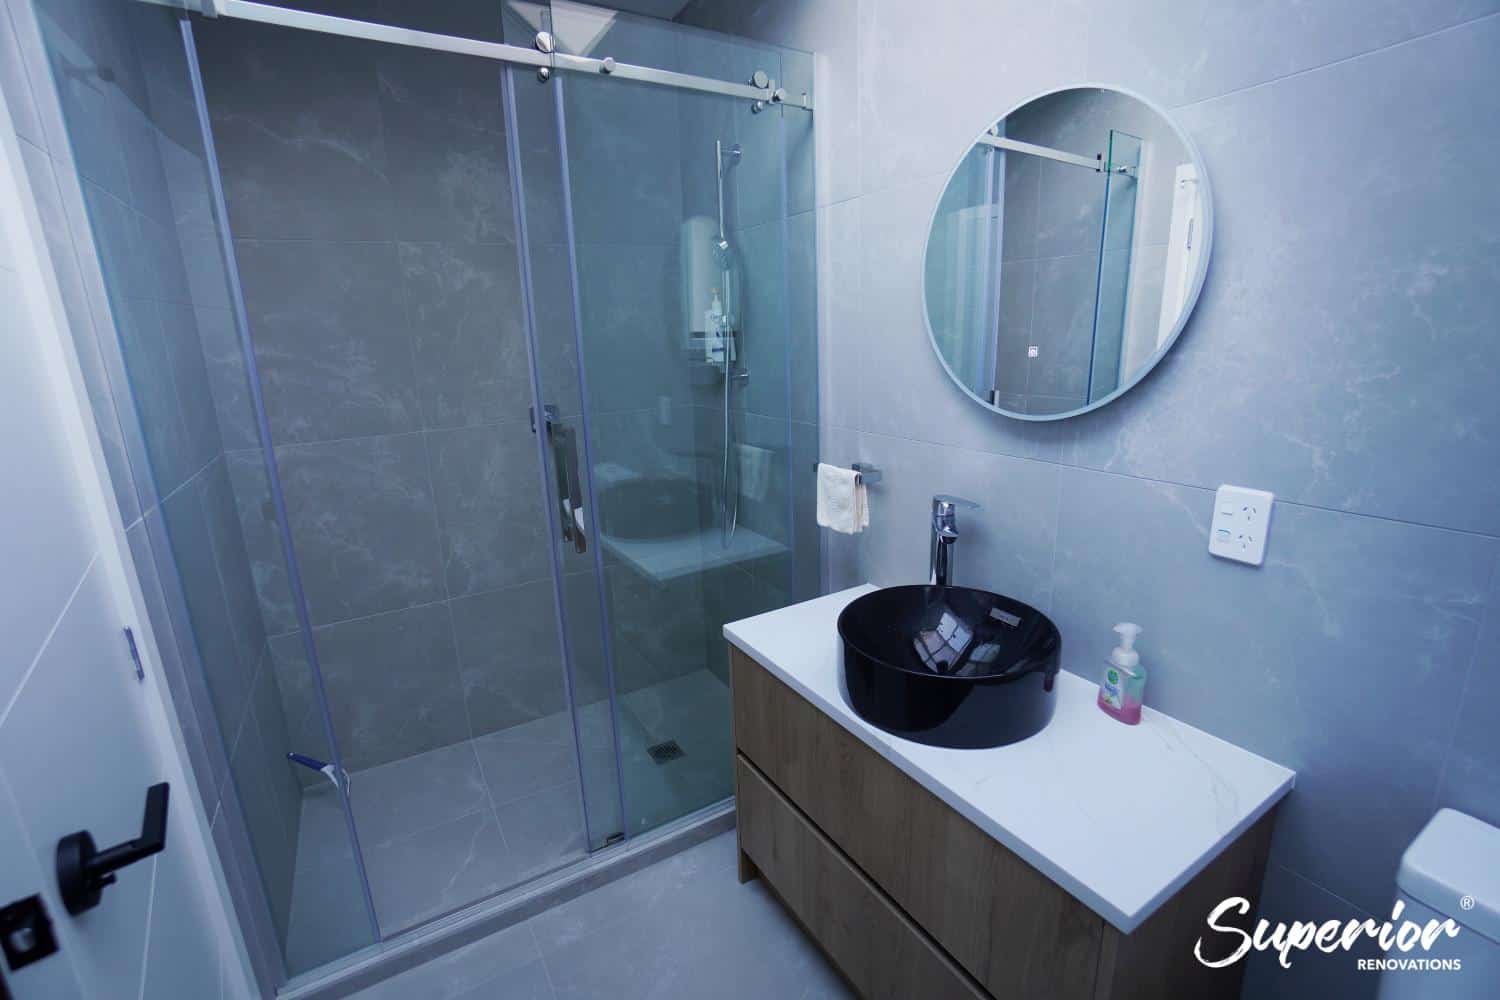
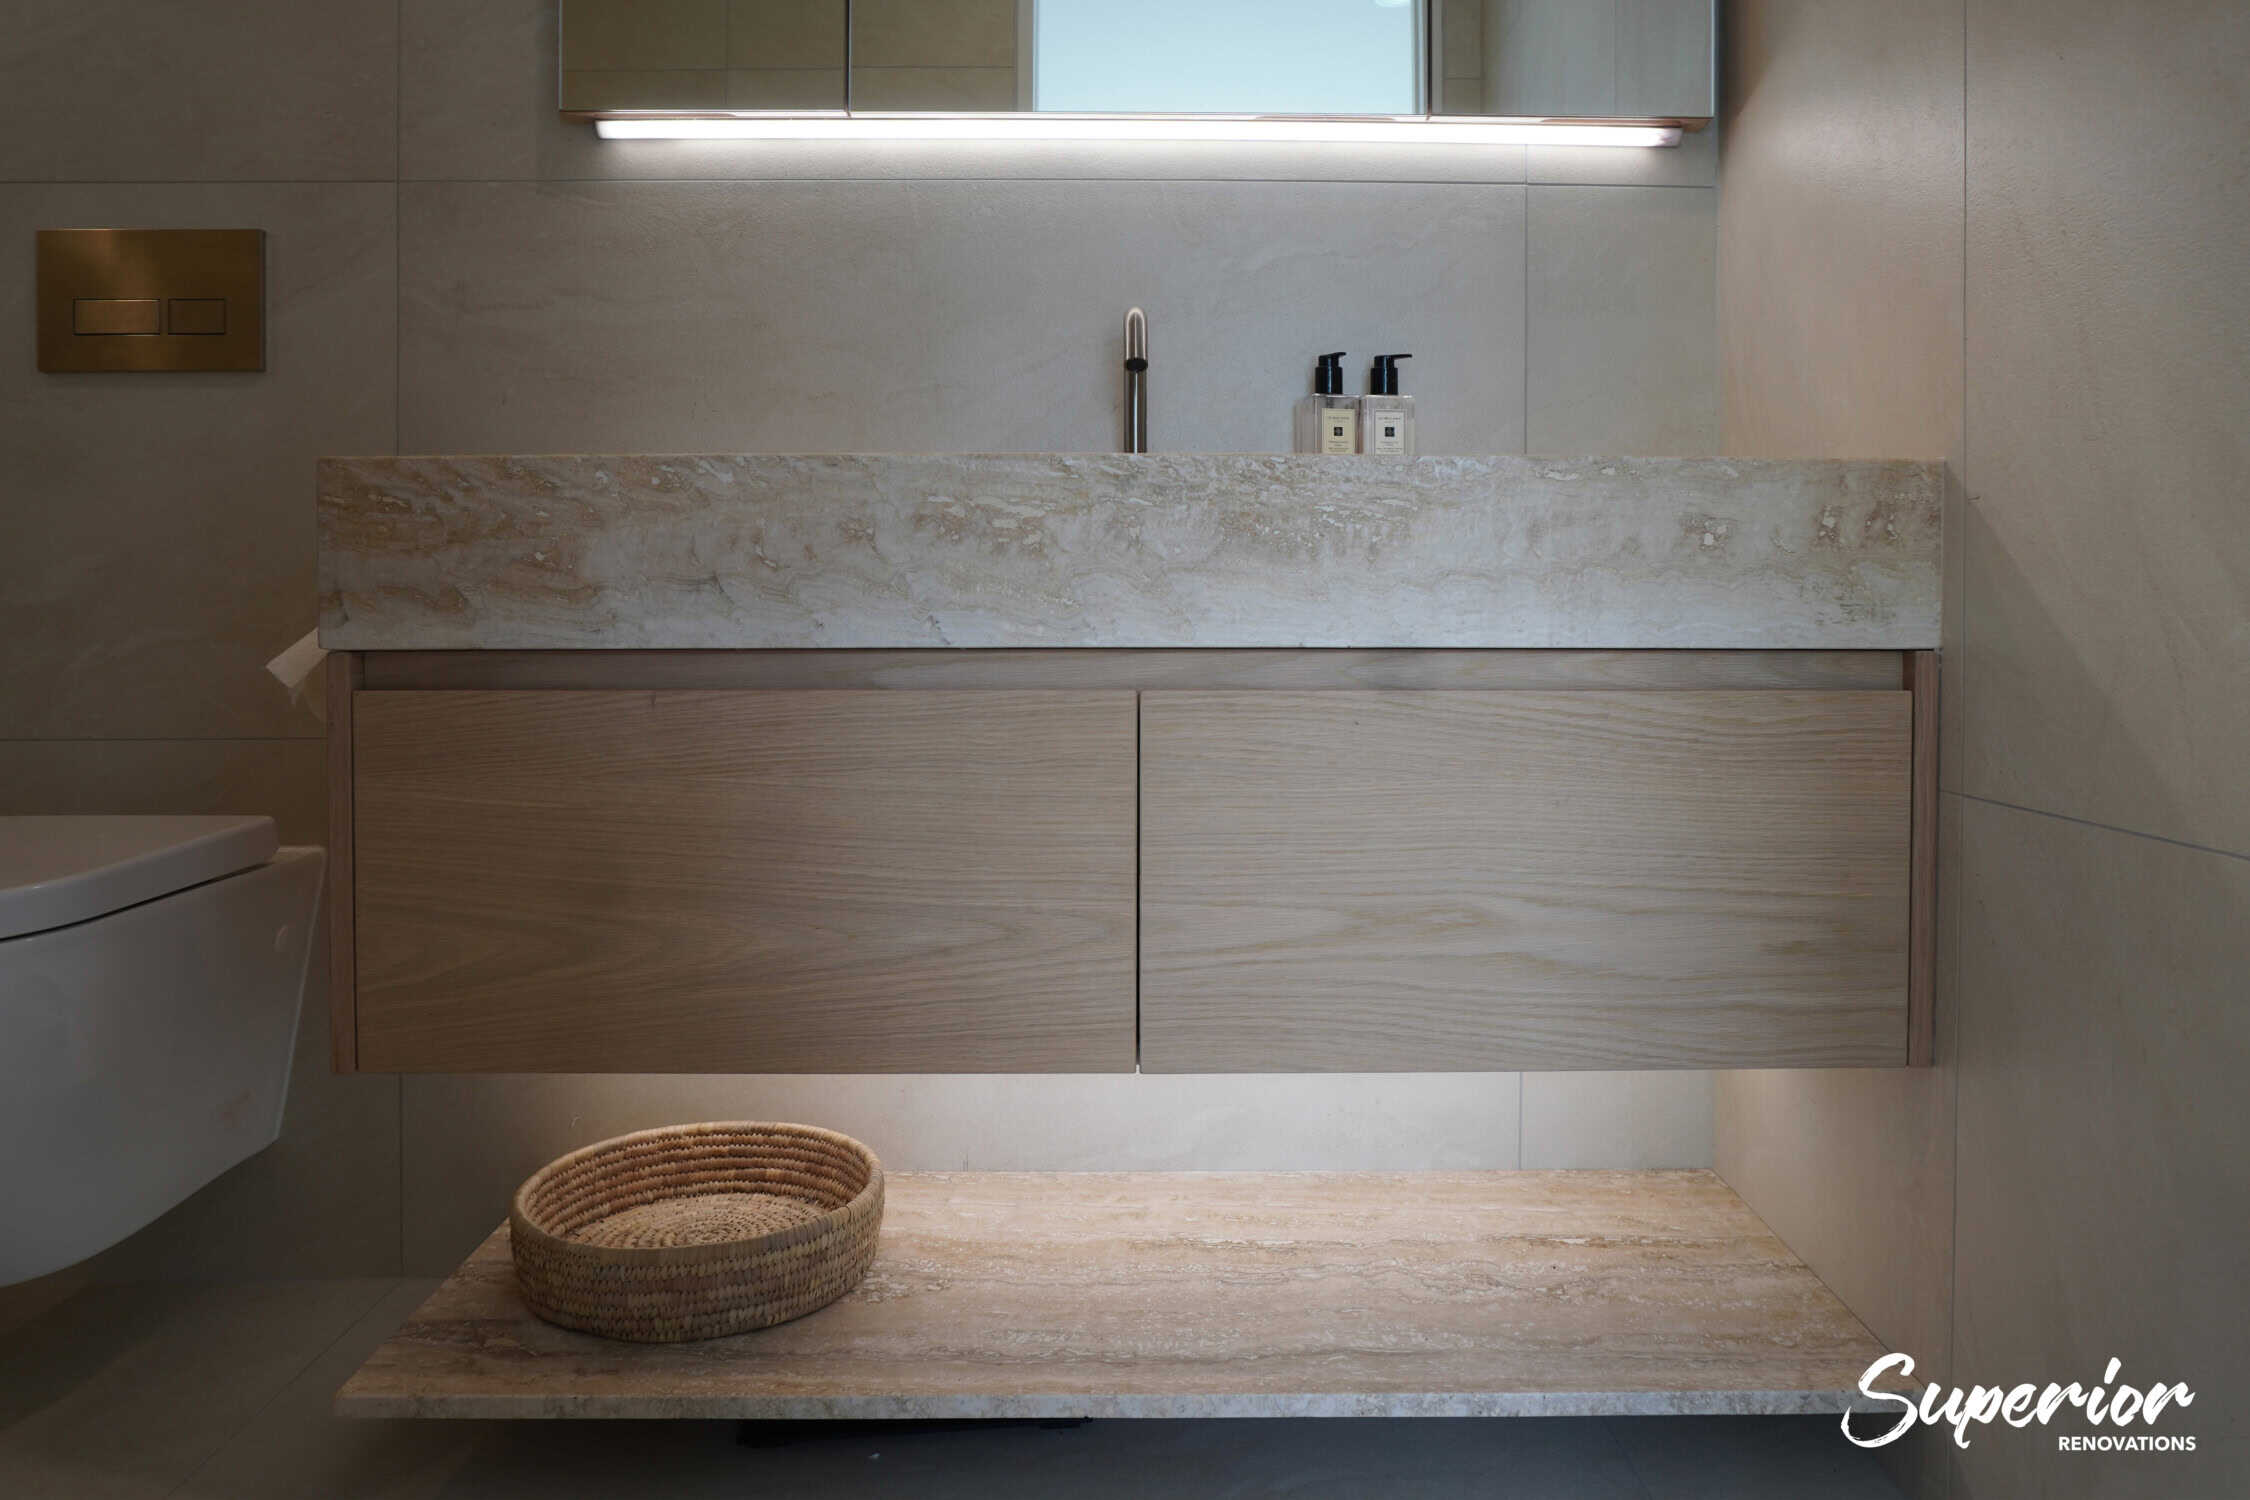
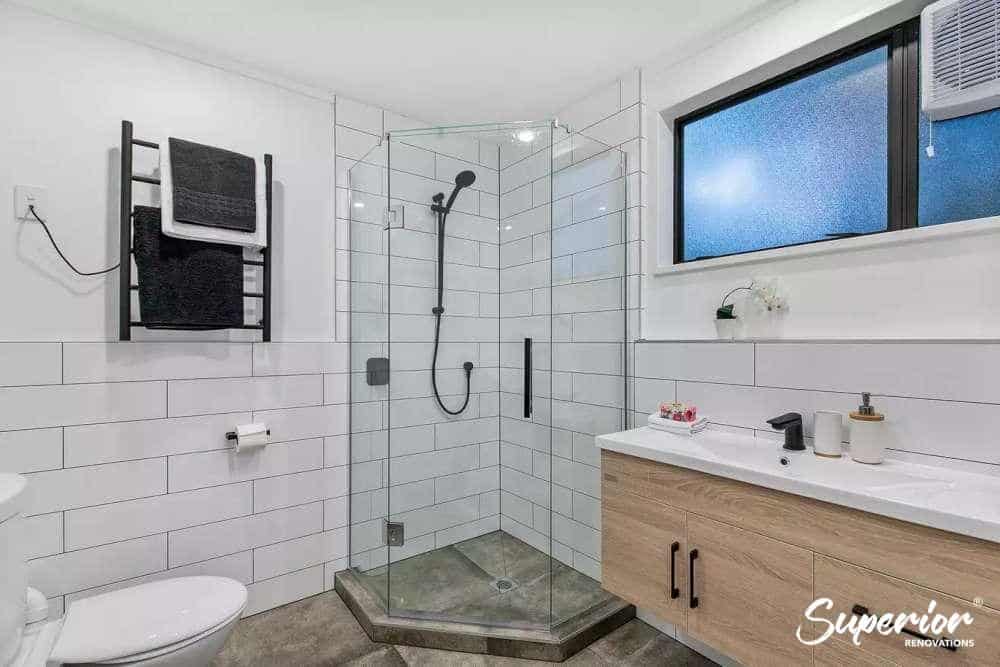
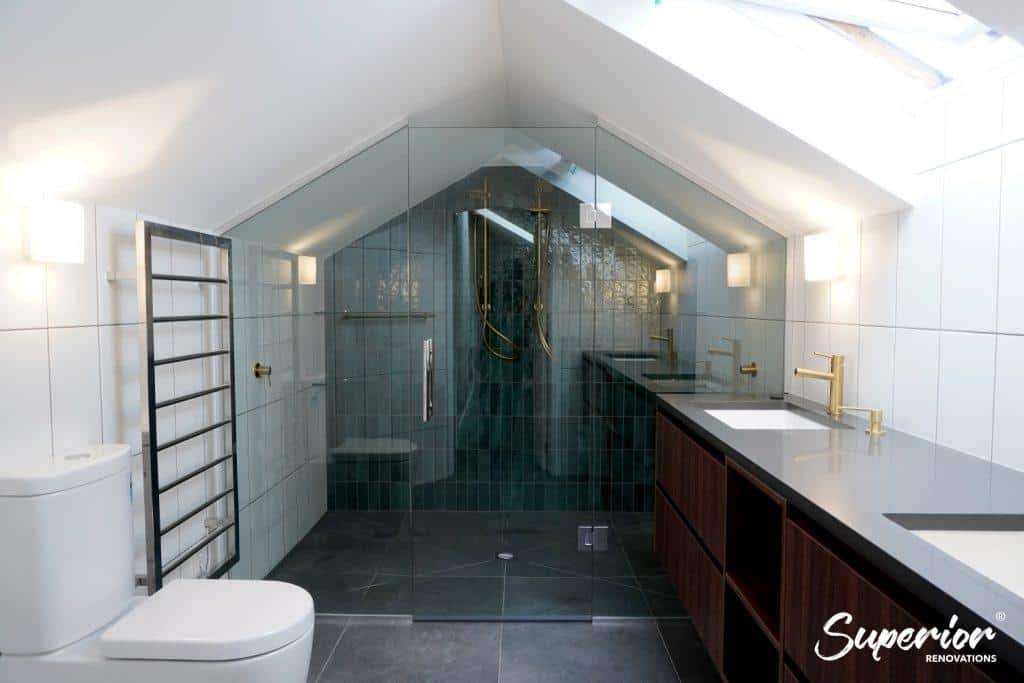
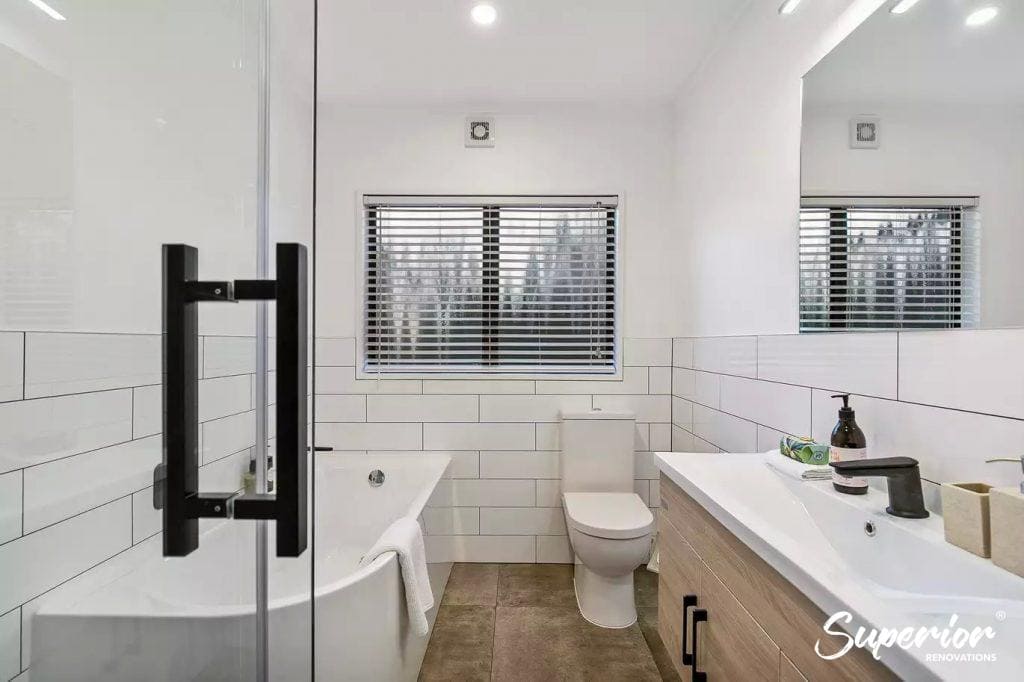
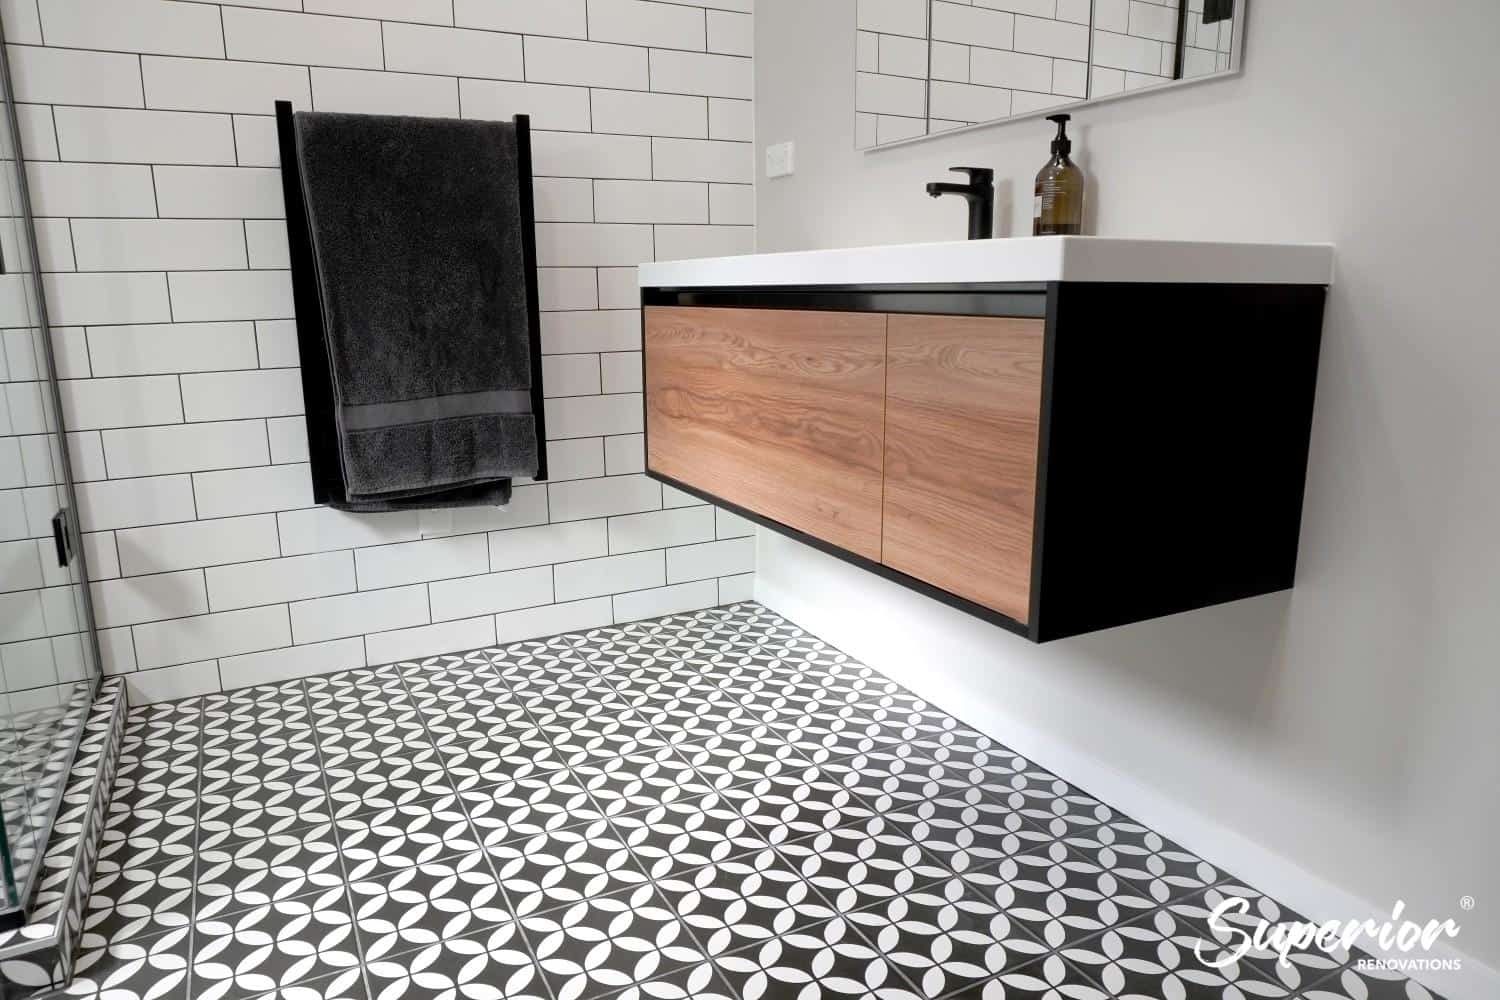
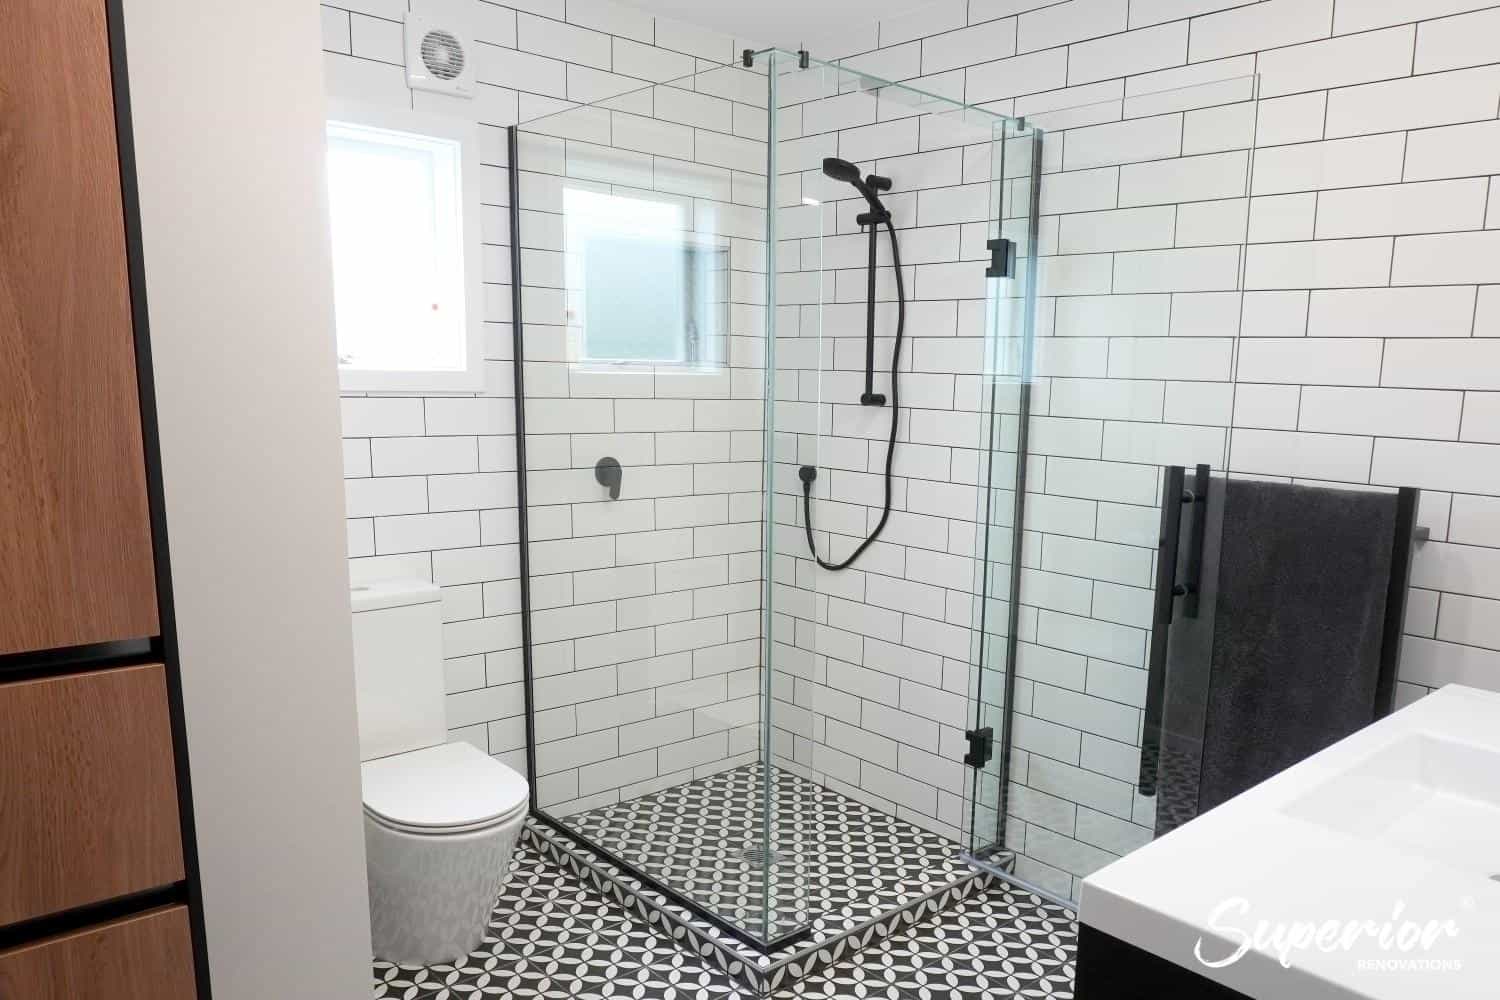
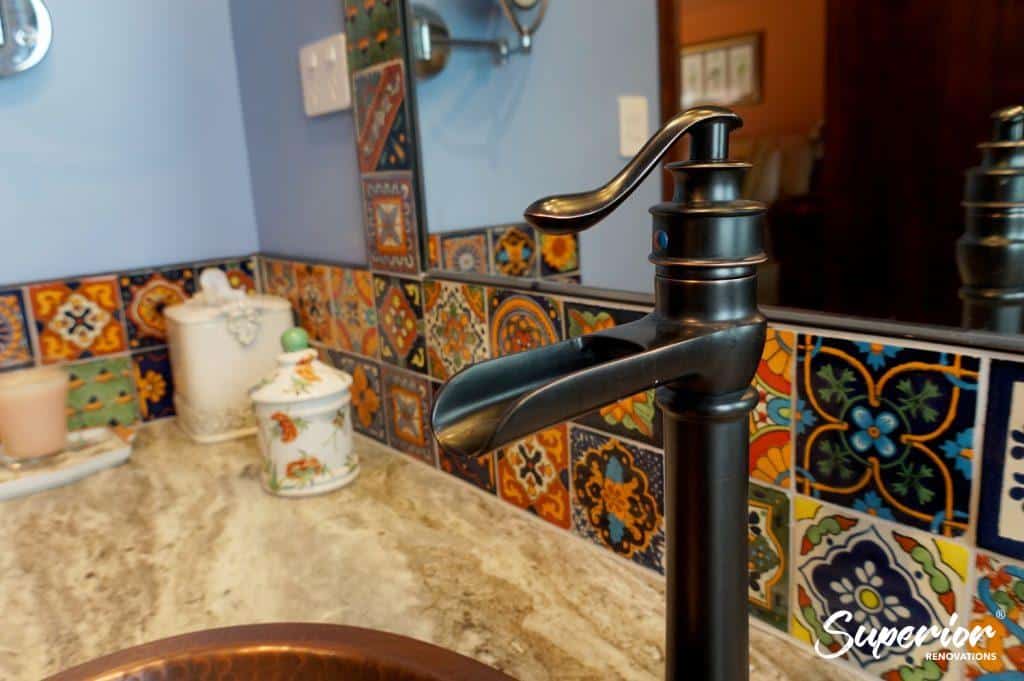
Adding a kitchen or bathroom to your extension pushes the per-m² cost significantly higher than a dry room like a bedroom or living area. A bathroom within an extension typically adds $25,000–$45,000 to the total cost, covering plumbing rough-in, waterproofing (a PS3 certificate is required under the NZ Building Code), tiling, fixtures, and ventilation.
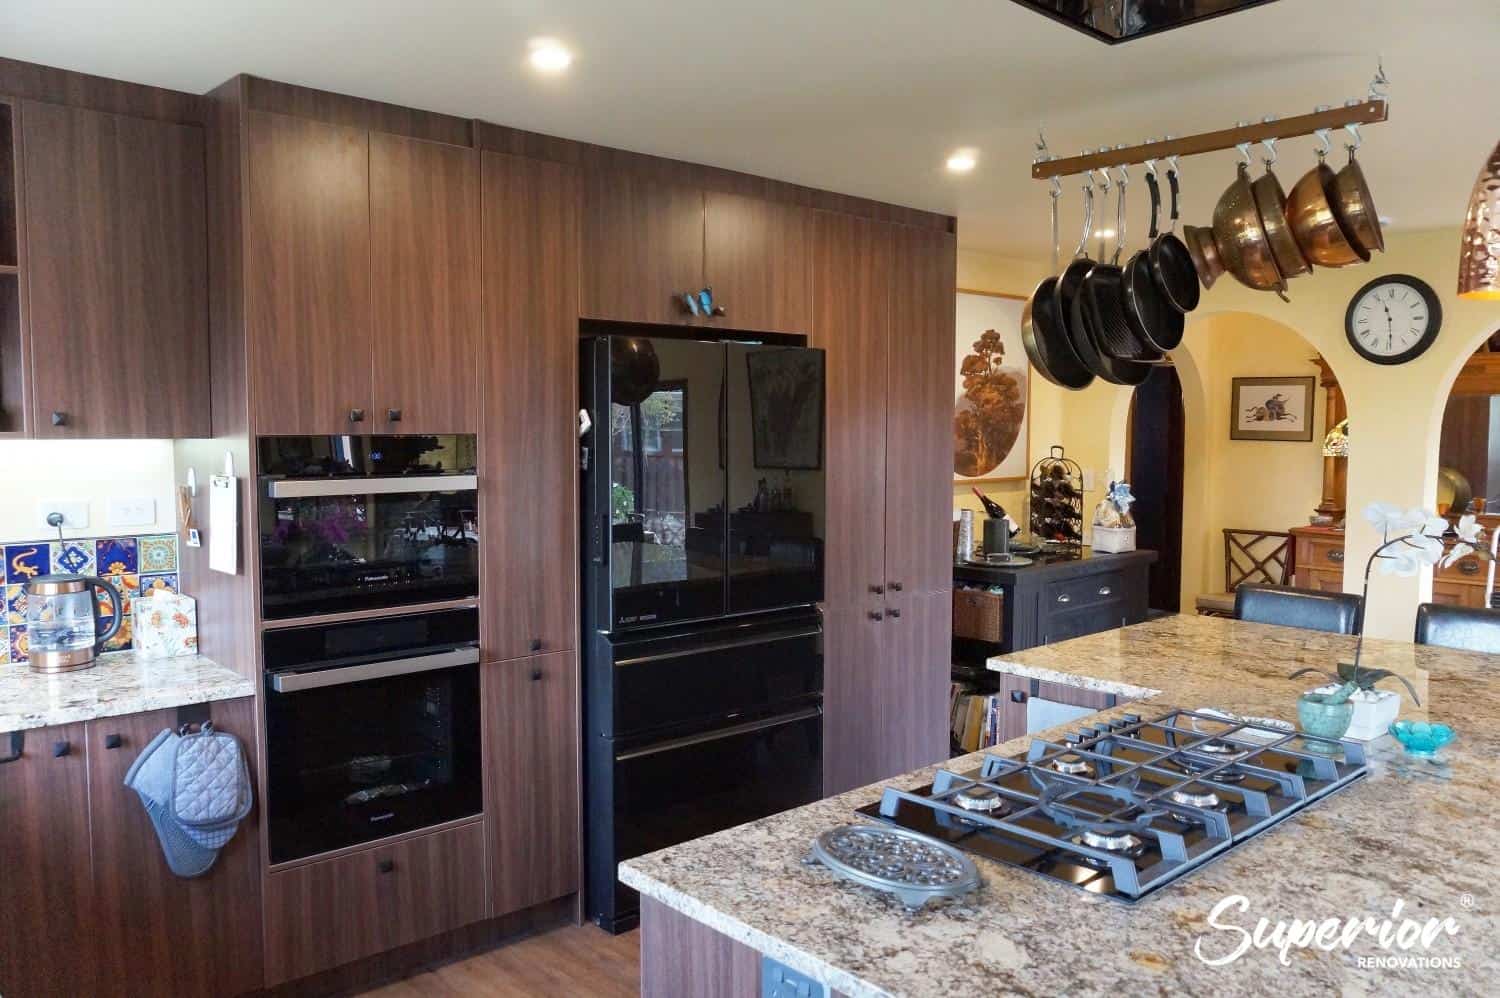
A kitchen addition is similarly impactful — cabinetry, plumbing, electrical for appliances, rangehood ducting, and benchtops can add $28,000–$50,000 depending on specification level.
💡 Quick tip: If you’re adding a bathroom to your extension, keep it as close to existing plumbing as possible. Every metre of new pipework adds cost — and running waste lines under a concrete slab is significantly more expensive than connecting to nearby existing drains.
The Full Budget Breakdown
| Cost Component | Typical Range (NZD) | % of Total Budget |
|---|---|---|
| Foundations and structural work | $10,000–$75,000 | 20–40% |
| Materials and cladding | $30,000–$100,000 | 25–35% |
| Labour (all trades) | $40,000–$120,000 | 40–50% |
| Council consents and inspections | $3,000–$23,000 | 5–12% |
| Architect and engineering fees | $6,000–$20,000 | 5–10% |
| Electrical and plumbing (if wet areas included) | $8,000–$35,000 | 5–15% |
Note: Labour percentages overlap with other categories as trade costs are embedded across all line items. Percentages show relative weight, not additive totals.
How to Maximise Value and Keep Your Extension Budget on Track
An extension isn’t just about adding square metres — it’s about adding the right square metres. The difference between an extension that adds $200,000 in value and one that barely recovers its cost comes down to a handful of decisions made before construction starts.
What Actually Adds Value in Auckland’s Market
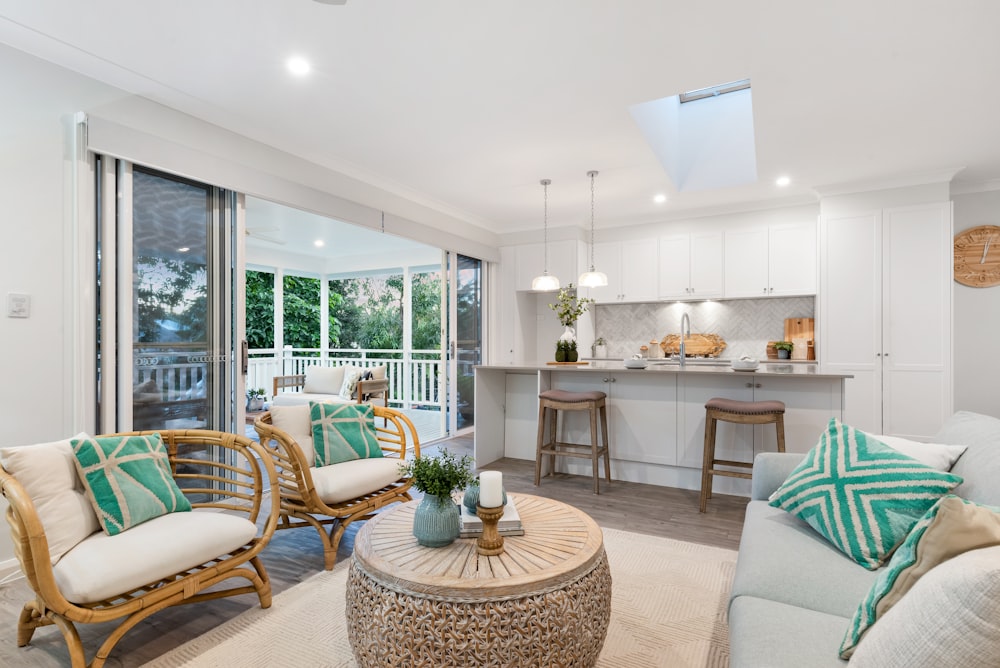
A well-planned extension can increase your home’s value by 10–20%, according to real estate data from homes.co.nz. But not all additions are equal. In Auckland, the features that consistently deliver the strongest return are extra bedrooms (converting a three-bed to four-bed is a major buyer magnet), second bathrooms, and open-plan kitchen-living spaces with indoor-outdoor flow.
We worked on a project in Ellerslie — a 40m² extension that added a second bedroom and ensuite bathroom for $140,000. The home’s estimated value increased by roughly $200,000. The owners stayed in the suburb they loved, the kids didn’t change schools, and they ended up with a home that exactly matched what their family needed. That’s the outcome you’re aiming for.
Energy-efficient features also punch above their weight. EECA data suggests homes with strong energy performance can command a 5–10% premium in Auckland’s market. Double-glazing, quality insulation, and efficient heating aren’t just running-cost savings — they’re resale signals that today’s buyers look for.
Avoiding Overcapitalisation: The 20% Rule
Here’s where homeowners need to be honest with themselves. Consumer NZ recommends keeping extension costs below 20% of your home’s current value to protect your return on investment.
For a $1 million home, that means capping your extension spend at roughly $200,000. Go over that in a suburb like Mangere or Ōtara — where the price ceiling might be $1.1 million regardless of what you build — and you’re unlikely to recover the full cost when you sell.
In premium suburbs like Remuera, Herne Bay, or Epsom, the ceiling is much higher, so a $250,000–$300,000 extension on a $1.5 million home still has room to add value. Know your suburb’s ceiling before you design your extension. Homes.co.nz gives free property valuations that help you gauge this.
Seven Ways to Cut Costs Without Cutting Corners
Every dollar saved on construction is a dollar that goes straight into your return on investment. These are the strategies that actually work — not the wishful-thinking tips you see on generic renovation blogs.
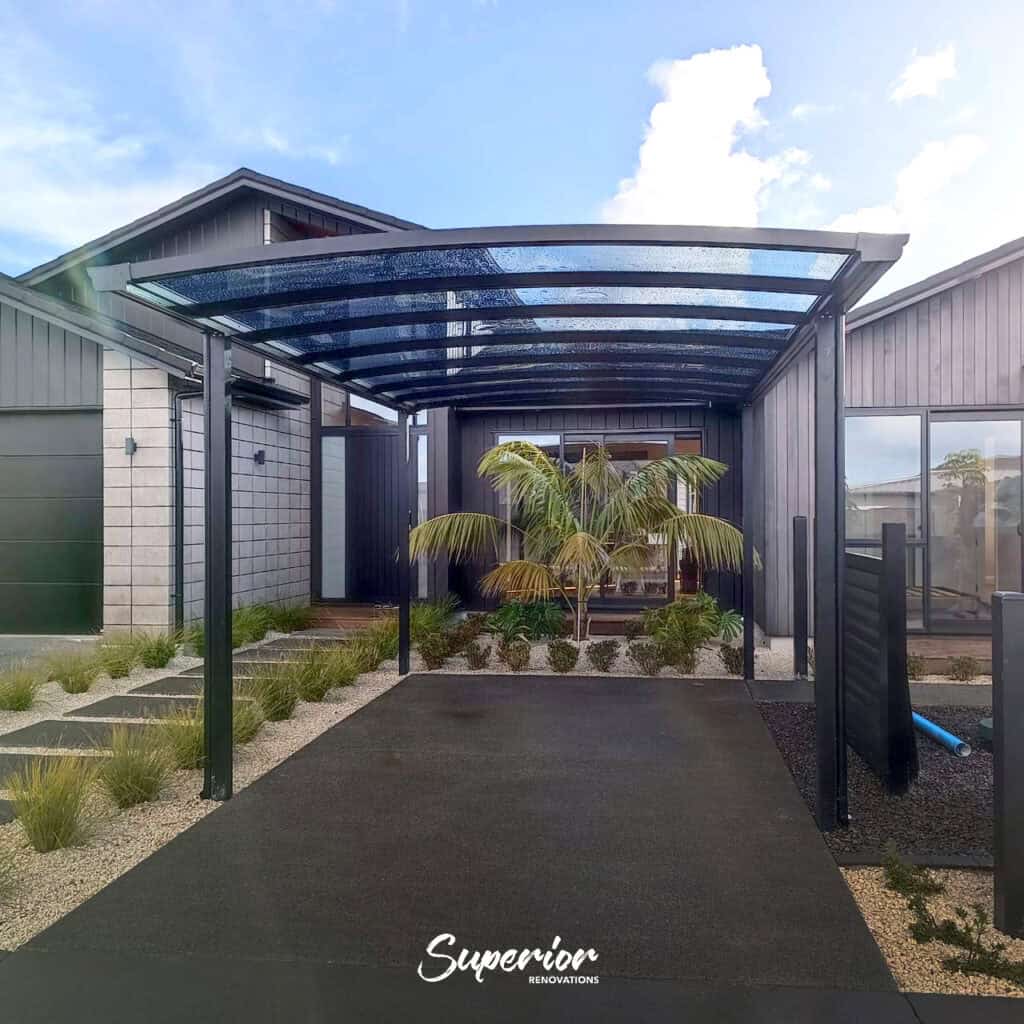
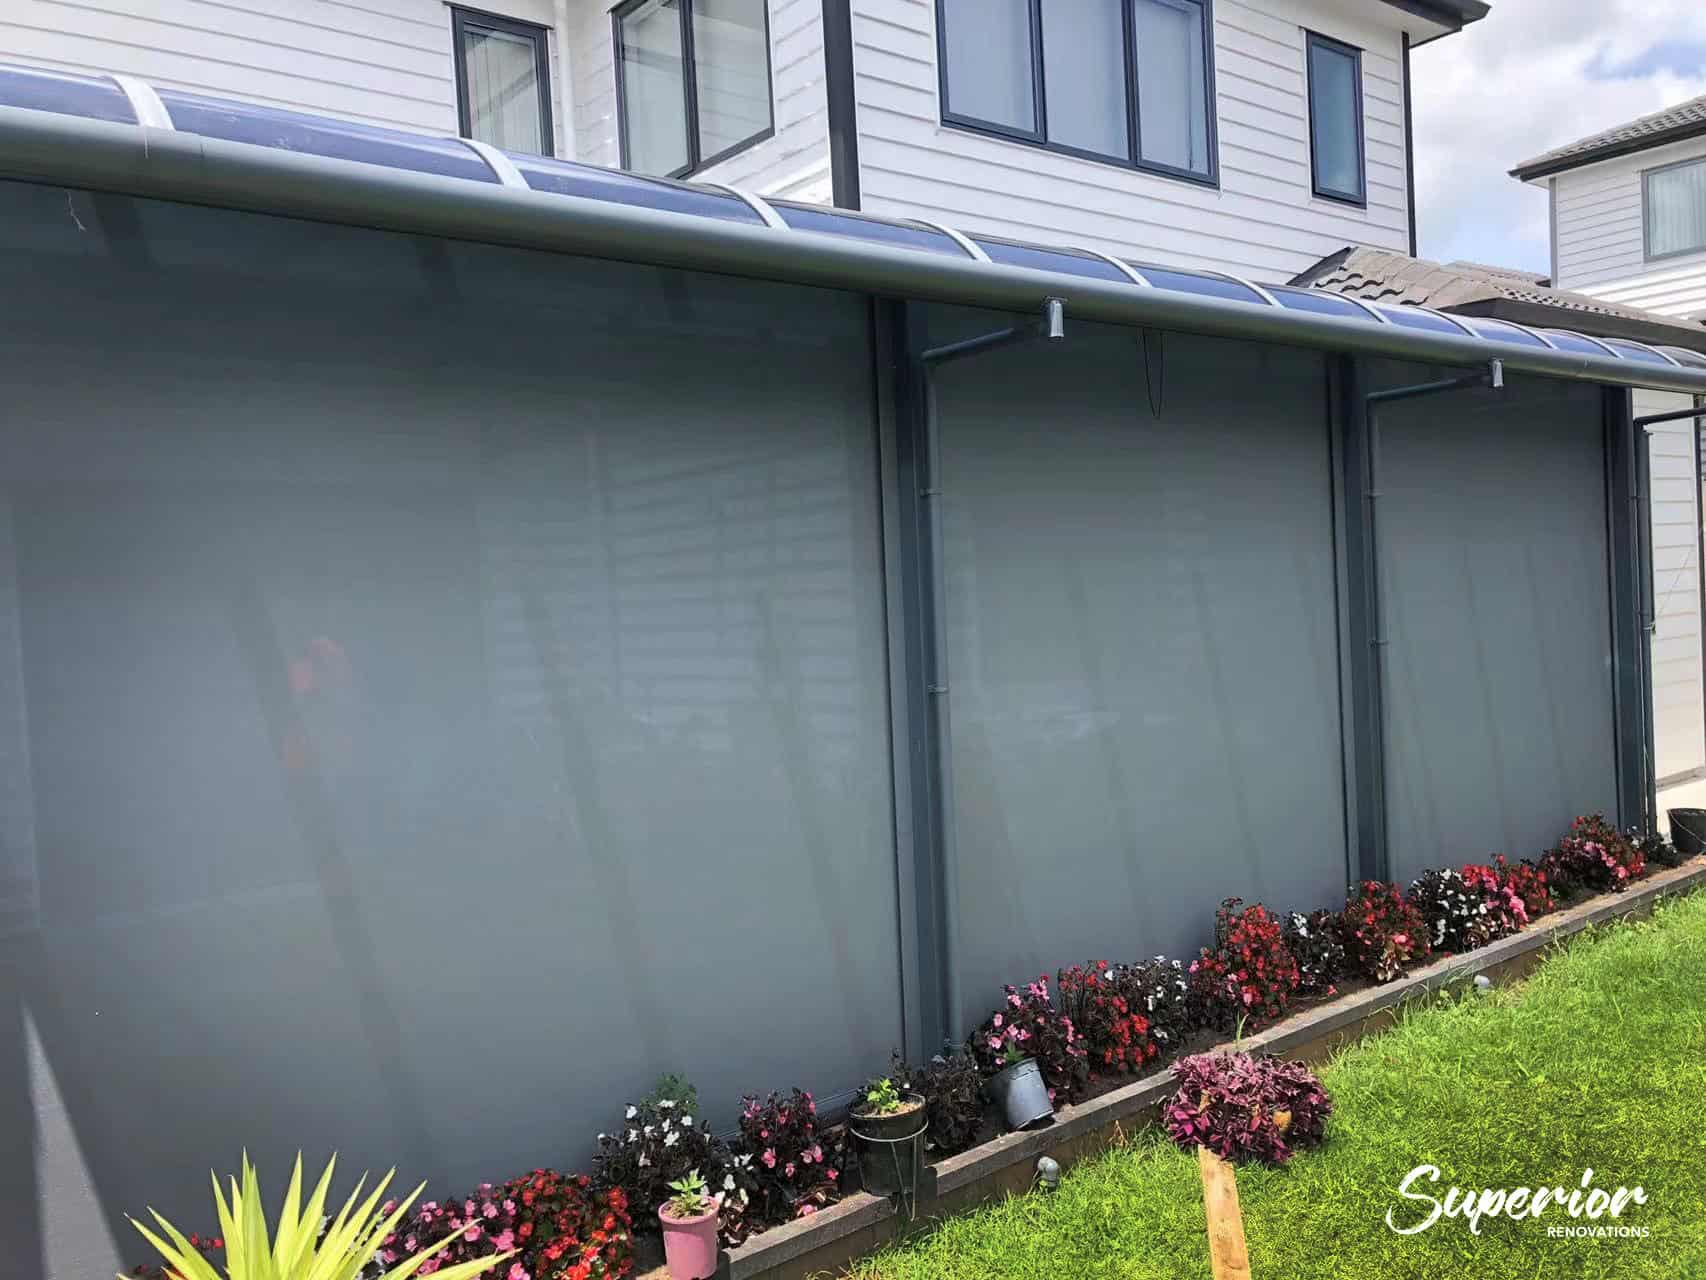
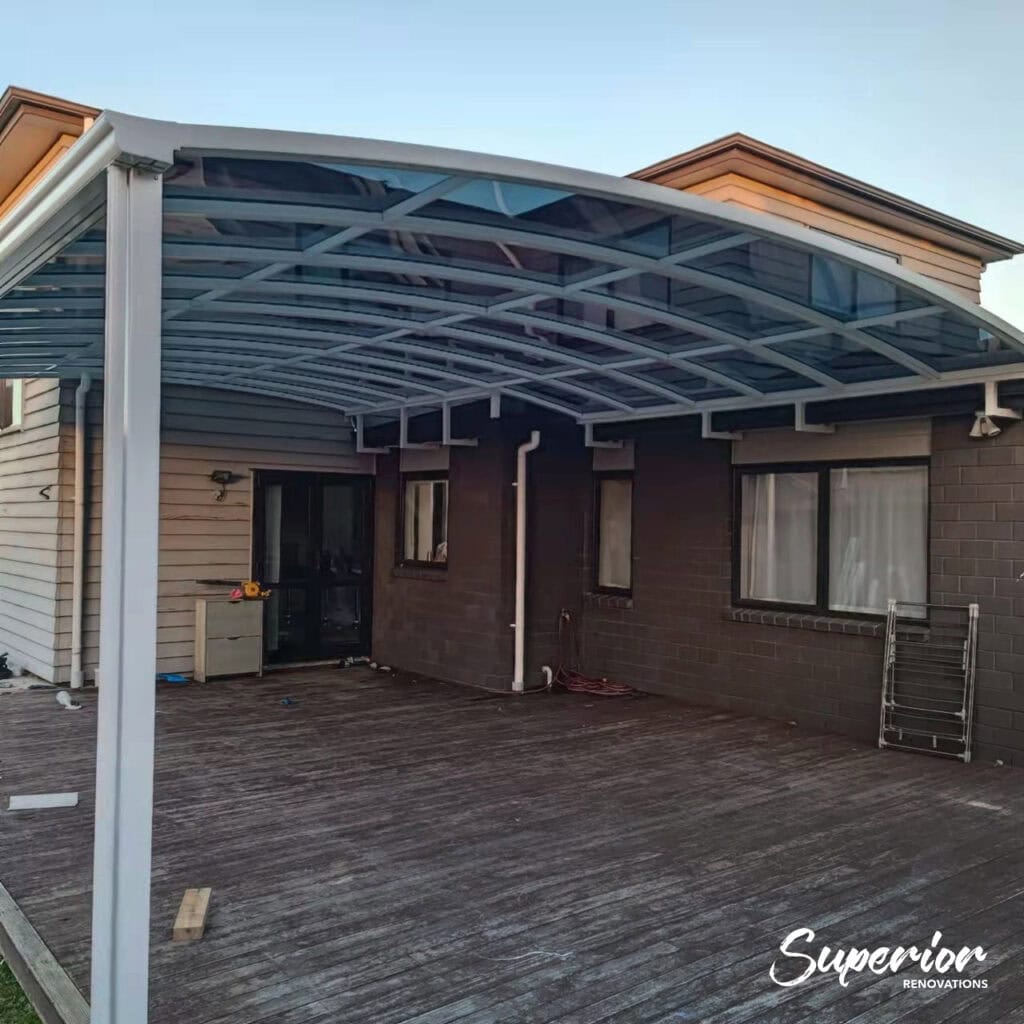
1. Enclose existing outdoor space. Converting a deck or carport into a living area can cost as little as $1,500–$2,500/m² because the foundations are already there. One of our Henderson clients enclosed a 25m² patio for $50,000 — roughly half the cost of building the same space from scratch.
2. Simplify the roofline. Every hip, valley, or change in roof direction adds framing time, flashings, and material. A simple gable or skillion roof can save $5,000–$15,000 compared to a complex roofline on the same footprint.
3. Build out, not up. Ground-floor extensions are typically 30–50% cheaper than second-storey additions because they skip the structural reinforcement. If your section allows it, going out is almost always the better budget move.
4. Choose materials strategically. Weatherboard at $150/m² instead of cedar at $300/m². Vinyl plank at $50/m² instead of engineered timber at $150/m². On a 40m² extension, those choices save $10,000+ without a visible quality drop.
5. Lock in a fixed-price contract. At Superior Renovations, we offer fixed-price contracts so you know the final number before work starts. Charge-up contracts can blow out by 15–20% — that’s $30,000–$40,000 on a $200,000 project.
6. Time your build for the shoulder season. Autumn and early winter are quieter periods for Auckland builders. You may get better availability and avoid the summer rush that stretches timelines and inflates subcontractor rates.
7. Use prefab where it makes sense. Prefabricated wall panels and roof trusses can shave 10–20% off construction time and reduce material waste. Not suitable for every project, but worth discussing with your builder for simpler extensions.
“The clients who get the best value from their extensions are the ones who invest time in the design phase — not the ones who spend the most money. A smart 40m² layout that connects well to the existing house will outperform a clumsy 60m² addition every time, both for liveability and for resale.”
— Cici Zou, Designer (NZ Dip. Interior Design, Certified Designer), Superior Renovations
Planning Your Auckland House Extension: The Process From Start to Finish
Knowing the costs is one thing. Knowing the process is what separates a smooth project from a stressful one. Here’s what the timeline actually looks like for a typical Auckland house extension.
Phase 1: Feasibility and Design (4–8 Weeks)
Every extension project at Superior Renovations starts with a free in-home consultation. We assess the existing structure, check the section for consent constraints, and discuss what you’re trying to achieve. From there, Sonder Architecture develops concept drawings that balance your wish list against your budget and the site. Our in-house design studio then works on the interior layout, material selection, and finish specifications.
This phase is where the most important decisions get made. The layout, the connection between old and new, the roof form, the window placement — these all get locked in during design. Changing your mind during construction is expensive. Changing it during design is free.
Phase 2: Consent (4–8 Weeks)
Once drawings are finalised, they’re submitted to Auckland Council for building consent. Processing times vary, but 4–8 weeks is typical for a standard residential extension. If resource consent is also required (boundary infringements, site coverage exceedances, heritage overlays), add another 4–12 weeks.
💡 Quick tip: Don’t wait for consent to order long-lead items. Custom joinery, imported tiles, and specific appliances can take 6–12 weeks to arrive in NZ. Ordering early keeps your build timeline tight once consent is granted.
Phase 3: Construction (8–20 Weeks)
Build time depends on complexity. A straightforward 30–40m² ground-floor extension typically takes 8–12 weeks of construction. A second-storey addition with structural work can run 16–20 weeks. According to NZ Certified Builders, a realistic total project timeline from first consultation to Code Compliance Certificate is 6–12 months for most Auckland extensions.
During construction, your project manager at Superior Renovations coordinates all trades, manages inspections, and keeps you updated with weekly progress reports. We use fixed-price contracts, so your quoted figure is the figure you pay — no surprises at the end.
Phase 4: Handover and Code Compliance
Once construction is complete, Auckland Council inspects the work and issues a Code Compliance Certificate (CCC). This document confirms your extension meets the NZ Building Code — it’s essential for insurance, sale, and peace of mind. We don’t consider a project finished until the CCC is in your hands.
Ready to Extend? Your Next Steps
A house extension is one of the biggest financial decisions you’ll make as an Auckland homeowner. The right project — the right size, the right location on your section, the right design — adds space your family uses every day and value that shows up when you sell. The wrong one burns budget on square metres that don’t earn their keep.
That’s why we start every project with a feasibility assessment. No obligation, no pressure. Just an honest conversation about what’s possible on your property, what it’ll cost, and whether it makes sense for your situation.
➡ Book your free in-home consultation with Superior Renovations
➡ Try the free house extension cost calculator
➡ Request a free feasibility report for your project
How much does a house extension cost in NZ?
A single-storey house extension in Auckland costs $2,000–$5,500 per square metre. A 50m² ground-floor addition typically runs $100,000–$275,000, while a second-storey addition starts from around $150,000. The final cost depends on materials, site conditions, consent requirements, and whether wet areas like kitchens or bathrooms are included.
How much does it cost to extend a house per square metre in Auckland?
Basic ground-floor extensions (bedrooms, living areas) cost $2,000–$3,500/m². Mid-range extensions with kitchens or bathrooms run $3,500–$5,000/m². Second-storey additions cost $4,500–$6,000+ per m² due to structural reinforcement. Enclosing an existing deck or carport is the cheapest option at $1,500–$2,500/m².
Do I need building consent for a house extension in Auckland?
Yes. Almost all house extensions require a building consent from Auckland Council, including ground-floor extensions, second-storey additions, garage conversions, and new sleepouts. Consent fees typically run $3,000–$8,000 for residential extensions, and processing takes 4–8 weeks. Resource consent may also be required if you're pushing boundary setback or height rules.
Is it cheaper to extend my house or buy a bigger home in Auckland?
Extending is usually cheaper. A 50m² extension costs $100,000–$275,000, while buying a bigger home in the same suburb means paying $300,000–$500,000 more plus $35,000–$63,000 in transaction costs (agent fees, legal fees, reports, moving). You also avoid disrupting your family, changing schools, and leaving a neighbourhood you love.
What is the most expensive part of a house extension?
Foundations and structural work are typically the most expensive component, accounting for 20–40% of the total budget. Second-storey additions require steel beams and reinforced foundations, which can add $20,000–$50,000. Sloped sites in suburbs like Titirangi or Remuera often need piling and retaining walls that cost $10,000–$75,000.
How long does a house extension take to build in Auckland?
A standard 30–40m² ground-floor extension takes 8–12 weeks of construction time. Second-storey additions run 16–20 weeks. Add 4–8 weeks for consent processing and 4–8 weeks for design, and the total project timeline from first consultation to Code Compliance Certificate is typically 6–12 months.
Do house extensions add value to your home?
Yes — a well-designed extension can increase your Auckland home's value by 10–20%. Extra bedrooms, second bathrooms, and open-plan living areas deliver the strongest returns. To protect your ROI, Consumer NZ recommends keeping extension costs below 20% of your home's current market value to avoid overcapitalising.
What is the cheapest way to extend a house in NZ?
The most cost-effective approach is enclosing an existing deck or carport ($1,500–$2,500/m²), since foundations are already in place. Other budget strategies include building out instead of up, simplifying the roofline, using weatherboard instead of cedar, choosing vinyl plank flooring over timber, and locking in a fixed-price contract to avoid budget blowouts.
Can I live in my house during an extension?
In most cases, yes — especially for ground-floor extensions that are built alongside the existing house. Your builder will stage the work to minimise disruption. Second-storey additions may require temporary relocation during structural work when the existing roof is removed. Superior Renovations discusses this during the feasibility assessment so you can plan ahead.
How much does a second-storey extension cost in Auckland?
Second-storey additions in Auckland cost $4,500–$6,000+ per square metre — roughly 40–60% more than a ground-floor extension. The extra cost covers structural engineering, steel beams, foundation reinforcement, scaffolding, and temporary roof removal. A typical second-storey addition starts from around $150,000.
What should I look for when choosing an extension builder in Auckland?
Look for a Licensed Building Practitioner (LBP) with a track record of completed extensions in Auckland. Ask for a fixed-price contract rather than charge-up, check their Google reviews, confirm they hold current insurance, and ask to see completed projects. Superior Renovations offers fixed-price contracts and has 100+ Google reviews from Auckland homeowners.
Further Resources for your house extension
- Featured projects and Client stories to see specifications on some of the projects.
- Real client stories from Auckland
Need more information?
Take advantage of our FREE Complete Home Renovation Guide (48 pages), whether you’re already renovating or in the process of deciding to renovate, it’s not an easy process, this guide which includes a free 100+ point check list – will help you avoid costly mistakes.
Download Free Renovation Guide (PDF)
Still have questions unanswered?
Book a no-obligation consultation with the team at Superior Renovations,
we’d love to meet you to discuss your renovation ideas!
Or call us on 0800 199 888
Have you been putting off getting renovations done?
We have partnered with Q Mastercard ® to provide you an 18 Month Interest-Free Payment Option, you can enjoy your new home now and stress less.
Learn More about Interest-Free Payment Options*
*Lending criteria, fees, terms and conditions apply. Mastercard is a registered trademark and the circles design is a trademark of Mastercard International Incorporated.


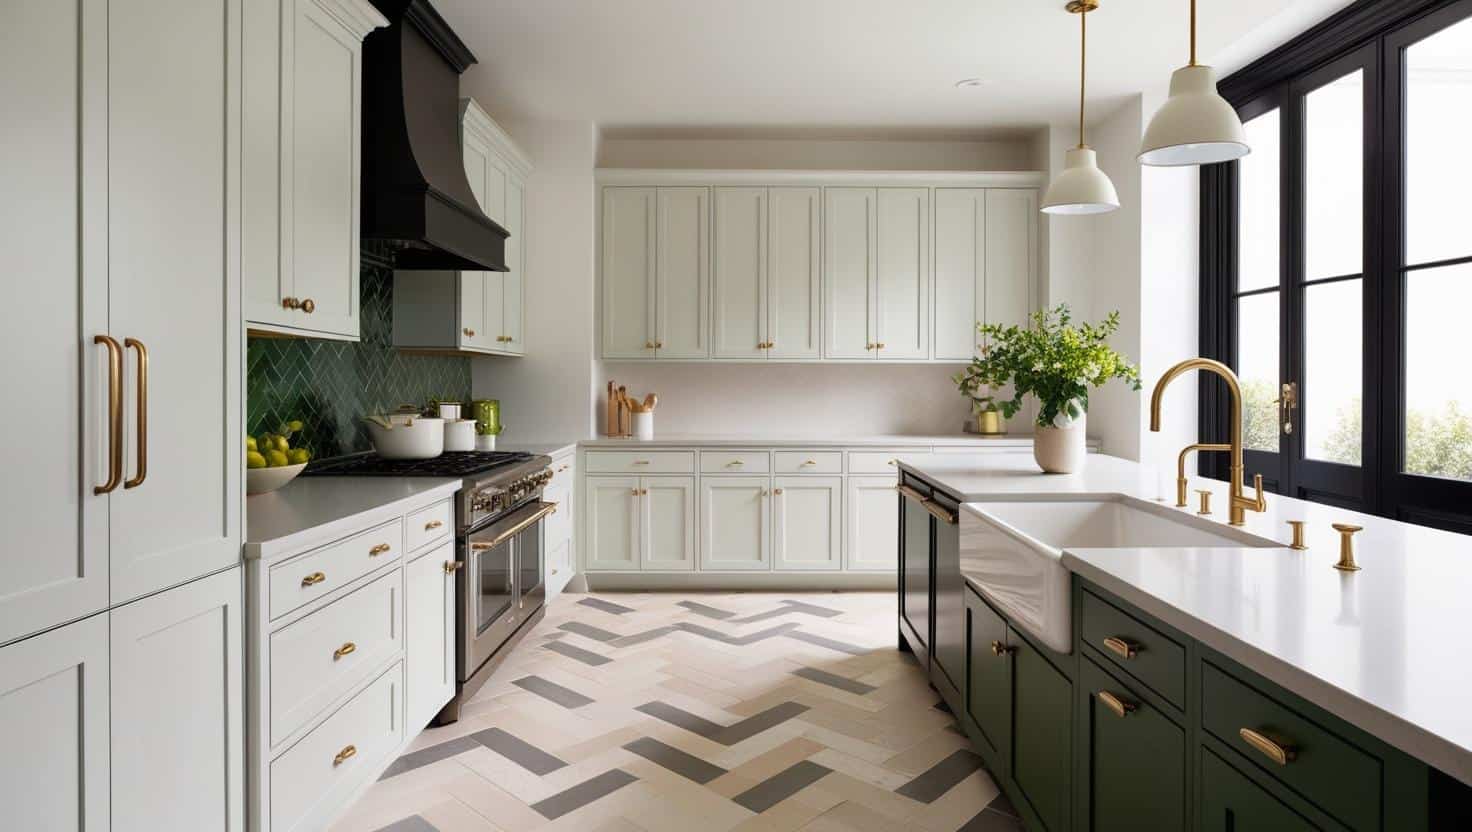
 LED lighting below cabinets
 Pendant Lighting
 Pendant Lighting
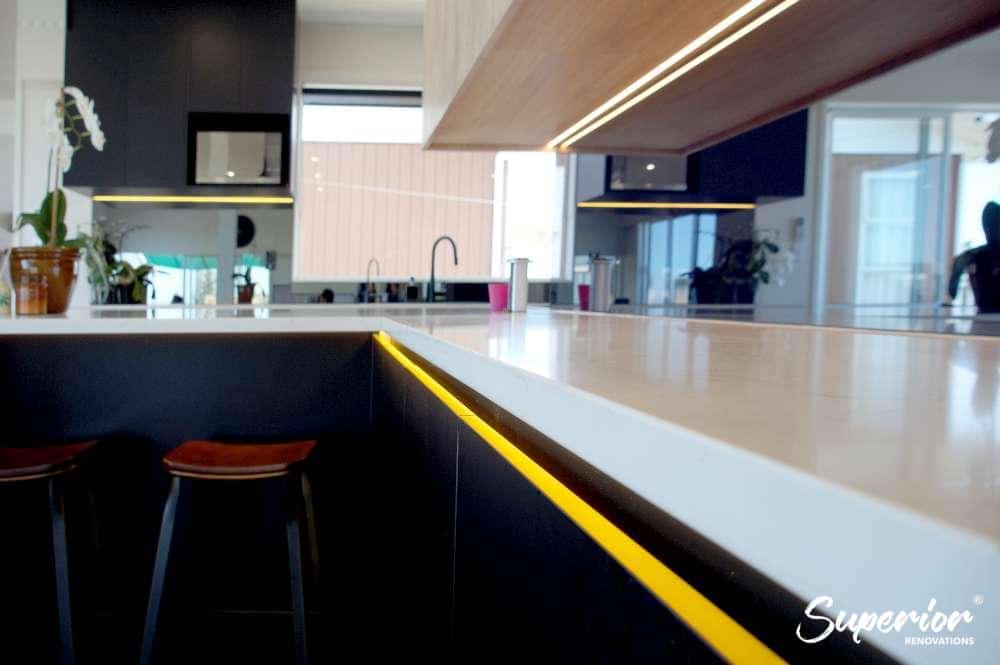


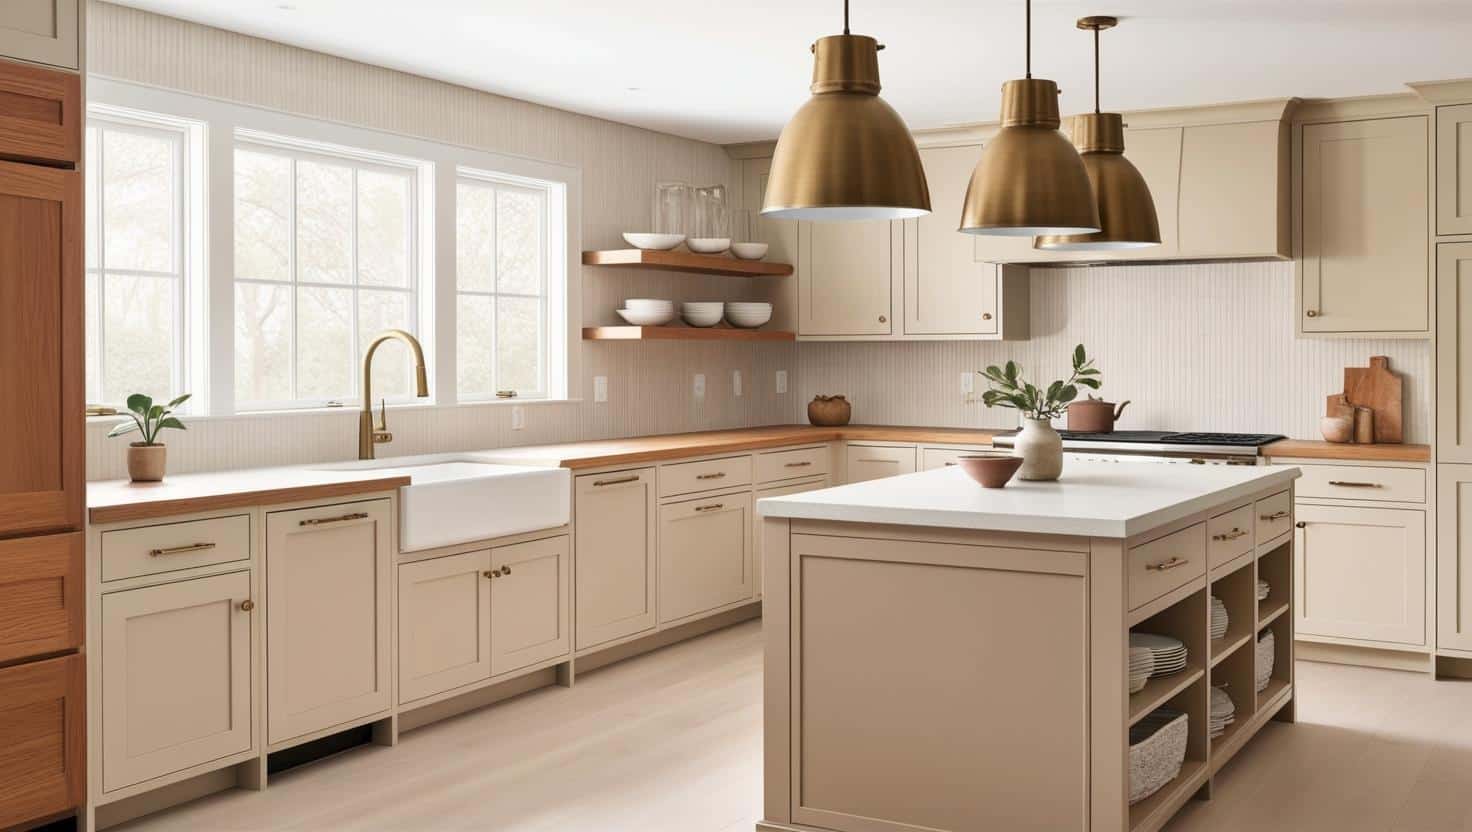
 16. Install a Large Sink