1")
How Much Does a Skylight Cost in NZ? (Installed, 2026)
How Much Does a Skylight Cost in NZ? Real Installed Prices for Auckland Homes (2026)
Quick answer: A skylight in Auckland costs $1,800–$3,000 installed for a tubular unit, $3,500–$6,000 for a fixed or manual opening skylight, and $4,500–$8,000 for solar or electric opening units. Custom rooflights run $7,500–$15,000+.
The most common renovation enquiry we get isn’t actually about kitchens or bathrooms. It’s a homeowner asking why their hallway is pitch black at 2pm in winter, or why the stairwell in their Grey Lynn villa feels like a tunnel. The answer, nine times out of ten, involves a skylight. But here’s where it gets messy: every cost guide online quotes you a unit price and conveniently leaves out installation. That’s like quoting a kitchen reno by the price of the cabinetry alone.
What follows is the all-in installed cost — by skylight type, by room, and by Auckland housing era. We’re upfront about the upper bounds too, because pretending a bathroom skylight costs $2,000 is how you end up with a half-finished ceiling and a quote variation you weren’t budgeting for.
What a Skylight Actually Costs in NZ — Installed, Not Just the Unit
Most articles you’ll find quote the skylight unit and skip the installation. That’s not the number you’ll pay. The unit is typically 35–45% of the total job. The rest is labour, flashing, framing, ceiling work, scaffolding (if needed), and rubbish removal. Here’s what a typical Auckland skylight job looks like all-in, based on what we quote across our 1000+ completed Auckland renovation projects.
All-in installed cost by skylight type (Auckland, 2026)
| Skylight Type | Typical Size | Installed Cost (NZD) |
|---|---|---|
| Tubular skylight / sun tunnel | 250–550mm diameter | $1,800–$3,000 |
| Small fixed skylight | ~550 × 550mm | $2,500–$4,000 |
| Standard fixed skylight (e.g. Velux) | 780 × 1180mm to 780 × 1650mm | $3,500–$5,500 |
| Manual opening skylight | 780 × 1180mm to 940 × 1600mm | $3,500–$6,000 |
| Solar or electric opening skylight | 780 × 1180mm to 940 × 1600mm | $4,500–$8,000 |
| Large rooflight, lantern or walk-on glass | Custom (1m² to 4m²+) | $7,500–$15,000+ |
| Typical Auckland bathroom skylight (real spend) | Opening unit + lightwell | $5,000–$9,000 |
💡 Quick tip: If a quote excludes installation, flashing, scaffolding, framing modifications, ceiling lining and paint reinstatement, you’re looking at roughly half the real cost. Always ask for an all-in fixed-price scope.
What’s actually inside that installed cost
Here’s where the money goes on a standard Auckland skylight install:
- The skylight unit itself: $900–$3,500 depending on brand, size, glazing and opening mechanism. Velux dominates the premium end; First Windows manufactures aluminium roof windows locally in Auckland.
- Flashing kit: $150–$400 — non-negotiable, and the single most important component for keeping water out. BRANZ research on flashing failures is consistent: bad flashing is the cause of nearly every leaky skylight.
- Labour to cut, frame and fit: $1,000–$3,500 depending on roof access, pitch, framing complexity and the skill required.
- Lightwell construction: $400–$1,500 if your skylight needs to drop down through a ceiling cavity to reach the room (very common in Auckland villas and bungalows with high ceilings).
- Gib reinstatement, taping and painting: $300–$900 for the interior finishing once the skylight is in.
- Scaffolding: $400–$1,200 if your roof pitch or height requires it — most two-storey installs do.
- Consent and inspection fees: $200–$500 if consent is triggered (it usually isn’t — more on that below).
So when a homeowner sees “fixed skylight $1,020” on a manufacturer’s website, that’s about a third of the real spend. The rest is what makes it watertight, structurally sound, and properly finished.
Skylight Cost by Room — Where You’re Putting It Matters More Than What You’re Buying
The room matters more than the brand. A bathroom skylight has ventilation, condensation and privacy considerations a hallway sun tunnel doesn’t worry about. A kitchen skylight over an island wants thicker, lower-E glass than a stairwell sun tunnel. The unit price gap between brands is around $500. The room-driven cost gap is often $3,000.
Here’s how it breaks down room by room.
Hallway and stairwell skylights — $1,800 to $3,500 installed
If you’ve got a long internal hallway in a Ponsonby villa or a stairwell in a 1970s split-level in Glen Innes that’s been dark since the day the house was built, this is your highest-impact spend. A tubular skylight (often called a sun tunnel) is usually the right call here. They’re cheaper, install faster, and deliver surprising punch — a 350mm tube can light a 10–15m² hallway during daylight hours.
The catch in hallways is the light shaft length. Tube longer than 2m starts losing meaningful light, so positioning matters.
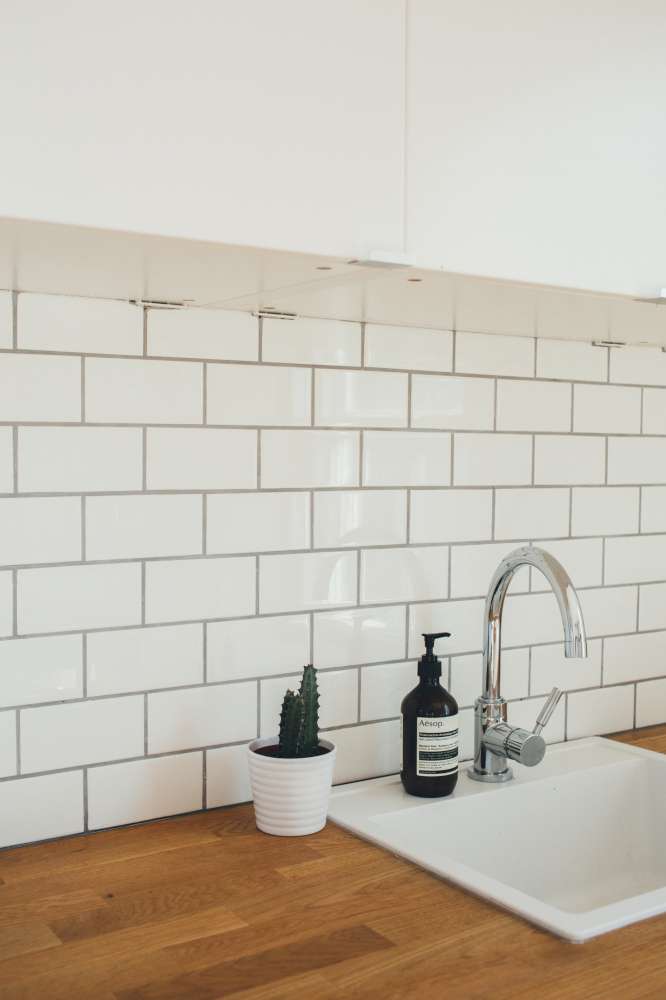
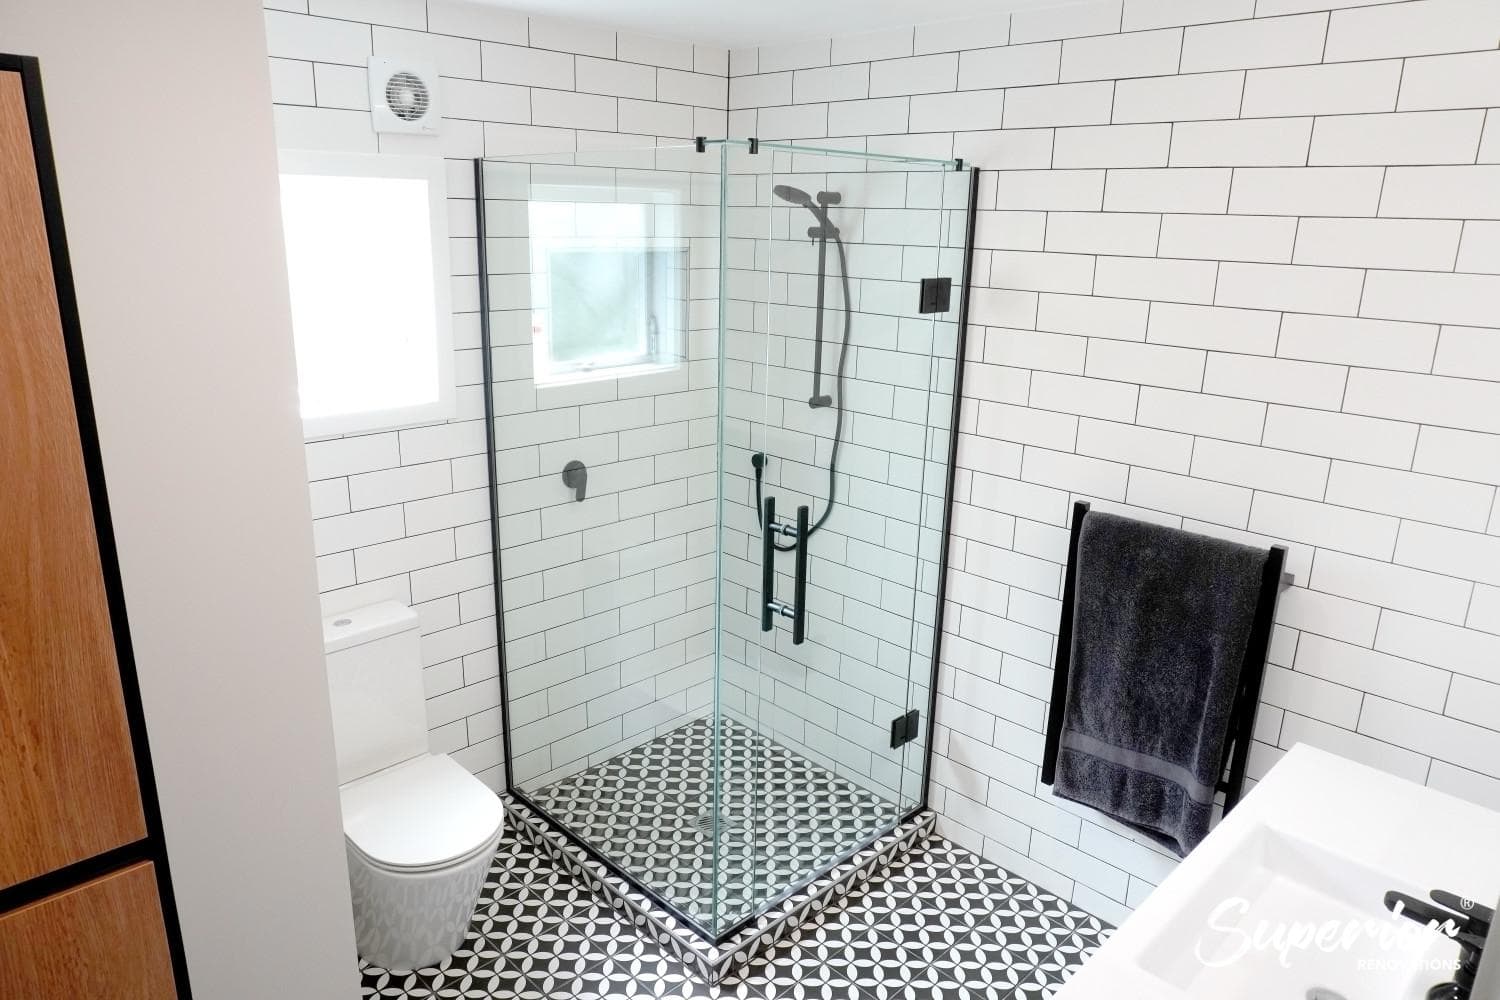
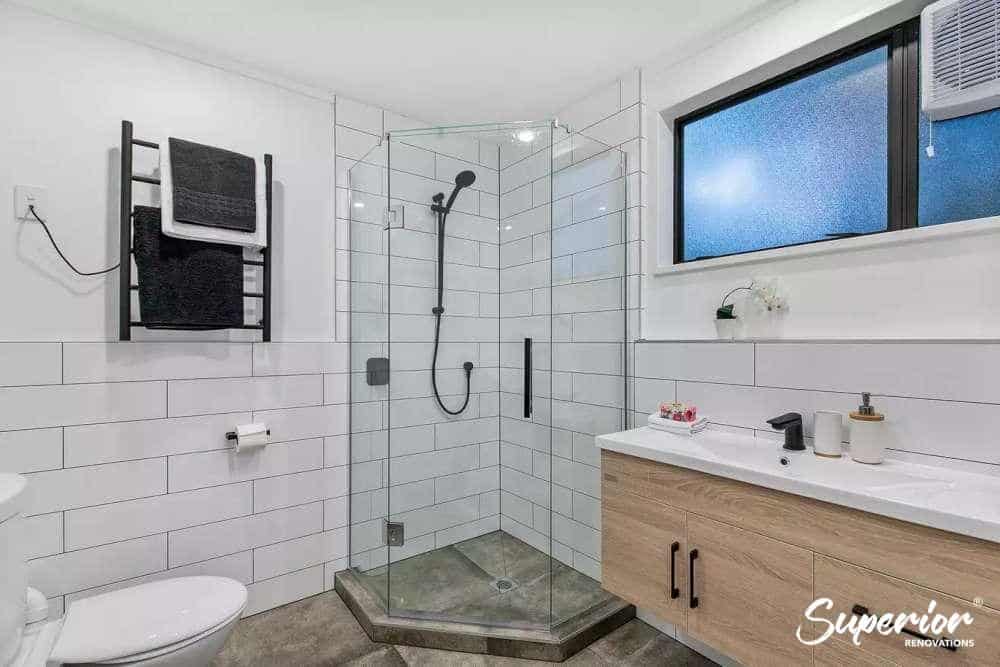
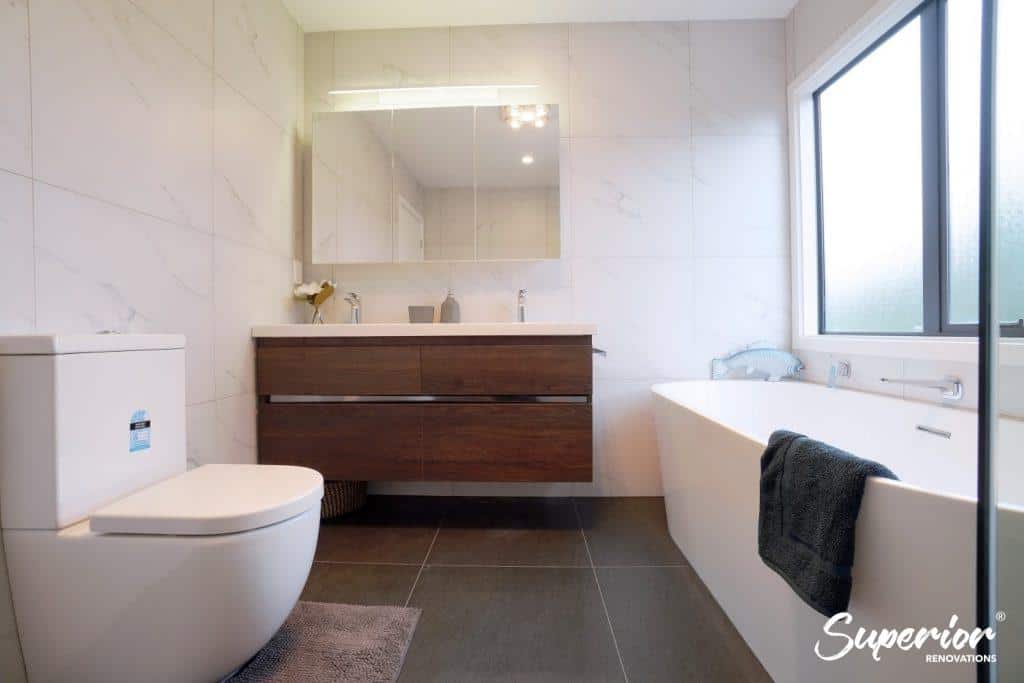
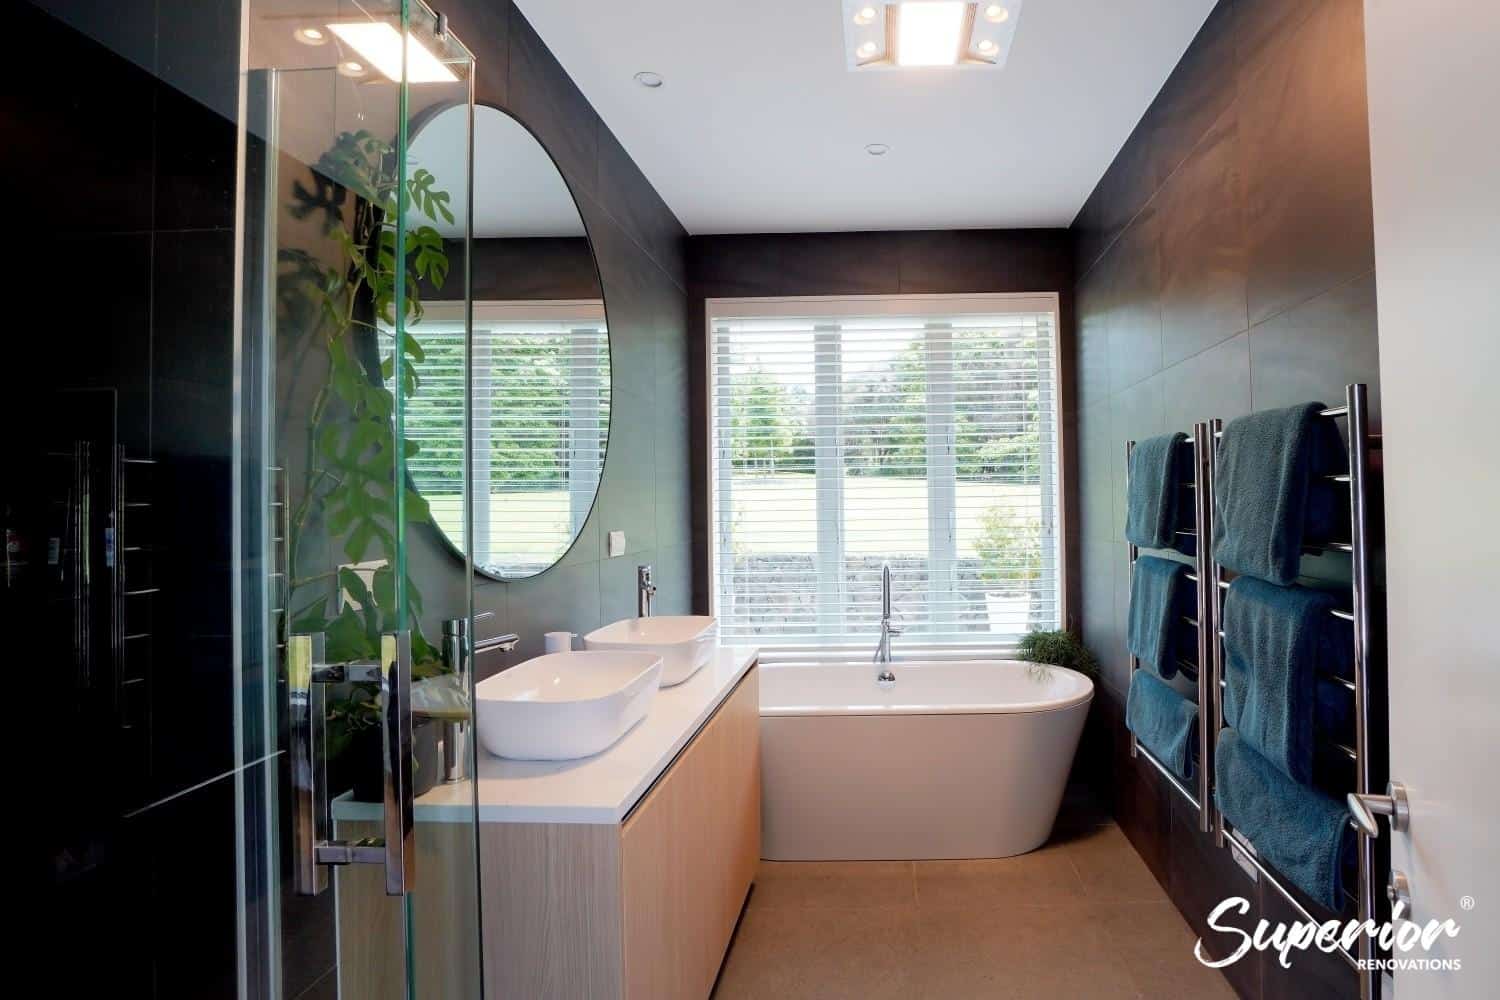
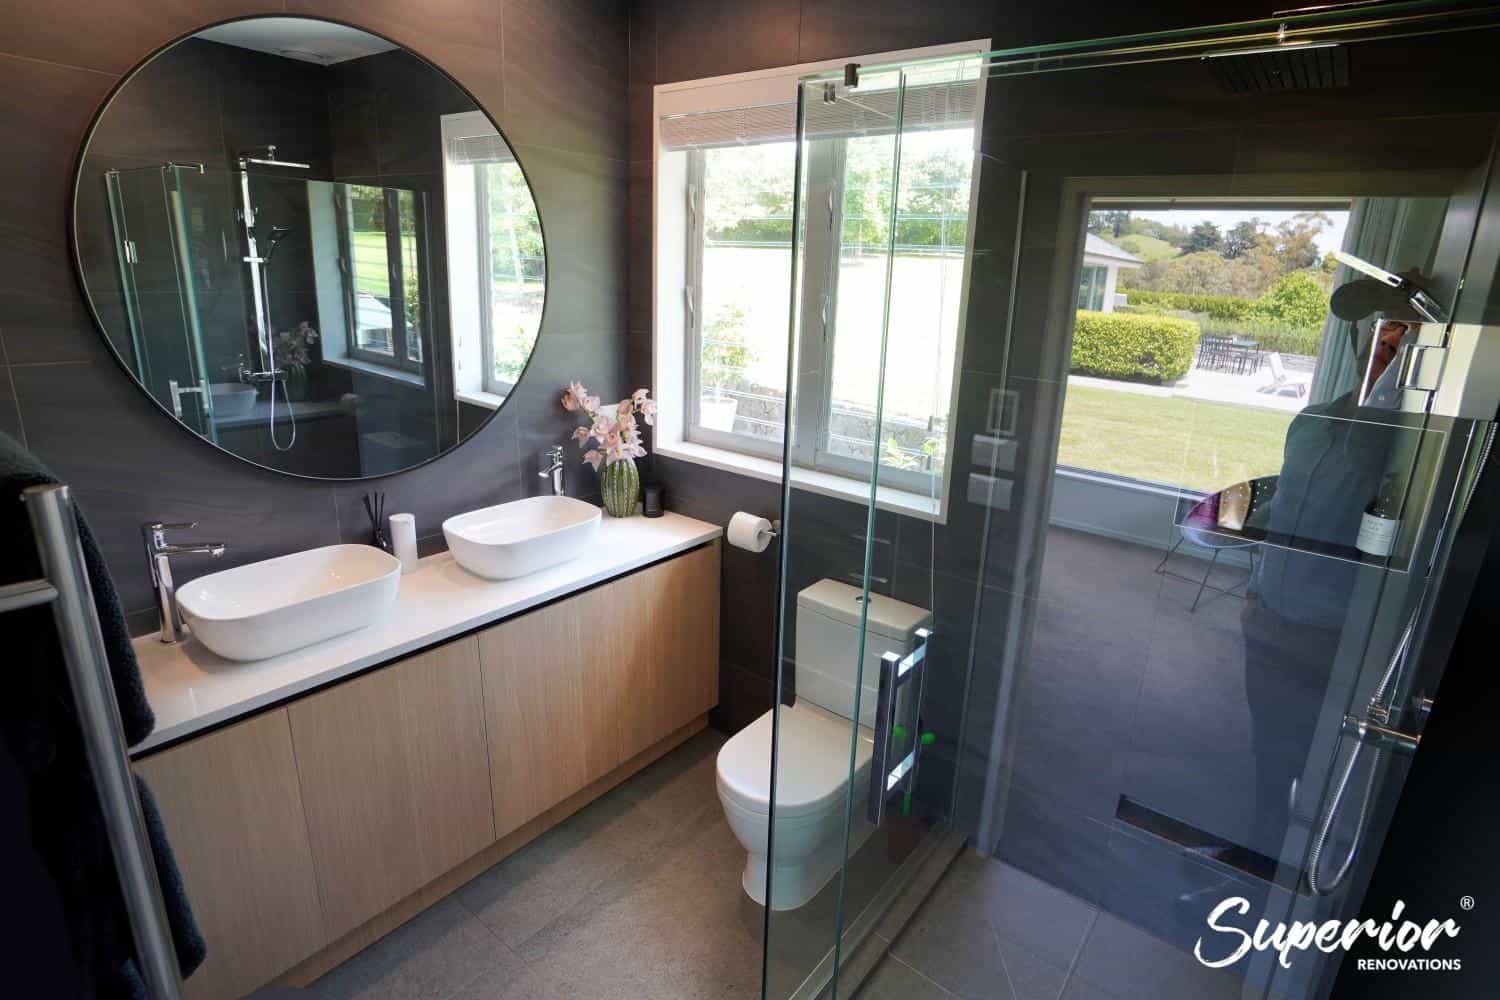
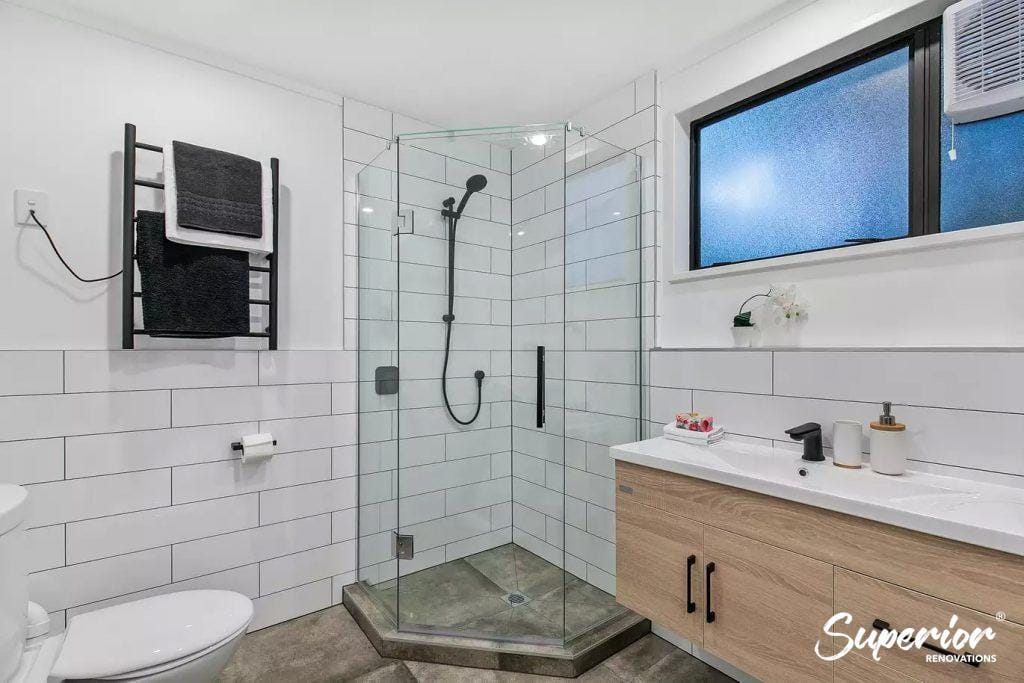
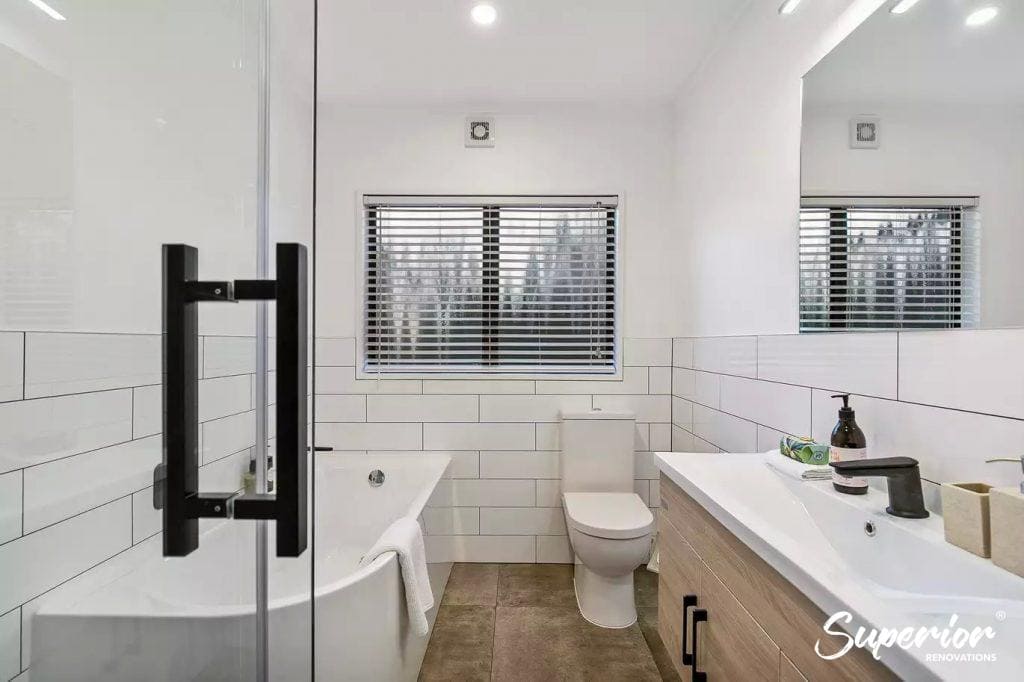
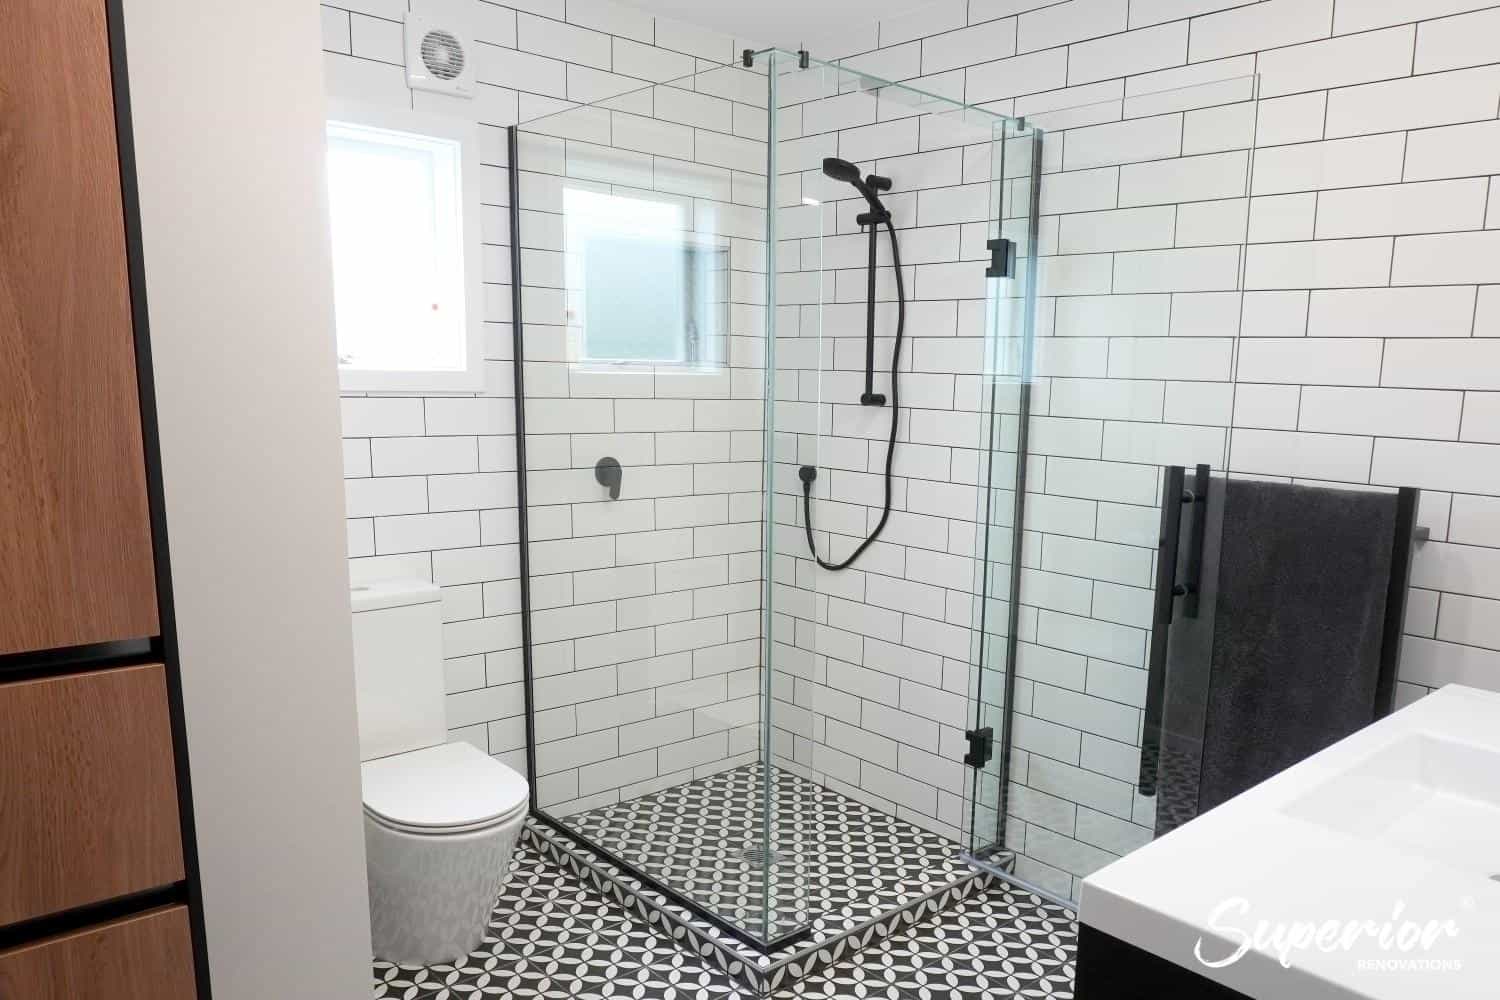
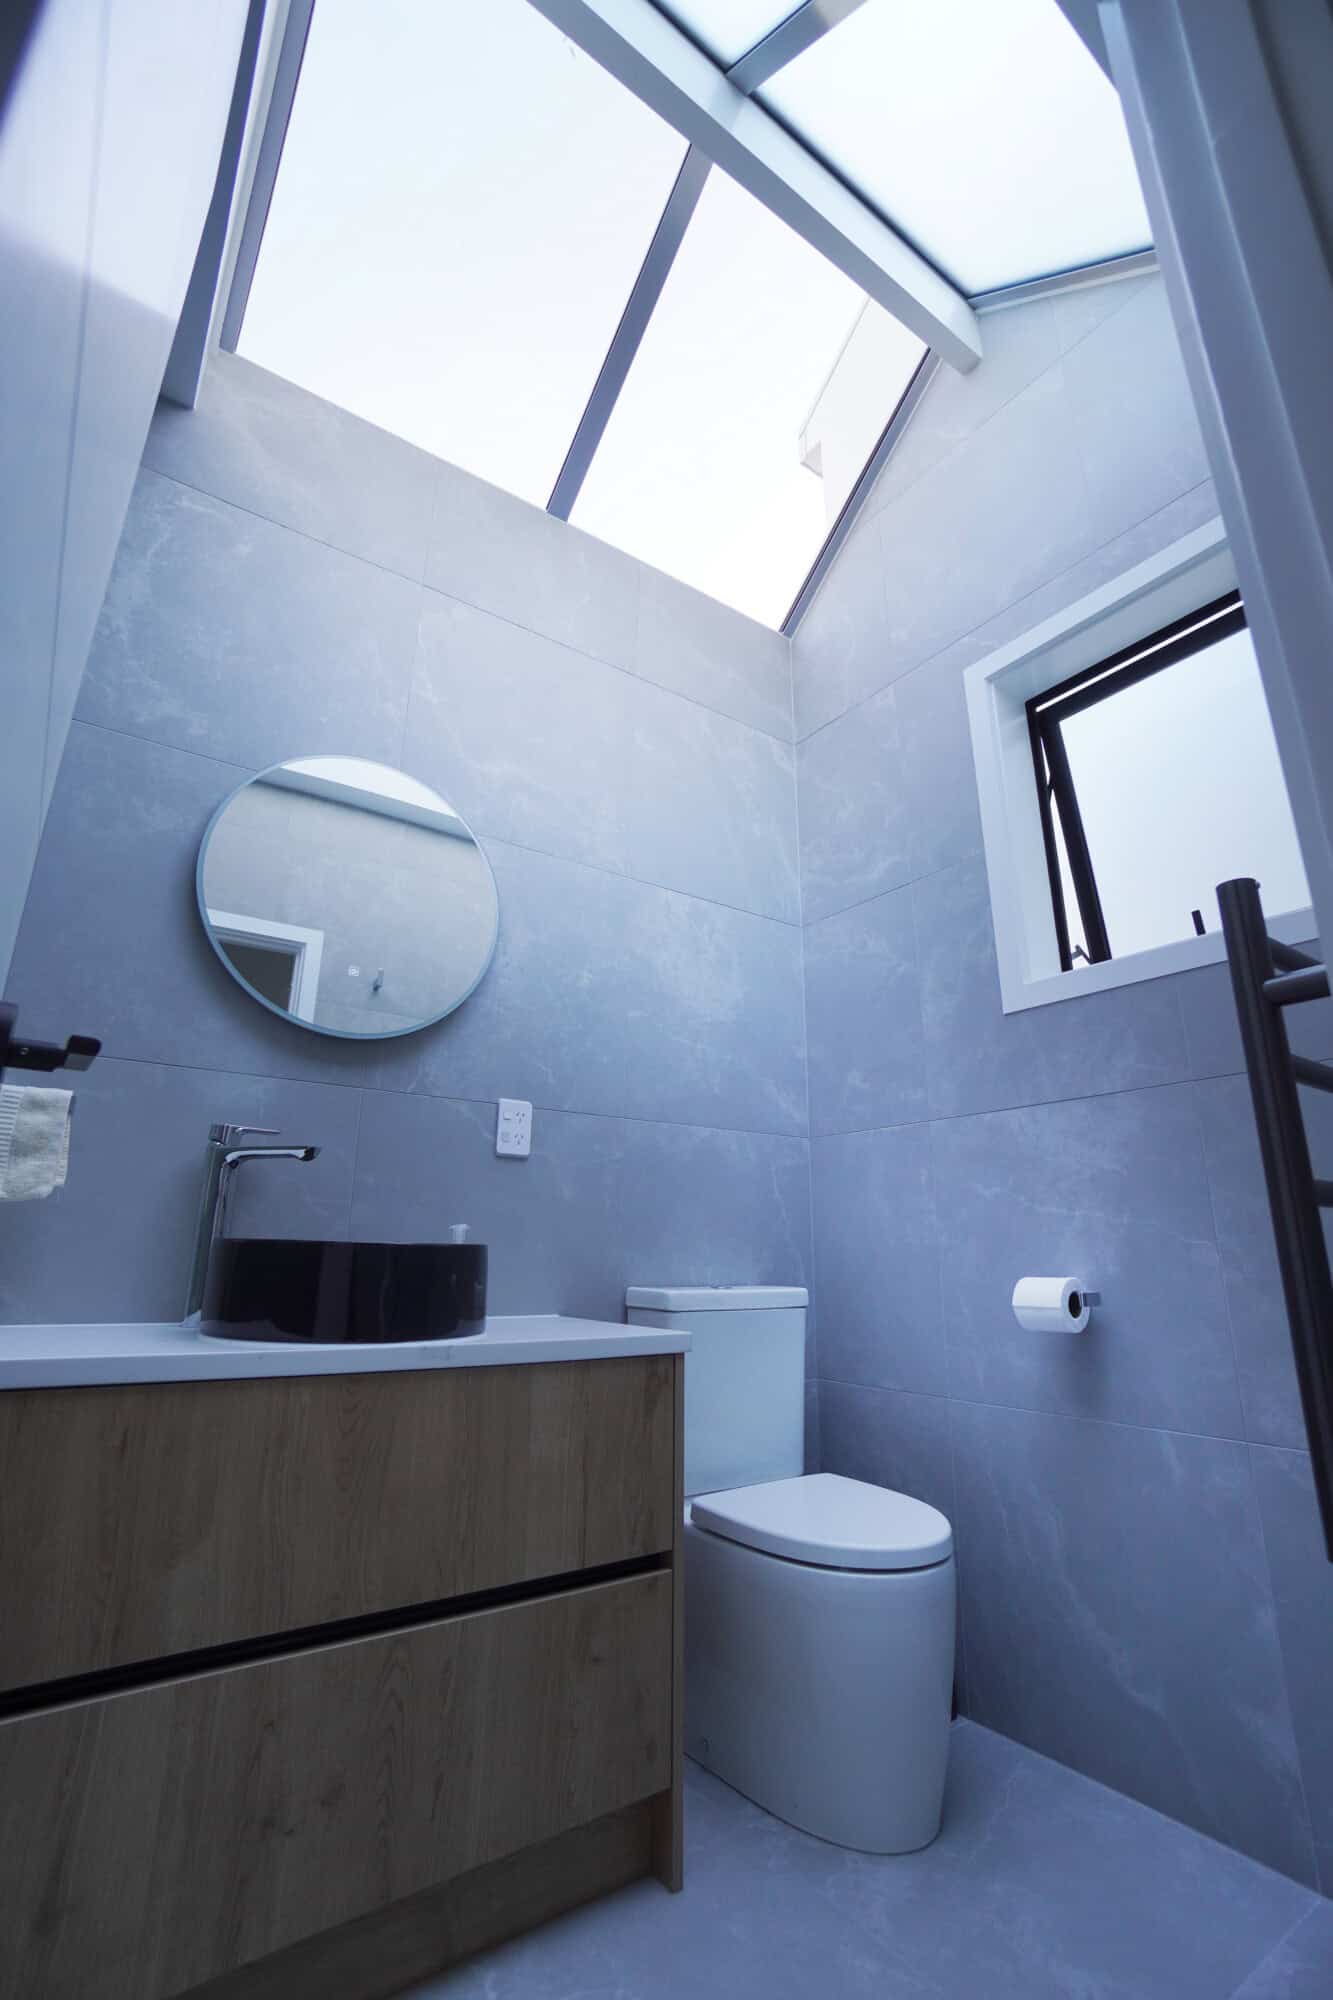
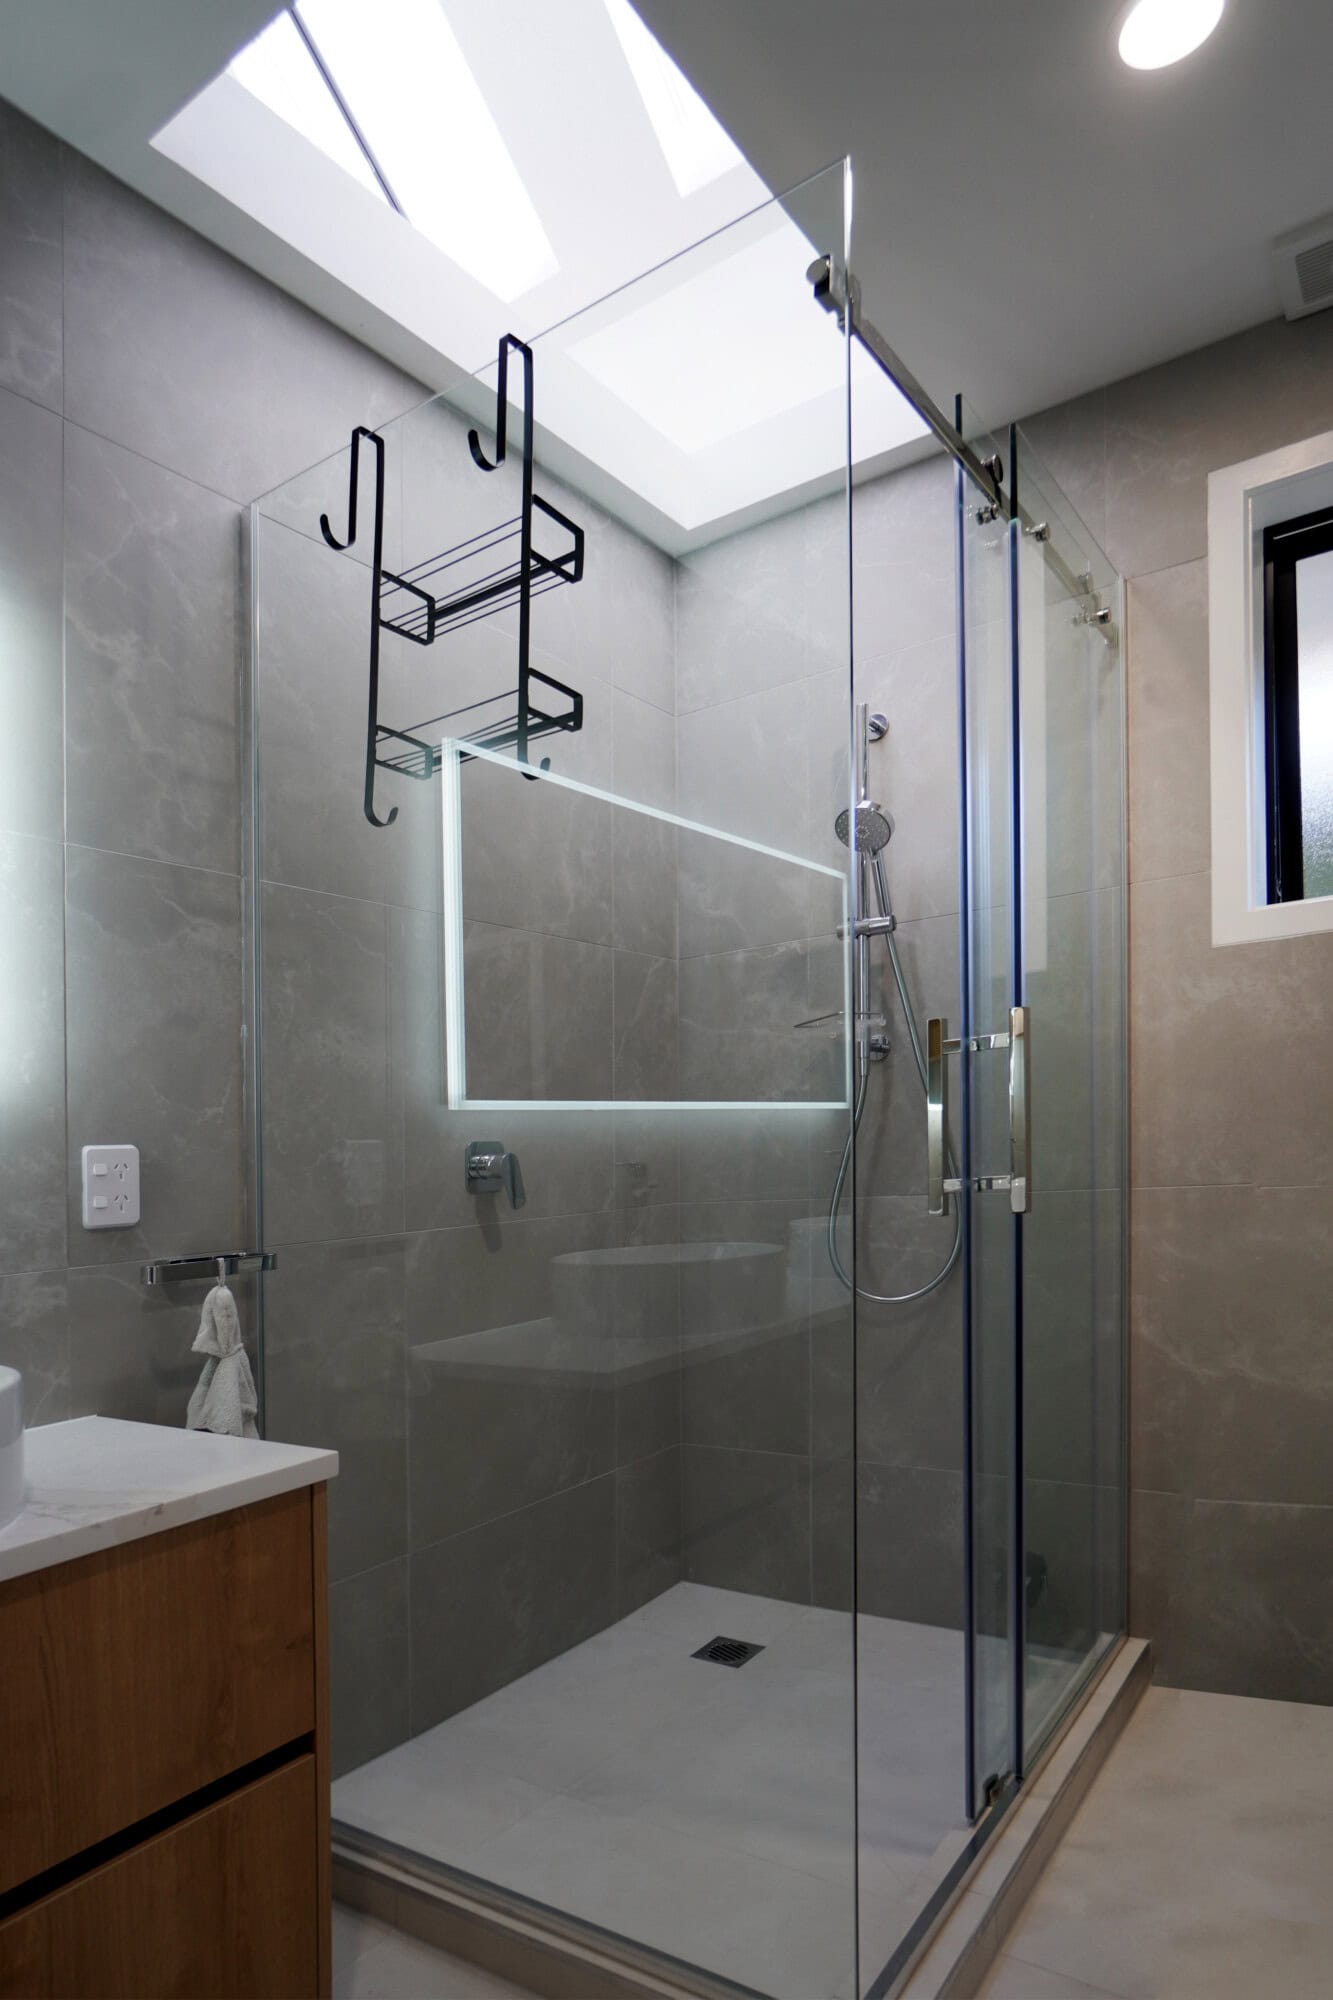
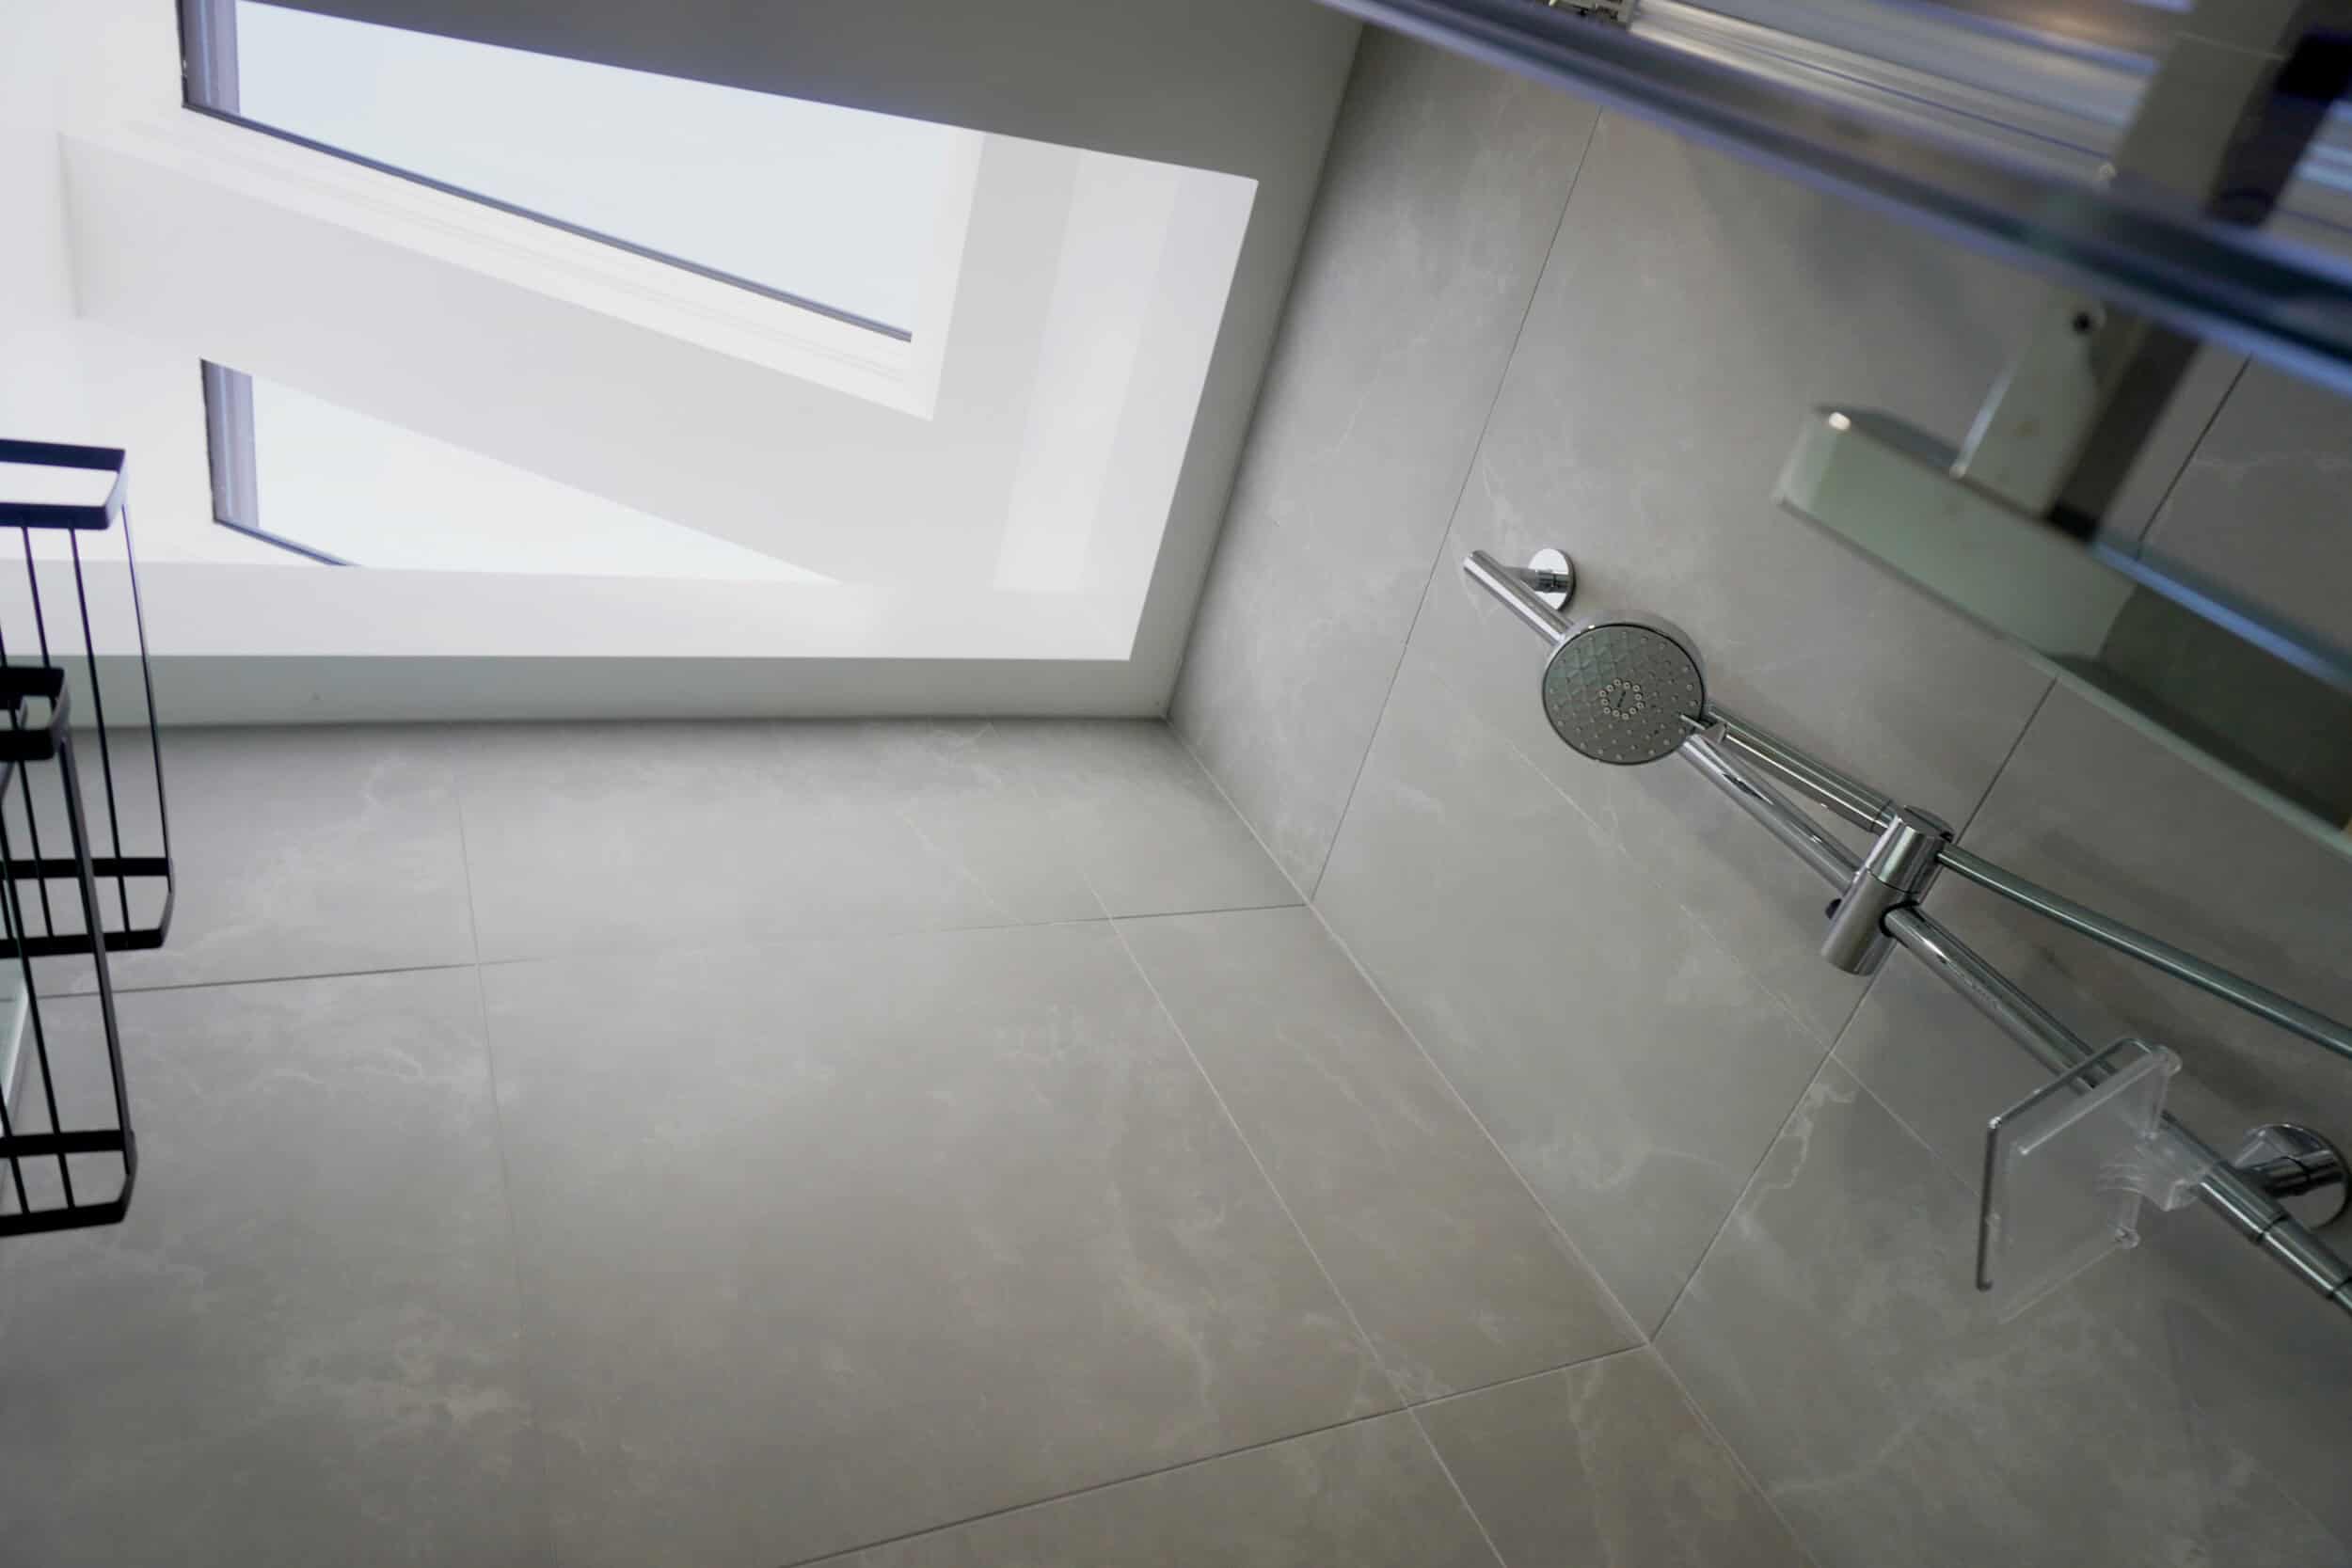
Bathroom skylights — $4,500 to $9,000 installed
Bathrooms are where skylights pay off the most emotionally — and where they go wrong the most often. The reasons are climate-specific. Auckland’s humidity, paired with a hot shower below a cold piece of glass, creates condensation that runs down the lightwell walls and stains the gib. We’ve inherited too many bathrooms in Mt Eden and Hillsborough where the previous installer used single-glazed glass and now the homeowner has a mould problem they didn’t sign up for.
For bathrooms, we always specify double-glazed units, an opening mechanism (manual or electric), and a lightwell painted in a moisture-resistant finish. Solar-powered opening skylights with rain sensors are worth the extra $1,500 in a bathroom — they vent steam and close themselves when the weather turns.
“A skylight over a kitchen island gets used every day. A skylight over a corridor that no one stands in is just a hole in your insulation. We always start with where you actually live in the room — where you stand at the bench, where you sit on the couch, where you shower — then we work the position back from there. Light placement is design, not just a roof penetration.”
— Dorothy Li, Design Manager, Superior Renovations
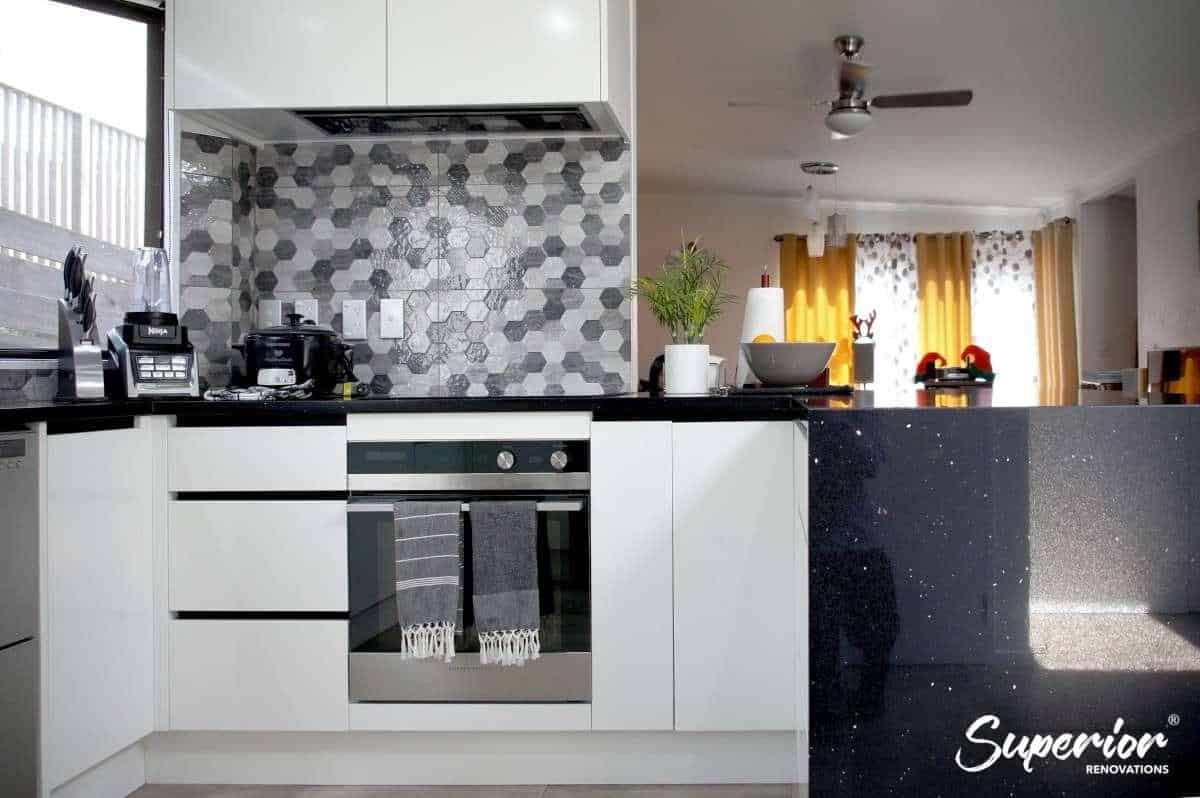
Kitchen skylights — $5,000 to $10,000 installed
Kitchen skylights are often the centrepiece of a renovation. A 940 × 1600mm opening unit over an island, especially in an older villa with a high stud, lifts the whole room. Pendants and downlights can’t compete with natural overhead light. Costs run higher than a hallway for three reasons: the units are larger, ventilation is needed to deal with cooking moisture and smells, and kitchen skylights usually go in alongside other work (which we’ll get to in the bundling section).
If your kitchen is being renovated anyway, the marginal cost of adding a skylight is meaningfully lower — the ceiling is already getting reworked and the gib trades are already on site.
Living and lounge skylights — $5,500 to $12,000 installed
These are usually the larger installs — sometimes two or three skylights in a row across a cathedral ceiling, sometimes a single statement rooflight or lantern. Open-plan living areas in Hobsonville and Flat Bush are often designed with these from the start, but retrofits into older homes (think a Howick brick-and-tile with an upgraded living area) work too.
Walk-on glass rooflights — the ones you can stand on in an upstairs deck while still letting light into the room below — start around $7,500 installed and climb fast. They’re impressive, but only justify the spend in a few real-world situations.
💡 Quick tip: North-facing skylights deliver the most natural light in Auckland, but they also bring the most summer heat gain. If you’re putting one over a living area, specify a Low-E coating and consider an integrated blind. The blind option adds about $300–$500 per unit and saves you running the heat pump on hot afternoons.
Cost by room — at a glance
| Room | Recommended Type | Installed Cost (NZD) |
|---|---|---|
| Hallway / stairwell | Tubular / sun tunnel | $1,800–$3,500 |
| Bathroom / ensuite | Opening, double-glazed | $4,500–$9,000 |
| Kitchen | Opening, larger pane | $5,000–$10,000 |
| Living / lounge | Fixed (often multiple) or lantern | $5,500–$12,000 |
| Master bedroom | Opening with blackout blind | $4,500–$7,500 |
| Loft / attic conversion | Opening roof window | $5,000–$8,500 |
If you’re already planning an attic conversion in Auckland, skylights are not optional — they’re often the only way to bring natural light into the space and meet the requirements for a habitable room.
Cost by Auckland Housing Era — What Your Roof Structure Does to the Price
The age of your home affects the skylight cost more than most homeowners expect. The reason is structural: different eras of Auckland housing have different roof framing, different roofing materials, and different ceiling assemblies. All three change the labour bill.
Pre-1940s villas and bungalows — $4,500 to $9,500 installed
Villas in Grey Lynn, Ponsonby, Mt Eden and Herne Bay typically have rafter framing rather than trusses, sarking timber under the roof iron, and often original lath-and-plaster ceilings — or older gib that’s been patched many times. That’s a more involved install. We’re cutting through more material, patching more lining, and sometimes working around existing ceiling roses or decorative cornices.
The upside: rafter framing is usually easier to work with than modern trusses — you can position the skylight more freely, not constrained by truss webs. The downside: every extra hour of patching, painting and matching original profiles costs money.
1970s and 1980s brick-and-tile homes — $3,500 to $7,500 installed
The classic 70s and 80s brick-and-tile homes across Manurewa, Pakuranga, Glenfield and the West Auckland fringe usually have lower roof pitches, concrete tile roofing, and rafters at tighter spacing. The skylight unit itself isn’t more expensive. But the tile flashing requires more care than long-run steel, and the lower pitch can mean a longer lightwell drop into the room.
These homes often have low stud heights too. If you’re putting a skylight in a room with a 2.4m ceiling and there’s only 600mm of roof cavity above it, the lightwell is short and bright. In a villa with 3.6m ceilings and a 1.5m attic above, you’ve got more work to do.
Leaky-building-era homes (1994–2004) — variable, often $5,500–$10,000+
If your home was built or reclad during the leaky-building era — common across Albany, the North Shore generally, parts of East Auckland and apartment blocks across the city — we’re cautious. Very cautious. Cutting a new penetration through a roof that may already have weathertightness issues isn’t something we’ll do without inspecting the existing roofing assembly first. Sometimes a skylight install on a leaky-era home becomes the trigger for a wider conversation about recladding or reroofing.
It’s better to know that upfront than discover it mid-job.
Modern subdivisions (post-2010) — $2,500 to $6,000 installed
New subdivisions in Hobsonville, Flat Bush, Millwater and Silverdale generally have trussed roofs, long-run steel or pressed metal tile roofing, and recent gib lining. Installs are usually straightforward — until you hit a truss. Modern truss design uses webs and chords that can’t be cut without engineering input, so positioning matters. If the skylight needs to go between trusses, it’s a quick job. If it doesn’t, you’re paying for a structural review and possibly trussed-roof modification — easily another $1,500–$3,000.
💡 Quick tip: Before you sign off on a skylight position, make sure your installer has been into the roof cavity and confirmed the framing. Designing the position from the room below and assuming the roof will cooperate is the most common reason skylight quotes get blown out.
Building Consent, Weathertightness and the H1 Insulation Reality
This is the section every other cost article skips. Adding a skylight to your home in Auckland touches three regulatory areas: the consent regime, the weathertightness rules under E2/AS1 of the NZ Building Code, and the H1 thermal performance clause.
Do you need building consent for a skylight in Auckland?
Usually not. Under Schedule 1 of the Building Act, certain types of building work are exempt from needing consent. A skylight installation fits the exemption when it meets all of these conditions:
- The installation is by a Licensed Building Practitioner (LBP) or under their supervision.
- The opening fits between existing rafters or trusses without cutting structural members.
- The skylight is a manufactured unit with a tested flashing kit.
- The opening doesn’t significantly alter the building’s structural integrity or weathertightness.
Most domestic skylights — Velux, FAKRO, First Windows — meet these conditions when fitted properly between rafters in a single-storey roof.
When you do need consent: Large or multiple skylights, walk-on glass, lanterns, and any installation that requires cutting truss members or modifying load-bearing structure. Also any skylight forming part of a larger renovation that already requires consent (extension, reroofing, structural changes) — it gets folded into the wider Auckland Council consent rather than being assessed separately.
Weathertightness — the real risk
The NZ Building Code clause E2 is what’s meant to keep water out of buildings. The Acceptable Solution E2/AS1 sets out how roof penetrations like skylights have to be flashed and sealed. This isn’t optional. Every leaky skylight we’ve ever been called to inspect has failed at the flashing, not the glass.
The flashing kit that comes with the skylight is designed to work with the specific roofing material — long-run steel, concrete tile, asphalt shingle, or membrane. Mixing flashing kits or trying to fabricate site-made flashing is how leaks start. Use the manufacturer’s kit, fit it per the instructions, and don’t skip the steps.
H1 thermal performance — the cost you didn’t see coming
The 2022 update to Clause H1 raised the minimum insulation values for new construction and major retrofits. A skylight is a thermal weak point — single-glazed glass has an R-value of roughly 0.17, compared to R-3.6 for modern Auckland ceiling insulation. Add a single-glazed skylight and you’ve put a hole in your insulation envelope.
The practical implication: always specify double-glazed skylights at minimum, ideally with a Low-E coating. The cost difference is $200–$500 per unit and you’ll recover it through reduced heat loss within a few winters. EECA guidance on energy efficiency in renovations is consistent: glazing performance matters more than you’d think.
Important note: If your renovation already requires building consent (kitchen with structural changes, full bathroom strip-out with re-plumbing, extension), the skylight is rolled into that consent. Don’t apply for two — your designer or builder handles this as part of the wider project.
What Actually Goes Wrong With Skylight Installs — and How to Avoid Paying Twice
Most cost guides treat skylights as a clean off-the-shelf purchase. They aren’t. After installing hundreds of them across Auckland, we know exactly where they go sideways. Here’s the practitioner’s view.
“Nine times out of ten, the framing surprise isn’t a structural problem — it’s a positioning problem. The exact spot a client wants the skylight is the exact spot a rafter or truss is sitting. I check this at the site visit by going into the roof cavity before we quote, not after the gib is off. That one extra hour up there saves three days of rework later.”
— Alison Yu, Designer, Superior Renovations
The framing surprise
Picked the position from below. Didn’t verify from above. That’s the single most common reason a skylight quote gets blown out mid-job. By the time the gib is cut, you discover a rafter, a strut, an electrical run or a plumbing vent right in the way. Now the position has to move — or the framing has to be modified — or worst case, the gib gets patched and you start again.
Fix: any reputable installer goes into the roof cavity before quoting. If they’re quoting off plan only, that’s a red flag.
Flashing failures and leaks
Skylights don’t usually leak from the glass. They leak from where the flashing meets the existing roof. The most common causes: wrong flashing kit for the roofing material, flashing fitted on top of the roof rather than woven under the laps, sealant used as a substitute for proper flashing, and metal corrosion at the flashing edges five to ten years post-install.
Fix: use the manufacturer’s flashing kit matched to your specific roof material, fit it strictly to the manufacturer’s spec, and check it on the first heavy rain.
💡 Quick tip: Ask your installer to show you the manufacturer’s flashing instructions before they start. If they shrug and reach for the silicone, walk away. Every skylight leak we’ve ever inspected came from someone improvising the flashing instead of following the kit.
Condensation in bathrooms and kitchens
Skylights in moist rooms condense. Warm humid air rises, hits the cold glass surface, and the water runs back down — usually onto the lightwell walls. In Auckland’s climate, with hot showers and cooking happening multiple times a day, this isn’t an edge case — it’s standard physics.
Fix: specify double glazing at minimum (single glazing is the main culprit), add an opening mechanism so steam can vent, use moisture-resistant gib in the lightwell, and consider an extraction fan as the primary moisture control rather than relying on the skylight alone.
Ceiling lining and finishing — the part the quote often hides
Cutting a hole in your ceiling means patching, taping, sanding and painting. If the existing ceiling has a textured finish, popcorn texture (common in 1980s homes), or detailed cornices, matching it is a real job. Some quotes price this in. Some don’t. Ask before you sign.
The mid-job consent trigger
Occasionally a job starts as an exempt skylight install and turns into a consent-required job mid-stream — usually because the framing modification turned out to be bigger than expected, or the homeowner decided to upgrade the size. The fix here is to confirm the scope before work begins. A licensed builder will tell you upfront whether your install is borderline.
Choosing the Right Skylight — and Saving Real Money by Bundling It With Your Renovation
The cheapest skylight isn’t always the right one. The right skylight is the one that matches your roof type, your room’s purpose, and the rest of your renovation.
Fixed vs opening vs tubular — when each makes sense
- Fixed skylights are the cheapest per square metre of glass. They’re right for living areas, bedrooms with good cross-ventilation, and stairwells. They aren’t right for bathrooms or kitchens unless paired with strong mechanical ventilation.
- Opening skylights (manual or motorised) are non-negotiable for bathrooms and kitchens. Pay the extra $1,500–$2,500 for solar or electric opening with a rain sensor — you’ll use it constantly.
- Tubular skylights / sun tunnels are right for hallways, walk-in wardrobes, internal bathrooms with no roof access for a full skylight, and tight spaces in trussed roofs where a rectangular unit won’t fit between members.
Skylight brands in NZ — what we specify
The most common brands in Auckland renovations:
- Velux — global leader, full range, premium price. Velux NZ is the brand most homeowners recognise.
- FAKRO — strong alternative to Velux, often slightly more affordable for comparable spec.
- First Windows (Window Factory) — Auckland-made aluminium roof windows in a range of sizes. Worth specifying when you want a locally-made unit and a custom powder-coat colour. First Windows roof windows are made here in Auckland.
- Solatube and equivalent tubular brands — the tubular-skylight specialists.
Glazing options that change the cost — and the comfort
- Double glazing: standard spec we recommend for every install. Adds $200–$500 to the unit.
- Low-E coating: reflects infrared, keeping winter heat in and summer heat out. Adds $100–$300. Worth it for north-facing skylights especially.
- Laminated or toughened glass: required for overhead glazing under NZS 4223. Already standard in most reputable skylight units, but worth confirming.
- Solar reflective tint: useful in west-facing or large north-facing skylights to control summer heat gain. Adds about $150–$400.
The bundling angle — where you save real money
Add a skylight as a standalone job and you’re paying a one-off mobilisation: site visit, scaffolding, multiple trades for one day each, project management. Bundle it into a kitchen reno, bathroom reno, reroof or full home renovation, and that overhead gets shared. The marginal cost of a skylight in a kitchen renovation we’re already doing is often $1,500–$3,000 less than the same skylight as a one-off — because the scaffolding’s there, the gib trades are on site, the project manager is already running the schedule, and the ceiling is already coming down.
If you’re planning a bathroom renovation in Auckland or a kitchen renovation and you’ve been thinking about a skylight, add it now. The same logic applies if you’re reroofing — the roofers are already up there and the flashing trade is already on the job.
“The clients who get the best result on skylights are the ones who add them as part of a wider plan rather than as a one-off. The skylight isn’t an afterthought — it’s a piece of the design. When we’re already redesigning the kitchen or rebuilding the bathroom, positioning a skylight properly costs almost nothing extra and changes how the whole room feels.”
— Dorothy Li, Design Manager, Superior Renovations
For Auckland homeowners planning a larger project, we recommend pricing the skylight as part of the wider home renovation rather than as a separate job. If you’re considering structural changes — for example, opening up a roof line to add a skylight as part of a wider extension — our partner Sonder Architecture handles the architectural design and consent side.
💡 Quick tip: If you’re planning multiple skylights across the same project — say, three over an open-plan kitchen-dining — most installers will discount the unit price for bulk. The labour scales sub-linearly too, because they’re already set up and scaffolded.
Want a rough estimate before booking a consultation? Our double glazing cost calculator includes a skylight area field for getting indicative pricing across all your glazed openings.
The Bottom Line on Skylight Costs in Auckland
Skylights in Auckland run from $1,800 for a small tubular up to $15,000+ for a custom lantern or walk-on glass. Big spread. The most common renovation skylight — a double-glazed opening unit in a bathroom or kitchen — sits at $4,500 to $8,000 installed. Where you land in that range depends less on the brand and more on the room you’re putting it in, the age and structure of your roof, and whether you’re adding it during an existing renovation or as a standalone job.
If your home is dark and you’ve been putting up with it for years, a well-positioned skylight isn’t a luxury. It’s a comfort upgrade with measurable health and energy benefits. Done properly, with the right glazing, the right flashing and the right ventilation, it lasts 20+ years and pays back across reduced lighting bills and a warmer, drier home in winter.
If you’d like us to scope a skylight as part of a kitchen, bathroom or full home renovation in Auckland, book a free in-home consultation. We’ll go into the roof cavity, check the framing, and give you a fixed-price quote that includes everything — unit, flashing, lightwell, finishing, scaffolding, and consent if required. Or pop into our showroom at 16B Link Drive, Wairau Valley — we’ve got working examples of double-glazed and opening units on display, and you can see what an Auckland-spec install actually looks like.
➡ Book your free in-home consultation with Superior Renovations
➡ Use our double glazing and skylight cost calculator
➡ Request a free feasibility report for your project
FAQ — Skylight Cost and Installation in NZ
How much does a skylight cost installed in NZ?
A standard fixed or manual opening skylight in Auckland costs $3,500–$6,000 installed in 2026. Tubular skylights run $1,800–$3,000. Solar or electric opening units sit at $4,500–$8,000. Custom rooflights, lanterns and walk-on glass start at $7,500 and climb past $15,000. These figures cover the unit, flashing, framing, lightwell, ceiling finishing and scaffolding — everything except wider renovation work.
Do I need building consent for a skylight in Auckland?
Usually not. Under Schedule 1 of the Building Act, skylight installation is exempt from building consent when fitted between existing rafters or trusses by a Licensed Building Practitioner, using a manufactured unit and tested flashing kit. Consent is required for large or multiple skylights, walk-on glass, lanterns, or any install that cuts truss members or modifies load-bearing structure. If consent is needed, Auckland Council fees run $200–$500.
How much does a Velux skylight cost in NZ?
Velux skylight units in NZ start at around $900 for a small fixed model and run to $3,500+ for larger solar-powered opening units. Installed cost, including flashing, lightwell, framing and ceiling finishing, runs $3,500–$7,500 for most domestic installs. Solar-powered Velux units with rain sensors typically come in at $5,000–$8,000 installed, depending on roof type and access.
How long does it take to install a skylight?
A standard skylight install in an Auckland home takes one to two days on site for the structural and weathertightness work, plus a follow-up day for gib, taping and paint reinstatement. Tubular skylights are usually completed in a single day. Custom rooflights or installs requiring framing modifications can run three to five days. Weather is the biggest variable — open roof penetrations need a dry day to complete safely.
Are skylights worth it in Auckland's climate?
Yes, in the right rooms. Auckland gets roughly 2,060 sunshine hours per year, so a well-positioned skylight delivers meaningful natural light most of the year. The two cautions are heat gain in summer (especially north-facing) and condensation in bathrooms and kitchens. Both are managed by specifying double-glazed Low-E glass, an opening mechanism, and proper ventilation. Done right, a skylight reduces lighting energy use 10–20%.
Do skylights leak?
A properly installed skylight should not leak for 20+ years. Leaks almost always trace back to the flashing — wrong kit for the roofing material, flashing fitted on top instead of woven under the laps, or sealant used as a substitute for proper flashing. Use the manufacturer's flashing kit matched to your specific roof type, fit strictly to spec, and check it after the first heavy rain. The skylight glass itself rarely fails.
What's the cheapest type of skylight in NZ?
Tubular skylights (sun tunnels) are the cheapest option in NZ at $1,800–$3,000 installed. They're best for hallways, walk-in wardrobes and small internal rooms with no roof access for a full skylight. They deliver surprising amounts of light — a 350mm tube can effectively light a 10–15m² space during daylight hours — but they don't open and they don't offer a view of the sky.
Can I add a skylight to a trussed roof?
Yes, but with constraints. If the skylight fits between existing trusses without cutting any truss members, it's a straightforward install. If the desired position requires cutting a truss chord or web, you need a structural engineer to design the modification and consent from Auckland Council. Trussed-roof modifications typically add $1,500–$3,000 to the cost. Most modern subdivisions in Hobsonville, Flat Bush and Millwater have trussed roofs.
Should I get a skylight installed during my bathroom renovation?
Usually yes. Adding a skylight during an existing bathroom renovation typically costs $1,500–$3,000 less than the same skylight as a standalone job. The scaffolding's already up, the gib trades are on site, the lining is already coming off, and the project manager runs both as one job. For bathrooms specifically, an opening skylight is recommended for ventilation and condensation control — single-glazed fixed skylights cause moisture problems in Auckland's climate.
What's the difference between a skylight and a roof window?
Functionally similar, with a technical distinction. A roof window opens (manually or electrically) and is designed to act partly as a window for ventilation and emergency egress. A traditional skylight is fixed and provides light only. In NZ, the terms are used interchangeably — Velux's product range is marketed as roof windows. What matters more than the name is whether the unit opens, the glazing spec, and the flashing kit compatibility with your roof.
How much value does a skylight add to an Auckland home?
A well-designed skylight is more about liveability than resale, but it does add value. Real estate agents in Auckland generally view skylights positively because they brighten dark rooms — the most common buyer objection in older villas and 70s brick-and-tile homes. Quantifying the exact resale return is difficult because skylights are usually one factor among many in a wider renovation. The bigger gain sits in the years you live in the brighter space yourself.
Further Resources for your skylight or whole-home renovation
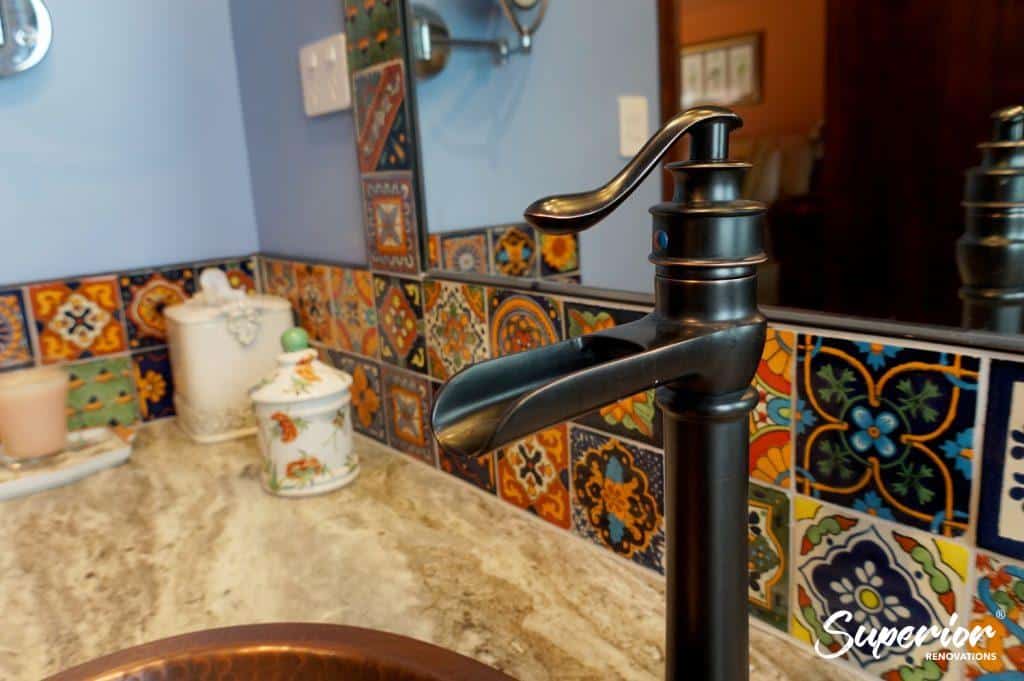
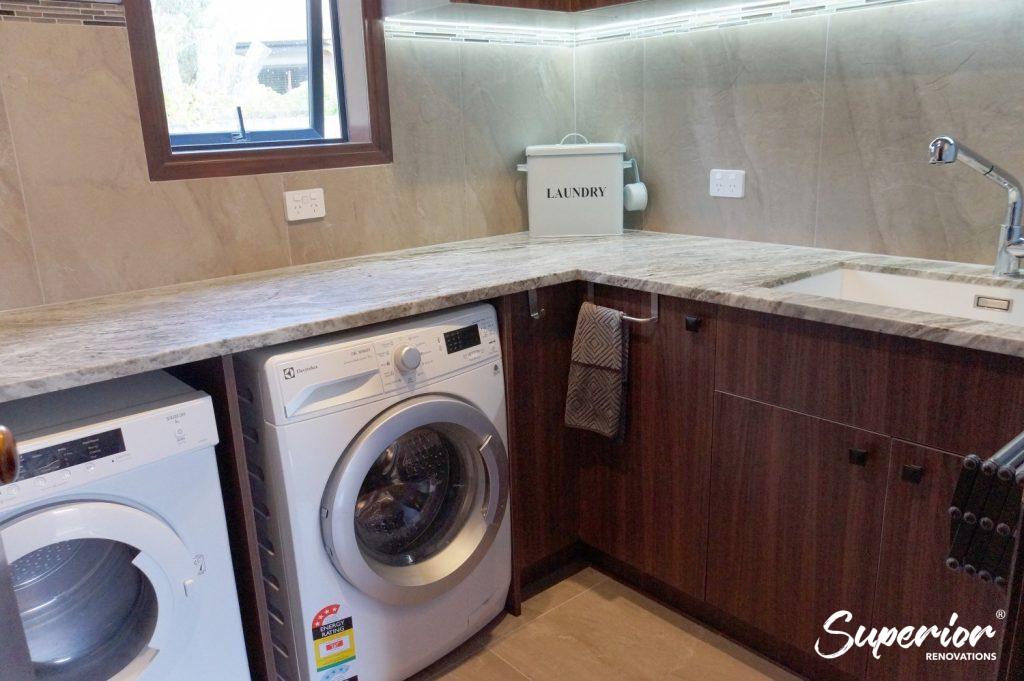
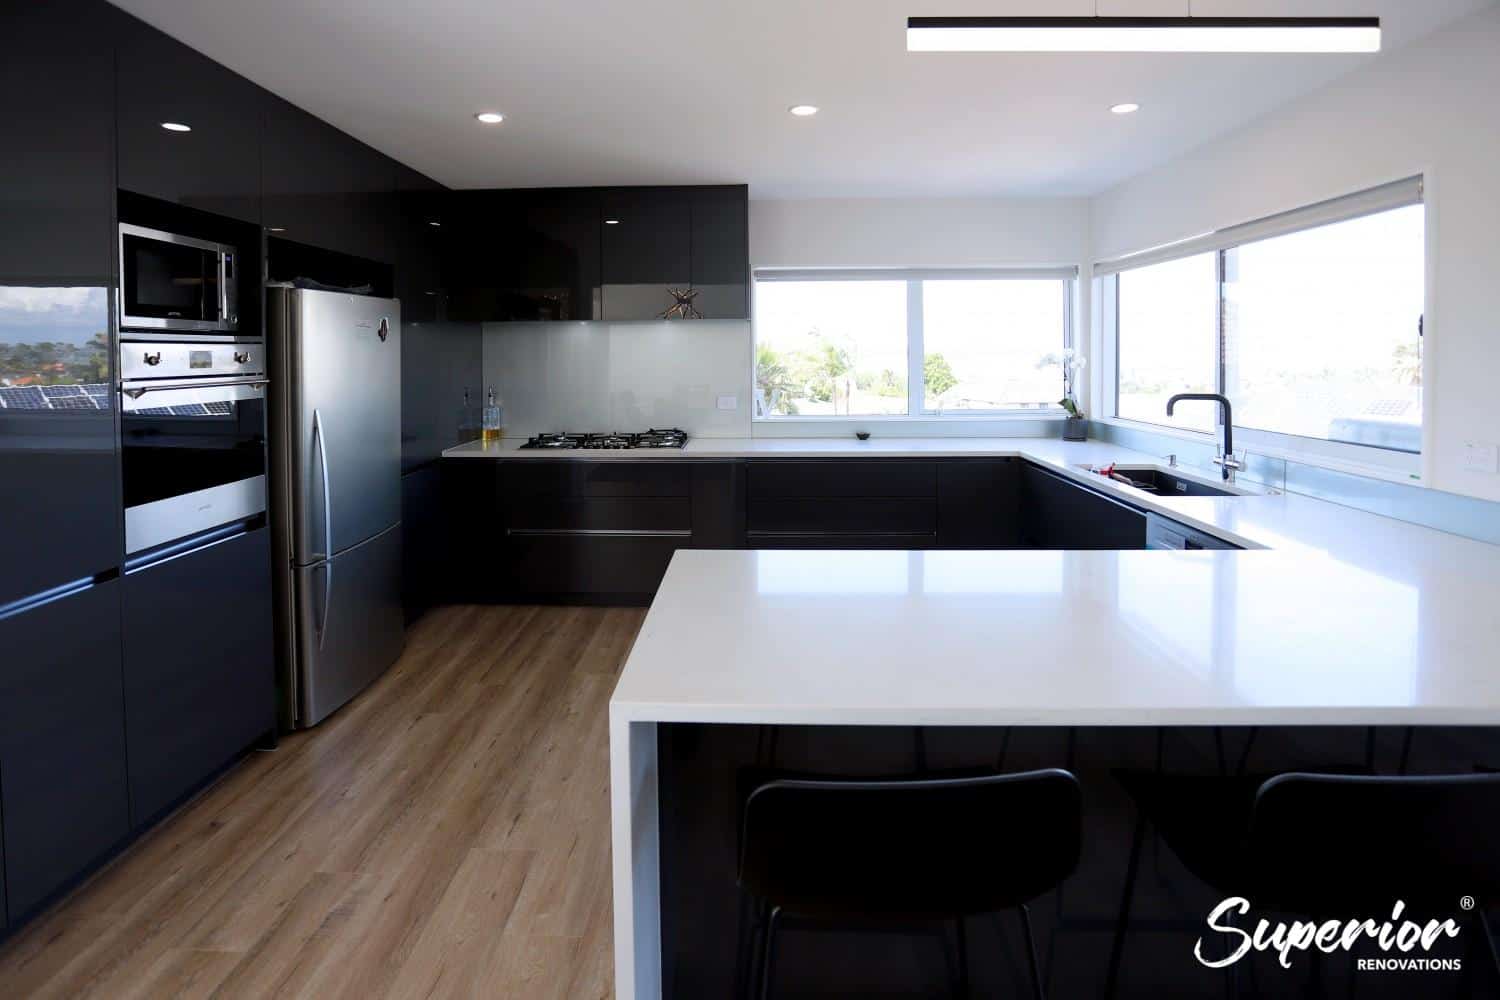
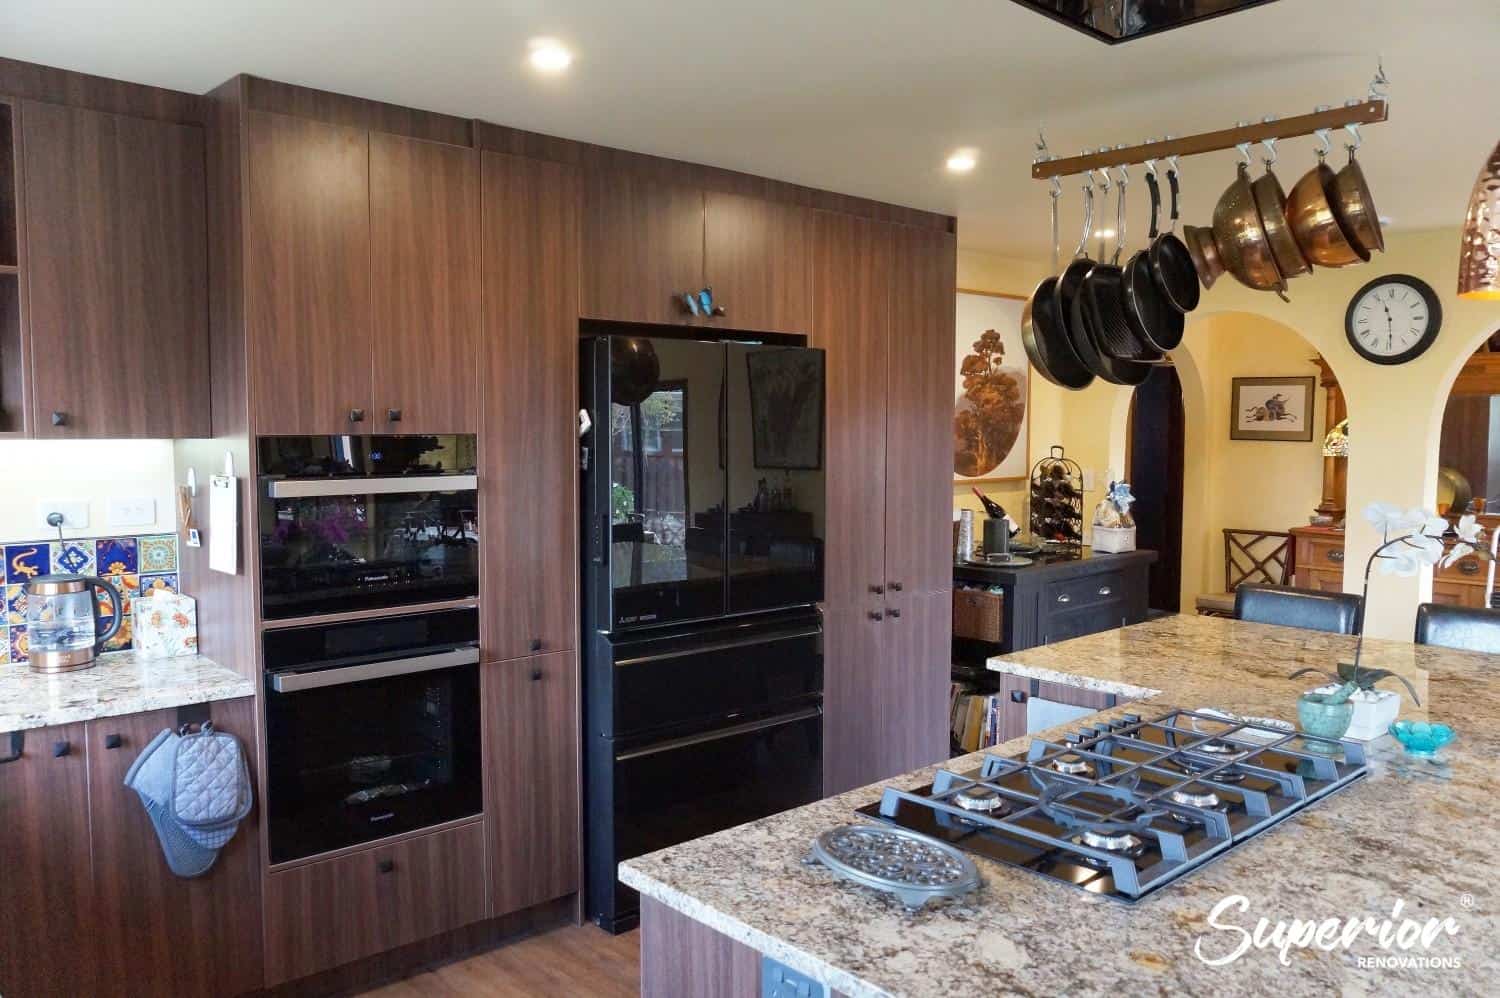
- Featured projects and Client stories to see specifications on some of the projects.
- Real client stories from Auckland
Need more information?
Take advantage of our FREE Complete Home Renovation Guide (48 pages), whether you’re already renovating or in the process of deciding to renovate, it’s not an easy process, this guide which includes a free 100+ point check list – will help you avoid costly mistakes.
Download Free Renovation Guide (PDF)
Still have questions unanswered?
Book a no-obligation consultation with the team at Superior Renovations, we’d love to meet you to discuss your renovation ideas!
Or call us on 0800 199 888
Have you been putting off getting renovations done?
We have partnered with Q Mastercard ® to provide you an 18 Month Interest-Free Payment Option, you can enjoy your new home now and stress less.
Learn More about Interest-Free Payment Options*
*Lending criteria, fees, terms and conditions apply. Mastercard is a registered trademark and the circles design is a trademark of Mastercard International Incorporated.


 12")