: Why Home Value Matters When Renovating 1")
Most Expensive Suburbs in Auckland (2026): Why Home Value Matters When Renovating
We’re Superior Renovations, Auckland’s go-to reno experts, and we’re spilling the beans on the 20 most expensive suburbs this year. We’ll also unpack why your home’s value is the secret to nailing renovations, how to steer clear of overcapitalising, and what upgrades really boost your bottom line. Curious about your own home’s value? Pop over to QV.co.nz for a quick estimate—it’s a great first step before we dive into your reno plans together.
Let’s kick off with the suburbs where prices are making waves, complete with a “Why?” for each to explain their hefty tags. Then we’ll dive deep into renovation smarts, beefed up with fresh insights from Homes.co.nz and Houzz.com. Buckle up!
The 20 Most Expensive Suburbs in Auckland (2026)
Auckland’s property market is a powerhouse, and these 20 suburbs are the priciest in 2026. Drawing from TradeMe, OneRoof House Price Report (January 2026), and Homes.co.nz’s suburb insights, we’ve ranked them with median prices and unpacked their value drivers. Homes.co.nz data highlights recent sales trends and buyer demand, giving us a real-time pulse on these hot spots.
-
Herne Bay
- Median House Price (2026): $3.2 million
- Why Herne Bay?
- Harbour Views: Stunning Waitematā Harbour vistas from clifftop homes—pure eye candy.
- Historic Charm: Edwardian villas and marine-style homes ooze timeless class.
- CBD Proximity: A stone’s throw from the city, blending tranquility with urban access.
- Posh Amenities: High-end cafes, boutiques, and Jervois Road’s buzz cater to the elite.
- Homes.co.nz Insight: Listings here often fetch over $4M, with demand for waterfront properties spiking in 2026.
- Renovation Tip: Go luxe—think gourmet kitchens with marble islands.
-
Remuera
- Median House Price (2026): $2.9 million
- Why Remuera?
- Grand Homes: Sprawling estates and villas on big lots scream prestige.
- Top Schools: Double Grammar zone (Auckland Grammar, Epsom Girls) pulls families.
- Leafy Streets: Tree-lined avenues like Victoria Avenue add serene charm.
- Central Edge: Near Newmarket’s shopping and the CBD’s hustle.
- Homes.co.nz Insight: Recent sales show buyers snapping up renovated classics fast.
- Renovation Tip: Timeless kitchens with heritage nods — Superior Renovations suggests shaker-style cabinets.
Double Grammar (Epsom/Remuera) and Macleans College (Mellons Bay/Glendowie) zones add 10-18% to comparable sales (Homes.co.nz 2025 data). Reno focus: extra bedrooms/studies (family buyers pay up for homework zones), durable family bathrooms (non-slip, easy-clean), and quiet outdoor areas—yields 12-20% uplift vs non-zone comparables.
“Parents in these zones scrutinise flow and functionality—adding a dedicated study or second bathroom often turns a good offer into a bidding war.” — Cici Zuo, Sales Manager & Designer, Superior Renovations.
-
St Mary’s Bay
- Median House Price (2026): $2.7 million
- Why St Mary’s Bay?
- Waterfront Calm: Harbour views in a quieter pocket than Herne Bay.
- Victorian Gems: Historic homes with ornate details steal the show.
- Ponsonby Buzz: Steps from nightlife and dining.
- Scarce Stock: Limited properties keep prices soaring.
- Homes.co.nz Insight: High buyer interest in restored villas, with quick sales in 2026.
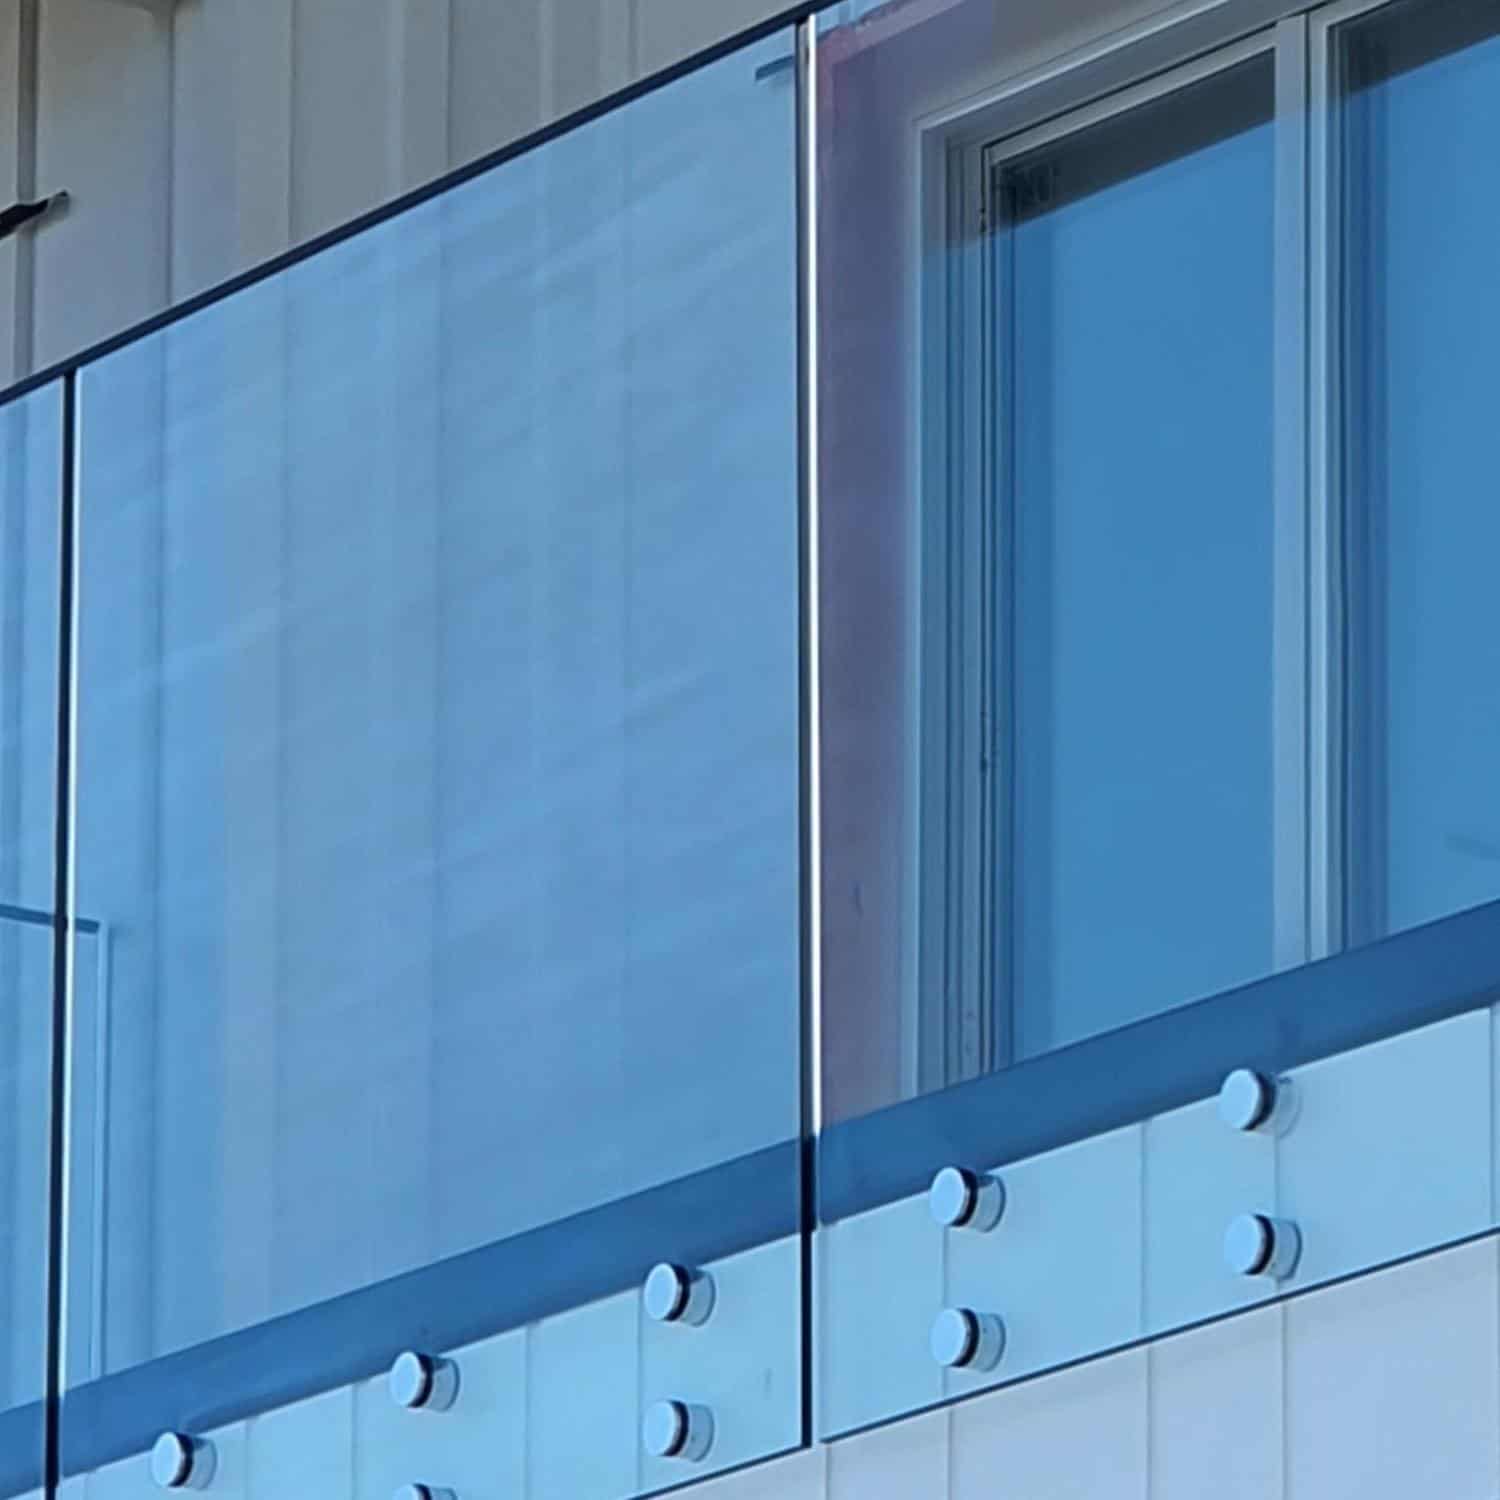
- Renovation Tip: Preserve heritage— we suggest adding modern flair like glass balustrades.
-
Parnell
- Median House Price (2026): $2.5 million
- Why Parnell?
- Arty Streets: Galleries and cottages with cultural flair.
- Cafe Vibes: Parnell Road’s trendy spots draw a chic crowd.
- City Close: Minutes from the CBD’s pulse.
- Scenic Touch: Rose gardens and parks add romance.
- Homes.co.nz Insight: Demand for character homes with modern updates is red-hot.
- Renovation Tip: Chic courtyards with outdoor fireplaces— It’s been a hit with our clients at Superior Renovations.
-
Orakei
- Median House Price (2026): $2.4 million
- Why Orakei?
- Bayside Bliss: Waterfront homes with Rangitoto views.
- Mixed Styles: Modern builds meet classic charm.
- Quiet Luxe: Peaceful yet near the city.
- High Demand: Coastal scarcity fuels prices.
- Homes.co.nz Insight: Waterfront sales top $3M, with buyers chasing views.
- Renovation Tip: Big windows or terraces—Our clients love floor-to-ceiling glass.
-
Westmere
- Median House Price (2026): $2.3 million
- Why Westmere?
- Coastal Cool: Near the sea with a laid-back luxe vibe.
- Community Feel: Trendy yet tight-knit streets.
- Ponsonby Link: Close to the action without the noise.
- Rising Star: Values climb as demand grows.
- Homes.co.nz Insight: Bungalows with renos sell fast, especially near Coxs Bay.
- Renovation Tip: Open-plan living with bi-fold doors—our teams fave.
-
Epsom
- Median House Price (2026): $2.2 million
- Why Epsom?
- School Gold: Double Grammar zone for top-tier education.
- Big Lots: Spacious sections for grand homes.
- Central Spot: Easy access to Newmarket and the CBD.
- Elite Status: A prestige pick for decades.
- Homes.co.nz Insight: Family homes with extra bedrooms see fierce bidding.
- Renovation Tip: Add a study or bedroom—we suggests built-in desks (custom made to fit)
-
Mission Bay
- Median House Price (2026): $2.1 million
- Why Mission Bay?
- Beach Life: Sandy shores and a holiday feel.
- Cafe Strip: Tamaki Drive’s eateries buzz year-round.
- City Near: 10 minutes from downtown.
- Lifestyle Pull: Coastal living drives demand.
- Homes.co.nz Insight: Beachfront properties hit $2.5M+ in 2026 sales.
- Renovation Tip: Decks with outdoor kitchens—we loves this combo.
Maximising Waterfront Premiums Without Over-Spending
Views add 15-35% (Homes.co.nz waterfront spikes); tactics include strategic glazing (floor-to-ceiling without losing privacy), elevated decks (Rangitoto framing in Orakei), and minimal-obstruction landscaping. Avoid blocking sightlines—e.g., low planters over high fences. Recent 2025 sales show optimised-view homes moving 25% faster.
“A well-positioned terrace in Mission Bay can add six figures in perceived value—focus on clean sightlines and weatherproof outdoor living to capture that premium.” — Steven Ngov, General Manager, Superior Renovations.
-
Ponsonby
- Median House Price (2026): $2.0 million
- Why Ponsonby?
- Hipster Hub: Trendy bars and boutique shops.
- Villa Charm: Renovated character homes galore.
- Urban Pulse: City-close with a creative edge.
- Young Crowd: Professionals flock here.
- Homes.co.nz Insight: Stylish renos fetch premiums, especially on Richmond Road.
- Renovation Tip: Bold interiors with statement lighting—trending with Superior Renovations clients.
-
Grey Lynn
- Median House Price (2026): $1.9 million
- Why Grey Lynn?
- Arty Edge: Bohemian flair in eclectic streets.
- Heritage Homes: Bungalows with soul.
- Community Vibe: Lively yet grounded feel.
- Ponsonby Spill: Buzz flows over.
- Homes.co.nz Insight: Restored villas sell in days, per 2026 data.
- Renovation Tip: Polished floors with colorful rugs—our teams pick.
What Buyers Really Pay Premiums For in Auckland’s Top Tiers (2026 Lens)
- $2.5M+ Tier (Herne Bay, Remuera, St Mary’s Bay, Parnell, Orakei): Lifestyle prestige dominates—buyers chase unobstructed harbour/Rangitoto views (often 20-30% premium per Homes.co.nz waterfront data) and walkability to elite amenities (Jervois Rd cafes, Parnell galleries). They accept smaller lots for location cachet.
- $1.8M–$2.4M Tier (Westmere, Epsom, Mission Bay, Ponsonby, Grey Lynn): Family + lifestyle balance rules—top schools (Double Grammar pull in Epsom/Remuera) or beach proximity (Mission Bay) drive bids; renovated character homes sell fastest.
- $1.4M–$1.7M Tier (Takapuna, Devonport, Mellons Bay, Point Chevalier): Emerging coastal/commuter appeal—buyers seek value-relative prestige (e.g., Devonport ferry convenience, Mellons Bay school zones) with room for personalisation.
“In the ultra-premium tier, buyers aren’t just buying bricks—they’re buying status and views. Renovations that amplify those elements (like frameless glass to maximise sightlines in Herne Bay) deliver the strongest returns.” — Kevin Yang, Managing Director, Superior Renovations.
-
Takapuna
- Median House Price (2026): $1.85 million
- Why Takapuna?
- Beach Access: North Shore sands and vibe.
- Retail Hub: Shops and dining on Hurstmere Road.
- Bridge Link: Quick CBD commute.
- Luxe Homes: Modern builds draw buyers.
- Homes.co.nz Insight: Lakefront homes see steady $2M+ sales.
- Renovation Tip: Coastal vibes with whitewashed walls.
-
Stanley Point
- Median House Price (2026): $1.8 million
- Why Stanley Point?
- Harbour Views: Elevated Waitematā sights.
- Village Feel: Quiet, exclusive charm.
- Devonport Tie: Near ferry and buzz.
- Rare Finds: Low supply, high value.
- Homes.co.nz Insight: Character homes hold strong demand.
- Renovation Tip: Heritage upgrades with skylights – bring more natural light into the room!
-
Devonport
- Median House Price (2026): $1.75 million
- Why Devonport?
- Seaside Charm: Ferry rides and Victorian villas.
- Village Life: Cafes and a slow pace.
- Harbour Hop: Quick CBD access.
- Holiday Appeal: Second-home buyers love it.
- Homes.co.nz Insight: Waterfront sales spike in summer 2026.
- Renovation Tip: Decks with pergolas—an increase in demand from 2024.
-
Mellons Bay
- Median House Price (2026): $1.7 million
- Why Mellons Bay?
- Coastal Quiet: Eastern bays serenity.
- School Pull: Macleans College boosts appeal.
- Limited Stock: Scarce land ups prices.
- Upscale Living: High-end homes dominate.
- Homes.co.nz Insight: Family homes near schools sell quick.
- Renovation Tip: Luxe bathrooms with freestanding tubs, makes the whole bathroom look and feel like a hotel bathroom.
-
Murrays Bay
- Median House Price (2026): $1.65 million
- Why Murrays Bay?
- Beach Close: North Shore coastal access.
- School Zone: Rangitoto College adds value.
- Family Fit: Spacious homes for kids.
- Seaside Demand: Coastal craze continues.
- Homes.co.nz Insight: Renovated homes fetch $1.8M+.
- Renovation Tip: Extra living with media rooms.
-
Whitford
- Median House Price (2026): $1.6 million
- Why Whitford?
- Rural Luxe: Big estates with a country vibe.
- City Reach: Near Auckland’s edge.
- Horse Haven: Equestrian properties shine.
- Low Density: Exclusive feel ups value.
- Homes.co.nz Insight: Lifestyle blocks top $2M in 2026.
- Renovation Tip: Pools with cabanas— Superior Renovations luxury pick.
-
Waiheke Island (select areas)
- Median House Price (2026): $1.55 million
- Why Waiheke Island?
- Island Life: Beaches and vineyards galore.
- Luxe Baches: Holiday homes fetch big bucks.
- Ferry Link: Accessible escape.
- View Appeal: Scenery drives demand.
- Homes.co.nz Insight: Oneroa sales hit $2M+ regularly.
- Renovation Tip: Decks with sea views. Head over to our case studies and check out one we did for a client – https://superiorrenovations.co.nz/project/luxury-indoor-and-outdoor-renovation-in-mellons-bay/
-
Glendowie
- Median House Price (2026): $1.5 million
- Why Glendowie?
- Eastern Bays: Coastal family charm.
- School Boost: Glendowie College adds clout.
- Solid Builds: Homes hold value.
- Peaceful Spot: Quiet yet central.
- Homes.co.nz Insight: Family homes near parks sell fast.
- Renovation Tip: Modern kitchens with islands.
-
Kohimarama
- Median House Price (2026): $1.45 million
- Why Kohimarama?
- Beach Living: Sandy shores, chill vibe.
- Cafe Scene: Tamaki Drive eateries buzz.
- Family Safe: Scenic and secure.
- Coastal Craze: Lifestyle ups prices.
- Homes.co.nz Insight: Beachside homes top $1.7M.
- Renovation Tip: Outdoor entertaining with BBQs.
-
Point Chevalier
- Median House Price (2026): $1.4 million
- Why Point Chevalier?
- Coastal Rise: Beaches and parks lift appeal.
- Hip Cafes: Growing cool factor.
- Bungalow Soul: Character homes with potential.
- City Fringe: Chill yet connected.
- Homes.co.nz Insight: Reno’d bungalows hit $1.6M+.
- Renovation Tip: Open-plan with vintage charm.
These suburbs justify their price tags—and shape your reno strategy. Let’s explore why value’s a big deal.
Warning!
Where Overcapitalisation Hurts Most in Auckland’s Priciest Suburbs
- $3M+ (Herne Bay/St Mary’s Bay): Cap reno spend at 8-12% of value—luxury overkill (e.g., $150k imported marble kitchen) rarely recoups if it exceeds local comparables.
- $2M–$2.9M (Remuera/Parnell/Epsom): Stay under 15%—school-zone families want practical extras (study nooks, extra bathrooms) over ultra-high-end finishes.
- $1.5M–$2M (Mission Bay/Takapuna/Devonport): 12-18% ceiling—coastal buyers reward outdoor flow (decks, bi-folds) but punish mismatched opulence in smaller footprints. Data from Opes Partners/REINZ shows mismatched renos can add 6-12 months to days-on-market in these brackets.
“We’ve seen beautiful $200k kitchens sit unsold in $1.8M suburbs because they screamed ‘over-improved’—always benchmark against recent sales in the same street.” — Dorothy Li, Design Manager, Superior Renovations.
Heritage Lovers vs Modern Seekers: Renovation Strategy Split
- Heritage Buyers (St Mary’s Bay, Devonport, Grey Lynn, Westmere): Prioritise preserved Edwardian/Victorian details (ornate ceilings, polished floors)—renos that honour original features while adding discreet modern touches (e.g., hidden underfloor heating) command 8-12% premiums.
- Modern Buyers (Ponsonby, Parnell, Takapuna): Seek clean lines and open plans—bold updates (matte black hardware, statement islands) suit younger professionals; over-restoration can deter. Houzz.com NZ trends show 62% of 2025 premium buyers want a blend, but the split widens in heritage pockets.
“In St Mary’s Bay, one wrong modern addition can kill a sale—our heritage-sensitive renos preserve charm while quietly upgrading livability for today’s families.” — Alison Yu, Designer, Superior Renovations.
Why Your Home’s Value Matters in Renovations
Your home’s value isn’t just bragging rights—it’s your renovation compass. Imagine a $2M Westmere bungalow: overspend, and you’re out when you sell; underspend, and you miss value. At Superior Renovations, we’ve seen Aucklanders nail this balance—and others flub it.
Why it matters:
- Suburb Fit: Herne Bay craves luxury; Point Chev wants practical charm (Homes.co.nz shows buyer preferences vary wildly).
- Resale Boost: Auckland’s median grew 5.44% yearly over 20 years (Opes Partners). Renos should match or beat that.
- Spend Smarts: Overcapitalise, and you’re toast; skimp, and you’re leaving cash on the table.
Check your value at QV.co.nz
Avoid Overcapitalising on Your Home Renovations
Overcapitalising is the renovation boogeyman—spending more than you’ll recoup. Picture a $300K kitchen in a $1.5M Glendowie home when the ceiling’s $1.7M. Stunning, but you’re $130K short. We’ve seen it at Superior Renovations, and it’s a bummer.
How to sidestep it
- Know the Ceiling: OneRoof pegs Herne Bay at $3.2M, Kohi at $1.45M—Homes.co.nz confirms recent sales align.
- Match Buyers: Luxe in Remuera, functional in Glendowie—buyer trends on Homes.co.nz guide this.
- Budget Cap: 10-20% of value —don’t overshoot your suburb’s limit.
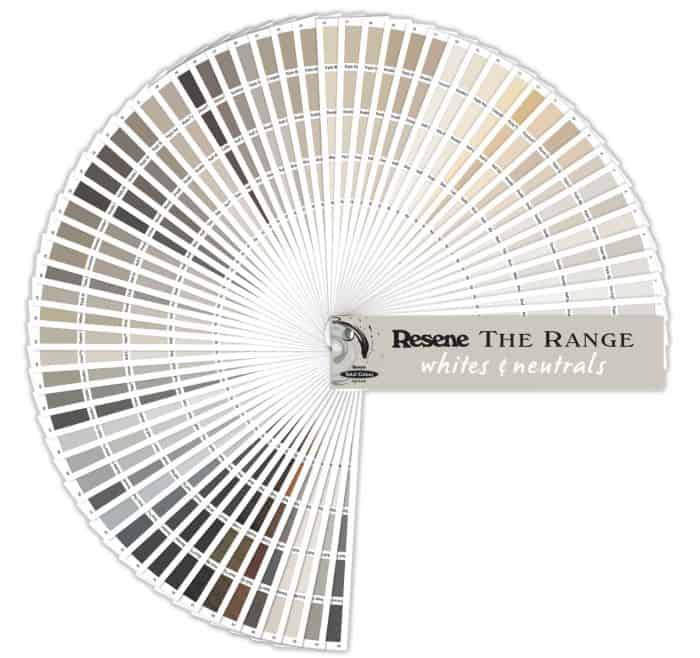
- Sell Smart: Neutrals over quirky (Resene); Houzz.com says classic sells faster.
- Ask Pros: Uses market data to keep you safe.
Dodge the trap, and you’re golden. What does add value?
Top Renovations That Add the Most Value to Your New Zealand Home in 2026
Thinking about sprucing up your place? Whether you’re in Auckland’s bustling suburbs, Wellington’s windy hills, or a quiet corner of the South Island, renovations can be a game-changer—both for your lifestyle and your wallet. But here’s the catch: not all renos are created equal. Some turn your home into a goldmine, while others just leave you with a fancier bill. So, what’s worth your hard-earned cash in 2026?
We’re Superior Renovations, Auckland’s reno experts, and we’ve teamed up with insights from Pepper Money, Homes.co.nz, CoreLogic NZ, REINZ, and Houzz.com to bring you the top five renovations that add the most value to your New Zealand home. From kitchens that sell houses to eco-upgrades that save the planet (and your power bill), we’ve got the scoop—plus tips to make them work in your neck of the woods.
Why Renovations Matter in NZ’s 2026 Market
Before we jump into the good stuff, let’s set the scene. New Zealand’s property market in 2026 is a mixed bag—prices are creeping up (think 5% nationally, per CoreLogic NZ), but sales are still sluggish, down 16% from the 30-year average (Opes Partners). Auckland’s median sits at $949,000 (REINZ, Jan 2026), while hotspots like Tauranga and Queenstown are pushing higher. With buyers pickier than ever and interest rates easing (Homes.co.nz notes lower mortgage rates boosting provincial markets), renovations can tip the scales—making your home stand out and fetch top dollar.
But it’s not just about resale. Superior Renovations points out that Kiwis are renovating to stay put—upgrading kitchens and bathrooms to suit growing families or remote work setups. Add in sustainability trends from Houzz.com (think solar panels and insulation), and you’ve got a recipe for value that works whether you’re selling or settling in. So, what renovations deliver the biggest bang for your buck? Here’s the top five, backed by data and our Superior Renovations know-how.
-
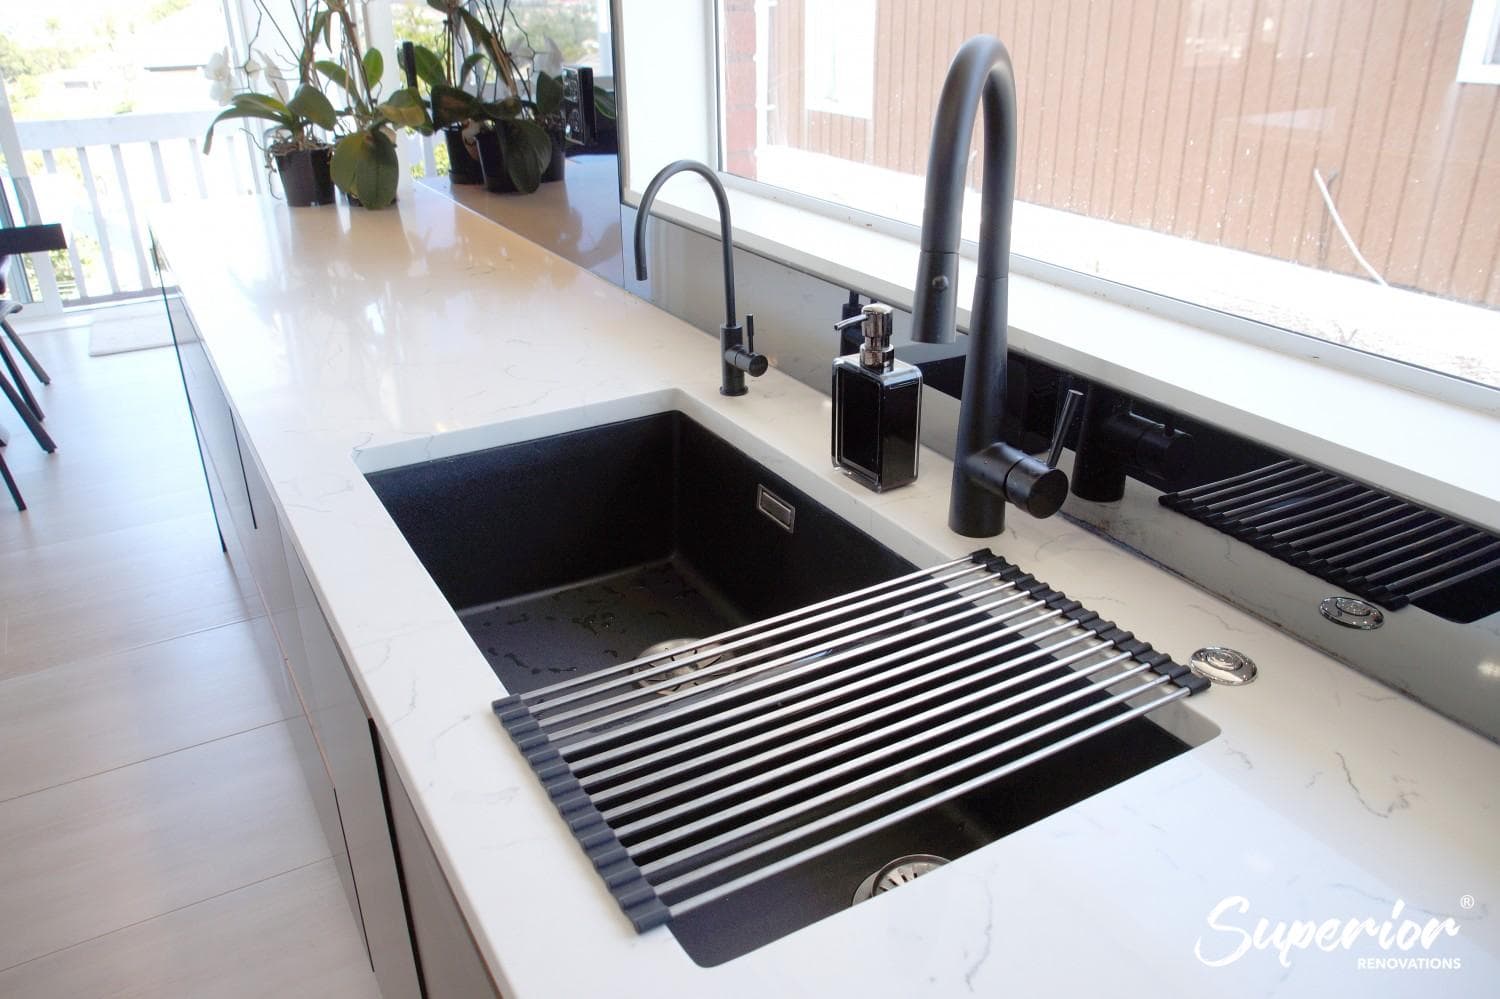
Kitchen Renovations: The Heart of the Home (and the Sale)
- Why It Adds Value: Kitchens are king in NZ—and the numbers prove it. Pepper Money says a solid kitchen reno can boost your home’s value by 5-15%, while Homes.co.nz data shows listings with modern kitchens sell faster—sometimes in days, not weeks. CoreLogic NZ adds that in 2026, buyers in Auckland and Wellington are hunting for functional, stylish kitchens to match their busy lives.
- NZ Context: With NZ’s median house price hovering around $807,000 (CoreLogic, Feb 2026), a kitchen upgrade can push you well above that—especially in high-demand suburbs like Herne Bay or Remuera. REINZ reports that renovated kitchens often tip properties into the million-dollar club, even in softer markets like Wellington City (-0.9% value drop in Dec 2024).
- Tips for Success:
- Open-Plan Magic: In Westmere or Grey Lynn, open-plan kitchens with smart storage (think pull-out pantries from Houzz.com) are gold. They create flow and space—perfect for Kiwi families or entertainers.
- Stone Benchtops: Epsom and Parnell buyers love stone tops—quartz or granite—for that luxe edge. Homes.co.nz listings with these features often snag premium offers.
- Cost vs. Return: A mid-range kitchen reno costs $20,000-$40,000 in Auckland (Archipro NZ), recouping up to 80% on resale (Superior Renovations data). Go high-end ($50K+) in Herne Bay, and you’re still in the green.
Why It Works in NZ: Kitchens aren’t just for cooking—they’re social hubs. Houzz.com’s 2022 NZ Renovation Trends Study found kitchens topped the list for interior upgrades, with 30% of homeowners prioritizing them. Add NZ’s love for indoor-outdoor living, and a kitchen that flows to a deck (hello, Mission Bay!) is a winner.
-
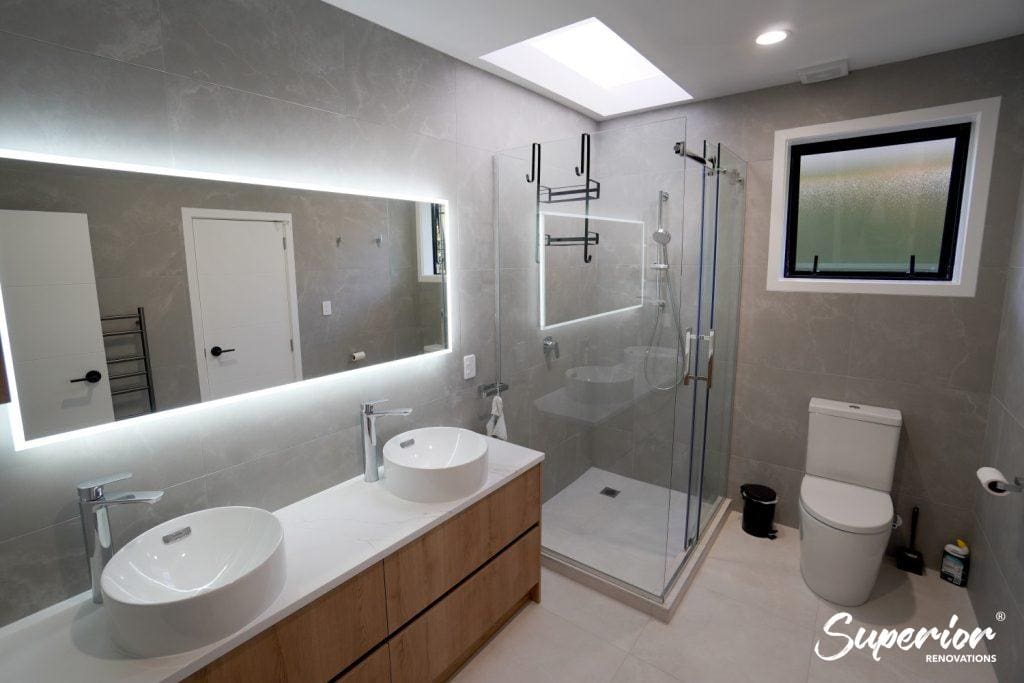
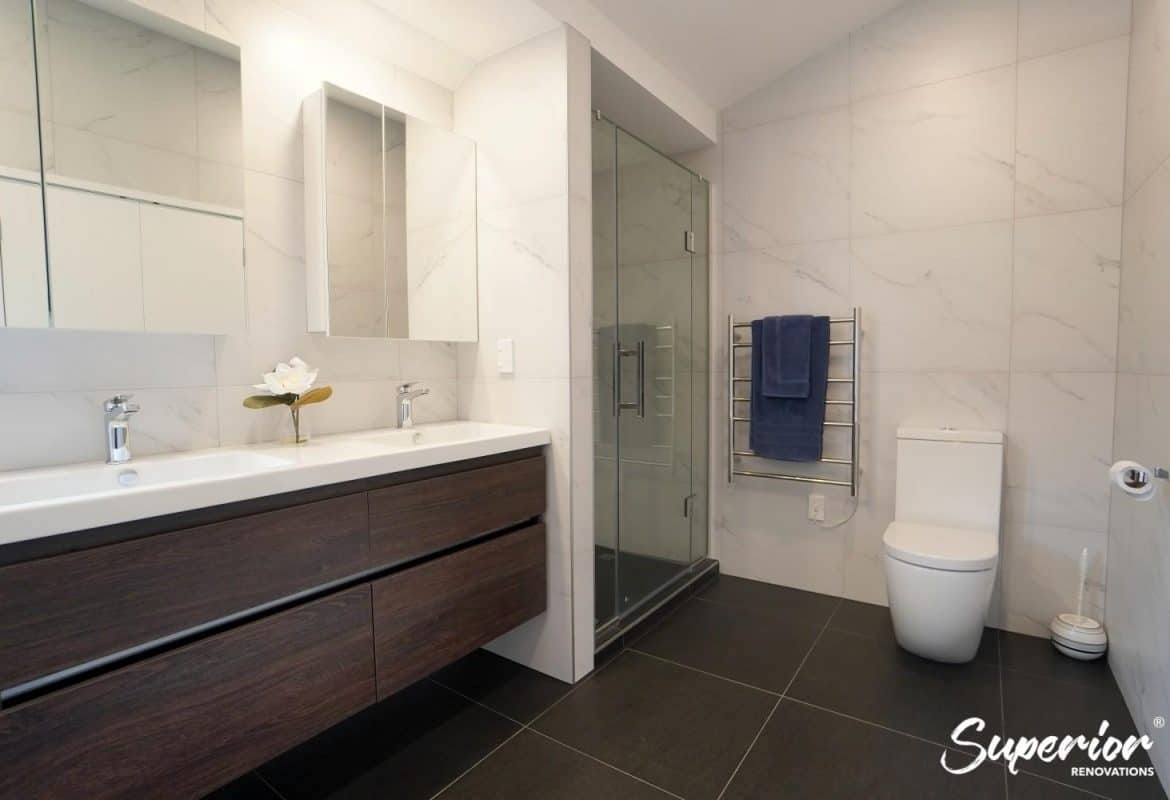
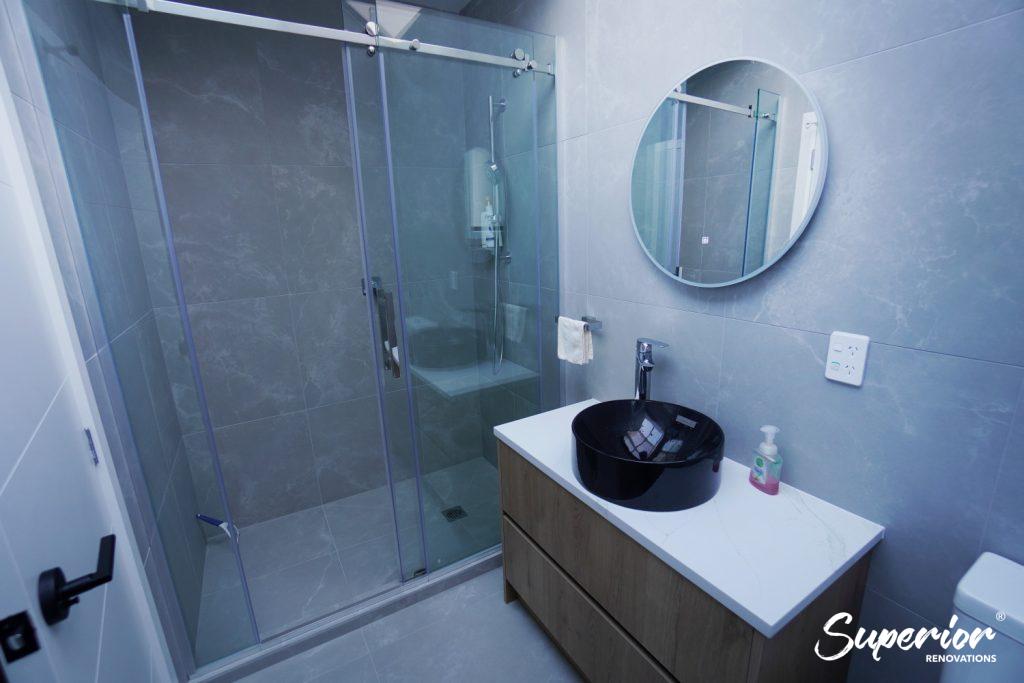
Bathroom Upgrades: Small Space, Big Impact
- Why It Adds Value: Bathrooms pack a punch—Superior Renovations pegs their value boost at 5-10%, and Homes.co.nz buyers can’t get enough of modern setups. In 2026, CoreLogic NZ notes that spa-like bathrooms are a dealmaker in provincial markets like Napier (+0.2% value rise).
- NZ Context: In a market where first-home buyers are stretching budgets (REINZ says they’re increasingly active), a sleek bathroom can clinch the sale. In Auckland’s Orakei or Parnell, luxe upgrades push values past $2M, per Homes.co.nz sales trends.
- Tips for Success:
- Double Vanities: Orakei families love double sinks—practical and posh. Houzz.com calls this a luxury must-have.
- Heated Floors: Parnell’s chilly mornings? Underfloor heating adds comfort and a 5% value bump (Superior Renovations estimate).
- Cost vs. Return: A full bathroom reno runs $20,000-$30,000 (Archipro NZ), with Superior Renovations suggesting a 70-90% ROI in top suburbs.
- NZ Twist: Houzz.com notes NZ renovators lean into freestanding tubs and rainfall showers—think Taupo holiday homes or Kohimarama beach pads. Pair that with eco-friendly fixtures (low-flow taps), and you’re ticking boxes for green buyers too.
Why It Works in NZ: Bathrooms are daily essentials, and in 2026’s competitive market, a dated one can kill a sale. Homes.co.nz listings with “new bathroom” in the description see 20% more inquiries—proof it’s a hot ticket.
-
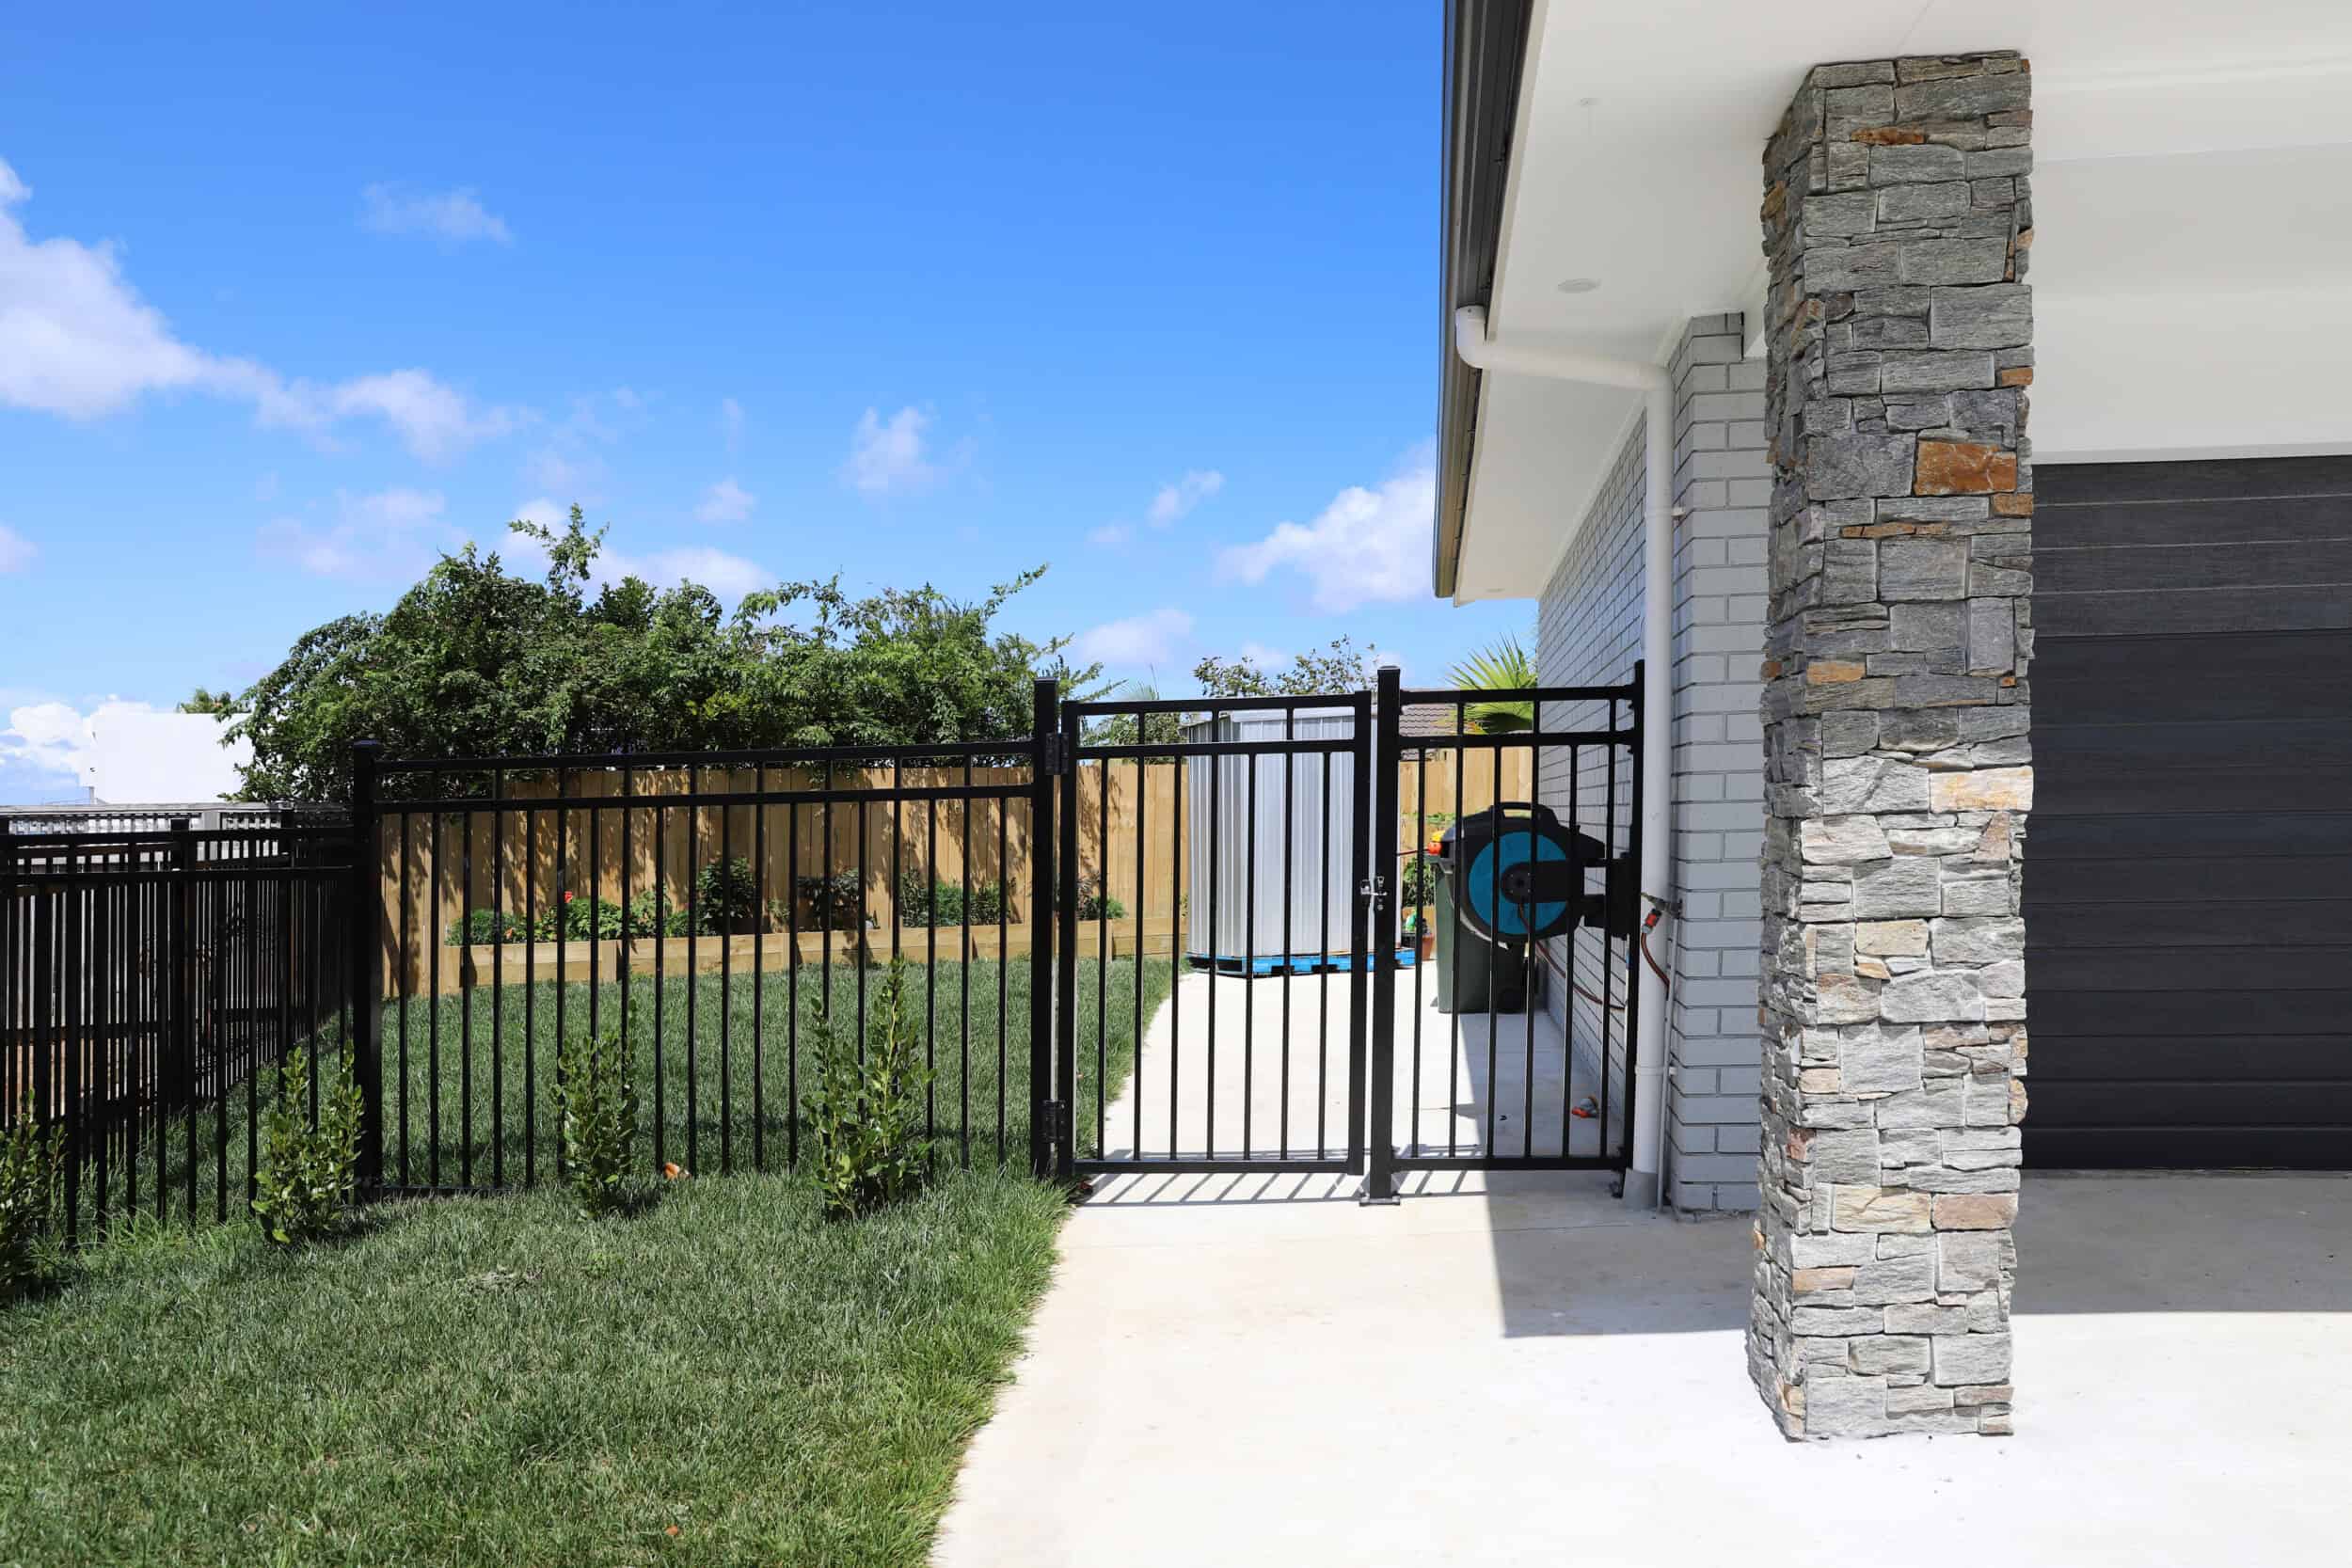
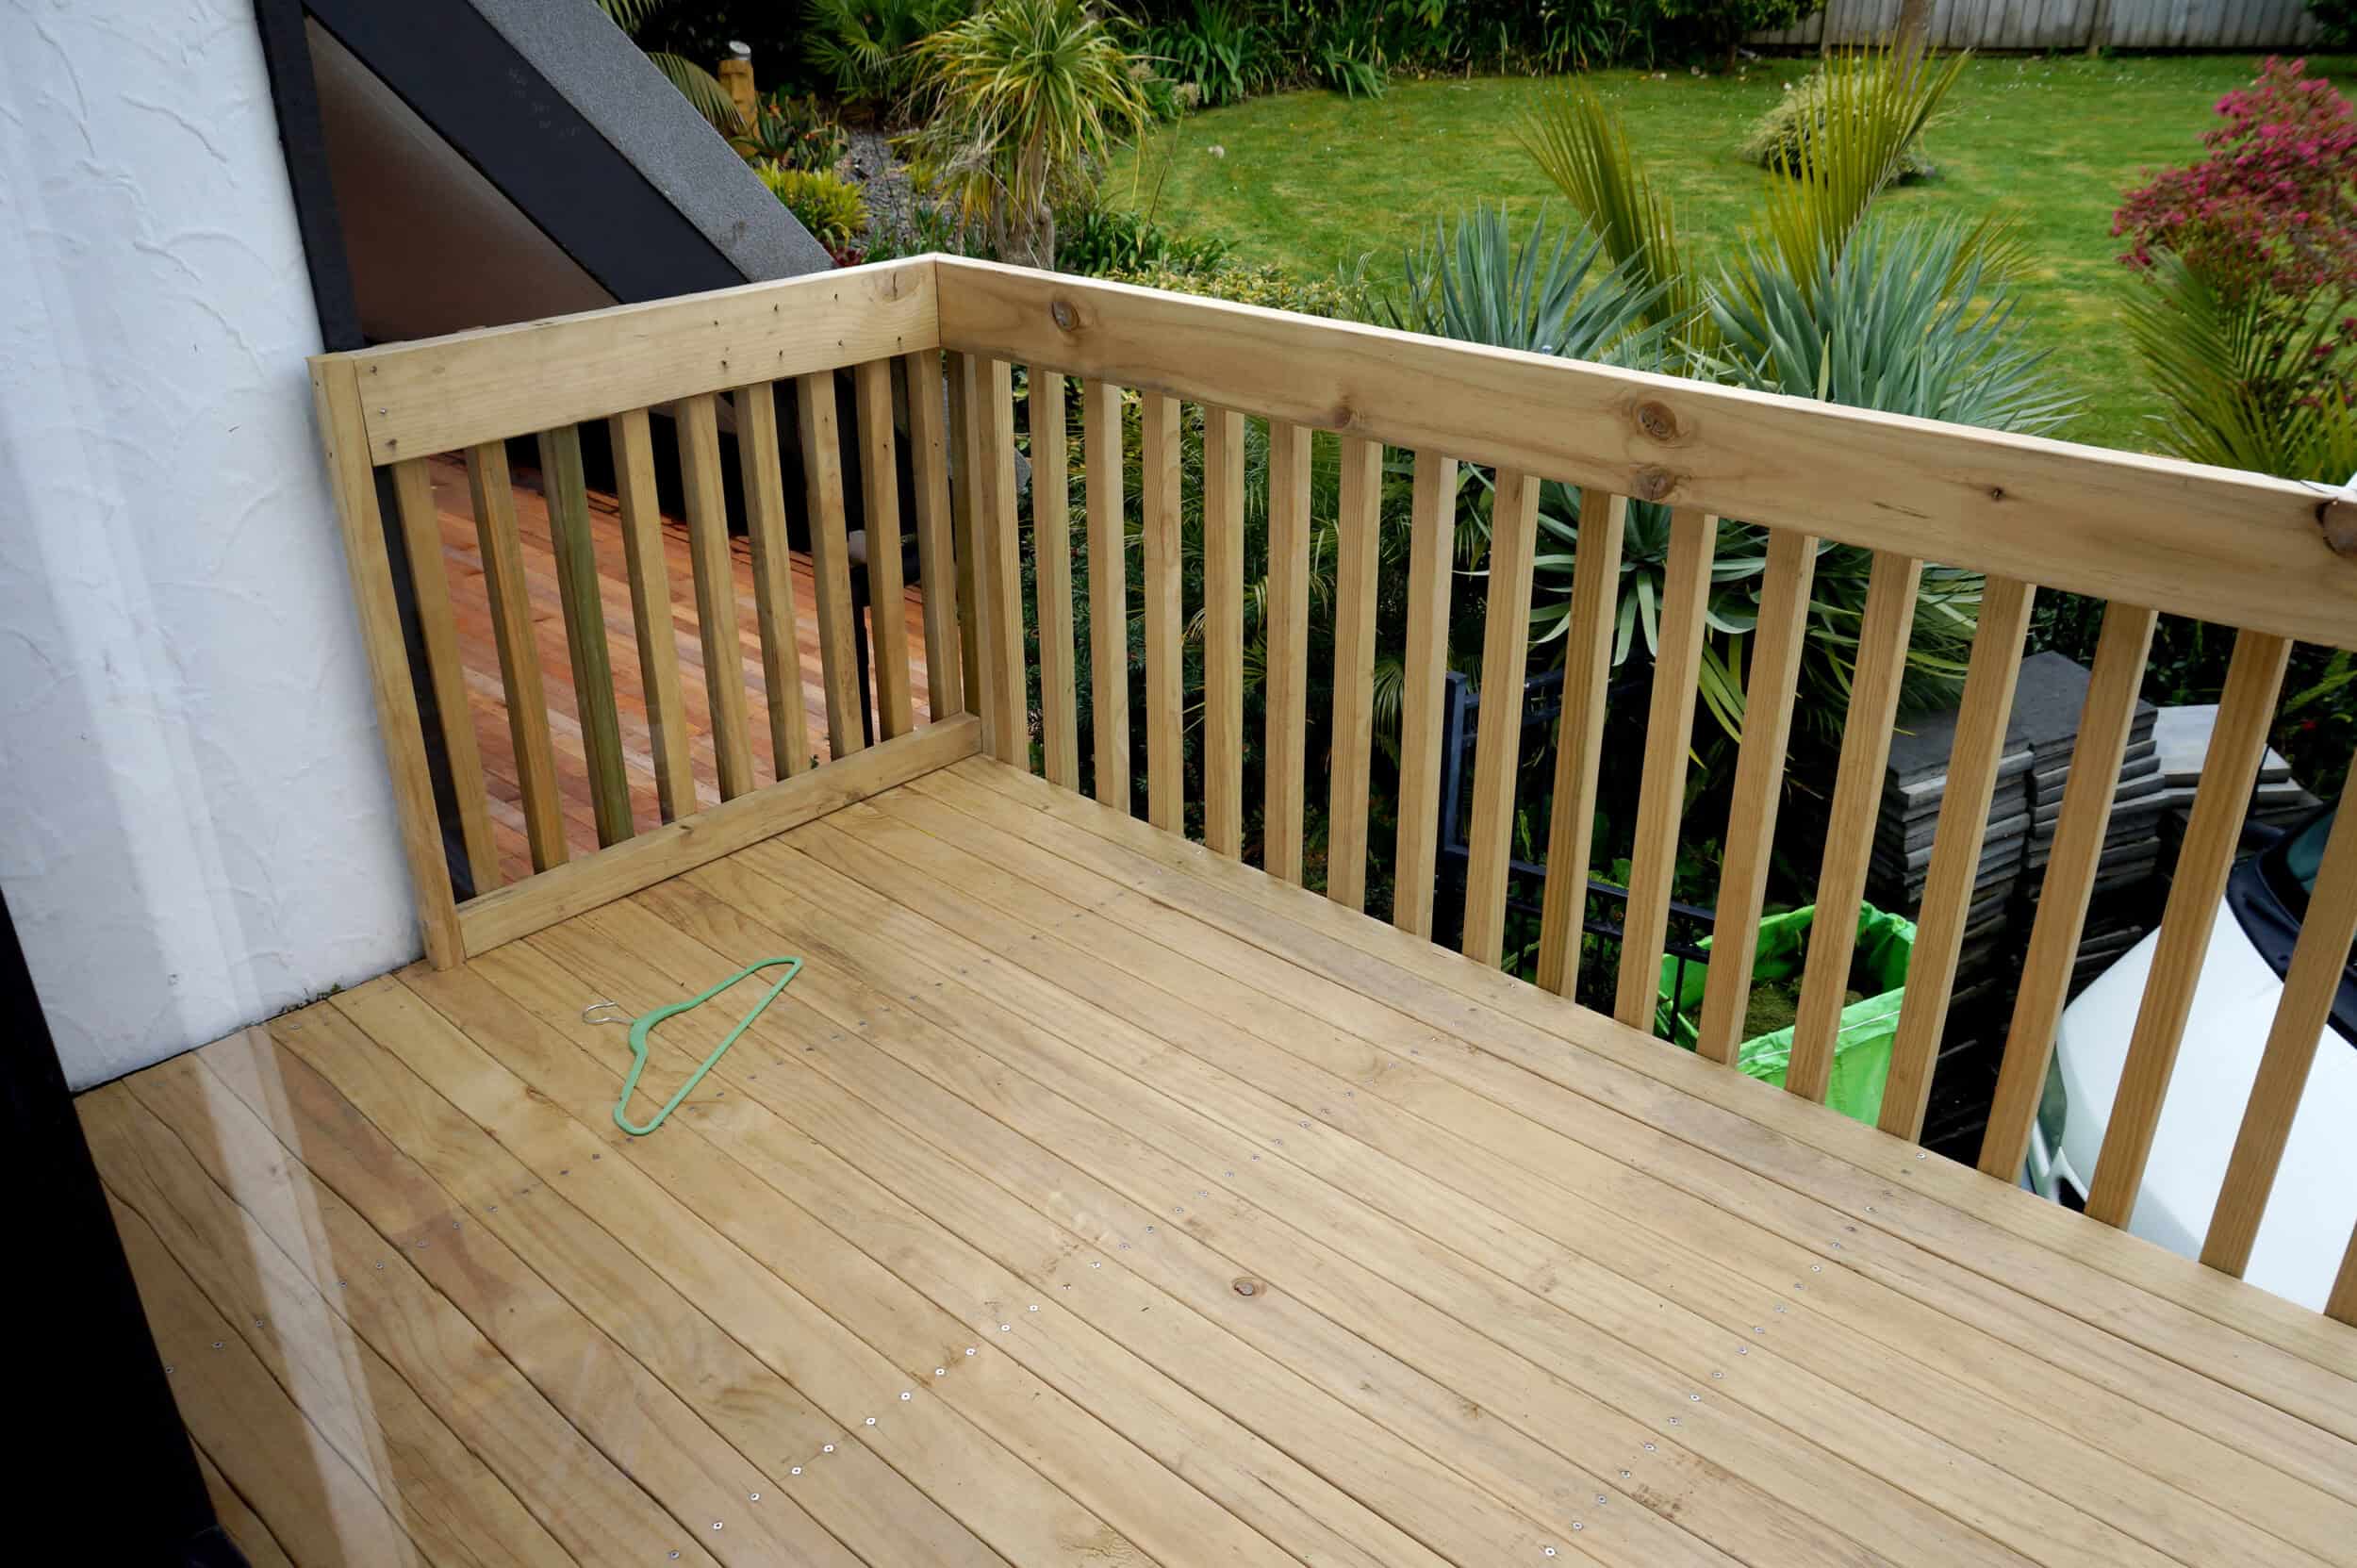
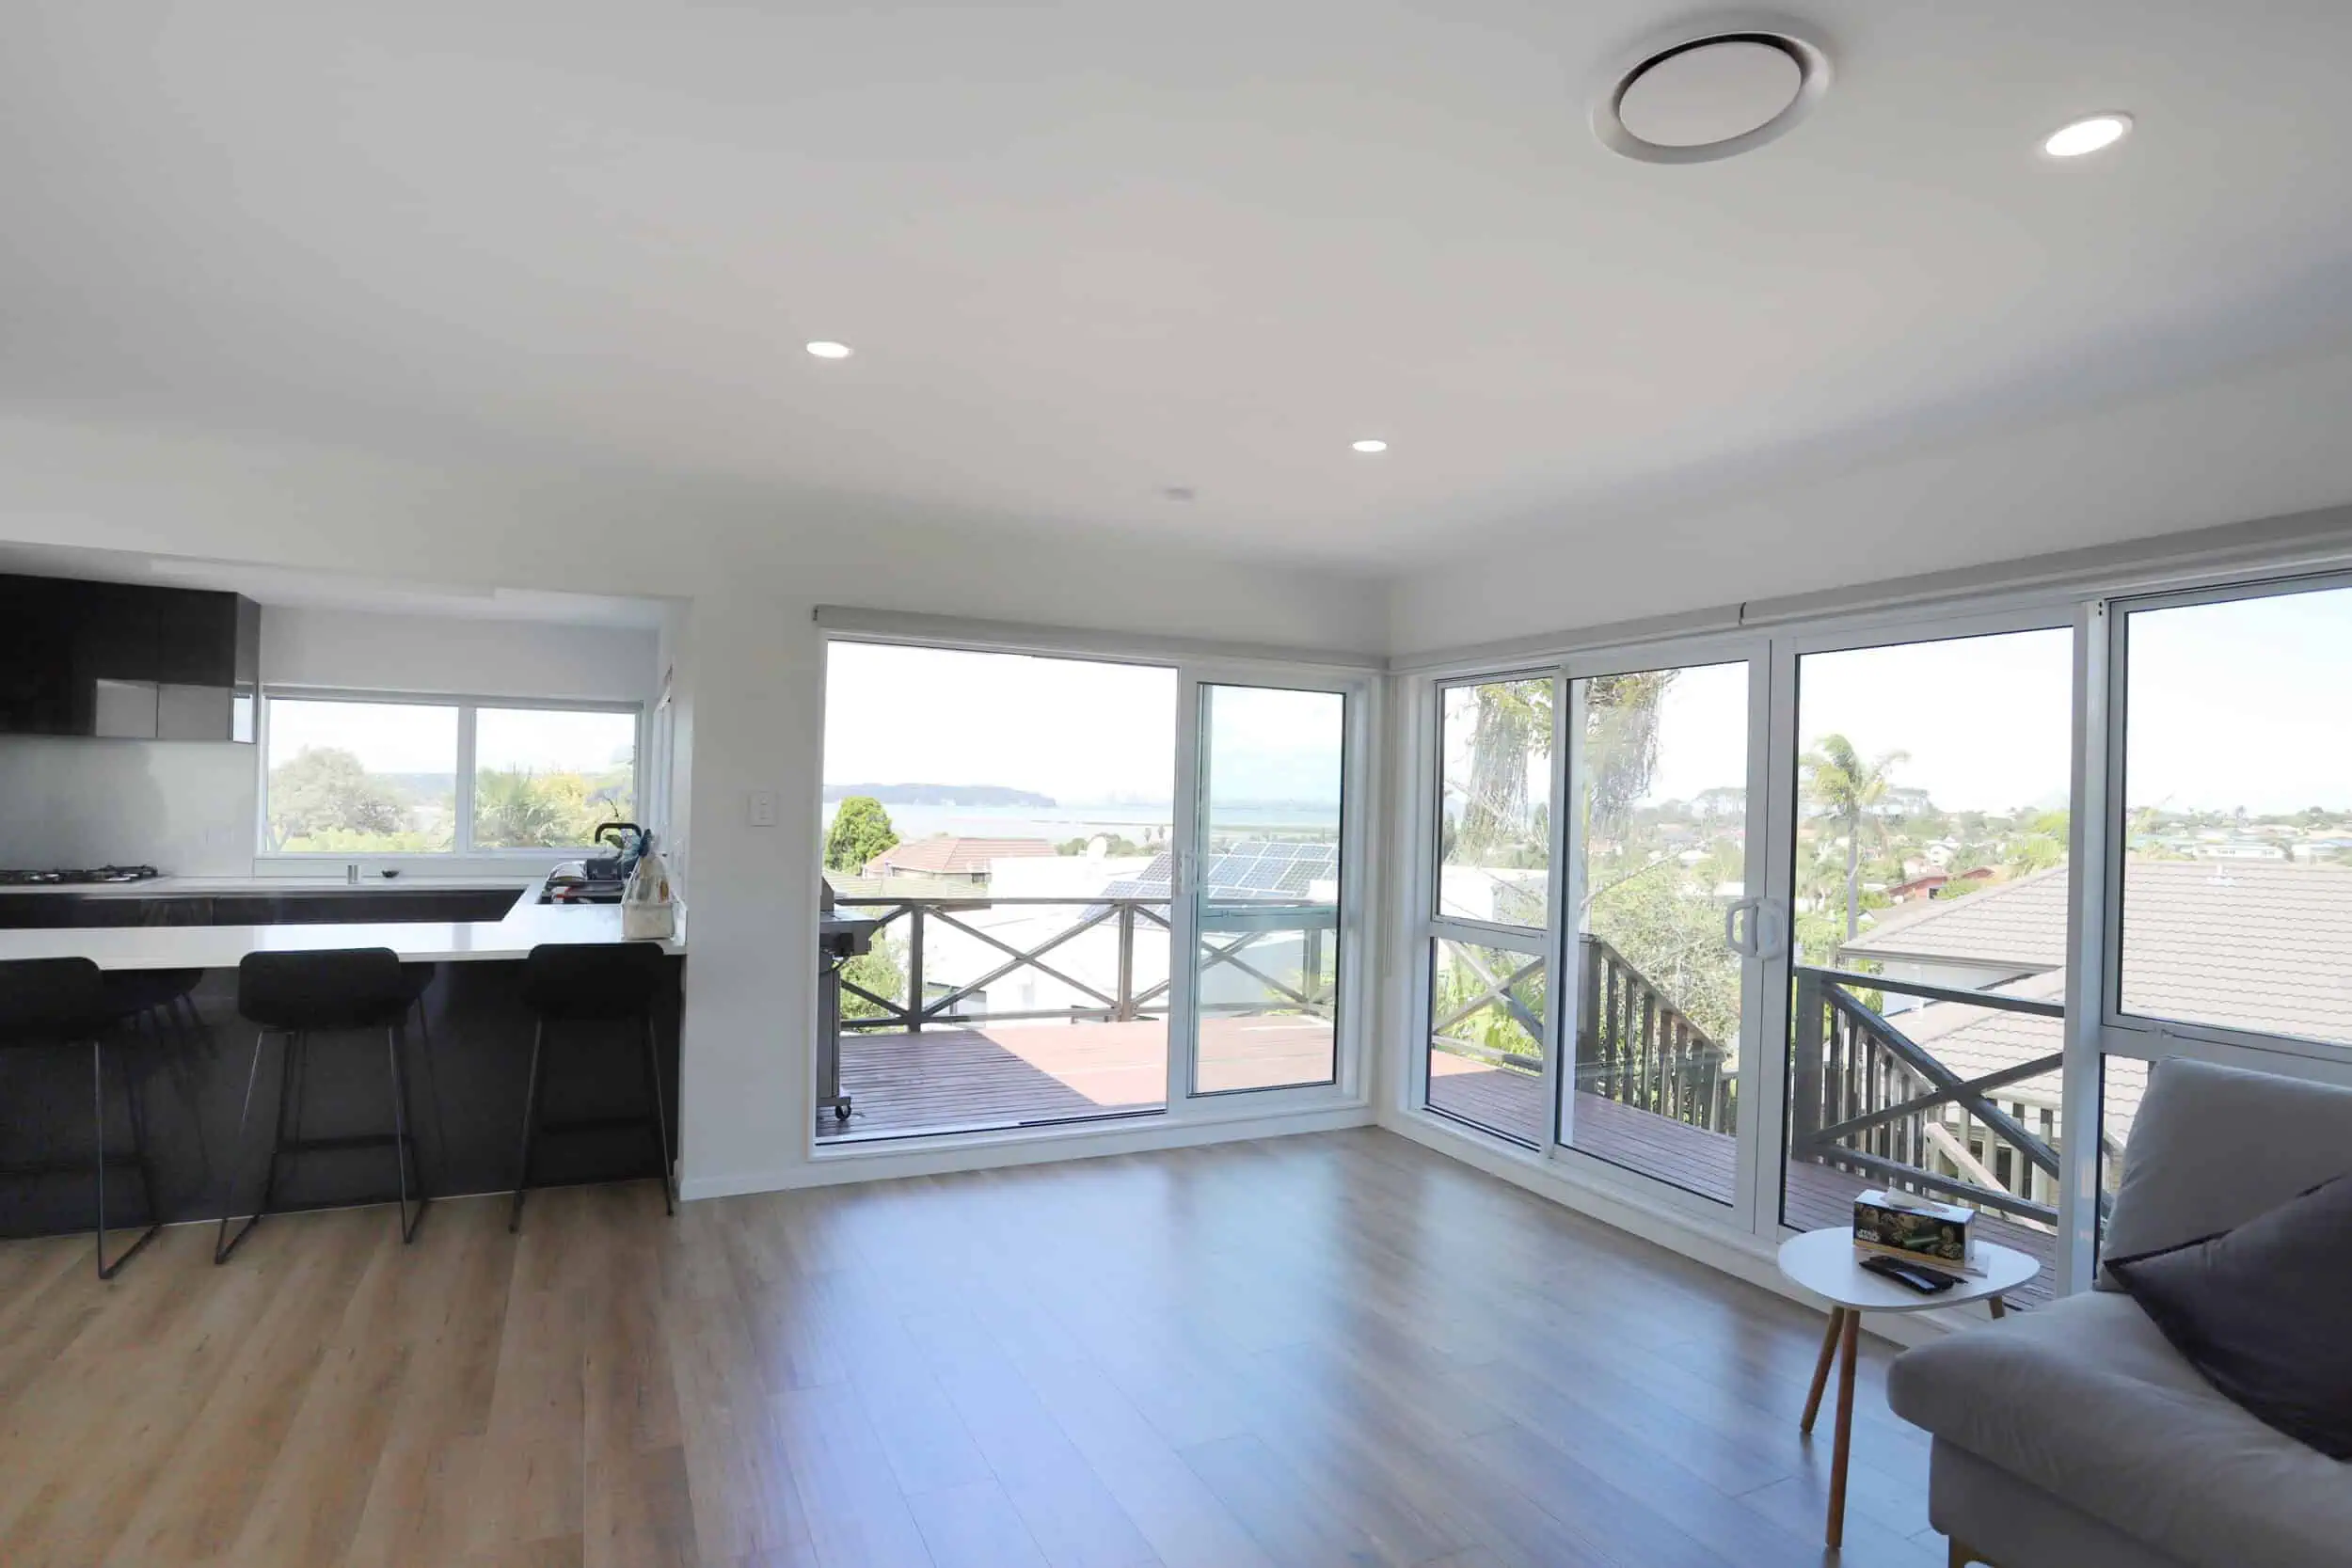
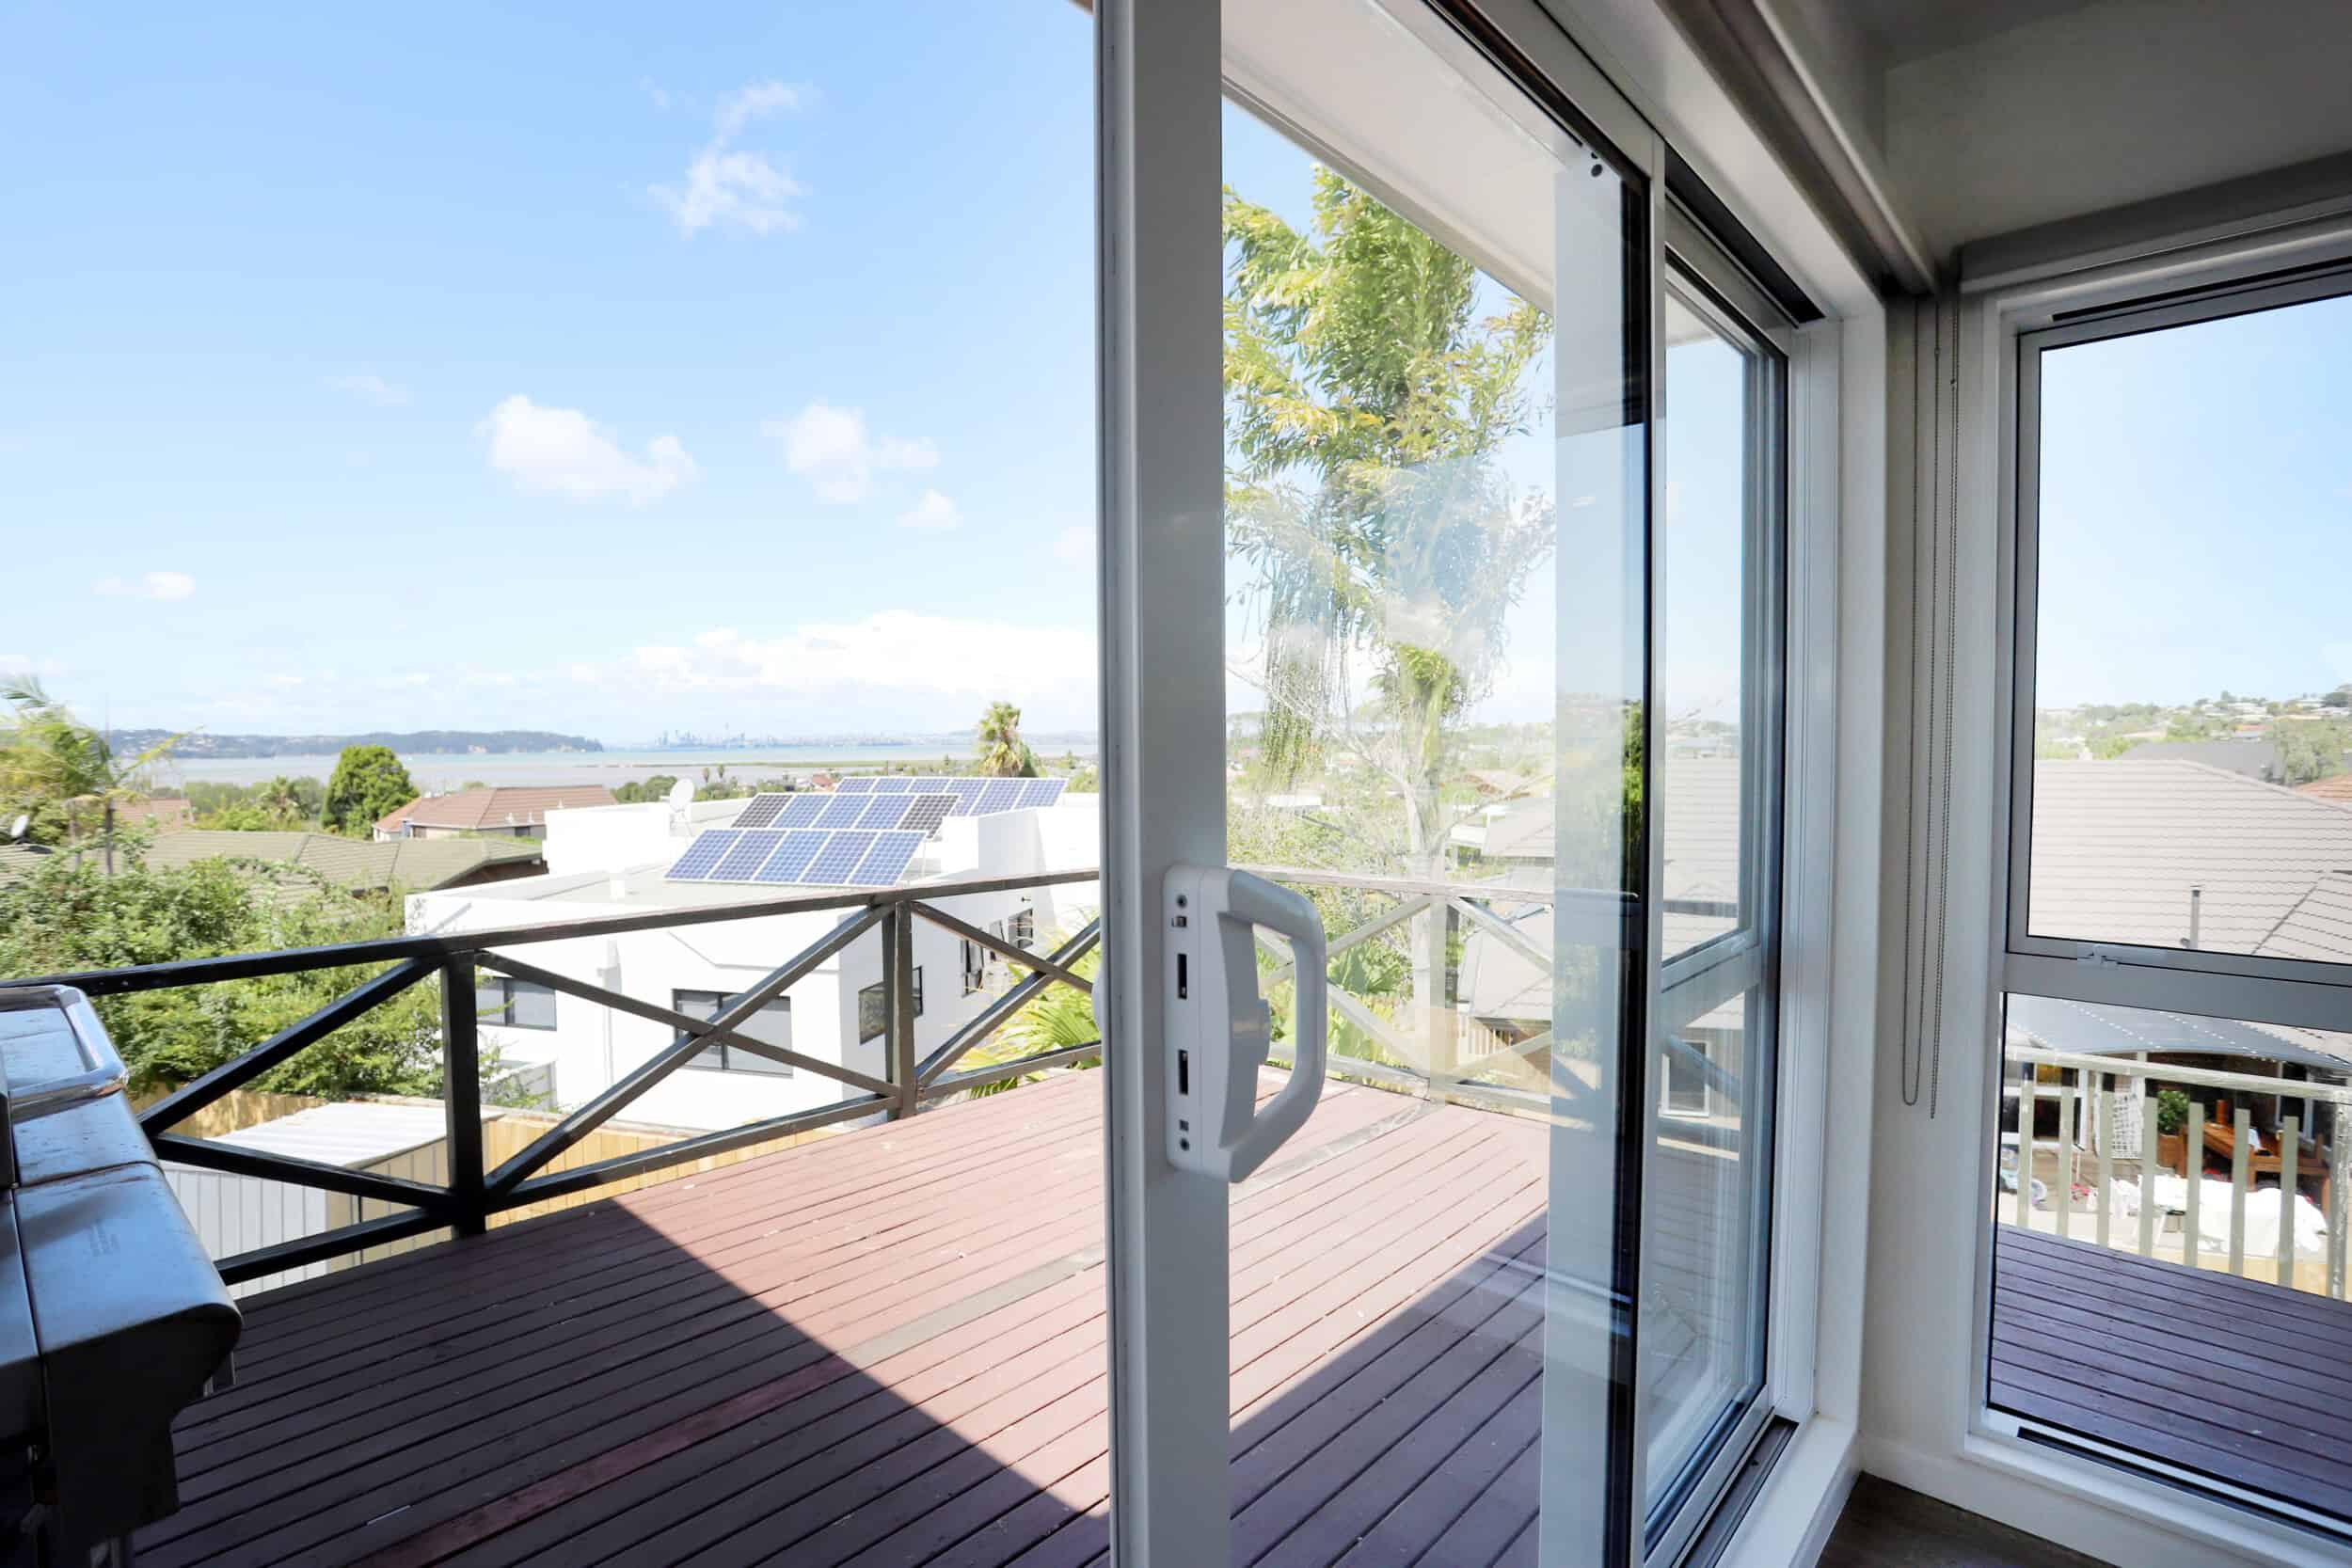
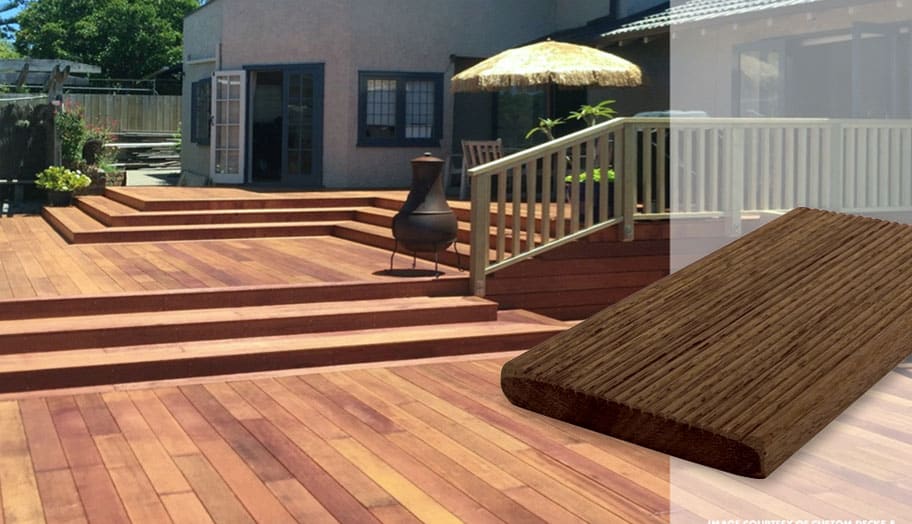
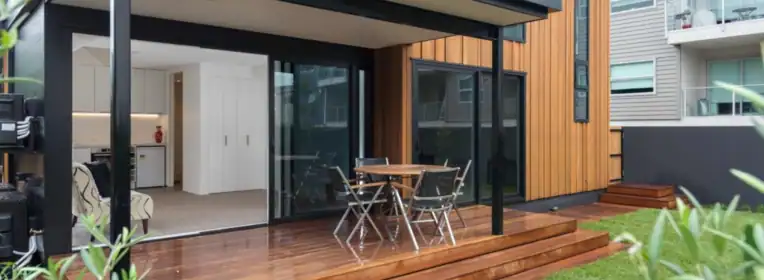
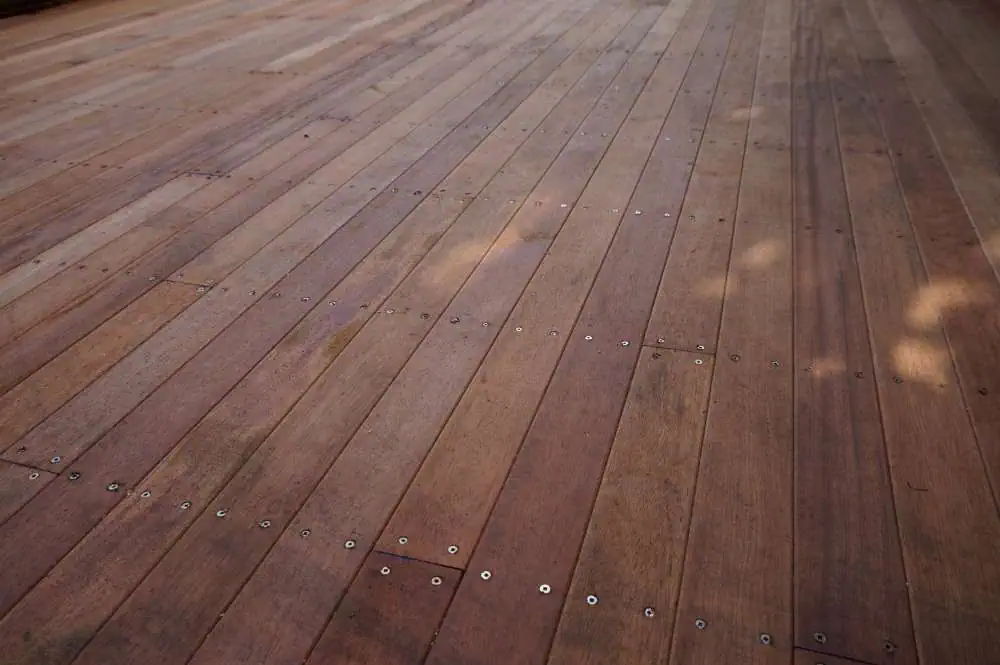
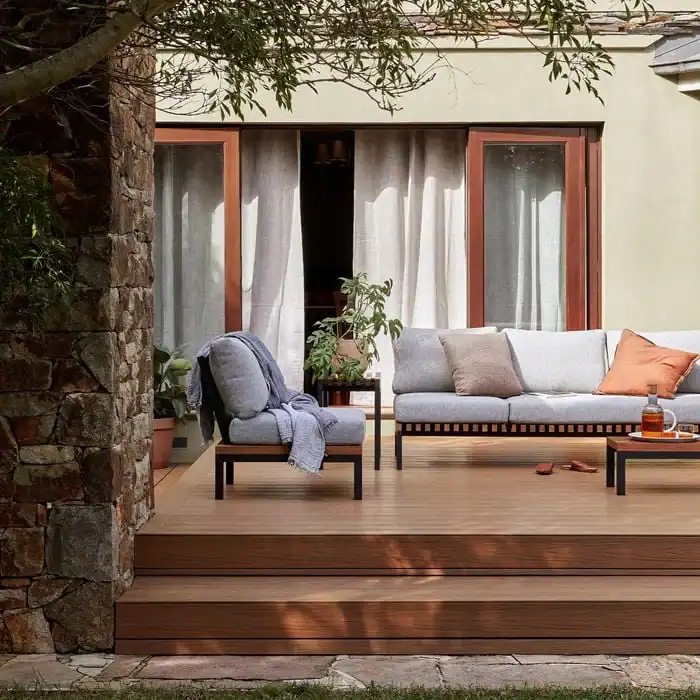
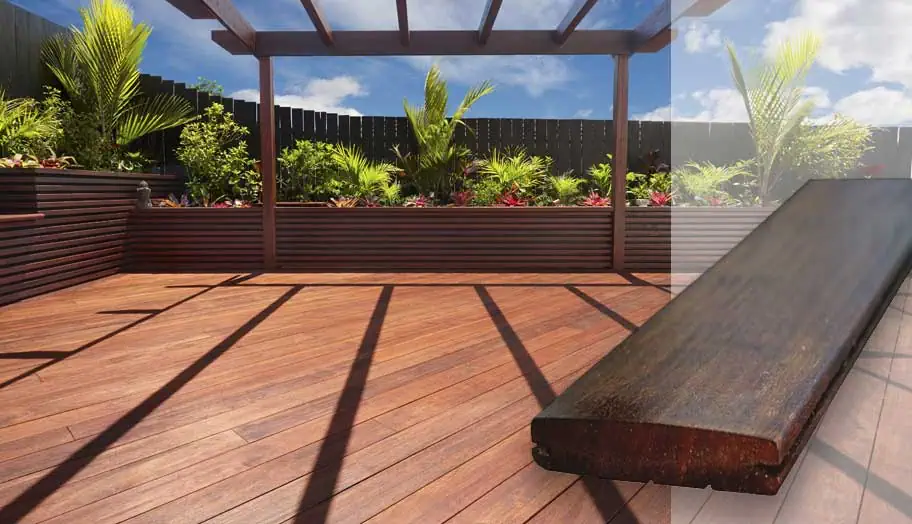
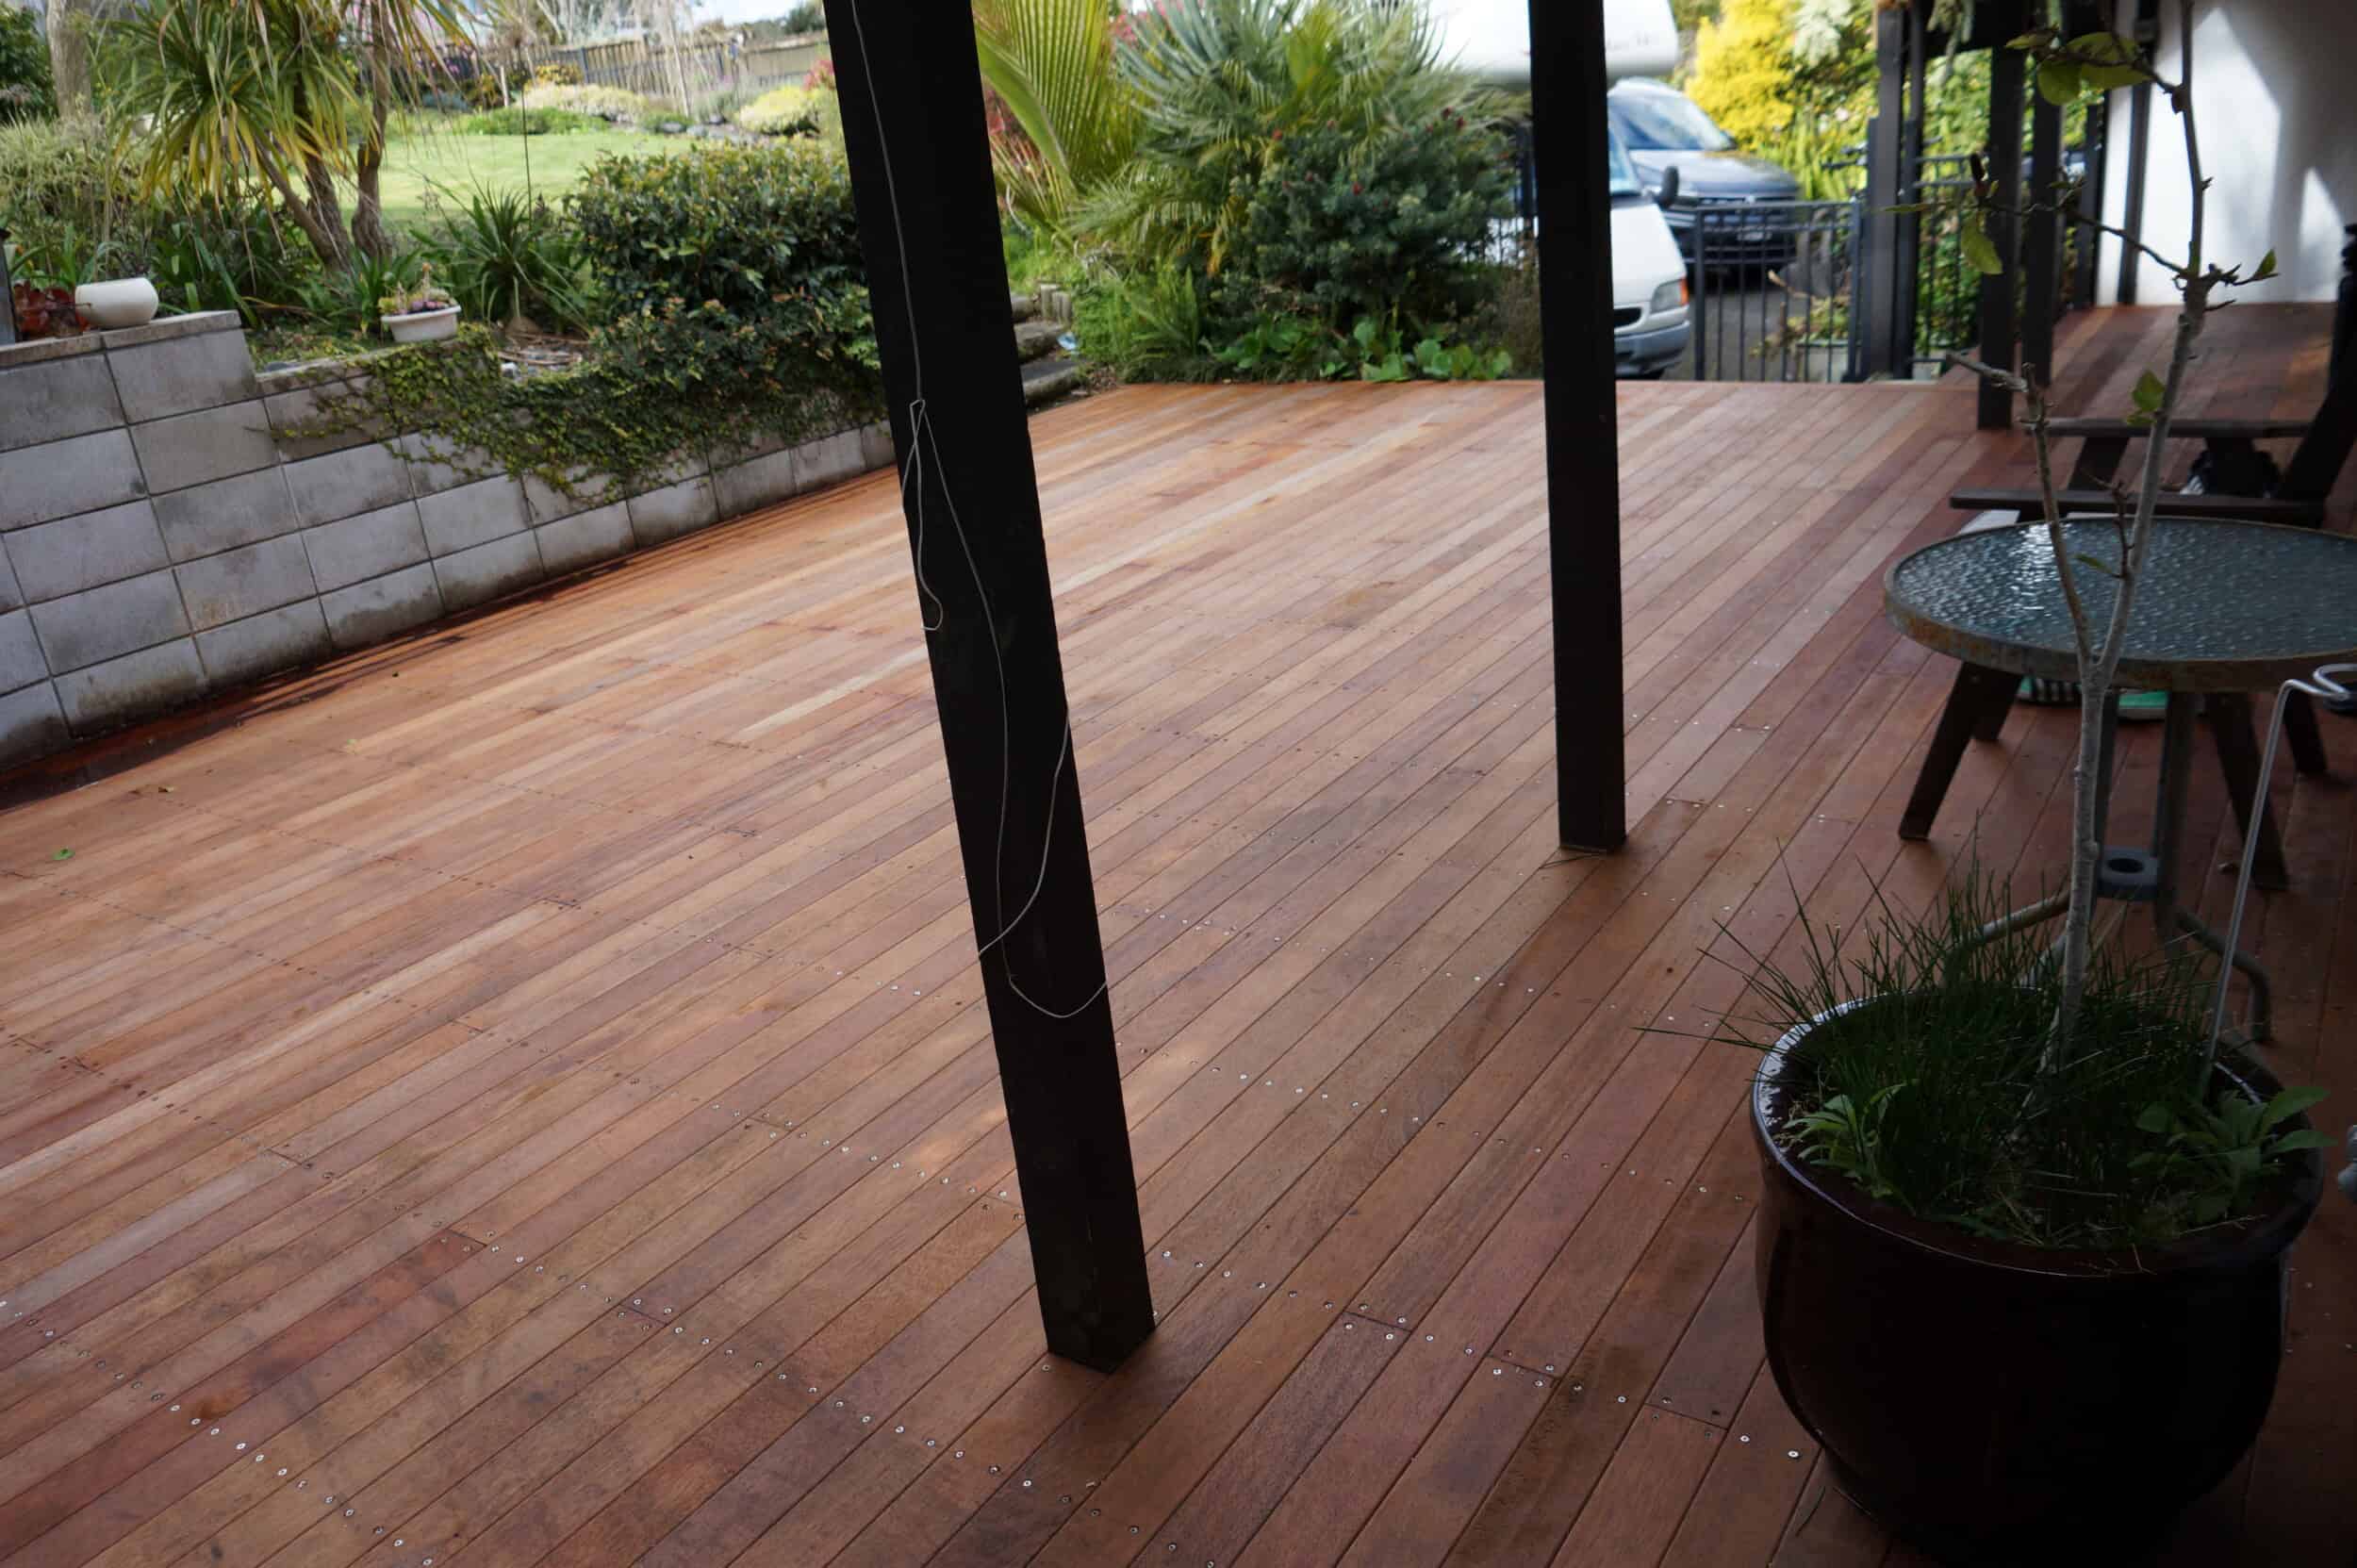
Outdoor Living: Kiwi Lifestyle, Kiwi Value
- Why It Adds Value: Outdoor spaces are NZ’s secret weapon—Superior Renovations says they can lift value by 10% or more. Homes.co.nz data backs this: properties with decks or patios spike buyer interest, especially in coastal spots.
- NZ Context: With Auckland’s median price up 4% in 2026 (OneRoof), outdoor upgrades make your home a standout. CoreLogic NZ highlights provincial gains (e.g., Whangarei +0.2%), where decks tie into the laid-back Kiwi vibe.
- Tips for Success:
- Decks with Kitchens: In Kohimarama or Mission Bay, a deck with a built-in BBQ or outdoor kitchen screams lifestyle. Expect $10,000-$25,000, with a hefty ROI.
- Courtyards with Fire Pits: Parnell’s urbanites love intimate courtyards—add a fire pit (Houzz.com trend), and you’ve got a cozy sell.
- Cost vs. Return: A $15,000 deck can add $30,000+ to your sale price.
- NZ Twist: Superior Renovations notes that NZ’s love for nature drives this trend—think Tauranga homes with decks overlooking the Mount or Christchurch patios soaking up the sun.
Why It Works in NZ: We live outdoors—barbecues, beers, and beach vibes. Homes.co.nz shows listings with “outdoor living” get 15% more views, making this a no-brainer for 2026.
-
Extra Space: Room to Grow (and Sell)
- Why It Adds Value: More space = more money. Nic and Misaki estimate a 10-20% value lift, and Homes.co.nz confirms extra rooms draw families like moths to a flame—especially in 2026’s family-focused market.
- NZ Context: With Auckland’s population booming (REINZ), space is at a premium. Epsom homes with added bedrooms fetch $2.2M+, while CoreLogic NZ sees provincial buyers (e.g., Palmerston North +0.2%) craving room for kids or home offices.
- Tips for Success:
- Studies in Epsom: Grammar-zone families need study nooks—Houzz.com suggests built-in desks for a modern twist.
- Conversions in Point Chev: Turn a garage into a bedroom or rumpus room—multi-use spaces are hot (Houzz.com).
- Cost vs. Return: A $50,000 extension can add $100,000+ in value.
- NZ Twist: Superior Renovations highlights NZ’s shift to remote work—home offices are now must-haves, especially in Wellington’s softening market (-0.9% in Dec 2024).
Why It Works in NZ: Space is scarce, and Homes.co.nz data shows listings with “extra bedroom” or “home office” sell 25% faster. In 2026, it’s a family-friendly win.
-
Energy Efficiency: Green Living, Green Profits
- Why It Adds Value: Eco-upgrades add 3-5% to your home’s value (Harveys), and Homes.co.nz notes green features are trending hard in 2026. Buyers want lower bills and a smaller footprint.
- NZ Context: NZ’s push for sustainability (CoreLogic NZ) means solar and insulation are hot in Westmere and beyond. With power prices up (Stuff NZ), energy-efficient homes stand out.
- Tips for Success:
- Solar in Westmere: Panels cost $10,000-$20,000 (Houzz.com), adding $30,000+ in value (Superior Renovations).
- Double Glazing: A $5,000-$15,000 investment everywhere else—Homes.co.nz listings with glazing sell quicker.
- Cost vs. Return: Spend $10,000, gain $15,000-$25,000.
- NZ Twist: The Warmer Kiwi Homes program offers subsidies for insulation and heating—perfect for Dunedin or Invercargill renos.
Why It Works in NZ: Houzz.com says sustainability sells—NZ buyers in 2026 are eco-conscious, and Homes.co.nz listings with “solar” or “energy-efficient” get 10% more clicks.
Why Home Value vs. Renovation Spend Matters
Your home’s value is your reno North Star. A $2.5M Parnell home with a $250K reno (10%) could hit $2.75M—sweet! But $625K (25%) might cap at $2.8M, losing $375K. In a $1.5M Glendowie home, $300K could overshoot the market. Homes.co.nz sales data backs this—suburb ceilings are real.
Auckland’s up 4% in 2026 (OneRoof), but quirks vary. Superior Renovations keeps you in the green—check our expanded guide.
Renovation Spending Guide: How Much Should You Spend?
Here’s your budget blueprint, enriched with Homes.co.nz trends, and Houzz.com design costs. Percentages are tied to your home’s value—tweak for your suburb’s cap!
| Renovation Type | % of Home Value | $1.5M Home | $3M Home | Notes |
| Kitchen Renovation | 5-10% | $75K – $150K | $150K – $300K | Luxe in Herne Bay (marble, $200K+ per Houzz.com), mid-range in Pt Chev. |
| Bathroom Renovation | 3-8% | $45K – $120K | $90K – $240K | High-end in Remuera (tubs, $100K+ per Houzz.com), simple elsewhere. |
| House Extension | 10-20% | $150K – $300K | $300K – $600K | Epsom loves space—Homes.co.nz shows $350K extensions sell fast. |
| Full House Renovation | 15-25% | $225K – $375K | $450K – $750K | Risky—Parnell dated villas hit $500K+ (Houzz.com full reno costs). |
| Outdoor Living (Deck) | 3-7% | $45K – $105K | $90K – $210K | Kohi decks with kitchens $150K+ (Houzz.com), less inland. |
| Energy Efficiency | 2-5% | $30K – $75K | $60K – $150K | Solar in Westmere ($80K+ per Houzz.com), glazing a safe $50K bet. |
Tip: Superior Renovations customizes this—your suburb, your win. Homes.co.nz shows reno’d homes fetch 10-15% more in top suburbs.
Green Upgrades That Premium Buyers Now Expect (2026 Shift)
High-end buyers (especially $2M+) seek subtle sustainability—solar-ready roofs, double glazing, insulation top-ups (Warmer Kiwi Homes ties), low-VOC paints, and native landscaping. These add 3-7% appeal (Harveys/REINZ-aligned) without screaming “eco”—quiet wins like energy-efficient heat pumps or rainwater systems resonate in coastal/green suburbs (Westmere, Remuera).
“In premium pockets, sustainability is no longer optional—it’s table stakes. Discreet upgrades like high-performance glazing sell faster to eco-conscious executives.” — Dorothy Li, Design Manager, Superior Renovations.
Wrapping Up: Renovate Smart in Auckland 2026
From Herne Bay’s waterfront to Point Chev’s bungalows, your home’s value and suburb steer your reno ship. Auckland’s market is humming—sales down 16% from the 30-year average (Opes Partners), but prices climb. Now’s your moment.
At Superior Renovations, we’ve transformed homes across these 20 suburbs—kitchens in Ponsonby, decks in Mission Bay, bathrooms in Remuera. We blend your dreams with market savvy, backed by Homes.co.nz data and Houzz.com inspo. Ready? Call us.
Top 20: Herne Bay ($3.2M), Remuera ($2.9M), St Mary’s Bay ($2.7M), Parnell ($2.5M), Orakei ($2.4M), Westmere ($2.3M), Epsom ($2.2M), Mission Bay ($2.1M), Ponsonby ($2.0M), Grey Lynn ($1.9M), Takapuna ($1.85M), Stanley Point ($1.8M), Devonport ($1.75M), Mellons Bay ($1.7M), Murrays Bay ($1.65M), Whitford ($1.6M), Waiheke ($1.55M), Glendowie ($1.5M), Kohimarama ($1.45M), Point Chevalier ($1.4M). It sets your budget and buyer expectations—spend smart, win big. Know your ceiling, match the market, cap at 10-20%. Kitchens, bathrooms, outdoor spaces, extra rooms, energy upgrades—fit your suburb. 5-10% for kitchens, 3-8% for bathrooms, up to 25% for full renos—see our table. What are the most expensive suburbs in Auckland in 2026?
Why does my home’s value matter for renovations?
How do I avoid overcapitalising?
What renovations add the most value?
How much should I spend on a renovation in 2026?
What’s Changing for 2026 Buyers in Auckland’s Top Suburbs
Easing rates + modest growth forecasts (mid-4% per Cotality/REINZ) point to renewed interest in character homes needing renos—buyers want move-in ready but with personal stamp potential. Pre-reno steps: get QV valuation, review recent sales on same street, cap budget at 12-15% of current value. Mention this guide for a free suburb-specific value-add roadmap from our team.
“2026 looks like the year buyers return to premium suburbs with reno budgets—starting with accurate comps and realistic ceilings keeps projects profitable.” — Kevin Yang, Managing Director, Superior Renovations.
Further Resources for your house renovation
- Featured projects and Client stories to see specifications on some of the projects.
- Real client stories from Auckland
Need more information?
Take advantage of our FREE Complete Home Renovation Guide (48 pages), whether you’re already renovating or in the process of deciding to renovate, it’s not an easy process, this guide which includes a free 100+ point check list – will help you avoid costly mistakes.
Download Free Renovation Guide (PDF)
Still have questions unanswered?
Book a no-obligation consultation with the team at Superior Renovations,
we’d love to meet you to discuss your renovation ideas!
Or call us on 0800 199 888
Have you been putting off getting renovations done?
We have partnered with Q Mastercard ® to provide you an 18 Month Interest-Free Payment Option, you can enjoy your new home now and stress less.
Learn More about Interest-Free Payment Options*
*Lending criteria, fees, terms and conditions apply. Mastercard is a registered trademark and the circles design is a trademark of Mastercard International Incorporated.
 - Recladding Cost Guide 3")